

Don't let their small size fool you. Button badges are so much more than just a pin and a picture; they're essentially little walking billboards for your brand, your campaign, or your big event. In a world saturated with digital ads, these simple, tangible items are a refreshingly powerful way to make a real-world connection and leave an impression that actually sticks.
Why Button Badges Are Such a Smart Marketing Tool
Think about a button badge not as a piece of metal and plastic, but as a tiny conversation starter. When you hand one to someone at a trade show, you’ve given them a physical reminder of your brand. Pin one to a staff uniform, and you’ve instantly created a look that’s cohesive and approachable. Their real strength is their sheer simplicity and versatility.
A social media ad is seen and then forgotten. A physical badge, on the other hand, often becomes part of someone's outfit. It travels with them on their jacket, backpack, or lanyard, quietly broadcasting your message to everyone they pass. This one simple interaction can snowball into continuous, organic exposure for your brand.
Making a Real Connection in a Digital World
We live our lives through screens, which is exactly why physical promotional items create such a memorable, sensory experience. A well-designed badge is something people can touch, see, and wear—forging a much stronger connection than a digital graphic ever could. That tactile quality makes your brand feel more authentic and down-to-earth.
For businesses and event organisers, this translates into some very real benefits:
- Cost-Effective Visibility: Let's be honest, marketing can be expensive. Compared to other forms of advertising, custom button badges deliver an incredible return on investment, giving you widespread visibility for a surprisingly small outlay.
- Sparks Engagement: A cool badge often gets people talking. A clever design or a catchy slogan can turn wearers into walking brand ambassadors and make your badge a sought-after piece of event merchandise.
- Builds Community: Whether it's for a corporate team, a school fair, or a music festival, badges create a sense of belonging and a shared identity among everyone involved.
A Versatile Tool for Any Occasion
The uses for button badges are practically endless. They’re brilliant tools for political campaigns, charity fundraisers, new product launches, and even school spirit weeks. Their small size completely belies the massive impact they can have on brand recognition. While they're fantastic for physical visibility, it’s also worth knowing how to increase brand awareness effectively across all your marketing channels.
The true value of a button badge is its ability to turn a passive observer into an active participant. By choosing to wear your badge, someone is publicly endorsing your message or brand, which creates the kind of powerful social proof that digital campaigns often struggle to achieve.
At the end of the day, these little items punch well above their weight. They're a fundamental part of any solid promotional strategy, sitting comfortably alongside other key marketing items. To get a better idea of how they fit into the bigger picture, check out some of the top 10 promotional products that consistently get results.
Choosing the Right Size and Material for Your Badges
Picking the perfect size and material for your button badges isn't just some minor detail—it's what makes them work. Get this right, and you turn a simple pin into a powerful marketing tool. Think of it like framing a picture; the right frame makes the art pop and grabs your attention.
It's the same with badges. The dimensions and build quality will either make your design shine or let it get lost in the noise. A tiny 25mm badge, for instance, offers a subtle, stylish nod, perfect for a band's merch table or an artist's signature pin. On the flip side, a big 75mm badge is like a mini-billboard on someone's chest—impossible to ignore and ideal for event staff or bold campaign slogans.
Matching Button Badge Size to Your Goal
The first call you have to make is on size, and it should be driven entirely by what you want the badge to do. Is it a cool piece of art for a collector? A clear ID for event security? Or a quiet signal to fellow community members? Each job has a perfect size.
A small, discreet badge is great for everyday wear on a jacket or backpack, subtly keeping a brand top-of-mind. But for the hustle of a trade show or the buzz of a festival, you need something bigger that people can see from a few metres away.
The best button badges are the ones where the size is a perfect match for the job at hand. A badge that’s too small to read is a waste of an opportunity, while one that’s too big can feel clunky and get taken off. Nailing that sweet spot is how you make sure your badge gets worn and noticed.
This infographic gives you a great visual breakdown of how a simple badge can become a multi-purpose marketing powerhouse.
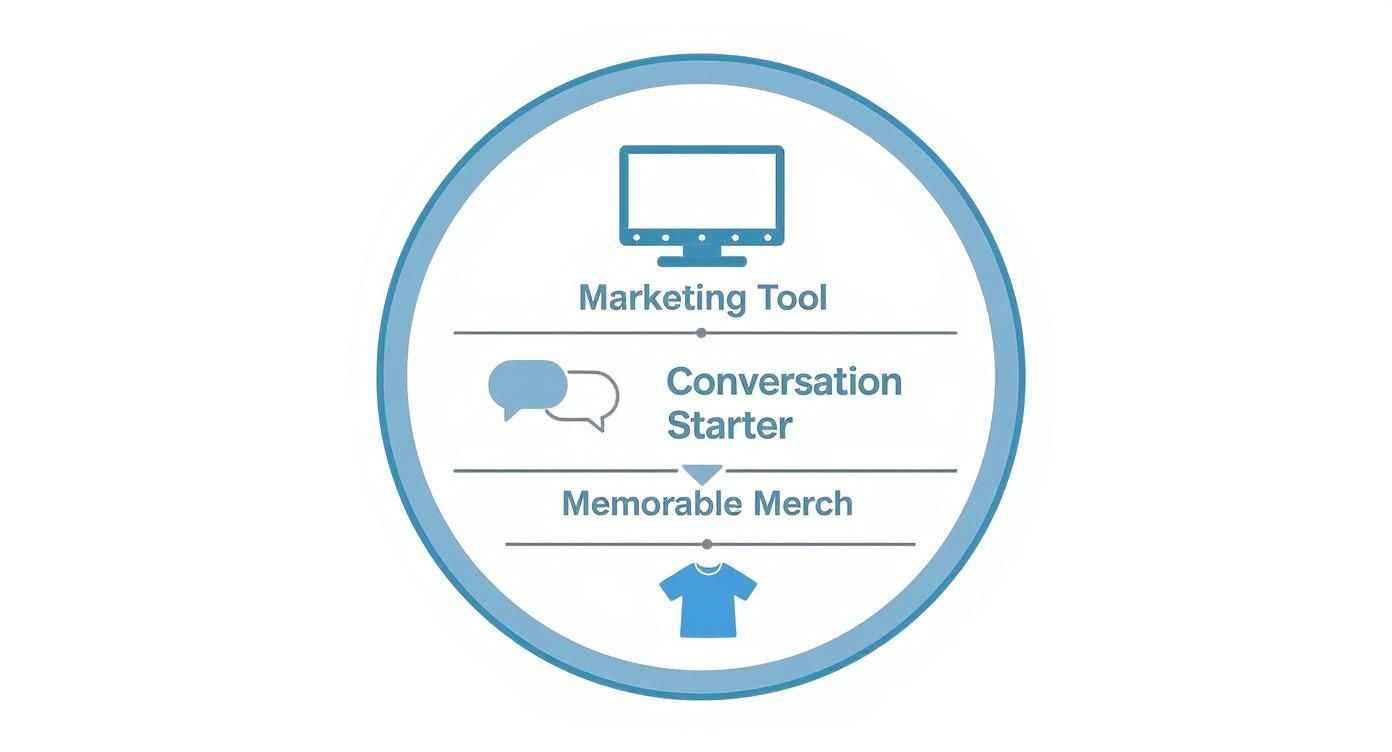
As you can see, a badge doesn't just promote—it starts conversations and can even become sought-after merchandise in its own right.
To make it even simpler, here’s a quick reference table to help you match common badge sizes with their most effective applications.
Matching Button Badge Size to Your Goal
| Badge Diameter (mm) | Best For | Example Application |
|---|---|---|
| 25mm | Subtle branding, artist pins, collectibles | Band merchandise, fashion accessory, brand loyalty pin. |
| 38mm | Promotional giveaways, campaign slogans | Political rallies, charity awareness, product launches. |
| 58mm | High-visibility messaging, photo badges | Event staff ID, school awards, souvenir with a photo. |
| 75mm | "Ask Me" badges, large graphics, clear text | Trade show staff, conference guides, protest signs. |
This table should give you a solid starting point for deciding which size will pack the most punch for your specific needs.
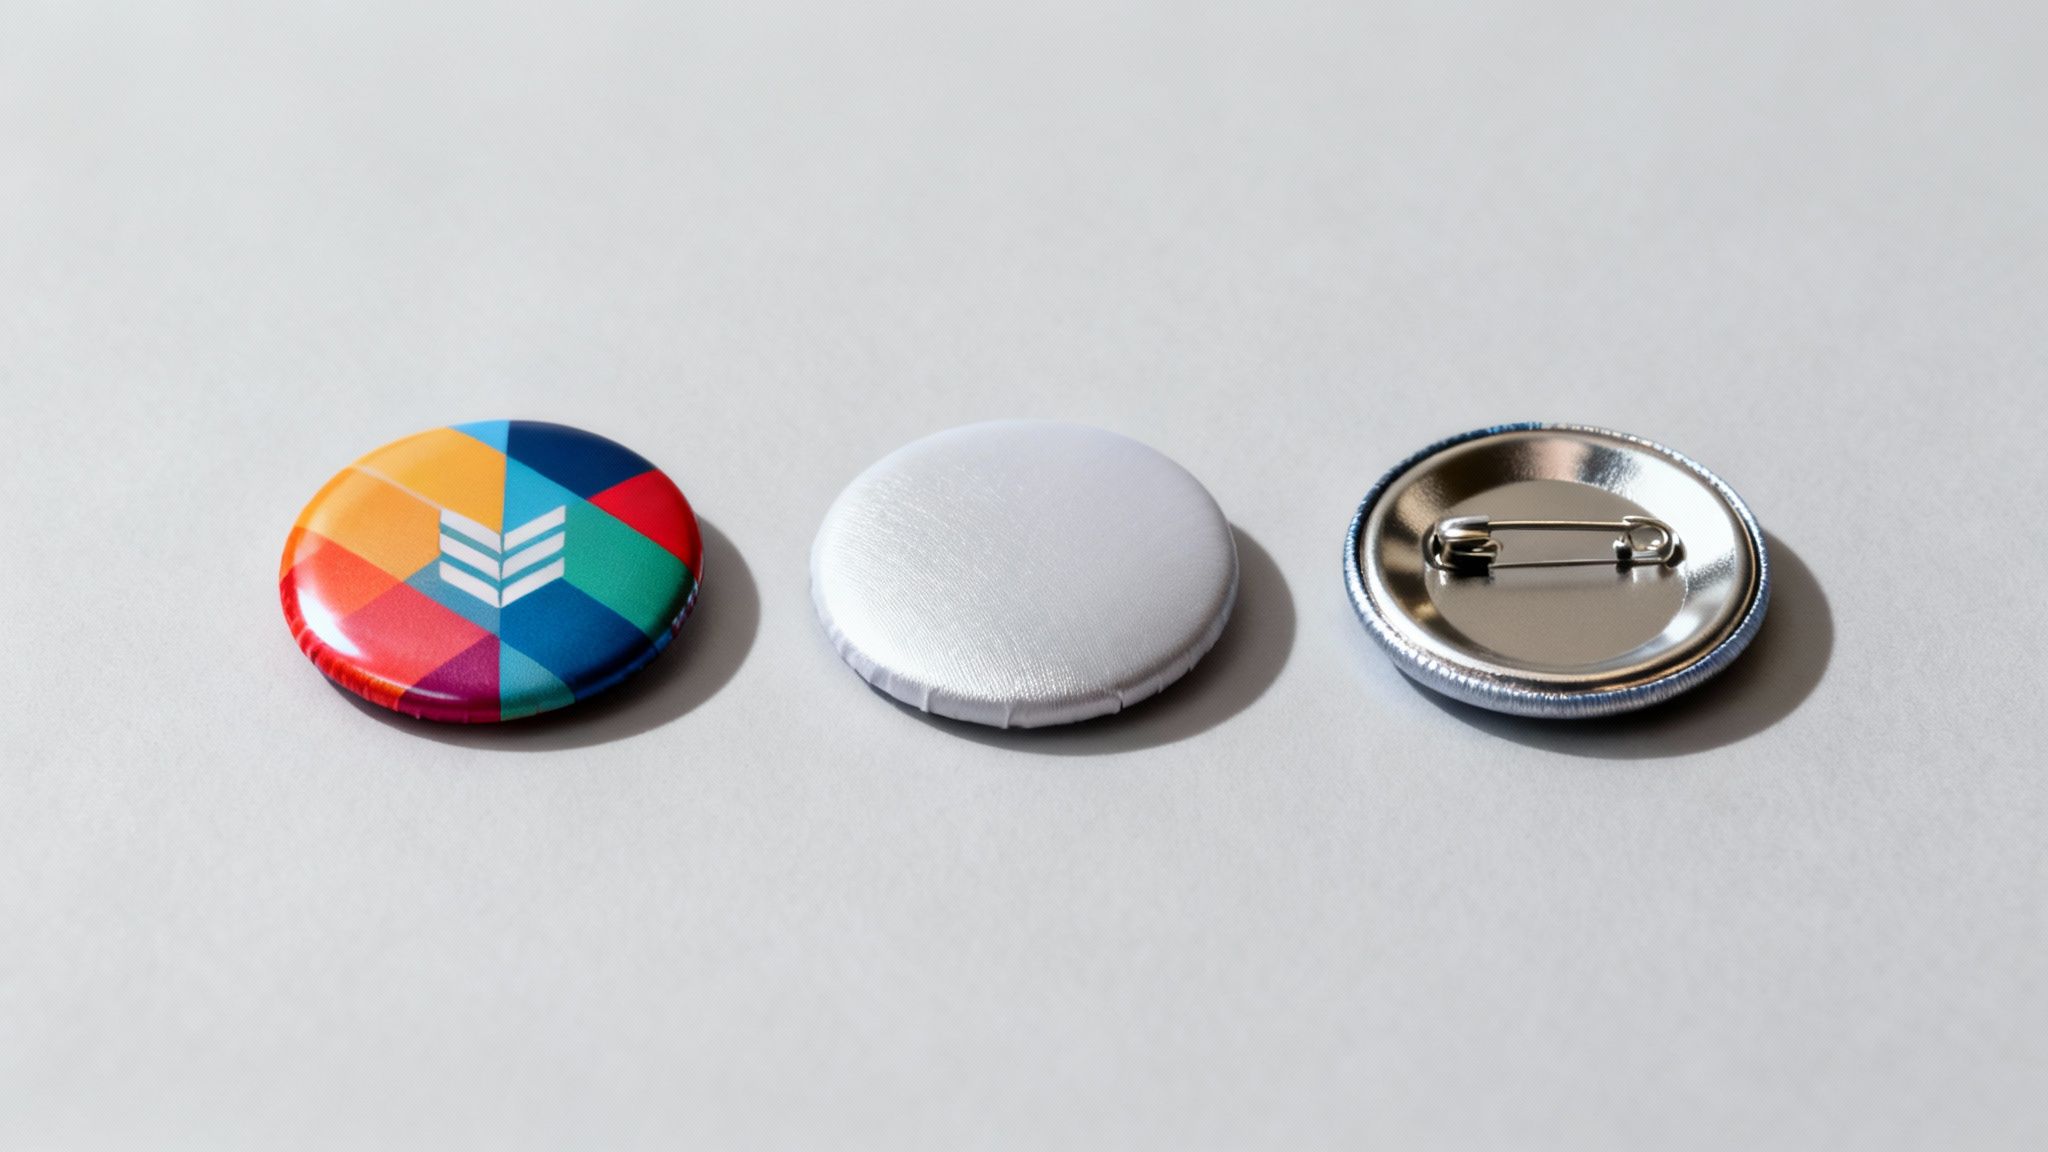
Exploring Materials and Backing Options
Once you've settled on a diameter, it's time to think about construction. The classic pin-back badge is what most people picture, and for good reason. It’s affordable, durable, and the trusty metal pin fastens securely to just about any fabric, making it a go-to for everything from corporate giveaways to school fete prizes.
But what if you don't want to poke a hole in your clothing? No problem. We have other options:
- Magnetic Backings: These are a fantastic solution for corporate functions or formal events where people are wearing nice suits or delicate fabrics. A powerful magnet holds the badge firmly in place without leaving a single mark.
- Clothing Clips: Also known as bulldog clips, these provide another damage-free alternative. They’re incredibly quick to clip on and off, which makes them perfect for temporary uses like visitor passes or conference name tags.
The hunger for custom items like these is huge. Globally, the market for badge makers, which includes button badges, hit USD 574 million. That figure really underscores the ongoing demand for these versatile products in business, education, and promotions all over the world—a trend we see every day here in Australia's vibrant events industry. You can discover more insights about the promotional products market to get a feel for how these trends are shaping what people want.
Making the Right Choice for Your Brand
At the end of the day, picking the right size and material comes down to one thing: understanding your audience and your goals.
If you’re creating a keepsake for fans to treasure, a standard 38mm or 58mm pin-back badge is a brilliant choice. But if you’re outfitting your team for a high-end corporate gala, a sleek magnetic badge will project a much more polished, professional image.
Don't be afraid to mix it up, either. Offering a few different sizes can add some fun variety to a merchandise line and encourage people to collect the whole set. Remember, these badges are often just one piece of a bigger marketing puzzle. For more ideas on what to pair them with, check out our full promotional products catalogue to find the perfect complementary items. By putting a little thought into these foundational choices, you'll create button badges that not only look fantastic but also do their job perfectly.
Understanding Your Printing and Finish Options
The final look of your button badges really comes down to two things: the printing method we use for your design and the finish we apply over the top. These choices are what take a simple idea and turn it into a professional, eye-catching piece of merchandise. Getting this right is the key to making sure your colours pop, your text is crisp, and your badges feel just right.
Think of it like getting a car. The printing method is the engine that drives the quality, while the finish is the shiny (or not-so-shiny) paint job that gives it its personality. You need both to work together to create something that not only looks fantastic but is also perfect for what you need it for.
Digital vs Offset Printing for Button Badges
The first big decision is how we'll get your design onto paper. The two main players here are digital and offset printing, and each one has its own strengths depending on how many badges you need and how complex your design is.
Digital printing works a lot like a high-end office printer. It takes your design file and prints it directly onto the paper, which makes it ideal for smaller orders. There's hardly any setup time, so it's a fast and budget-friendly choice for runs of a few hundred badges. It’s also brilliant at handling vibrant, full-colour designs with lots of detail, like photos.
Offset printing, on the other hand, is the traditional powerhouse of the printing industry. For this method, we create custom metal plates of your design that are used to transfer ink to paper. Because the setup is more involved, it’s a much better fit for large-scale orders—we’re talking 1,000 badges or more. The payoff is a lower cost per badge on big runs and incredibly consistent colour from the first badge to the last.
For most businesses and event organisers, digital printing hits that sweet spot of speed, quality, and price. It gives you the freedom to order the exact number you need without having to commit to thousands.
Choosing a Gloss or Matte Finish
Once your design is printed, it’s protected with a thin layer of mylar that comes in different finishes. This final touch has a huge impact on the badge's look and feel.
Your two main choices are gloss and matte, and they create totally different vibes.
- Gloss Finish: This is the classic, shiny look you probably picture when you think of a button badge. It makes colours seem brighter and more intense, creating a bold, attention-grabbing effect. That reflective surface is perfect for energetic designs that need to stand out.
- Matte Finish: For a more modern and sophisticated feel, a matte finish is a great alternative. It has a non-reflective, soft-touch surface that cuts down on glare. This makes it ideal for designs with more subtle colour schemes or when you're aiming for an understated, premium feel. It also doesn't show fingerprints as easily and has a really nice tactile quality.
Specialty Finishes for Extra Impact
If you really want your badges to turn heads, specialty finishes can add that unique flair.
A metallic finish, for example, is a cool way to let the silver of the badge’s metal base peek through parts of your design. This creates a really striking effect, especially with bold, simple graphics. It's a fantastic choice for adding a bit of edginess or a luxe touch to your merchandise.
We also have other options like holographic or glitter finishes that are perfect for special events or campaigns where you need maximum visual pop. These finishes can transform a simple badge into a cool collectible people will want to keep.
To get a better idea of how these look, you can explore our full range of custom printing options and find some inspiration for your next project.
Ultimately, picking the right printing and finish depends on your brand, your design, and who you're trying to reach. A bright, glossy badge might be perfect for a music festival, while a sleek, matte badge could be a better fit for a corporate conference. By thinking through these options, you can make sure your button badges look polished and perfectly deliver your message.
Essential Design Tips for Eye-Catching Button Badges
Your button badge is a tiny canvas, so every design choice has to work extra hard. To create a badge that really grabs attention and gets your message across in an instant, you need a design that’s both bold and incredibly clear. This isn't the place for subtle details; it's all about making an immediate impact.
Think of it like designing a tiny, wearable headline. You've got just a few seconds to catch someone's eye as they walk past. This is why the best badges rely on simple, powerful design to cut through the noise.
Embrace Simplicity and Boldness
When it comes to button badges, less is always more. The biggest mistake we see is people trying to cram too much onto a tiny surface. A cluttered design with small text just becomes a blur from a few steps away, which completely defeats the point.
Instead, zero in on one key element. Is it your logo? A short, punchy slogan? A single, striking graphic? Whatever you choose, make it the hero of the design. Stick to bold, clean fonts that are easy to read at a glance. You can't go wrong with classic sans-serif fonts like Helvetica, Arial, or Montserrat, as they stay legible even when small.
Master Colour and Contrast
Colour is your secret weapon for making a badge that pops. High-contrast combinations are your best friend here—think dark text on a light background or the other way around. This simple trick dramatically improves readability and makes your badge far more eye-catching.
Feel free to use your brand's colours, but don't be afraid to pick the most vibrant and contrasting options in your palette. A bright yellow badge with bold black text, for instance, will be seen from across a crowded event hall, while a subtle navy-on-blue design might get lost. Test your colours to make sure they deliver maximum visual punch.
A great button badge should be understood in under three seconds. If someone has to squint or get up close to figure it out, you’ve lost a valuable chance to connect.
Their popularity is no accident; they're a proven, low-cost marketing tool. In fact, the global market for button badge machines is expected to grow at a compound annual rate of around 6.5%, hitting a value of approximately $150 million. This shows just how much businesses rely on them to boost visibility. You can read the full research about the button badge market to get a better sense of the trend.
Respect the Bleed Zone
This is one of the most important technical details to get right. Because a badge is circular and the design wraps around the edge, anything you place too close to the border is at risk of being cut off or looking distorted.
Always keep your main message and logo safely inside the central area of the design. We’ll provide a template that shows three key areas:
- Face Area: This is the flat, front-facing part of the badge where your main design will sit.
- Bleed Area: The outer ring where the design wraps around the edge. Your background colour needs to extend all the way through this zone to avoid any unprinted white gaps.
- Safe Zone: The innermost circle. All your crucial text and logos must be placed here to guarantee they won’t be compromised during production.
Ignoring these guidelines is a common and easily avoidable mistake. For a more detailed walkthrough, be sure to check out our artwork submission tips for beginners to get your file print-perfect from the start.
By focusing on a single message, using bold fonts and high-contrast colours, and paying attention to the template, you’ll create professional and effective button badges that people will actually want to wear.
How to Order Your Custom Button Badges
Getting your custom button badges ordered shouldn't feel like a chore. It’s the exciting final step in bringing your idea to life! We've designed our process to be as simple as possible, so you can move from a concept on your screen to a finished product in your hands with absolute confidence. Let's walk through it together.
The journey kicks off when you ask us for a quote. You’ll just need to give us the basics: how many badges you need, what size you’re thinking, and the kind of finish you're after. This first step lets us give you a sharp price and a realistic timeline right from the get-go.
Getting to Grips with the Lingo
As you get your order underway, you’ll come across a few industry terms. Don't worry, they're not nearly as complex as they sound, and knowing what they mean will make planning your campaign or event so much smoother.
Here are the main ones you’ll need to know:
- Minimum Order Quantity (MOQ): This is simply the smallest number of badges we can produce in a single run. Think of it like a bakery—it’s just not practical to fire up the big ovens for a single cupcake. MOQs exist because there’s a fixed cost to setting up the printing and production machinery for each job.
- Lead Time: This is the total time it takes from the moment you sign off on the final design to when the badges arrive at your door. It covers both production and shipping, so it’s a crucial number to keep in mind for hitting your deadlines.
- Artwork Proof: Before we print anything, we’ll send you a digital mock-up of your badge. This is your chance to be the final boss of quality control—check the spelling, make sure the colours are spot on, and see that everything is positioned perfectly.
Think of the artwork proof as your ultimate safety net. Giving it the thumbs-up is like telling us, "It's perfect, go for it!" Once you approve it, we know you are 100% happy with the design and we can confidently start production. This one step is vital for avoiding any nasty surprises and ensuring your badges look exactly how you imagined.
The Ordering Process, Step by Step
Once you’re comfortable with the terminology, the rest of the journey is a straightforward path. Following these steps ensures nothing gets missed and your order moves along without a hitch.
Here’s how it typically unfolds:
- Send Us Your Artwork: First, you’ll provide your design. Vector files (.AI, .EPS, .PDF) are the gold standard here, as they guarantee your print will be sharp and crisp, no matter the badge size.
- Review Your Digital Proof: We’ll email you the artwork proof. Look over it with a fine-tooth comb and let us know if you want any changes. We offer unlimited revisions because getting it right is what matters.
- Confirm Your Order: Once you’ve approved the proof, you’ll finalise the order details and payment. This is the official green light that kicks off the production schedule.
- Production Begins: Our team gets to work, carefully printing your designs and assembling your custom button badges.
- Shipping and Delivery: After one last quality check, we package your badges securely and ship them straight to your address, ready for your big event.
Why Quality Artwork is a Deal-Breaker
Sending through high-resolution artwork isn't just a friendly suggestion—it’s absolutely essential for a professional finish. A blurry, low-quality image will look pixelated when printed, and that’s a poor reflection on your brand. Taking a moment to supply a proper file is the single best thing you can do to guarantee your badges look fantastic.
The need for recognition tools like badges is definitely on the rise. While data on physical badges is specific, we can see a parallel trend in the digital world. The global market for digital badges was estimated at USD 0.2 billion and is projected to hit USD 0.5 billion. This shows a huge appetite for using badges for identity and acknowledgement, a principle that applies directly to the physical button badges we use for events, campaigns, and causes. You can learn more about the growth of recognition tools and their adoption across different industries.
The ordering process is a partnership. Your clear brief and quality artwork, combined with our production expertise, are the two ingredients we need to create truly memorable button badges together.
By understanding these simple steps, you can navigate the whole process with ease. For a detailed guide on our specific system, you can find everything you need to know about how to order promotional products from Simply Merchandise on our dedicated page.
Common Questions About Button Badges
Getting into custom merchandise often brings up a few questions. To make sure you feel completely confident in your choices, we’ve answered some of the most common things people ask us when designing and ordering button badges. Think of this as your cheat sheet to avoid common hiccups and ensure your final product is exactly what you had in mind.
We'll cover everything from how tough they are and what artwork files you need, to bulk pricing and how long they take to make. It's all the practical info you need to plan your order like a pro.
What Is the Most Durable Type of Button Badge?
When you’re investing in merchandise, you want it to last. For badges that will see a lot of action, you can't go wrong with the classic metal pin-back badge. Its sturdy construction is built to handle the bumps and scrapes of daily life, whether it's pinned to a school bag, a staff uniform, or a festival lanyard.
But the real secret to its staying power is the protective finish. We apply a thin layer of mylar—in either a gloss or matte finish—right over your printed artwork. This acts like a tiny shield, guarding the design against scratches, moisture, and the fading that comes from sun exposure. It’s this combination of a tough metal body and a protective coating that keeps your message looking bright and clear for years, making it the most dependable choice out there.
What Is the Best File Format for My Artwork?
Getting your artwork file right is probably the single most important step for a sharp, professional-looking badge. For button badges, a vector file is always the best way to go. You'll usually see these as AI (Adobe Illustrator), EPS, or vector-based PDF files.
Think of a vector file as a recipe for drawing your design. Because it uses maths instead of pixels, it can be scaled to any size—tiny or huge—without losing a single bit of quality. This means your logo and text will be perfectly crisp, whether you're printing on a little 25mm badge or a big 75mm one.
If you can't get your hands on a vector file, a high-resolution image like a JPG or PNG can work in a pinch. The key here is to make sure it's created at 300 DPI (dots per inch) at the exact size it will be printed. Anything less than that, and you risk a blurry, pixelated finish that can make your badges—and your brand—look cheap.
Here's the golden rule: vector is best. It takes all the guesswork out of the equation and guarantees a clean print every time. Spending a few extra minutes to find the right file is the best insurance you can get for a flawless result.
Are There Discounts for Ordering in Bulk?
Absolutely. This is one of the best things about ordering promotional items like button badges—the more you buy, the more you save. Like most suppliers, we offer tiered pricing. In simple terms, this means the price for each individual badge drops as your total order quantity goes up.
For instance, the per-badge cost for an order of 100 will be quite a bit higher than the per-badge cost for an order of 1,000. Why? Because the initial setup costs for printing, machine setup, and labour get spread out over more items. It’s much more cost-effective to place one large order than several small ones.
This system is great because it makes badges an affordable option for small events while offering huge savings for big conferences, political campaigns, or retail stock. Our advice is to always plan ahead and group your needs into a single, larger order to get the most out of your budget.
How Long Does a Custom Badge Order Typically Take?
Knowing the timeline is key to planning any event or campaign launch. While it can vary a little, you can generally expect a custom button badge order to take around 7-14 business days to complete, starting from the moment you sign off on the final artwork proof.
That's a good general guide, but a few things can influence the timeline:
- Order Complexity: A standard badge is usually quicker to make than one with special finishes like metallic or holographic effects.
- Order Quantity: It stands to reason that an order for 10,000 badges will take a bit longer to assemble and quality-check than an order for 500.
- Current Demand: Things can get busy during peak periods, like the run-up to Christmas or major conference seasons, which can sometimes extend production times.
Because of these factors, it's always a smart idea to double-check the specific timeline with us when you're ready to order. Giving us your deadline upfront helps us manage our production schedule to make sure your badges arrive right when you need them.
Ready to create button badges that people will actually want to wear? The expert team at Simply Merchandise is here to walk you through it all, from tweaking your design to getting it delivered on time. Check out our huge range of custom options and see just how easy it is to get started.


