


A cap with embroidery is so much more than just a piece of headwear. It’s a walking billboard, a team unifier, and a statement of quality all rolled into one. The difference between a printed logo and a stitched one is something you can feel—that tactile, textured quality speaks volumes about permanence and value, leaving a lasting impression long after the first wear. It's this simple item that can bring a team together, make your brand stand out in a crowd anywhere in Australia, and become a corporate gift people actually want to keep.
Your Ultimate Branding Tool
Picture this: your team is at a bustling Sydney trade show. They're easy to spot, looking sharp and professional in matching embroidered caps. That's the real-world impact of great branded apparel. It’s not just merchandise anymore; it's a tangible piece of your brand's identity and a reflection of your values. The premium feel of stitched thread just has a sense of quality that a flat print often can't replicate.
That distinction really matters. A printed cap can sometimes feel a bit temporary, like a flyer. But an embroidered one feels like it's part of the fabric itself, built to last. This perceived value means people are more likely to wear it again and again, which dramatically extends the reach of your marketing message. Every single time that cap is worn, it’s a personal endorsement for your brand.
Building Team Cohesion
There's something powerful about kitting out your staff with high-quality branded gear. A custom cap with embroidery instantly fosters a sense of unity and pride. Whether you're gearing up for a corporate event in Melbourne or sorting out daily uniforms in Brisbane, matching headwear creates that cohesive team look that boosts morale and presents a polished, professional image to your clients. It’s a subtle signal that everyone is a valued part of the same mission.
Maximising Brand Visibility
When it comes to getting eyes on your brand, embroidered caps are incredibly effective. Just think about the visibility at an outdoor festival, a charity fun run, or a busy industry conference. Your logo is right there at eye level, impossible to miss in crowds and social media photos. This creates constant, mobile exposure that builds brand recognition in a way that feels natural, not forced.
A well-designed embroidered cap isn't just worn; it's adopted. It becomes a go-to accessory, carrying your brand's story into new environments and in front of new audiences, day after day.
This guide is here to help you unlock that potential. Once you get a handle on the different cap styles, embroidery techniques, and how to prep your artwork, you'll be able to create a seriously powerful promotional tool that connects with your audience. As you start exploring the options, you'll see how various promotional products can work together to build a really strong brand presence. From turning a simple hat into a valued keepsake to unifying your team, the journey to creating the perfect cap with embroidery starts right here.
1. Choosing the Right Canvas for Your Design
Think of your cap as the canvas for your masterpiece. The style and material you choose are the first, most crucial brushstrokes. They set the tone for everything that follows, and getting it right is the foundation of a truly exceptional embroidered cap.
This isn't just about finding a spot for your logo; it's about choosing an item that tells your brand's story. The right cap feels like a natural extension of your identity, creating a piece of apparel that people will genuinely love and be proud to wear.
Matching Cap Style to Your Brand Identity
Every cap style has its own personality, and you want one that mirrors your own. A classic structured baseball cap, with its firm front panels, offers a crisp, clean slate perfect for sharp corporate logos. It’s the go-to for a professional, polished look at team events or as part of a uniform.
On the flip side, you have the unstructured "dad hat." Its relaxed, softer silhouette immediately gives off a more casual, approachable vibe. This style is a favourite for creative agencies, university merch, or any brand aiming for that trendy, laid-back feel. And let’s not forget the trucker cap—with its iconic mesh back, it’s a practical and stylish choice for outdoor brands and events, especially in sunny spots like Brisbane or Perth.
The cap you choose is a non-verbal cue about your brand. A sleek, fitted cap says "modern and precise," while a relaxed cotton cap might say "authentic and down-to-earth." Aligning this choice with your brand's voice is key.
Looking for some creative inspiration? Seeing how others have turned headwear into art with unique decorated caps can spark some fantastic ideas for your own project.
Understanding How Materials Impact Embroidery
Just as crucial as the style is the fabric it’s made from. The material is the very ground your embroidery will be built upon, and its texture, weight, and weave all play a huge role in the final quality of the stitch.
For most designs, cotton twill is the undisputed champion. It’s tough, durable, and has a tight weave that creates a beautifully smooth surface for sharp, detailed embroidery. If you’re after a more modern, athletic look, polyester blends are a great choice. They often come with performance features like moisture-wicking, but the lighter fabric needs a careful touch to avoid puckering.
To help you navigate the options, here’s a quick breakdown of common cap styles and fabrics.
Comparing Cap Styles and Materials
This table offers a quick guide to help you select the best combination of style and fabric for your embroidered design.
| Cap Style | Best For | Common Materials | Embroidery Tip |
|---|---|---|---|
| Structured Baseball Cap | Corporate logos, team uniforms, retail | Cotton Twill, Wool Blends | The firm front panel is ideal for complex, high-stitch-count designs. |
| Unstructured "Dad" Cap | Casual brands, merch, lifestyle | Washed Cotton, Canvas | Works best with simpler, minimalist logos to avoid weighing down the soft fabric. |
| Trucker Cap | Outdoor events, promotional giveaways | Cotton/Poly Front, Nylon Mesh Back | Embroidery is limited to the front foam panel, which provides a great, stable surface. |
| Beanie | Winter promotions, staff uniforms | Acrylic Knit, Wool | Requires a less dense stitch pattern to work with the stretchy, ribbed texture. |
Choosing the right canvas is the first step toward creating headwear that not only looks fantastic but also stands the test of time.
Let's explore how a single cap can serve multiple purposes within your organisation.
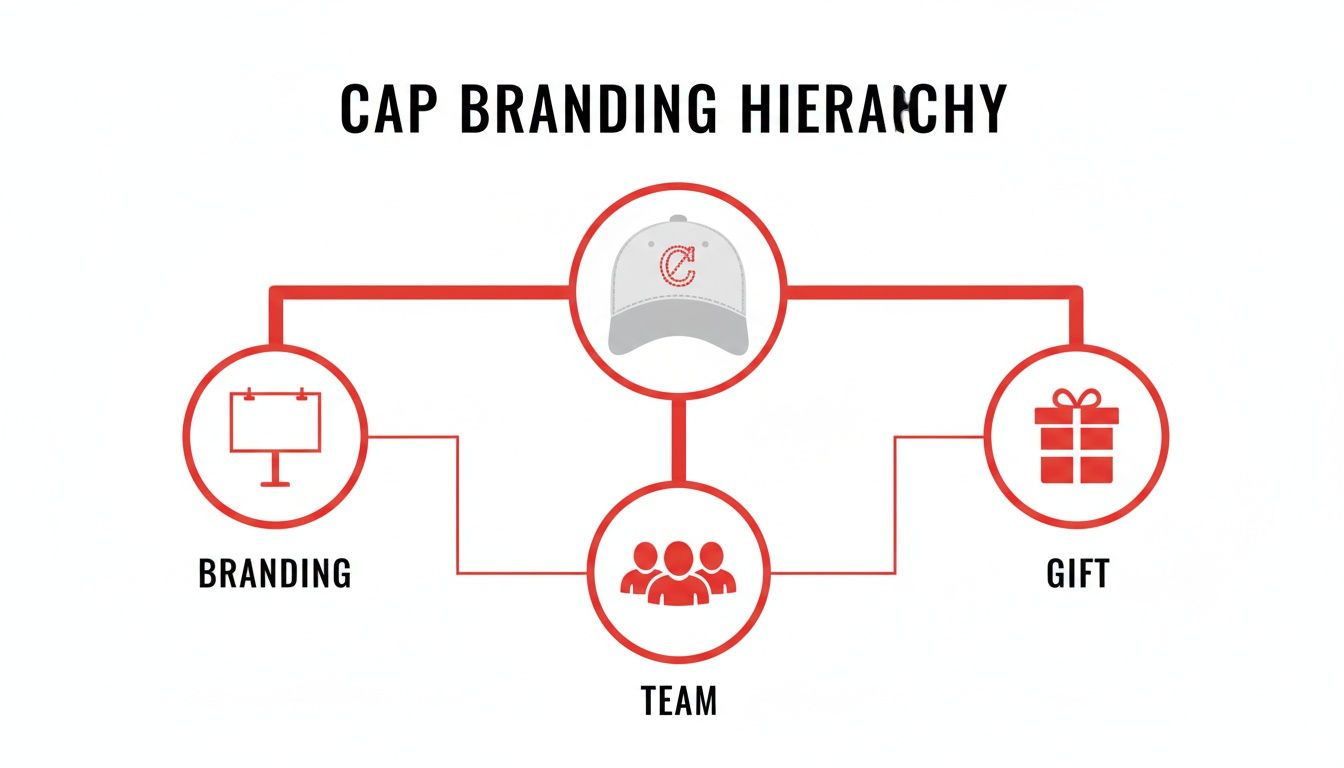
As you can see, a branded cap is incredibly versatile—it can be a powerful branding tool, a symbol of team unity, or a thoughtful gift.
Heavier fabrics like sturdy canvas or a thick wool blend can handle a higher stitch count, making them perfect for larger or more intricate logos. In contrast, the lighter materials found in unstructured caps are better suited to simpler designs. This prevents the embroidery from distorting the cap's natural shape.
To get a real feel for the possibilities, have a look through our full range of customisable headwear options. It’s the best way to find the perfect canvas for your next project.
The Art and Science of Embroidery Techniques
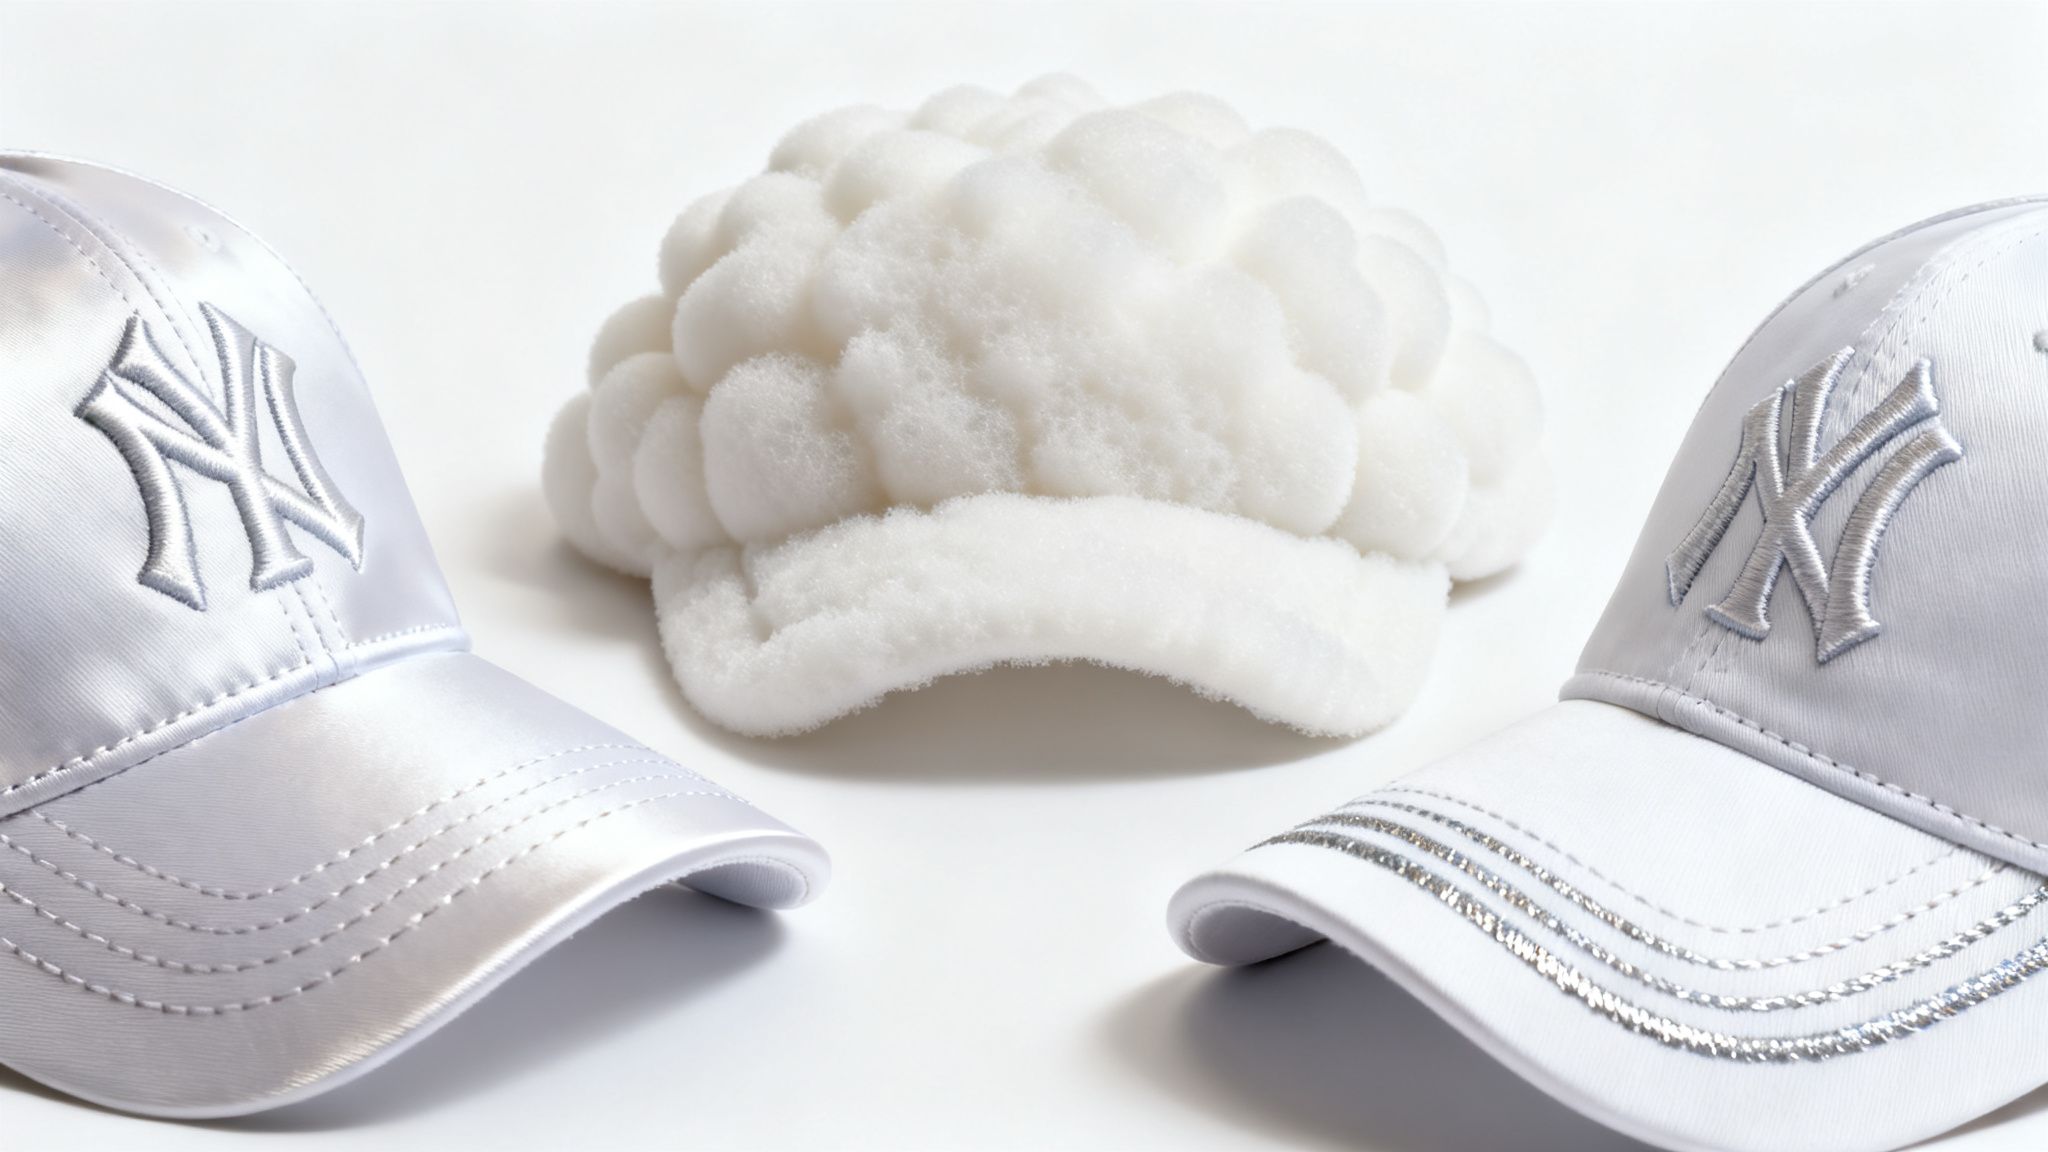
Embroidery is where the magic happens. It’s the moment your digital logo is reborn as a tactile piece of art, translating pixels into threads to create something with texture, depth, and a premium feel that printing just can't match. This whole process hinges on specific techniques, each with its own personality and purpose.
Think of it like a chef choosing between grilling and baking – the right method brings out the best in the final product. For a cap with embroidery, selecting the perfect stitch style is what elevates your design from just ‘good’ to genuinely spectacular. It makes your brand’s message feel more intentional and memorable.
This is especially true here in Australia, where embroidered caps have become a go-to for businesses wanting to make a real impression. In fact, the Australia Embroidery Market is projected to grow at a healthy CAGR of 5.6% between 2025 and 2031. This surge is powered by the massive demand for custom apparel in the corporate and events world.
The Foundation: Flat Embroidery
Flat embroidery is the bread and butter of our craft. It’s the classic, versatile technique you’ll see most often and the foundation from which other styles are built. Using two core stitch types, it brings a design to life directly on the fabric of the cap.
This is the industry workhorse, perfect for everything from intricate company crests to clean, bold text. Its real strength lies in its precision and clarity.
-
Satin Stitch: This is the secret to getting that crisp, clean text and those sharp outlines. It's a series of tight, parallel stitches laid side-by-side to create a smooth, almost shiny finish. It’s our go-to for lettering and defining the borders of a logo.
-
Fill Stitch (or Tatami Stitch): When you need to colour in larger sections of your design, the fill stitch comes into play. It creates a solid, textured block of colour by layering stitches in a pattern, almost like weaving a tiny tapestry. This gives your logo its vibrant, solid foundation.
Adding Dimension with 3D Puff Embroidery
If flat embroidery is a beautiful painting, then 3D puff embroidery is a dynamic sculpture. This technique is hugely popular because it adds a dramatic, raised effect that makes your design literally pop off the cap. It’s an instant upgrade that gives your headwear a high-end, impactful feel.
The secret ingredient? A simple piece of foam. We place a layer of special embroidery foam onto the cap before the machine starts its work. The machine then sews a dense pattern of satin stitches right over the foam, cutting and trapping it underneath the thread.
The result is a bold, three-dimensional element with a rounded, "puffed up" appearance. This technique works wonders for single letters, simple shapes, or key parts of a logo you really want to stand out.
Because of the structure it requires, 3D puff is best suited for structured caps with firm front panels that can properly support the raised design. It’s a firm favourite for sports teams, streetwear brands, and any business aiming for a modern, eye-catching look for their cap with embroidery. To get a better sense of the entire process, you can explore our guide on https://simplymerchandise.com.au/pages/what-is-embroidery.
Exploring Speciality Threads and Techniques
Beyond the two main methods, there’s a whole world of specialty options that can add that final layer of personality to your project. These are the finishing touches, the little details that can turn your embroidered cap into a truly unique piece of merchandise.
Here are a few creative options to consider:
-
Metallic Thread: For a touch of class, metallic threads in gold, silver, or bronze are a brilliant choice. They catch the light beautifully and add an elegant sheen, making them perfect for anniversary logos or premium corporate gifts.
-
Patch Embroidery: Instead of stitching directly onto the cap, we can embroider your design onto a separate piece of fabric—a patch. This patch is then applied to the cap with heat or stitching, creating a distinct, layered look with clean, defined edges.
For anyone new to the craft, dipping your toes in with some embroidery kits for beginners can be a fantastic way to learn the ropes. Understanding the fundamentals really gives you an appreciation for the skill behind professional work. At the end of the day, choosing the right technique isn’t just about decorating a cap; it’s about crafting an experience.
Getting Your Artwork Ready for Flawless Embroidery
A truly incredible embroidered cap doesn't just happen at the machine. It starts way earlier, with your artwork. Nailing the design file is honestly the most critical step you can take to make sure your vision comes to life as a vibrant, textured showpiece. It's where you lay the groundwork for a crisp, professional finish, every single time.
Think of your design file as the blueprint for your cap. You wouldn't expect a builder to put up a house without a detailed plan, right? In the same way, our embroidery machines need a very specific set of instructions to stitch your design perfectly. Get the foundation right, and the end result will speak for itself.
Why Vector Files Are King
When it comes to embroidery, not all file types are created equal. The industry benchmark, and what we’ll always ask for, is a vector file. You'll recognise them by formats like .AI (Adobe Illustrator), .EPS, or .SVG.
So, what makes them so special? Imagine your logo is made of perfectly flexible rubber bands. You can stretch it as big as a billboard or shrink it down to the size of a pinhead, and the lines will always stay flawlessly sharp. That's a vector. It’s built on mathematical points and paths, not pixels, so it can be resized infinitely without losing a shred of quality. This is a game-changer for us, as we often need to adjust the size to fit your cap just right.
On the flip side, you have raster files like .JPGs or .PNGs. Picture these as a mosaic made of tiny coloured squares. When you try to make the image bigger, you’re just stretching those squares, and you get that blurry, pixelated look. Supplying a vector file is your guarantee that the logo will be crisp and clean, no matter what.
The Human Touch of Digitising
Once we have your vector artwork, the real magic begins. It's a process called digitising, and it’s so much more than a simple file conversion. This is a highly skilled craft, a genuine art form performed by a trained technician who translates your design into a stitch-by-stitch road map for the embroidery machine.
Digitising isn’t just clicking a "convert" button. It’s a meticulous, manual process where a technician plots every single stitch, deciding its type, direction, and density to best recreate your logo in thread.
This human expertise is what elevates good embroidery to great embroidery. The digitiser looks at the cap’s fabric, the detail in your design, and the final texture you’re after. They'll strategically lay down an "underlay" of foundation stitches to keep the design stable and prevent the fabric from puckering, before mapping out the top stitches that create that vibrant, detailed finish. A beautifully digitised file is the secret sauce behind embroidery that’s sharp, durable, and perfectly on-brand.
Quick Tips for Embroidery-Friendly Artwork
Thinking about how your design will translate into thread from the get-go can save a lot of hassle later on. A little bit of prep goes a long way.
Here are a few things to keep in mind:
- Simplify the Finer Details: Embroidery thread has a physical thickness, so incredibly fine lines, tiny textures, or smooth colour gradients can get a bit lost. Simplifying these super-complex elements will give you a much cleaner and bolder final look.
- Give Your Text Some Room: Small text is often the first thing to lose its clarity. As a rule of thumb, we suggest making sure letters are at least 6mm high so they stay crisp and easy to read on the finished cap.
- Go for Contrast: Think about the colour of your cap and choose thread colours that will really stand out against it. High contrast makes your logo pop and ensures it’s instantly recognisable, even from a distance.
Following these simple guidelines helps our team create the best possible cap with embroidery for you. For a deeper dive, check out our simple guide on how to prepare your artwork for submission for even more great tips.
Getting the Details Right: Placement, Sizing, and Price
You've picked the perfect cap and landed on a brilliant embroidery style. Now for the final, crucial decisions that will make or break the final product. Where your logo sits and how big it is aren't just afterthoughts—they’re what transform a good cap into a great one. These details, along with a clear picture of the costs, are what will make your project a true success.
Getting these elements right is the difference between a simple cap with embroidery and a sophisticated branding tool. It's all about creating a balanced, professional look that feels deliberate and catches the eye for all the right reasons. This is where your strategy truly comes to life.
Strategic Placement for Maximum Impact
The spot you choose for your embroidery sends a message. While front and centre is a timeless classic for bold, confident branding, other placements can create a more subtle or premium vibe.
- Front Panel: This is your prime real estate. A logo here is direct, impossible to miss, and perfect for making a strong first impression at a trade show or as part of a team uniform.
- Side Panels (Left or Right): A smaller logo or icon on the side offers a more understated, retail-inspired feel. It’s a fantastic spot for a secondary detail, like a website address or an anniversary year.
- Back Arch: Placing text over the back opening is ideal for a brand slogan, team name, or website. It’s that final touch that adds another layer of detail and professionalism.
Nailing the Perfect Size
Proportion is everything. A logo that’s too big can look clumsy and overwhelm the cap, but one that’s too small will simply get lost. To keep things looking clean and balanced, we stick to standard dimensions that are perfectly optimised for each location.
A well-sized logo doesn't just fit; it complements the cap's natural shape. For front panels, we typically aim for a maximum height of around 5.5 cm to 6 cm. This ensures the design sits beautifully without any warping or distortion.
Paying close attention to sizing ensures your embroidery looks sharp and is easily readable, reinforcing the quality your brand stands for. Our team is here to guide you on how to best adapt your logo for each placement—it's a core part of our custom embroidery logo services.
Demystifying the Cost of Your Embroidery
Understanding how a cap with embroidery is priced helps you make smart decisions that work for your budget. The cost isn't just a random number; it's tied directly to the complexity of your design. The biggest factor? The stitch count.
Think of stitch count as the embroidery equivalent of ink. A simple, text-only logo might only need 5,000 stitches. In contrast, a complex crest with solid, filled-in areas could easily jump past 20,000 stitches. More stitches mean more thread and more machine time, which naturally leads to a higher cost per cap. Other factors like the number of thread colours and your order quantity also play a role—bigger orders almost always mean a better price per item.
This kind of transparency is key, especially in a market where embroidered caps are becoming a staple for corporate uniforms and onboarding kits across Australia. In fact, Cognitive Market Research projects that Australia will hold an 8.03% share of the Asia Pacific embroidery market in 2025. The region itself is set to grow by a massive 67.11% to $854.751 million by that year, as you can read in more detail in the growing embroidery market report on cognitivemarketresearch.com. This growth just goes to show how much Aussie businesses value high-quality, tangible branding.
Your Seamless Journey from Concept to Cap
Getting custom gear made should be exciting, not a headache. The whole point of creating a killer cap with embroidery is to see your idea come to life, and we believe the process should feel just as good as the final product. We’ve designed our entire system to be a clear, simple partnership from the moment you get in touch until your box of amazing caps lands on your doorstep.
Think of it as a guided tour. We’ve mapped out every step to remove the guesswork, letting you focus on the fun stuff—your design. It’s a journey with checkpoints built in, so you’re always in the driver’s seat.
The First Steps to Success
It all starts with that spark of an idea. Your first move is to jump into our huge collection of headwear and find the perfect canvas for your masterpiece. Once you've found 'the one', that's where our collaboration really kicks off.
- Pick Your Perfect Cap: Have a look through dozens of styles. Are you after a classic baseball cap? A chilled-out dad hat? Find the one that screams your brand's name.
- Send Us Your Design: Flick your logo or artwork over to us. Our team is right here to help make sure your file is prepped and ready for beautiful embroidery.
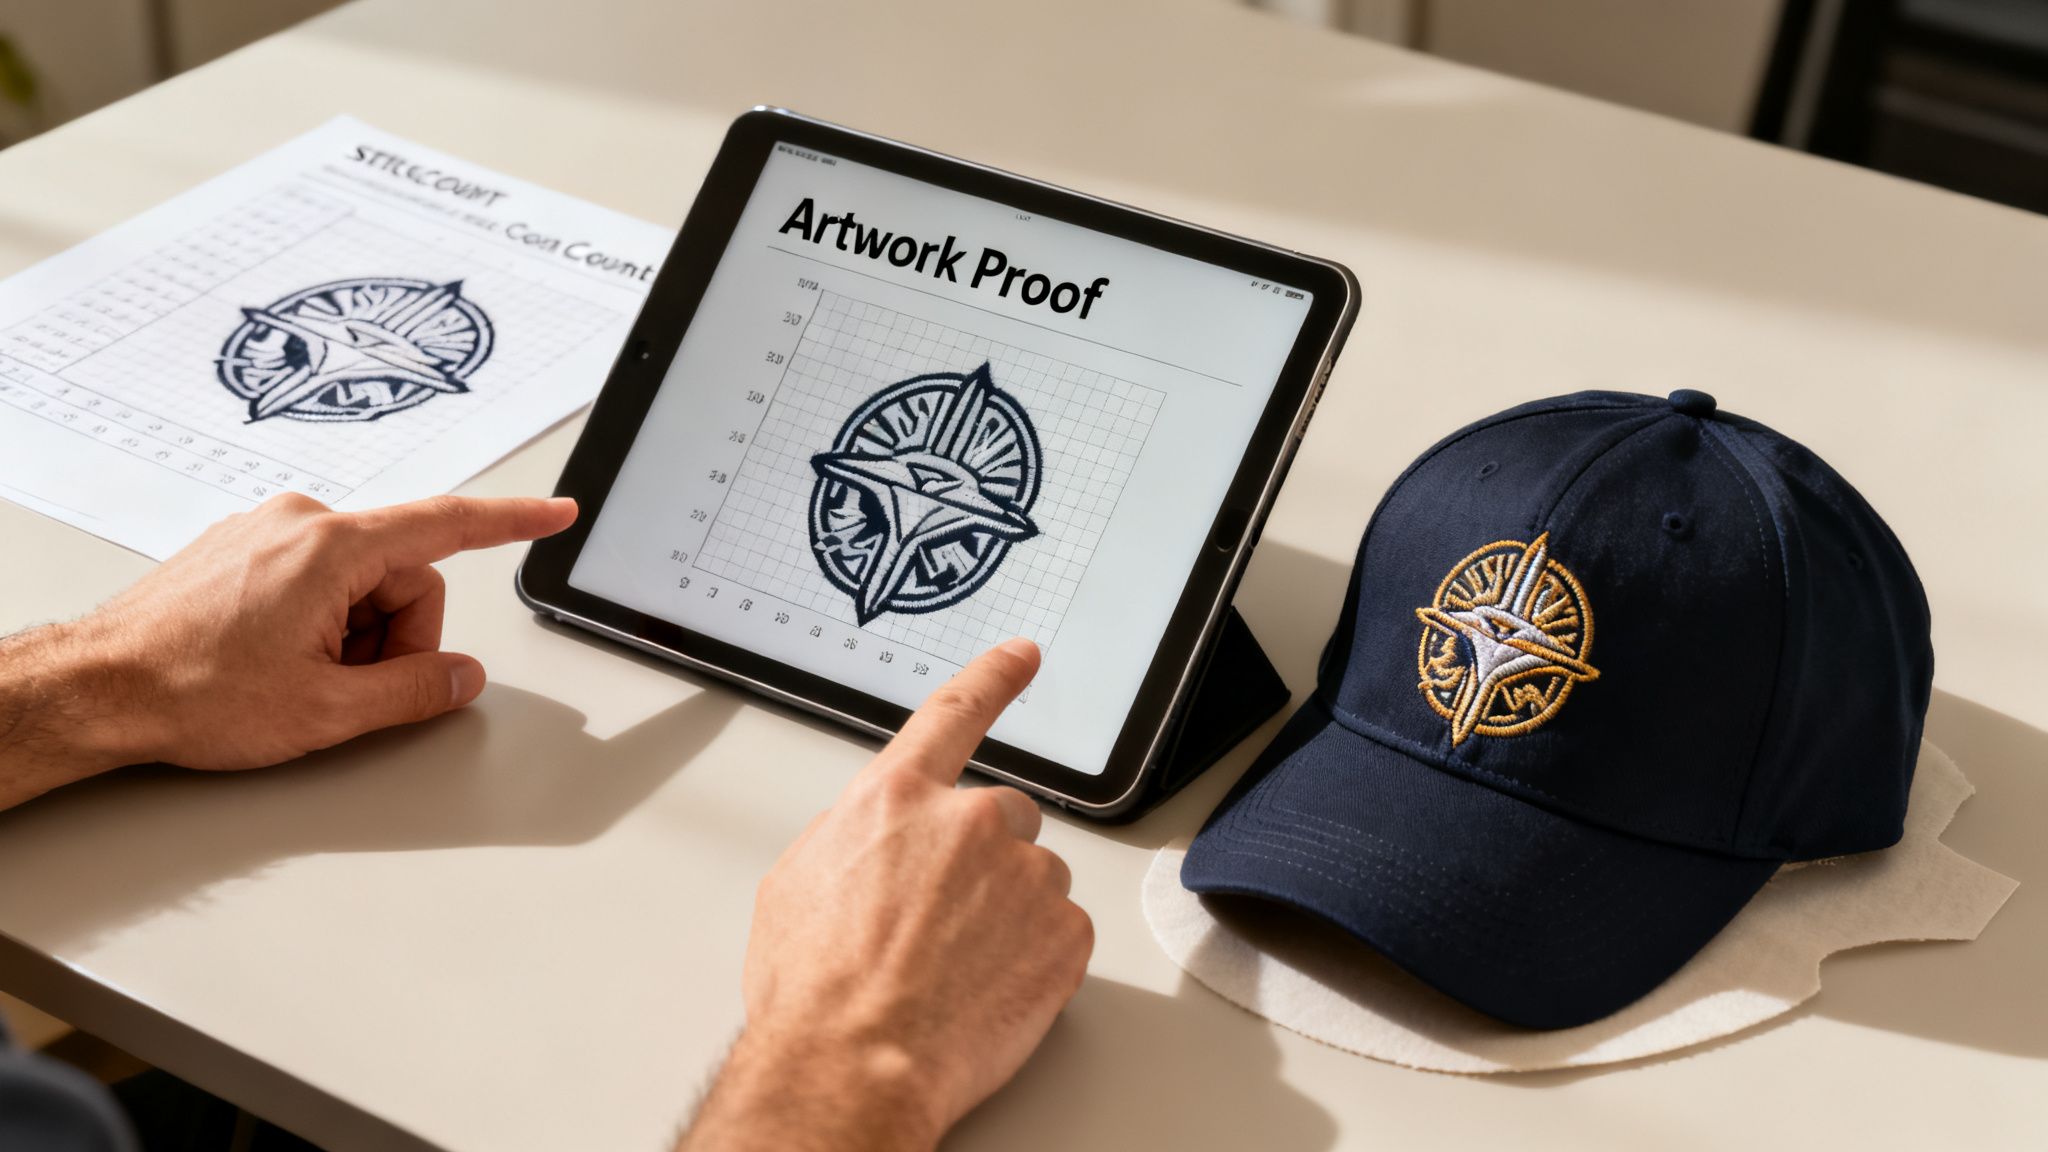
- Get Your Free Artwork Proof: This is the most crucial part. We’ll create and send you a detailed digital mock-up so you can see exactly how your design will look on the cap.
This first stage is all about building a solid foundation. That free artwork proof is your chance to check everything—the size, the colours, the placement—before a single thread is stitched.
Production and Our Promise of Quality
As soon as you give us the thumbs-up on the proof, our local production team swings into action. This is where having everything under one roof really shines. Our digitising experts translate your design into a language the embroidery machines understand, ensuring every stitch is perfect.
Honestly, the most important checkpoint in this whole process is you signing off on that digital proof. It's our handshake agreement, guaranteeing the final product is exactly what you imagined. No surprises, ever.
Because we handle everything in-house, we have full control over the quality and the clock. This lets us turn jobs around faster and promise a level of quality you can count on, every single time. From that first stitch to the final quality check, your project is in safe hands.
Finally, we carefully pack your finished caps and ship them straight to you, anywhere in Australia. We've worked hard to make sure creating a custom cap with embroidery is not just simple, but a genuinely great experience that leaves you with a product you'll be stoked to show off.
Your Questions About Embroidered Caps, Answered
You’ve got the inspiration, and you understand the craft. Now, let's tackle those final practical questions that pop up just before you press 'go'. Think of this as the last piece of the puzzle, designed to give you complete confidence in your choices.
We get these questions all the time, so we've put together some straightforward answers to help you finalise your plans.
What’s the Smallest Order I Can Place?
We’ve worked hard to make sure our custom embroidered caps are accessible for everyone, whether you're a small startup or planning a massive event. For many of our most popular styles, you can get started with an order as small as 25 or 50 caps.
This means you can get top-quality, branded headwear without having to commit to a huge inventory. Every cap has its own specific minimum, so it's always a good idea to check the product page or just ask our team for a quick quote based on what you need.
Can We Embroider My Logo if It Has Gradients?
This is a great question, and it gets to the heart of what makes embroidery special. Because we're working with physical thread, we can't perfectly replicate the smooth colour transitions you see in a digital gradient or a photograph. Embroidery is all about solid, distinct colours.
But that doesn't mean it's a deal-breaker! Our design team are masters at translating complex logos into stunning stitched artwork. They’ll cleverly reinterpret those gradients into layered, solid thread colours, capturing the essence of your design while making it look crisp, bold, and beautiful in thread.
Rest assured, you'll always get a free digital proof showing exactly how we’ve adapted your design. You give it the final thumbs-up before we even think about touching a needle and thread, so there are absolutely no surprises.
How Do I Keep My Embroidered Caps Looking Great?
Our caps are built tough, but a little TLC will go a long way in keeping them looking sharp for years. If you get a little smudge or spill, the best approach is to spot clean it right away with a damp cloth and a dab of mild soap.
When it's time for a proper wash, hand washing in cold water is your best bet. It’s the gentlest method and protects both the shape of the cap and the intricate embroidery.
To make sure your caps stand the test of time, just remember these simple tips:
- Never machine wash them. The tumbling action can wreck the cap's structure and fray the stitching.
- Gently reshape the cap by hand while it's still damp from washing.
- Always let it air dry out of direct sun, which helps prevent any colours from fading.
Following these simple steps will keep your embroidered caps looking as fresh as the day you got them.
Ready to bring your vision to life? Explore the endless possibilities and start designing your perfect custom headwear with Simply Merchandise today. Get a quote and see how easy it is to create a cap that makes a lasting impression. Visit us at https://simplymerchandise.com.au.

