
When it comes to branded gear, a well-made embroidered cap is in a league of its own. It uses stitched thread to bring a design to life on headwear, creating something that feels durable and looks seriously high-end. Unlike a simple print, the textured, vibrant finish of embroidery signals quality and permanence, making it a brilliant choice for businesses, teams, and events across Australia.
Why Embroidered Caps Are a Branding Powerhouse
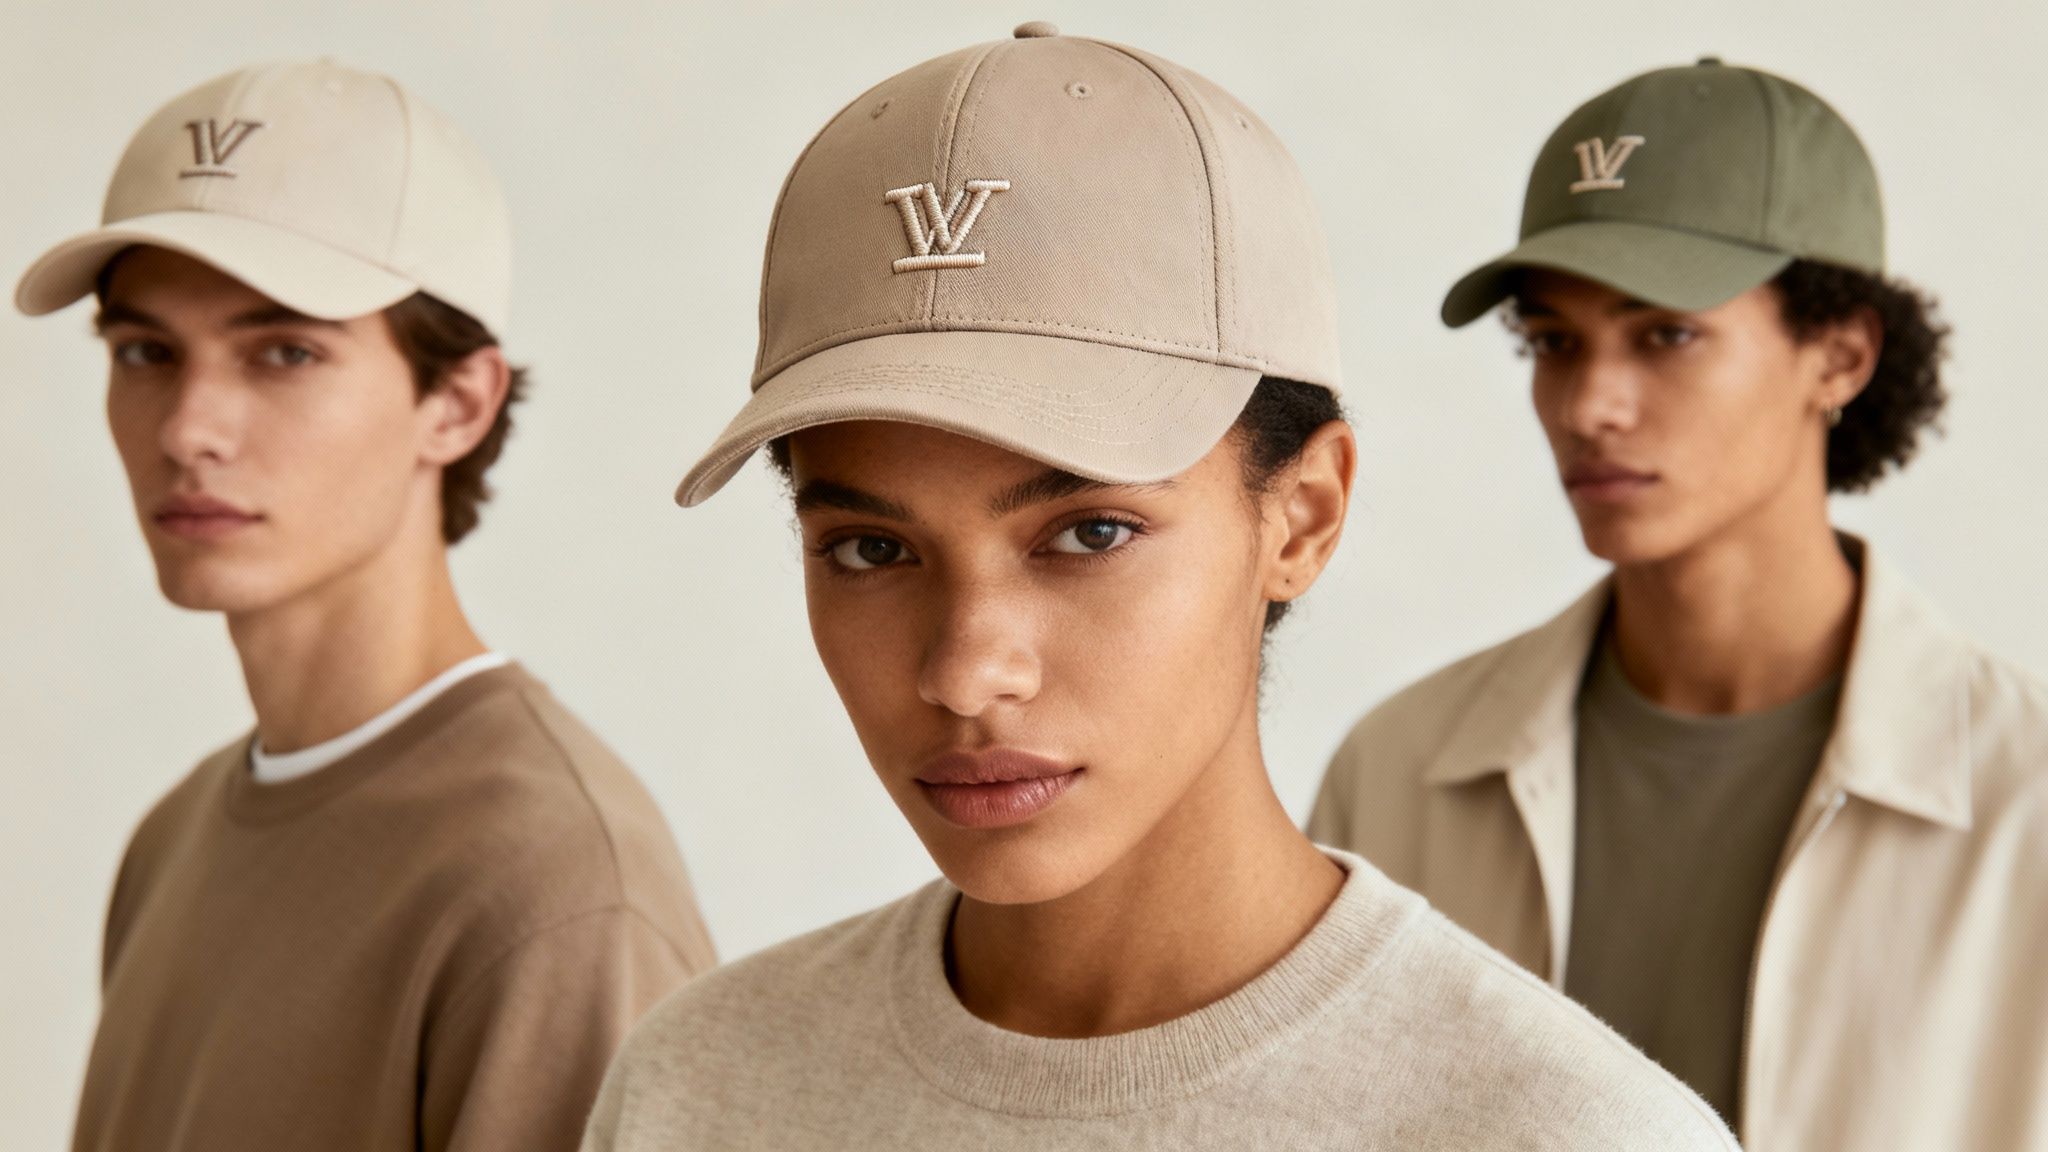
Welcome to your all-in-one guide for creating the perfect custom embroidered cap. First up, let's talk about why this classic piece of merchandise is still one of the most effective branding tools out there. The stitched, tactile nature of embroidery instantly gives a cap a premium feel—a sense of value and staying power that really lifts how people see your brand.
Think of this guide as your roadmap. Whether you're a marketing manager, an event coordinator, or just someone looking to create some standout headwear, we’ve got you covered. We'll walk you through everything from picking the right cap and understanding the different embroidery methods to navigating the ordering process with an expert Aussie supplier. The goal? To make sure your final product leaves a real, lasting impression.
A Lasting Impression in a Crowded Market
In a world filled with fleeting digital ads, something you can actually hold and wear, like a custom cap, creates a genuine connection. Every time someone puts on your branded cap, they become a walking ambassador for your brand, generating natural exposure wherever they go. It's subtle, but incredibly effective.
A great embroidered cap doesn't scream "advertisement." It feels like a quality piece of apparel someone genuinely wants to wear. That simple shift is key to building real brand loyalty with your audience.
Here in Australia's buzzing promotional scene, embroidered caps are a staple for any business wanting to make some noise. In fact, market analysis shows the Australian embroidery market is set to grow at a steady 5.6% CAGR through 2031, with custom headwear being a major driving force behind that demand.
To see how high-quality merchandise fits into a bigger strategy, it's worth learning more about brand activation in marketing, where physical products help create memorable experiences. And if you want to get your creative juices flowing, exploring the huge range of available promotional products can spark some fresh ideas for your next campaign.
Choosing the Right Cap for Your Embroidery Project
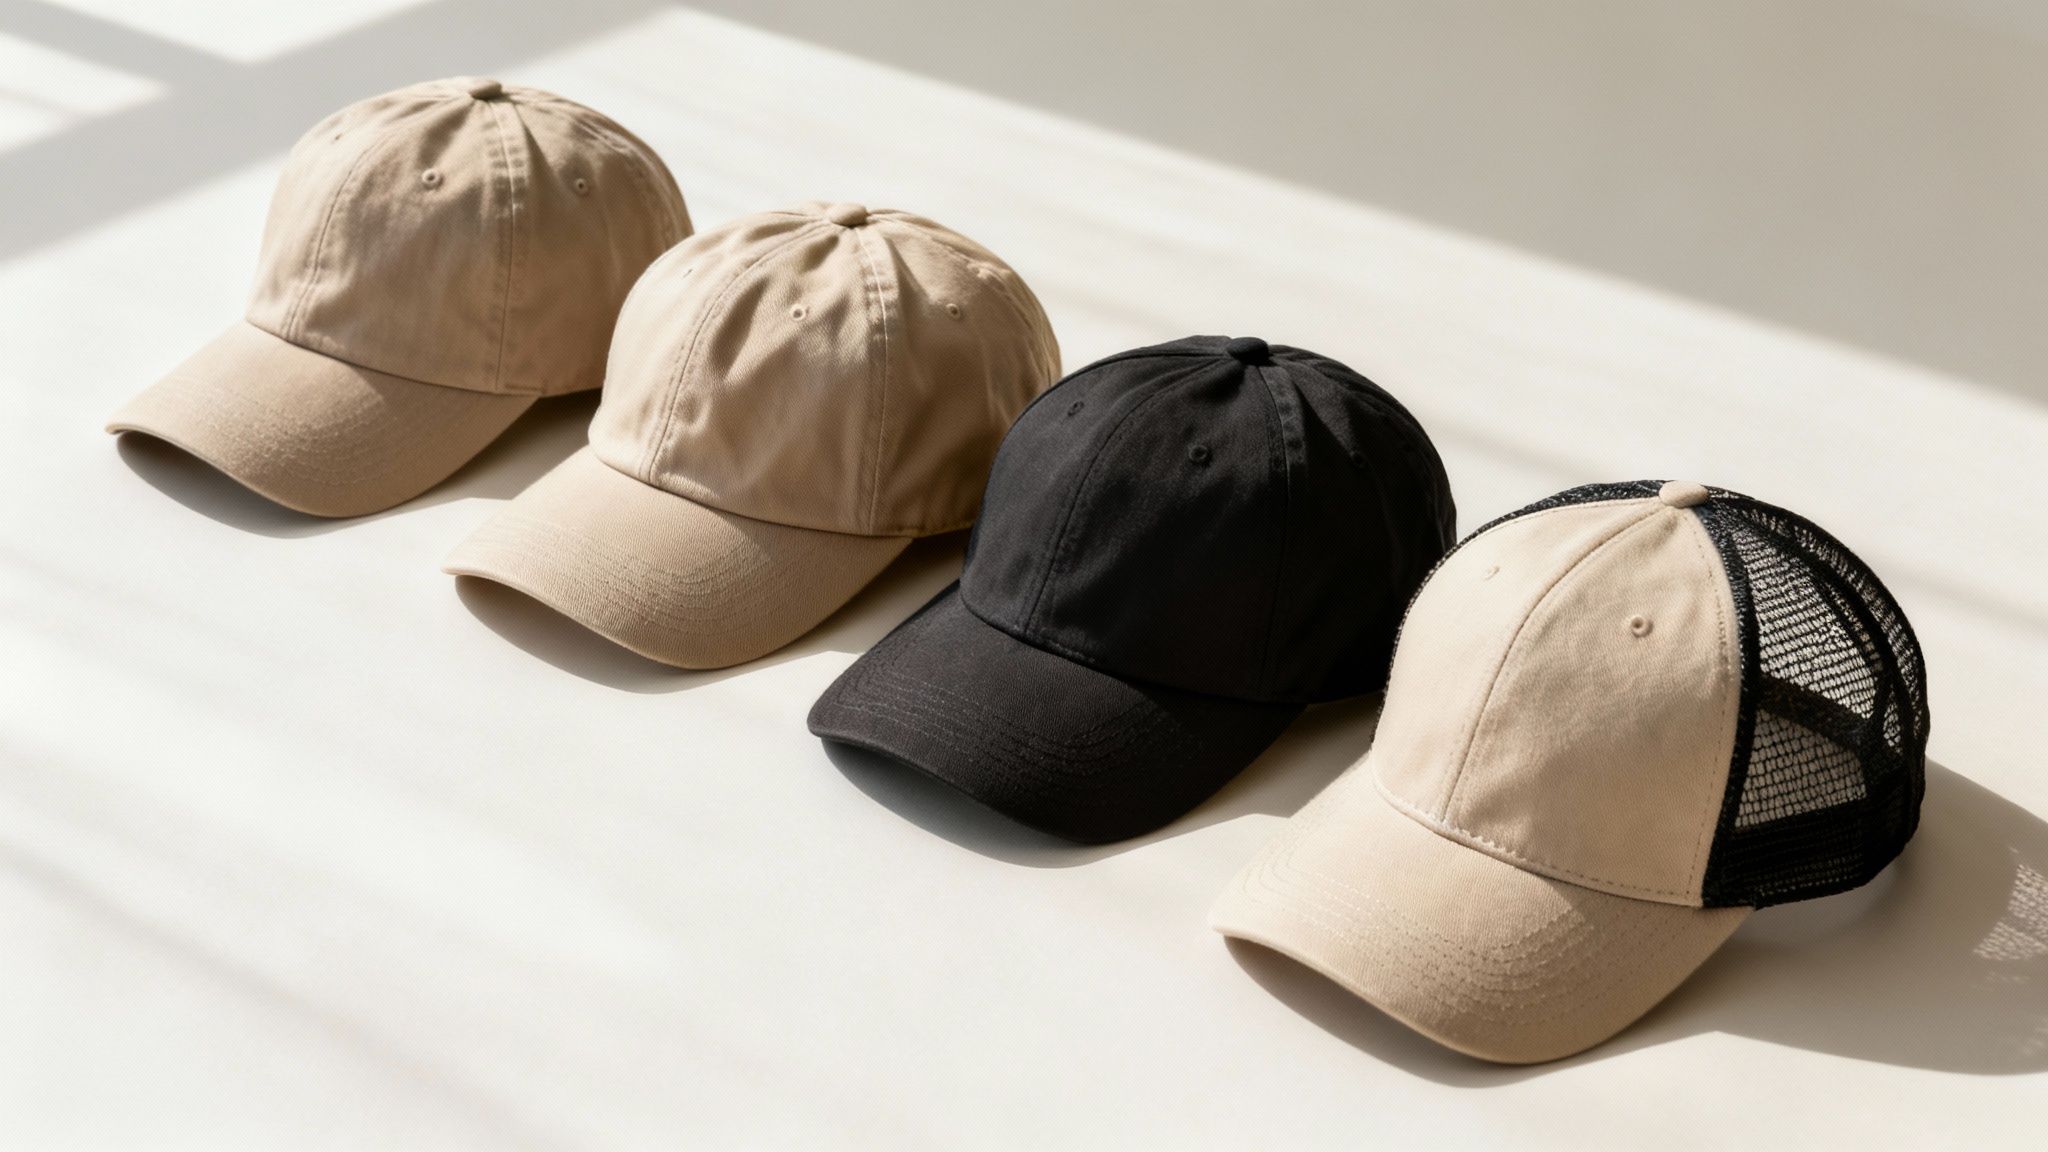
The foundation of any great embroidered cap is, you guessed it, the cap itself. Think of it like a painter choosing a canvas—the material, shape, and overall build of the headwear will directly impact how your final design looks and feels. Picking the right style isn't just about aesthetics; it's about matching the cap to your brand's personality, your audience, and how it will be used.
For example, a sleek tech company might lean towards a sharp, flat-brim snapback to reflect its modern edge. A laid-back local café, on the other hand, might find a relaxed 'dad' hat a much better fit for its friendly vibe. This first decision sets the stage for everything that follows, ensuring your cap with embroidery doesn't just display a logo but truly represents your brand.
Understanding Cap Construction
Before we get into specific styles, let’s quickly cover two key terms you’ll hear a lot: structured and unstructured.
A structured cap has a stiff lining (called buckram) behind the front two panels. This helps it hold that classic, crisp cap shape even when it’s sitting on a shelf. This rigid surface is a dream for embroidery, creating a firm, flat canvas that’s perfect for detailed, sharp-looking logos.
An unstructured cap is the opposite—it’s more relaxed and floppy, moulding to the wearer's head for a casual fit. While they’re incredibly comfortable, the softer fabric needs a bit more care during the embroidery process to make sure the material doesn't bunch up or pucker. Both styles are great, but the construction definitely influences the final look.
The Most Popular Cap Styles Explained
Each style of cap brings its own personality to the table. Let’s break down the most common options you'll come across.
-
The Structured Baseball Cap: This is your quintessential all-rounder. With its supportive front panels, it offers a perfect, stable canvas for embroidery. It’s a go-to for corporate logos, sports teams, and promotional events for a reason—its classic look has universal appeal.
-
The Relaxed 'Dad' Hat: Think of an unstructured, soft cotton twill cap with a slightly curved brim. Its casual, comfortable feel is perfect for lifestyle brands, university merch, and cafes aiming for that friendly, approachable aesthetic. Just remember, the softer front means designs are best kept relatively simple to avoid any distortion.
-
The Flat-Brim Snapback: With its wide, flat brim and structured high profile, the snapback makes a bold, modern statement. It’s a favourite in streetwear, music, and youth-focused brands. That large, flat front area is brilliant for accommodating bigger and more complex embroidered designs.
-
The Trucker Cap: Easily identified by its foam front and breathable mesh back, the trucker cap is both practical and stylish. The foam front is excellent for embroidery, especially vibrant 3D puff designs. Meanwhile, the mesh back offers fantastic ventilation, making it ideal for outdoor events, festivals, and brands with a rugged, adventurous identity.
To help you decide, here’s a quick comparison of how these popular styles stack up for embroidery projects.
Cap Style and Embroidery Suitability Comparison
| Cap Style | Best For | Material Focus | Embroidery Tip |
|---|---|---|---|
| Baseball Cap | Corporate branding, sports teams, general promos | Cotton Twill, Polyester Blends | The structured front is ideal for intricate logos and crisp text. |
| 'Dad' Hat | Cafes, lifestyle brands, university merch | Washed Cotton, Canvas | Keep designs simple and bold to avoid puckering on the soft fabric. |
| Snapback | Streetwear, music industry, youth brands | Wool, Acrylic, Cotton | The large, flat surface allows for bigger, more detailed designs. |
| Trucker Cap | Outdoor events, festivals, trade brands | Foam Front, Mesh Back | Perfect for 3D puff embroidery that really stands out on the foam. |
Ultimately, the best choice aligns your brand's image with a cap style that your audience will actually want to wear.
How Fabric Choice Impacts Your Embroidery
The material of your cap is just as crucial as its style. The fabric's weave, thickness, and stretch all play a part in how the embroidery needle and thread interact with it, which in turn affects the final quality of your custom design.
The rule of thumb is simple: smoother, tighter-weaved fabrics produce crisper embroidery. Materials like heavy cotton twill or polyester blends provide a stable base that allows for fine details and sharp text.
For instance, a classic 100% cotton twill is tough as nails and holds stitches beautifully, making it a reliable choice for most logos. On the flip side, polyester blends and performance fabrics are great for sports teams because they wick away moisture, but their synthetic nature means we need to use specific needles and backing to get a clean result.
If you're looking for inspiration, exploring a broad range of custom headwear can help you see how different materials and styles come together in the real world. By carefully considering both the cap's structure and its fabric, you’re creating the best possible foundation for a stunning, durable embroidered design that people will love to wear.
Getting to Grips with Different Embroidery Techniques
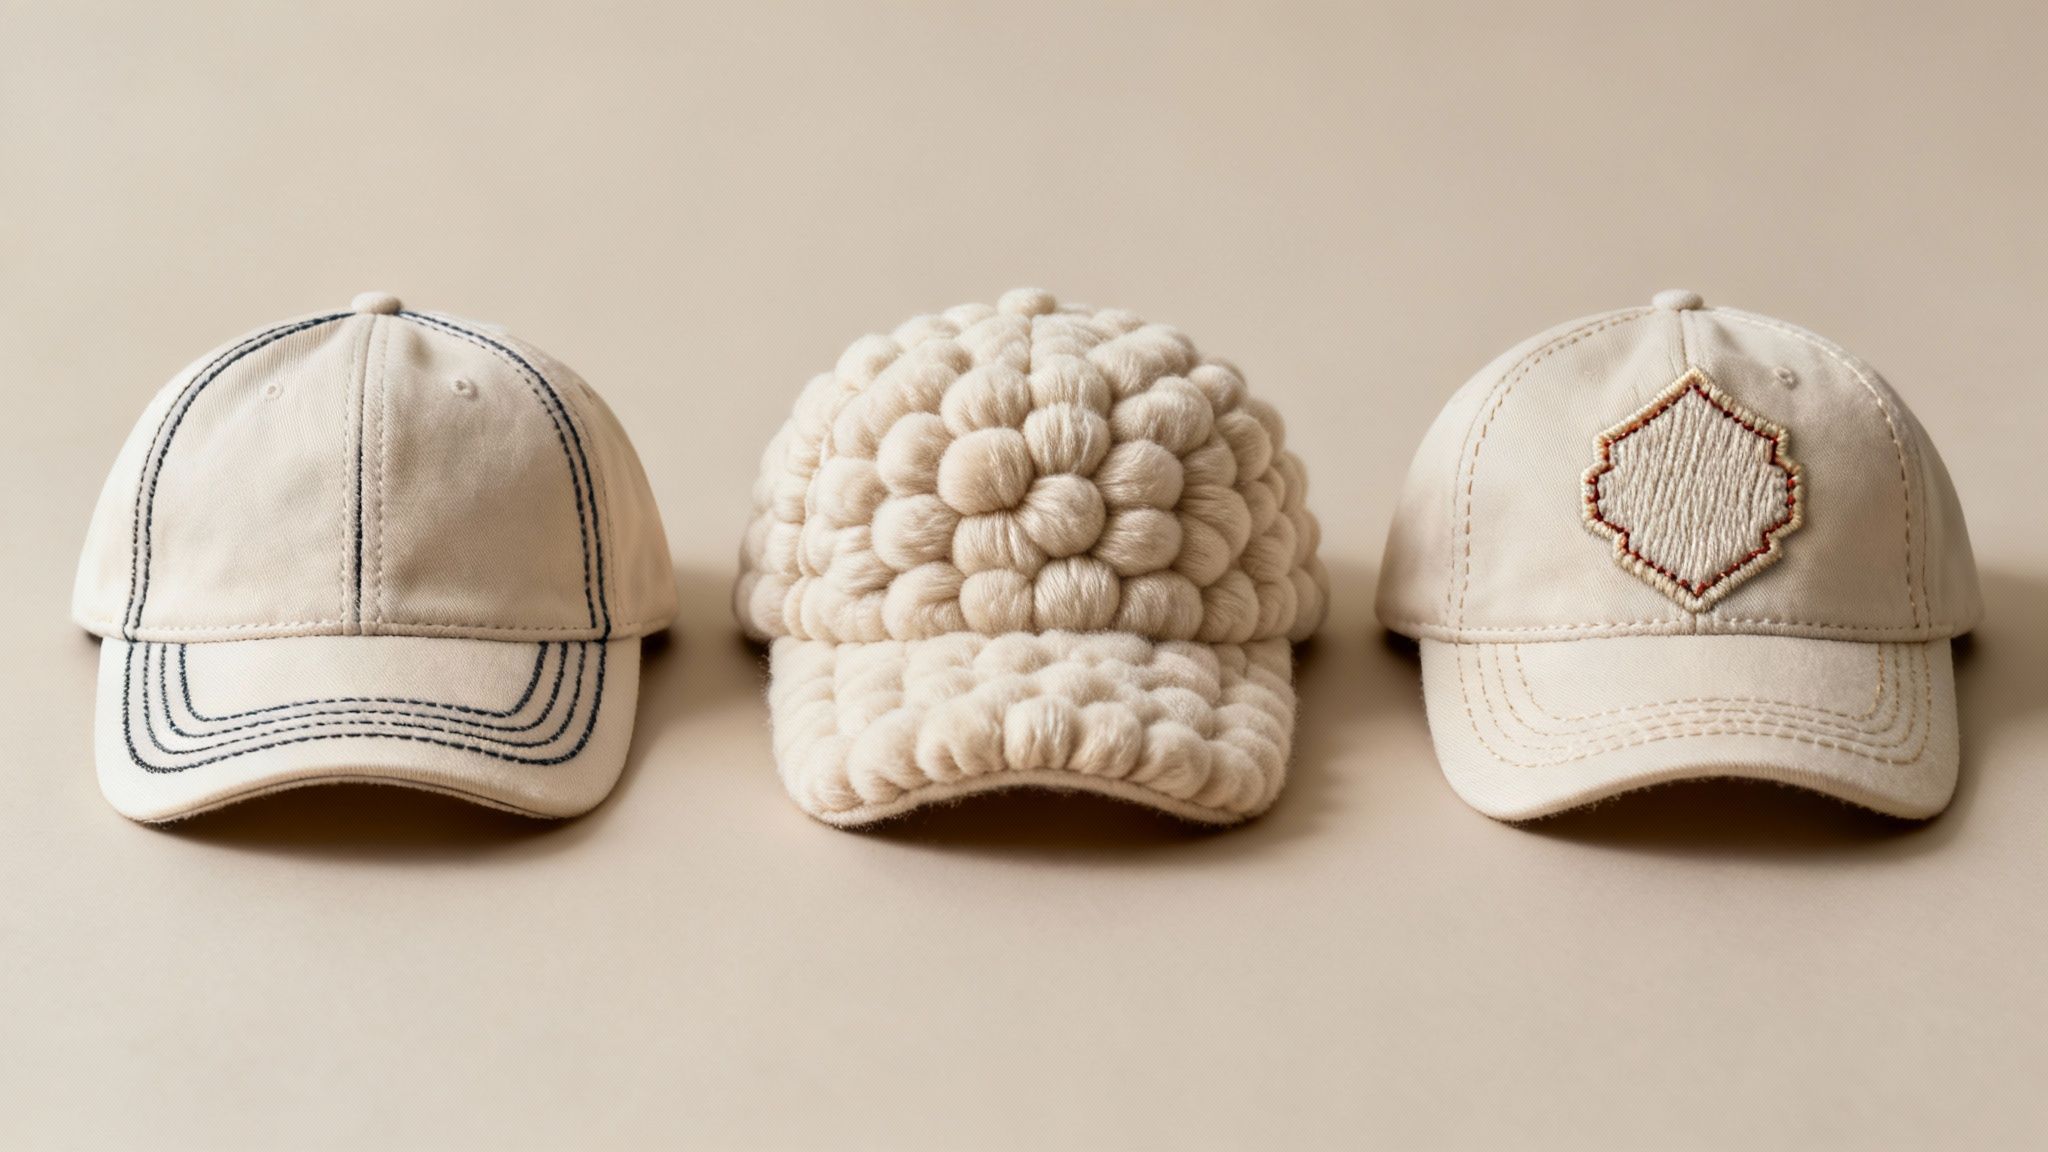
Alright, so you’ve picked the perfect cap. The next big decision is figuring out how to bring your design to life with thread. It's a common misconception that all embroidery is the same, but the technique you choose has a massive impact on the final look and feel of your headwear.
Think of it like choosing a font for your brand. A clean, classic font communicates professionalism, while a bold, modern one makes a strong statement. In the same way, the embroidery method you go with will define the personality of your finished cap with embroidery. Getting to know your options is the key to matching the result with your vision.
The technology behind this craft has come a long way. Australia's embroidery sector is a major player in the wider Asia Pacific market, with seriously advanced machines that can stitch at speeds of up to 1,200 stitches per minute. This efficiency allows for brilliant quality on items like caps, as highlighted in the Asia Pacific Industrial Embroidery Machine Market Report.
Standard Flat Embroidery
This is the one you probably picture when you think of embroidery. Standard flat embroidery is the industry workhorse for a reason—it’s clean, professional, and incredibly versatile. The machine stitches your design directly onto the cap’s fabric, creating a flat, two-dimensional finish.
It's the go-to for almost any kind of logo, from detailed text to intricate brand marks. The real strength of this method is its precision. It handles sharp lines and solid blocks of colour beautifully, making it a rock-solid choice for corporate branding, team uniforms, and promotional gear. If you’re after a timeless look that reproduces your logo faithfully, flat embroidery is almost always the right call. You can dive deeper into the basics in our guide on what embroidery is.
3D Puff Embroidery
Want your logo to literally jump off the cap? Then you want 3D puff embroidery. This technique adds a whole new dimension—quite literally. We place a small piece of foam on the cap, and the machine stitches over it with a very high stitch count. This process cuts and covers the foam, creating a fantastic raised, three-dimensional effect.
Think of it as sculpting with thread. Instead of a flat image, 3D puff gives your logo a tangible, tactile quality that immediately draws the eye and adds a premium feel to the cap.
This style works best for bold, simpler designs like single letters, icons, or blocky logos. It’s a huge hit with streetwear brands, sports teams, and anyone looking to make a high-impact statement. A word of caution, though: it’s not the best choice for designs with fine details or tiny text, as the puff effect can swallow them up.
Embroidered Patches
A third fantastic option is the classic embroidered patch. Here, your design is embroidered onto a separate piece of fabric—the patch—which is then applied to the cap, usually with a powerful heat press or by being sewn on.
Patches give off a distinct, often retro-inspired vibe and add another layer of texture and style. They're also incredibly versatile, allowing for a huge amount of detail within the patch itself, which then gets applied cleanly to the cap. There are a couple of main types:
-
Woven Patches: Made with thinner threads and a tighter weave, these are perfect for capturing super-fine details and small text that direct embroidery might struggle with.
-
Embroidered Patches: These use thicker threads for that classic, textured embroidered feel you know and love.
Going with a patch gives your cap a unique, customised look that can really set it apart. It’s a great fit for brands with a vintage or outdoorsy feel, and works brilliantly for commemorative items and club merchandise. Each technique brings its own personality to the table, ensuring your final product is a perfect reflection of your brand.
Getting Your Design Ready for Flawless Embroidery
A brilliant design on your computer screen doesn't always translate perfectly into thread. The world of embroidery plays by a different set of rules, dictated by the very real, physical nature of needles, thread, and fabric. Getting your artwork right from the start is the single most important thing you can do to make sure your final cap with embroidery looks crisp, professional, and true to your vision.
Think of it like translating a sentence into another language. A direct, word-for-word translation can often garble the original meaning. It's the same story when you try to directly convert a complex digital logo into thread—you can end up with a messy, unreadable design. The trick is adaptation. You need to simplify and fine-tune your artwork for the unique canvas of a cap.
Consider this section your pre-flight checklist. We’ll walk through the practical rules and technical limits you need to know, so you can adapt your artwork and make every single stitch count.
The Golden Rule: Simplify, Simplify, Simplify
The most common hurdle we see is a design that’s just too complex. Tiny text, intricate little details, and subtle colour gradients might look incredible on a business card, but they become a real headache when you try to recreate them with thread.
Embroidery machines physically punch thread through fabric with a needle, and that process has its limits. Extremely fine lines can vanish into the fabric, and small text can easily turn into an unreadable jumble of stitches. The solution, almost every time, is to simplify. Zero in on the core elements of your logo—the bold shapes and clear lines that make your brand what it is.
Your goal isn't to replicate a digital file pixel for pixel. It’s to capture the essence of your brand in a way that looks fantastic in thread. A simplified design will always look cleaner and more professional on a cap.
For instance, if your logo features a detailed illustration with lots of thin, wispy lines, think about using a bolder, more iconic version for your caps. This ensures the final product is strong and instantly recognisable, even from a few steps away.
Mastering the Technical Details
Once you’ve embraced the idea of simplification, it’s time to get into the nitty-gritty. Paying attention to these technical details during the design phase will save you a world of time and prevent disappointment when you see the final product.
Here are the key technical limits to keep in mind:
- Minimum Text Size: Letters need to be big enough for the needle to form them clearly. As a general rule of thumb, make sure any text is at least 6mm high. Anything smaller is a real gamble and risks becoming illegible as the stitches bunch together.
- Line Thickness: Just like text, lines need a bit of substance. For a clean, solid line that really shows up, you should aim for a width of at least 1.5mm. Delicate, thin lines often get lost in the texture of the fabric or look broken in the final stitch-out.
- Colour Gradients Just Don't Work: Embroidery uses solid-coloured spools of thread. It simply can’t replicate the smooth, seamless transition of a colour gradient (like a sunset fading from orange to purple). Instead, you’ll need to convert any gradients into solid blocks of colour, a technique called colour stepping.
- Limit Your Colour Palette: While modern machines can handle a surprising number of colours, using too many can make a design look chaotic and will drive up production costs. Most cap designs look their absolute best with a tight, focused palette of 2-6 distinct colours that match your brand guidelines.
Understanding these limitations is half the battle. If you need a little more help getting your files ready, our comprehensive guide on artwork submission tips for beginners offers more detailed advice to walk you through it.
Choosing the Best Spot on Your Cap
Where you put your logo is just as important as the design itself. The location determines how visible it is and has a huge impact on the overall style of the cap. Each spot has its own dimensions and things to think about.
Front and Centre: The Prime Real Estate
The front of the cap is, without a doubt, the most popular and impactful place for a logo. It offers the largest and flattest surface, making it the perfect home for your primary design.
- Maximum Visibility: This spot is always facing forward, guaranteeing your brand gets noticed.
- Ideal for Main Logos: The generous space allows for bigger and slightly more detailed designs to really shine.
- Size Constraints: You’re usually limited to a maximum height of around 6cm, dictated by the structure of the cap’s crown.
The Sides: For a Touch of Class
Placing a smaller logo, your website URL, or an icon on the side of the cap adds a subtle, professional touch. Think of it as a great secondary branding location.
- Understated Look: It’s perfect for adding extra info without making the front of the cap feel cluttered.
- Common Use Cases: We often see this spot used for a secondary icon, a website, or a short slogan.
- Smaller Area: Keep in mind the embroidery area here is much smaller, so designs need to be very simple and clean.
The Back: Making an Exit
The back of the cap, typically right above the closure strap, is another fantastic spot for branding. It’s perfect for a call to action, a hashtag, or a simple wordmark.
- Creative Space: This area is often arched, which you can use to your advantage to create a unique design that follows the curve of the cap opening.
- Best for Text: It’s especially well-suited for a single line of text, like a company name or an event date.
- Closure Type Matters: The type of closure you choose (snapback, buckle, or velcro) will affect the amount of space you have to work with, so be sure to factor that in.
By thoughtfully preparing your design and picking the right placement, you’re setting your project up for success. This groundwork ensures your final embroidered cap is a high-quality, professional piece of merchandise that represents your brand exactly how you want it to.
Getting Your Order Sorted: From Quote to Delivery
Ordering custom merch for the first time can feel a bit daunting, but it doesn't have to be. Think of it as a clear, step-by-step journey that takes your idea from a simple concept to a box of finished, embroidered caps arriving at your door. Knowing what’s involved beforehand helps you make smart decisions and plan your project without any last-minute surprises.
Let's walk through the entire process, from getting that initial quote to the moment you unpack the final product. We'll break down the key stages—pricing, samples, production, and delivery—so you know exactly what to expect when ordering in Australia.
What Goes Into Pricing and Minimums?
When you first ask for a quote, you'll come across the term Minimum Order Quantity (MOQ). This is simply the smallest number of caps a supplier will produce in one go, usually somewhere between 25 to 50 units. Why? Because every job has setup costs—like digitising your logo for the embroidery machines—and these costs get spread out across the entire order.
The final price you pay per cap really boils down to two main things: the stitch count and how many you order.
- Stitch Count: This is the embroidery equivalent of ink in printing. The bigger and more detailed your design, the more stitches it needs. More stitches mean more thread and more machine time, which nudges the price up.
- Order Volume: This one's simple—the more caps you order, the cheaper each one becomes. Buying in bulk is easily the best way to get a better price per unit.
This little diagram shows how a bit of prep work on your design can help manage that stitch count and keep your quote wallet-friendly.
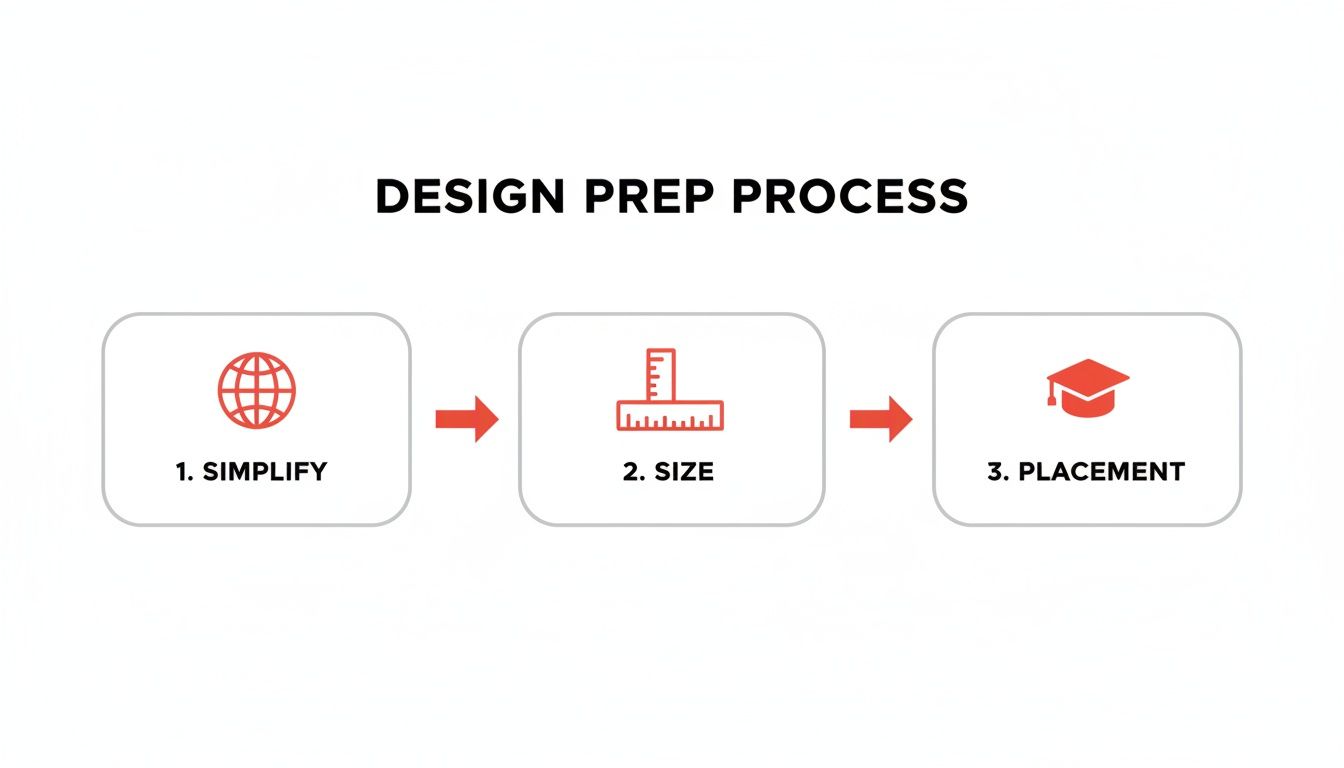 By tweaking the size, simplifying complex bits, and thinking about placement before you even ask for a price, you can keep things affordable.
Why You Should Never Skip the Pre-Production Sample
Okay, so you've given the thumbs-up to the digital mock-up and the quote. The next step is absolutely vital: the pre-production sample. This is a real, physical cap, embroidered with your design, just as it will be in the final run. It’s your one and only chance to see it, feel it, and make sure it’s perfect before committing to the full order.
Whatever you do, don't skip the sample. This is your final quality control checkpoint. It's where you confirm the thread colours are right, the logo is sitting exactly where you want it, and the overall quality is up to scratch. Finding a problem now is an easy fix; finding it after 500 caps have been made is a nightmare.
Once you approve this sample, you're giving the green light for the main production run. It’s the handshake that ensures what you saw is exactly what you’ll get. If you're keen to get started, you can easily get a quote for your custom embroidered caps and let our expert team guide you.
Production and Delivery Timelines in Australia
With the sample approved, your order officially joins the production queue. As a rule of thumb, a standard turnaround time for most custom cap orders in Australia is around 10-15 business days, plus shipping. Of course, this can vary a little depending on how complex your design is or how big your order is.
Branded caps have a seriously impressive impact. Industry stats show they generate 85% unaided recall after a year, and 89% of people who receive them feel more positive about the brand. Many Aussie suppliers even offer express services for those tight deadlines, so getting hundreds of caps to a trade show in Melbourne or a conference in Sydney in just a few days is entirely possible.
The last piece of the puzzle is delivery. To get those high-quality caps into the hands of your staff or customers without a hitch, it helps to understand the logistics of getting them there. This handy guide to apparel fulfillment services is a great resource for streamlining that final step. Always double-check shipping times with your supplier to make sure your caps land exactly when you need them.
Keeping Your Embroidered Caps Looking Great
Your custom embroidered cap is more than just headwear; it’s a walking billboard for your brand. To keep it looking sharp and professional for as long as possible, a little bit of care goes a very long way.
Think of it this way: you wouldn't toss a quality work uniform in a hot wash and hope for the best. The same principle applies here. A few simple habits will protect the cap's shape, keep the thread colours vibrant, and ensure your design stays crisp and clear.
The number one rule? Keep it out of the washing machine. Seriously. The combination of intense spinning, hot water, and harsh detergents is a death sentence for a good cap. It will warp the panels, shrink the fabric, and cause the embroidery threads to fray and snag, completely undoing the professional look you paid for.
The Right Way to Clean Your Cap
So, what's the alternative? Gentle spot cleaning. This approach is perfect for tackling dirt and sweat stains without damaging the cap's structure or the embroidery itself. It’s quick, easy, and incredibly effective.
Here’s how to do it right:
- Mix a mild cleaning solution. Just a small amount of laundry detergent (make sure it’s bleach-free) in some cool water is all you need.
- Gently scrub the stains. Dip a soft-bristled brush, like an old toothbrush, into your solution and lightly scrub any dirty spots. The inside sweatband is usually the main culprit.
- Rinse with a damp cloth. Use a clean, wet cloth to wipe away the soap and lift out the dirt. Make sure you get all the residue off, as leftover soap can attract more grime.
The key is to treat the stain, not soak the entire cap. This helps preserve the stiff buckram in the front panels—that's the material that gives a structured cap its classic shape and provides the perfect canvas for your logo.
Drying for Lasting Shape
How you dry your cap is just as crucial as how you wash it. Never, ever put it in a tumble dryer. The high heat is guaranteed to shrink the fabric and can permanently misshape the crown and brim, leaving you with a distorted, unwearable cap.
The best method by far is to simply air dry it. Once it's clean, gently reshape the cap with your hands. To help it hold that perfect shape while it dries, find something to rest it on. A large coffee jar, a balled-up towel, or even a mannequin head works perfectly.
Let it dry completely in a spot with good air circulation, but keep it out of direct sunlight, as that can fade the colours of both the fabric and the embroidery over time. Stick to these steps, and you'll get years of life out of your branded headwear.
Common Questions About Ordering Embroidered Caps
Getting ready to place an order for custom caps can bring up a few questions. To make things easy, we’ve put together answers to the queries we hear most often from our customers. Think of this as your cheat sheet to getting the perfect embroidered cap without any guesswork.
Knowing the ins and outs of minimums, design limitations, and turnaround times from the get-go will make the entire process a breeze. Let’s dive into the details so you can order with total confidence.
What Is the Minimum Number of Embroidered Caps I Can Order?
For most custom embroidered caps, you’ll find the minimum order quantity (often called the MOQ) sits around 25 to 50 caps. Why the minimum? Every new design requires a fair bit of setup work, from digitising your logo into a stitch-ready file to calibrating the high-tech embroidery machines.
It’s always more economical to order in larger batches. Those initial setup costs get spread across more caps, bringing the price per unit down quite a bit. A good supplier will work with you to find that sweet spot where the quantity meets your needs and your budget, making quality branded headwear a real possibility even for smaller teams or events.
Can Any Logo Be Embroidered on a Cap?
Just about any logo can be embroidered, but some designs translate into thread better than others. Artwork with lots of super-fine detail, tiny text, or smooth colour gradients can be tricky. These elements often need to be simplified a little to look sharp and clean when stitched.
Remember, embroidery is a physical craft using thread and needle. What looks perfect on a screen can sometimes lose its clarity when sewn. Our artwork experts are brilliant at tweaking your design for the best possible result, ensuring it represents your brand beautifully. They’ll walk you through any suggested changes before a single stitch is made, so you’ll know exactly what to expect.
The goal isn't to perfectly replicate a digital file but to capture your brand's essence in a way that looks clean and impactful in thread. A slightly simplified logo often produces a much more professional embroidered cap.
How Long Does It Take to Receive My Custom Embroidered Caps?
Here in Australia, the standard turnaround time for custom embroidered caps is usually 10-15 business days from when you sign off on the final artwork proof. This window covers both the production time and shipping to your door.
Of course, this can shift depending on how complex your design is or how large your order is. If you're in a bind for a trade show or a last-minute event, many suppliers offer express options to speed things up. The best advice is to mention your deadline right when you ask for a quote so everyone is on the same page.
What Is the Cost Difference Between Standard and 3D Puff Embroidery?
You can expect 3D puff embroidery to be more expensive than standard flat embroidery, and for good reason. It’s a more involved process that uses extra materials—namely, a special foam underlay that gives the design its raised, "puffy" look. It also requires a much higher stitch count to create that sculpted, three-dimensional effect.
The price bump is usually calculated per cap and depends on how much of your design uses the 3D effect. While it costs a bit more, the tactile, high-impact finish of 3D puff is a fantastic way to make your logo literally stand out from the crowd.
Ready to create a cap with embroidery that makes your brand unforgettable? The expert team at Simply Merchandise is here to help you through every step, from design to delivery.