

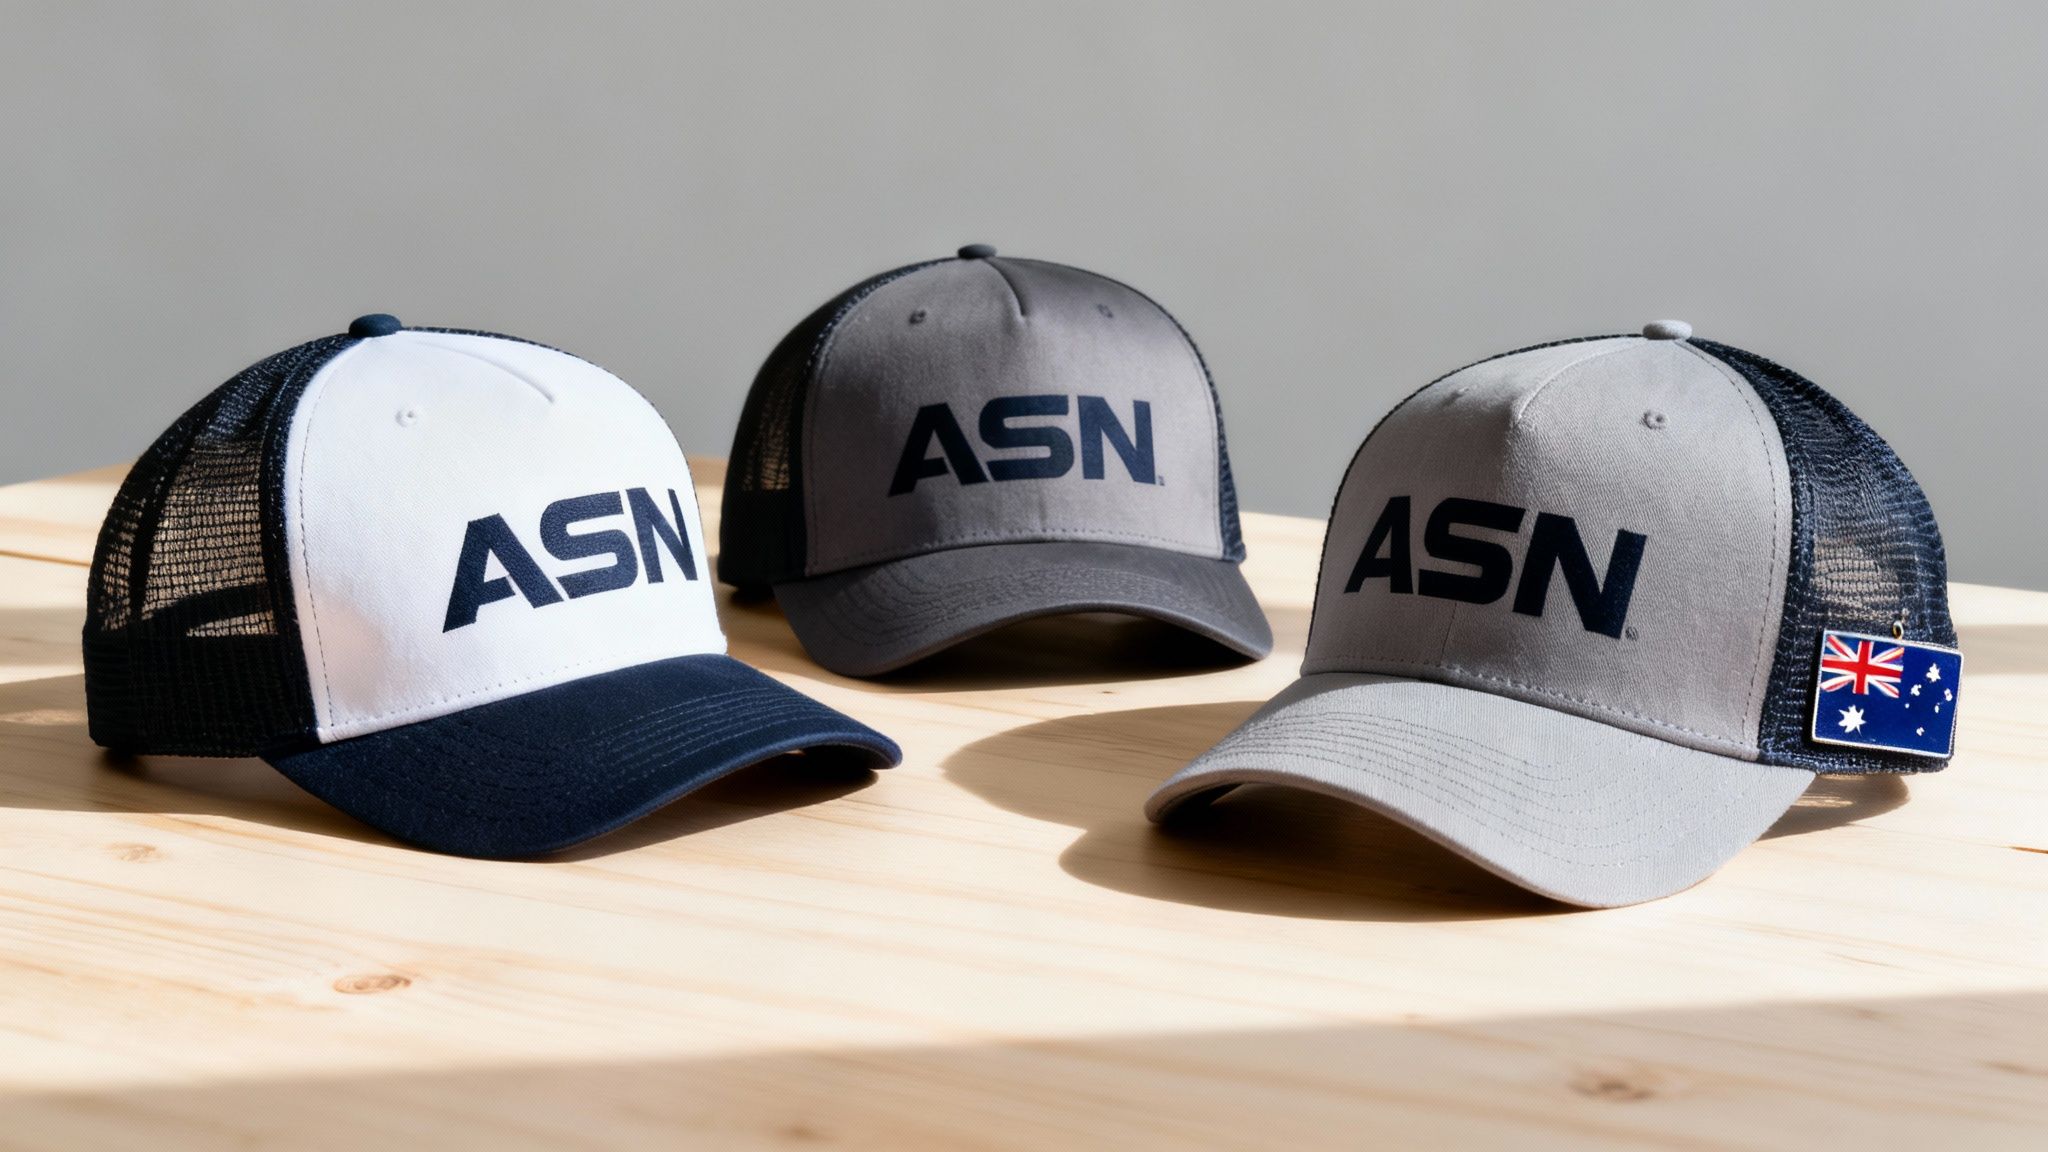
Getting your logo onto a cap is one of the smartest moves you can make for your brand. You've got a whole menu of options, from classic screen printing that’s perfect for large-scale events, right through to eye-popping, full-colour digital prints for those really intricate designs. Whether it's for a corporate golf day, your team's new uniform, or a fresh line of merch, a custom cap is basically a walking billboard.
Why Custom Caps Are a Branding Powerhouse
Think about it. When you’re looking for promotional products, what else gives you that perfect mix of everyday use and high-impact visibility like a great cap? People wear them everywhere—footy games, trade shows, weekend barbecues—putting your brand front and centre, right in their line of sight. That kind of repeated, natural exposure is gold for building brand recognition without being pushy.
To really get the most out of them, it helps to understand what constitutes promotional merchandise and where it fits into your overall marketing plan. At their core, these items are about turning your own customers and staff into genuine brand ambassadors.
Seizing a Growing Opportunity
The appetite for personalised gear is absolutely booming. In fact, Australia's commercial printing market was valued at a massive USD 8.9 billion in 2024 and is expected to hit USD 12.7 billion by 2033. This isn't just a random statistic; it shows a huge shift towards businesses needing tangible, custom branding to cut through the noise.
When you invest in a quality run of printed caps, you’re not just buying another piece of merchandise. You’re creating a durable marketing asset that keeps generating impressions long after you've handed it out.
Making an Impression That Lasts
A social media ad is seen for a second and then it's gone. A well-made custom cap? That could become someone's favourite for years, becoming a part of their daily get-up and reinforcing your brand every time they wear it.
This makes them an incredibly versatile tool for all sorts of goals:
- Corporate Branding: Give your team a sharp, unified look with professional headwear.
- Event Giveaways: Hand out something genuinely useful that people will keep and wear, not just toss in a drawer.
- Merchandise Sales: Create a new revenue stream with a high-quality, desirable product that people are happy to pay for.
This guide will walk you through the entire process, from picking the right cap style and material to getting your artwork spot-on. We're here to make sure the final product you hold in your hands is something you're truly proud of. For a broader look at this topic, dive into our insights on leveraging branded merchandise for business.
Finding the Right Cap Style and Material
Before you even start thinking about logos and colours, the first—and most important—decision is the cap itself. The style and material you choose are the foundation for your entire project. This choice sets the tone, defines the quality, and ultimately dictates how your brand comes across.
Think of it this way: a relaxed, unstructured "dad cap" in washed cotton gives off a friendly, laid-back vibe. It’s perfect for a local cafe or a community event. On the other hand, a structured snapback with a flat brim in a quality wool blend feels sharp and modern—a much better fit for a tech company or a streetwear label.
Matching the Cap to Your Audience and a Good Cause
Take a moment to picture who will be wearing these caps and where they'll be. Are they for your team working outdoors? A giveaway at a sunny trade show? Or a premium piece of merchandise for your most loyal customers? The context really is everything.
A trucker cap, for instance, with its classic mesh back, is a brilliant choice for events under the hot Australian sun. It’s breathable and comfortable, and that big front panel is a perfect canvas for a bold, eye-catching design. A classic baseball cap, however, has that timeless, universal appeal that works just as well for a local sports team as it does for a corporate uniform.
We’ve also seen a massive comeback for bucket hats. They bring a fun, retro energy that’s ideal for music festivals, beach promotions, or any brand wanting to make a fashion-forward statement. The all-around brim offers great sun protection and a really unique opportunity for creative branding.
If you're looking for inspiration, it's worth taking a look through a wide variety of custom headwear styles to see what clicks with your brand's personality.
Cap Style and Material Suitability
To make things a bit easier, here’s a quick guide to help you match the right cap style and material to your needs.
| Cap Style | Best For | Common Materials | Branding Tip |
|---|---|---|---|
| Baseball Cap | Corporate uniforms, sports teams, general merchandise | Cotton Twill, Polyester Blends | A versatile classic. Great for both embroidery and printing on the front panels. |
| Trucker Cap | Outdoor events, trade shows, casual lifestyle brands | Cotton/Foam Front, Polyester Mesh Back | The large, flat front panel is perfect for bold, full-colour digital prints. |
| Snapback | Streetwear brands, tech companies, younger audiences | Wool Blends, Acrylic, Cotton Twill | Its structured front is ideal for detailed embroidery or a sharp screen print. |
| Dad Cap | Cafes, festivals, community groups, relaxed brands | Washed Cotton, Canvas | The soft, unstructured feel works best with simple embroidery or a single-colour print. |
| Bucket Hat | Festivals, beach events, fashion-focused promotions | Cotton, Canvas, Polyester | Offers a 360-degree canvas. Consider an all-over pattern or a simple embroidered logo. |
This table should give you a solid starting point for narrowing down the best options for your project.
Why the Fabric Really Matters
The material you select does more than just affect comfort—it has a direct impact on how your design prints. Different fabrics absorb ink and hold detail in completely different ways.
-
Cotton Twill: This is the go-to for a reason. It's breathable, hard-wearing, and has a smooth surface that’s fantastic for both screen printing and digital transfers. You can expect crisp lines and vibrant colours every time.
-
Polyester & Blends: You’ll find these in most performance and athletic caps. They’re great at wicking moisture and keeping their shape, but they often need specialised inks to get the print just right.
-
Wool Blends: Typically reserved for more premium, high-end caps like classic snapbacks. This fabric feels fantastic and looks sharp, but it’s almost always a better match for embroidery than for intricate prints.
Here's a pro tip I always share with clients: a smoother, tighter fabric weave will almost always give you a sharper, more detailed print. Rougher textures can sometimes break up fine lines or tiny text. Getting this right from the start is one of the most crucial steps to ensure your final caps look absolutely flawless.
Comparing Branding Methods for Your Caps
So, you’ve picked the perfect cap. Awesome. Now for the fun part: getting your brand onto it. How you apply your design is a massive decision that shapes the final look, feel, and price of your caps printed. Here in Australia, you’ve basically got three main players: screen printing, digital transfers, and the timeless classic, embroidery.
Each one has its own personality and purpose. Choosing the right one is all about balancing what your design looks like, how many caps you need, and the kind of finish you're after. Let's get into what makes each of them tick.
Screen Printing: The Workhorse for Bold Designs
Screen printing is an old-school hero for a reason. It’s a tried-and-true method where ink is pushed through a stencil onto the cap’s fabric. This gives you a really vibrant, solid print that sits just on top of the material, giving it a tactile, quality feel you can actually touch.
It’s incredibly cost-effective, but there’s a catch: it really only makes sense for larger orders. Screen printing truly comes into its own when you have a simple, punchy design with just a handful of solid colours. Think a bold one or two-colour logo or a snappy event slogan. Since a new screen is needed for every single colour, it’s not the best fit for photos or designs with colour gradients.
This infographic helps visualise which branding method might suit your specific audience and event type.
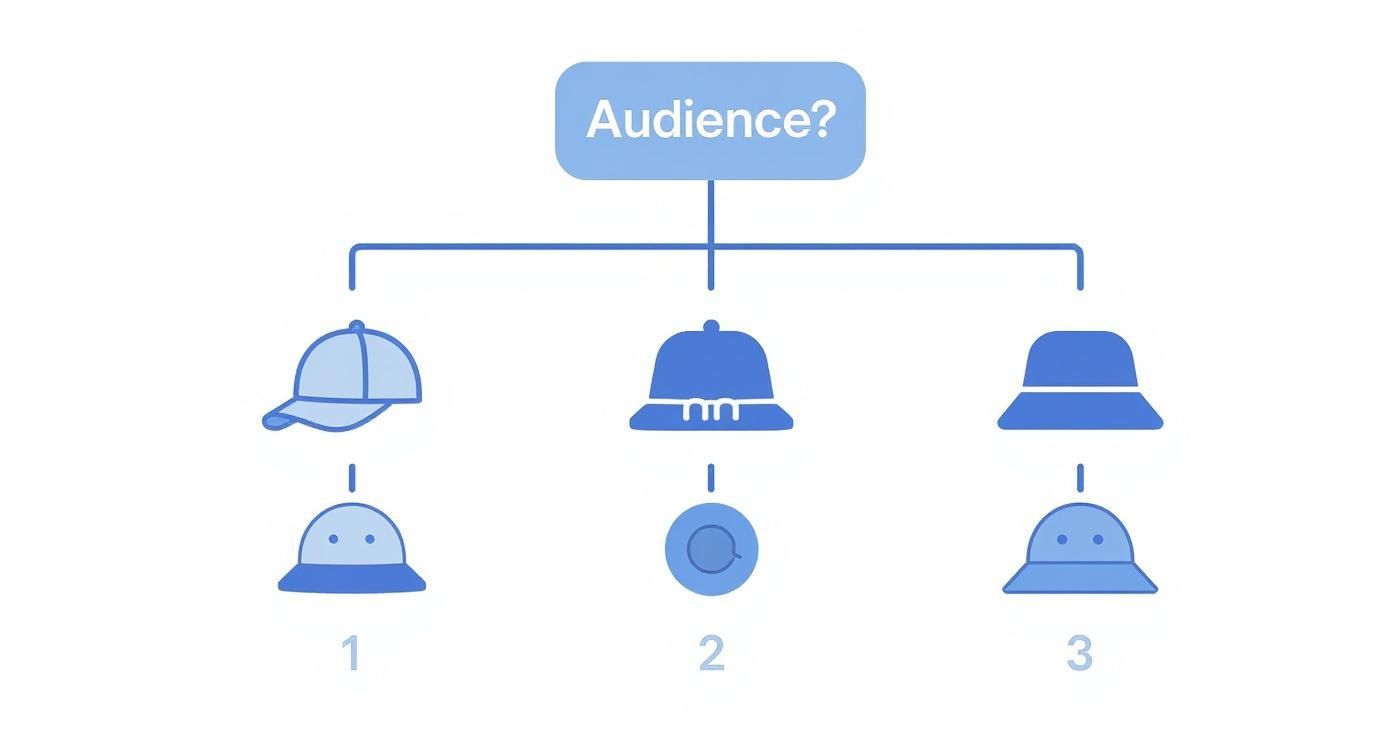 The main takeaway here? Who you're giving the caps to will point you toward the right style, which in turn helps narrow down the best way to brand it.
Digital Transfers for Photorealistic Detail
Got a design that's bursting with colour, fine lines, or even a photograph? Digital transfers are your new best friend. Often called a full-colour print, this process prints your design onto special transfer paper, which is then heat-pressed directly onto the cap. The result is a crisp, sharp, photo-quality finish that looks absolutely stunning.
This technique is a perfect match for:
- Complex logos with lots of colours or intricate details.
- Photographic images that need to look just right.
- Designs with gradients and subtle shifts in colour.
The best part is that unlike screen printing, the number of colours doesn't jack up the price. This makes it a no-brainer for complex, eye-catching artwork. It’s no surprise that this technology is a big deal in the Australian printer equipment market, a sector set to hit US$1.50 billion by 2033. The huge demand for personalised gear is driving some serious innovation. As you weigh up your options, it's good to know what's possible with different methods, like whether Direct To Film (DTF) can be printed on hats.
Embroidery: The Premium Alternative
Okay, so it’s not technically a "print," but you can’t talk about branding caps without mentioning embroidery. It's a hugely popular choice for a reason. Here, your design is stitched directly into the cap's fabric, creating a textured, high-end finish that just feels premium.
Embroidery adds a perceived value that printing often can't match. It’s durable, professional, and has a classic appeal that works brilliantly for corporate branding, premium merchandise, and team uniforms.
It is typically a bit more of an investment than printing, though, and it works best with simpler designs. Tiny text or super-intricate details can sometimes get lost in the stitching. To see what’s possible across all these methods, check out our complete guide to custom printing options. Ultimately, picking the right branding method is about matching your design’s needs with the image you want your brand to project.
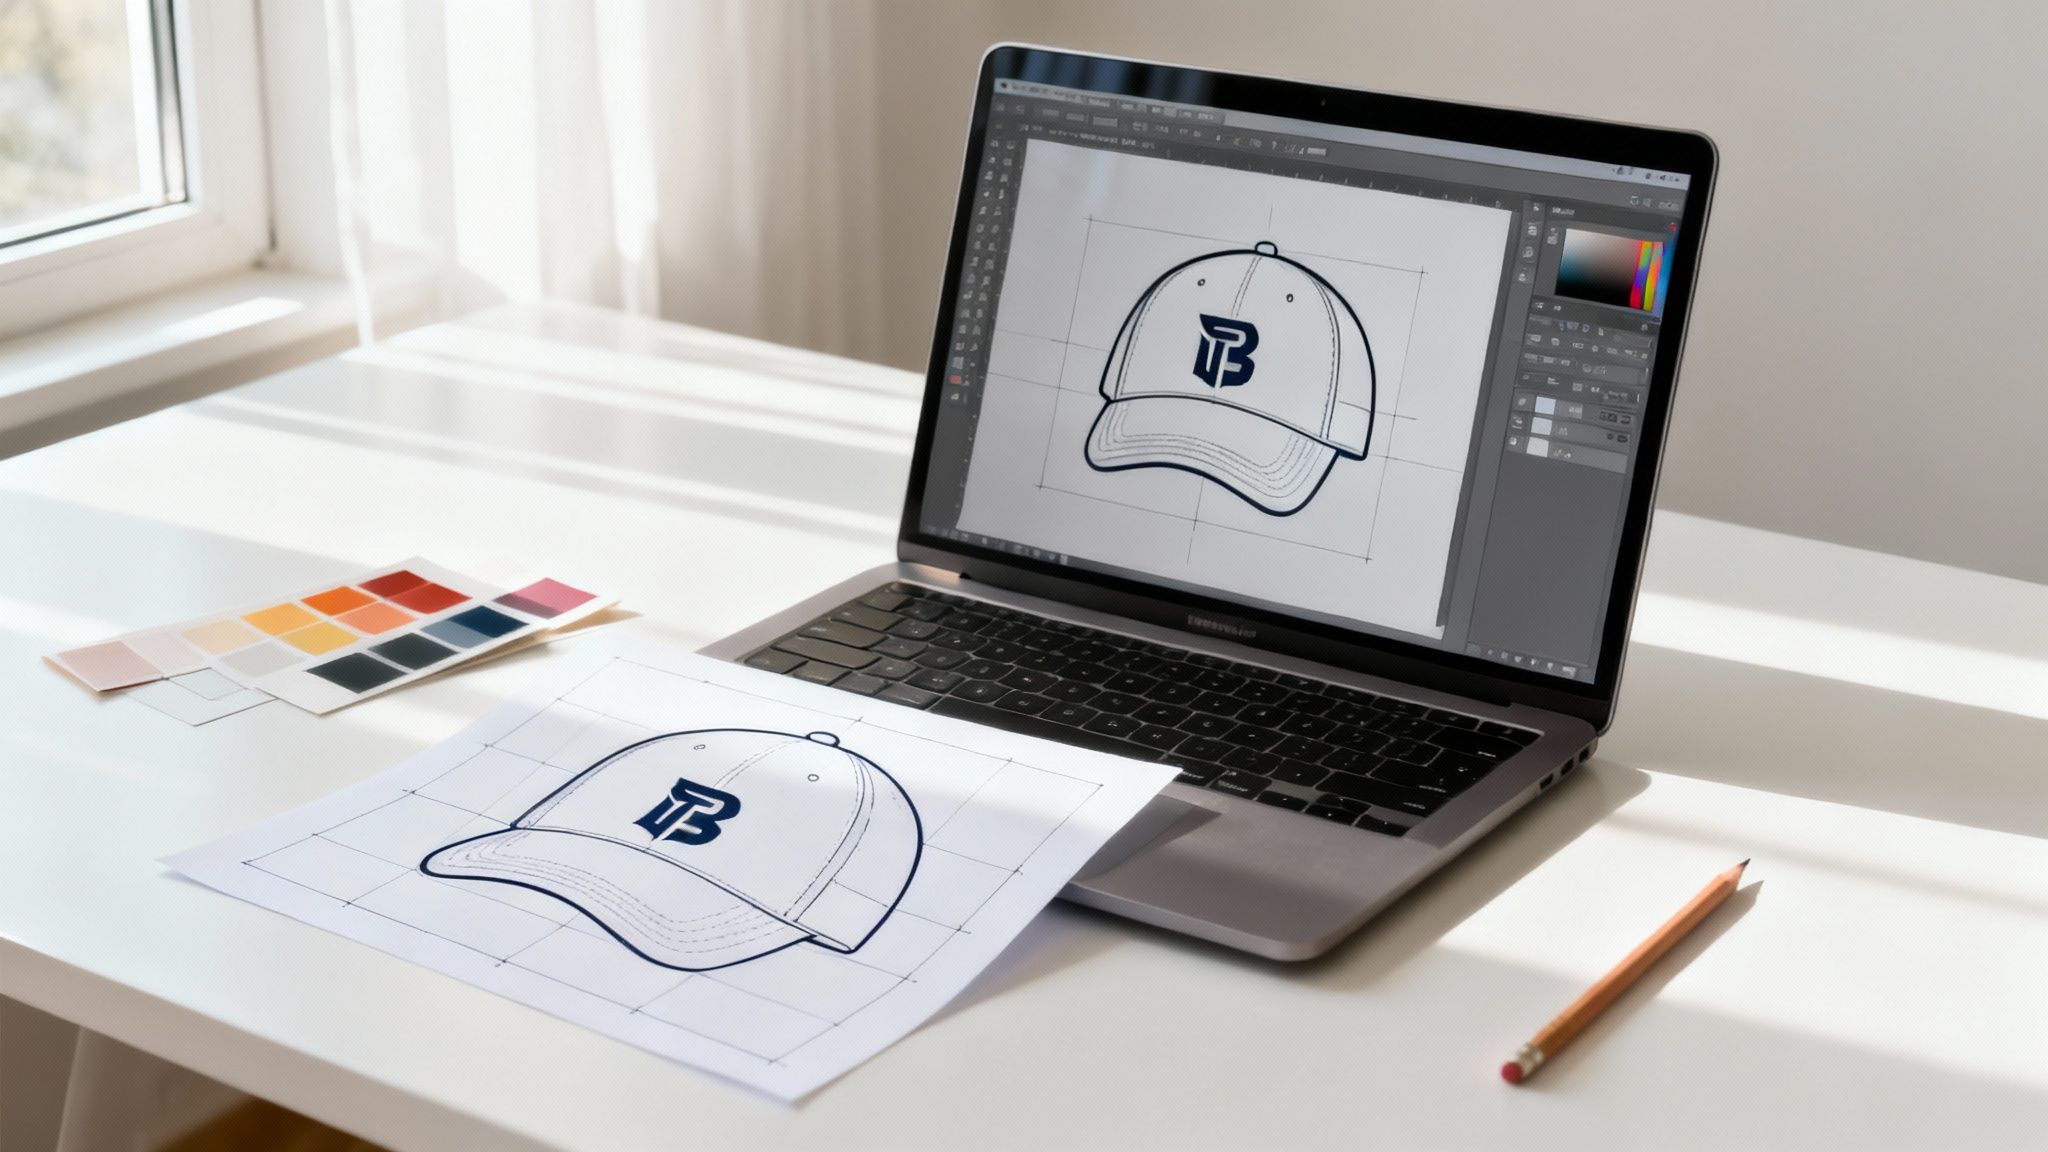
How to Prepare Your Artwork for a Flawless Print
The secret to a great-looking printed cap isn't just the cap itself or the printing method—it all starts with your artwork. Honestly, submitting a file that isn't quite right is one of the biggest reasons for project delays and surprise costs. Nailing this part from the get-go is the best way to make sure your vision comes to life exactly as you imagined.
First things first, let's talk about the difference between vector and raster files. It’s a bit of a technical point, but it’s crucial.
Think of a vector file (you'll see file names ending in .AI, .EPS, or .SVG) as a master recipe. It’s built from mathematical paths and points, not pixels. This means you can scale a vector logo to the size of a billboard or shrink it to fit on a pen, and it will stay perfectly crisp and clear every single time. It's this infinite scalability that makes it the gold standard for printing.
A raster file (like a .JPG, .PNG, or .GIF), on the other hand, is like a photograph. It’s made from a fixed grid of tiny squares called pixels. Raster images are great for photos with lots of detail, but the moment you try to make them bigger, they get blurry and pixelated. That’s the last thing you want on your company's new caps.
Getting the Technical Details Right
Beyond just the file type, a few other specs can make or break your final print. Don't stress if this sounds a bit technical—just having a basic grasp will help you have a much smoother chat with your supplier.
-
Colour Modes: Screens show colour using RGB (Red, Green, Blue), but professional printers work with CMYK (Cyan, Magenta, Yellow, Black) or, even better, Pantone (PMS) colours. If brand consistency is important to you, providing Pantone codes is the best way to go. It’s a universal system that guarantees the exact shade of your brand’s blue is what ends up on the cap, no matter what.
-
Resolution: If a raster file is your only option, it absolutely must be high resolution. We're talking at least 300 DPI (dots per inch) at the actual size it will be printed. Anything less than that, and you’re running a serious risk of a fuzzy, unprofessional-looking result.
What to Do if You're Unsure About Your Artwork
It’s completely normal not to have a perfect, print-ready vector file just lying around, especially if you’re a small business. If that's you, don't worry—you have options.
Most good suppliers have an in-house design team that can recreate or "vectorise" your logo for a small fee. This is often a fantastic investment, because you’ll get a professional-grade file you can use for all your future branding needs, from caps to business cards and beyond.
Pro Tip: Before you send anything over, always ask your supplier if they have an artwork template for the specific cap you’ve chosen. These templates are a lifesaver, showing you the exact print area and any tricky curves so you or your designer can position the logo perfectly.
Taking a few minutes to get your artwork sorted can make a world of difference. For a deeper dive, check out our simple guide with more artwork submission tips for beginners. It's the final, critical step to ensuring your custom caps look sharp, professional, and absolutely spot-on.
Getting a Handle on Costs and Timelines
Let's talk about the two things that matter most in any project: budget and deadlines. When it comes to ordering caps printed with your logo, understanding what goes into the final price and how long it all takes is absolutely crucial for a smooth-running campaign.
The price you pay per cap isn't just a number pulled out of thin air. It's a mix of a few key things: the style of cap you pick, the branding method you go with, how complex your design is (especially the number of colours if you're screen printing), and of course, how many you order. A premium wool-blend snapback is always going to have a higher price tag than a standard cotton baseball cap. In the same way, a detailed multi-colour embroidery will be priced differently from a simpler digital transfer.
Minimum Orders and Why Buying in Bulk is Smart
One of the first things you'll run into is the Minimum Order Quantity, or MOQ. This is simply the smallest number of caps a supplier can make in one go. For most Aussie printers, you’re looking at an MOQ of around 25 to 50 units.
This isn't just a random rule. It comes down to the real costs of setting everything up. For a process like screen printing, a technician has to prepare a separate screen for every single colour in your design. Whether they're printing 25 caps or 250, that initial setup work is the same.
This is exactly why ordering in bulk saves you so much money. That upfront setup cost gets spread thinly across a larger number of caps, dropping the price for each one. For instance, jumping from an order of 50 caps to 200 could slash your per-unit cost by 30-40%. It’s a classic economy of scale, and it can make a massive difference to your budget.
Here's a pro tip from years in the business: try to plan ahead. If you know you'll need caps for a few different events or campaigns over the year, placing one larger order upfront can lead to serious savings. Plus, it guarantees your branding looks perfectly consistent every time.
While the wider Australian printing industry has faced some headwinds lately, as noted in reports from places like IBISWorld, the demand for personalised products is actually growing. This tells us that custom gear like printed caps is still a fantastic and reliable way to get your brand out there.
How Long Does It All Take? Production and Delivery
Once you’ve given the final thumbs-up on your artwork, production officially kicks off. For most custom caps printed here in Australia, you should plan for a standard turnaround time of about 10 to 15 business days.
This isn't just printing time. This window allows for proper setup, quality control checks at each stage, the printing itself, and any finishing touches like curing the ink so it lasts.
But what if you're in a hurry? We've all been there. Most suppliers will offer an express service for an extra fee. This can often get your caps produced in as little as 5-7 business days. Just be sure to ask about this option early on and account for the added cost.
And don't forget shipping! Always add delivery time on top of production. A courier to Sydney or Melbourne is usually pretty quick, maybe a day or two. But if you're in a regional or more remote part of Australia, you'll need to factor in a bit more time for the journey.
To get a clearer picture and avoid any last-minute panic, it's a good idea to map out your costs and timeline right from the start. You can get a quick idea of your budget by using our instant print quote tool. It helps you work backwards from your event date and see what's possible.
Your Custom Cap Questions, Answered
Ordering custom headwear for the first time? It's natural to have a few questions. Getting the details right is the key to creating caps that people will actually want to wear, so we've pulled together answers to the queries we hear most often from our clients across Australia.
Think of this as your cheat sheet to making smart decisions for your brand, budget, and deadline.
What’s the Best Way to Brand My Caps?
This is the big one, and the honest answer is: it depends! There's no single "best" method. The right choice comes down to your logo, how many caps you need, and the look you're going for.
Screen printing is your go-to for simple, bold designs with one or two solid colours. It’s incredibly durable and becomes very affordable on larger runs, as the initial setup costs are spread across more units. It’s a classic for a reason.
If your design is a bit more complex – think multiple colours, gradients, or even a full-on photograph – then a digital transfer (also known as a full-colour print) is the clear winner. This process prints your design onto a special film which is then heat-pressed onto the cap, capturing every tiny detail perfectly.
And of course, there's embroidery. While it’s technically stitching, not printing, it’s a premium branding option that adds a real touch of class. The textured, three-dimensional finish screams quality. It does cost a bit more, but for a high-end look, it’s unbeatable.
How Many Caps Do I Have to Order?
In Australia, the minimum order quantity (MOQ) for custom caps usually hovers between 25 to 50 units. This isn't a hard-and-fast rule, though; it can shift depending on the supplier and the branding technique you've chosen.
For instance, screen printing often requires a higher minimum because of the time and materials needed to create the screens for each colour in your design. On the other hand, some digital methods might allow for smaller batches, but the price per cap will naturally be higher.
Pro Tip: Always lock in the MOQ with your supplier from the get-go. Trying to order fewer than the minimum is often impossible, or the cost per cap skyrockets, making it a poor investment for your campaign.
How Can I Be Sure My Brand Colours Will Be Right?
This is a valid concern, and thankfully, there’s a professional system designed to solve it. To get a perfect colour match, you need to supply Pantone Matching System (PMS) colour codes.
PMS is the universal language of colour for the printing industry. It allows a printer to mix inks to a precise formula, guaranteeing the final shade is consistent and accurate, every single time. If you just send over a standard digital file (like a JPG or PNG), the printer will have to make their best guess, and colours can look different on screen compared to how they appear on fabric.
Using PMS codes takes all the guesswork out of the equation. Any professional graphic designer should be able to give you the correct PMS codes for your brand’s official colour palette.
How Long Until I Get My Caps?
Once you’ve signed off on the artwork proof, a standard turnaround in Australia is typically 10 to 15 business days for production. Keep in mind this can vary based on how complex your design is, how busy the supplier is, and whether your chosen cap style is in stock.
Need them faster? Many suppliers offer an express service for an extra fee. This can often cut production time down to just 5-7 business days, which can be a lifesaver for last-minute events.
Don’t forget to add shipping time on top of production! Always build that extra transit buffer into your project timeline.
Ready to create standout headwear that gets your brand noticed? At Simply Merchandise, we make ordering custom printed caps simple and effective. Explore our huge range of styles and branding options to find the perfect fit for your next campaign. Start designing your custom caps with us today!


