

Ordering caps printed with your logo is a brilliant move for getting your brand out there, but let's be honest—if the cap itself isn't great, it won't get worn. The real secret to creating merchandise people love starts with the cap itself. The right style and material do more than just hold your logo; they give off a vibe and tell a story about your brand from the get-go.
Choosing the Right Cap for Your Brand's Story
Think of your custom cap as a walking billboard, but one that people choose to wear. It’s a piece of your brand's personality, and picking the right style is key to making a genuine connection. The aim is to find a cap that feels like a natural fit for your company, not just another piece of generic swag. When done right, a custom cap can be a powerful part of your brand activation strategy, leaving a lasting impression.
Aligning Style with Brand Identity
So, what message are you trying to send? Are you a chilled-out creative agency or a high-octane fitness brand? Your cap should reflect that.
- Classic Baseball Caps: You really can't go wrong here. This structured, versatile style works for almost any brand and gives off a timeless feel. Perfect for corporate events, sports teams, or general merch.
- Modern Snapbacks: With their flat brim and adjustable snap, these caps have a cool, urban edge. They're a fantastic choice for streetwear labels, tech companies, or any brand aiming for a younger crowd.
- Functional Trucker Hats: The mesh back isn't just for looks—it offers great breathability. This makes them a practical pick for outdoor adventure companies, construction businesses, or agricultural brands. They feel rugged and approachable.
- Relaxed Dad Hats: Unstructured and super comfortable, the dad hat is ideal for brands with a casual, minimalist, or vintage vibe. Think local coffee shops, independent artists, or wellness startups.
Matching Materials to Your Message
The fabric of the cap adds another layer to your story. A sleek tech startup might go for a durable polyester snapback, while an eco-conscious café would feel right at home with a breathable cotton dad hat. The material you choose affects not just the look but also how valuable the cap feels.
If you want to see all the different options out there, you can explore a wide range of customisable headwear styles.
The best advice I can give is to picture your ideal customer. What would they actually wear? Would they prefer the sturdy feel of a classic twill, or the lightweight comfort of a performance fabric? If you match the cap to their lifestyle, it’ll become a favourite, not something stashed in the back of a closet.
This push for personalisation is part of a much bigger trend. The Australian commercial printing market was valued at USD 8.9 billion in 2024 and is tipped to keep growing. This is largely thanks to the demand for personalised, short-run print jobs—like custom caps printed for specific events or teams—showing just how much businesses are using custom merch to stand out.
Choosing Your Branding: Screen Printing vs. Embroidery
Alright, you've picked out the perfect cap. Now for the fun part: getting your brand on it. This is a bigger decision than you might think. The choice between screen printing and embroidery will completely change the look, feel, and even the cost of your finished caps. It’s not just about what looks good; it’s about what method best suits your design, your brand’s personality, and your budget.
Getting this right is what makes your caps printed with your logo look professional and last the distance. Think about it this way: a local music festival might go for screen printing to get a big, colourful logo on a bunch of trucker caps. On the other hand, a corporate golf day will almost always lean towards the classic, premium finish of embroidery on a structured baseball cap.
When to Go with Screen Printing
Screen printing is a classic for a reason. It involves pushing ink through a fine mesh screen directly onto the cap's fabric. The result? A sharp, vibrant, and flat design with really clean edges. This technique is fantastic for reproducing bold graphics, logos with fine lines, and designs that need multiple, distinct colours to pop.
Screen printing is probably your best bet if your project involves:
- Complex Graphics: If your logo has lots of detail or specific colour gradients, screen printing can capture that nuance beautifully.
- Large, Solid Colour Areas: This method gives you fantastic, even coverage for big blocks of colour, creating a really striking visual.
- Budget-Friendliness for Big Batches: When you're ordering in bulk, screen printing is often the more cost-effective way to go, especially for designs with a few different colours.
This infographic is a great starting point for seeing how different cap styles can match up with brand personalities.
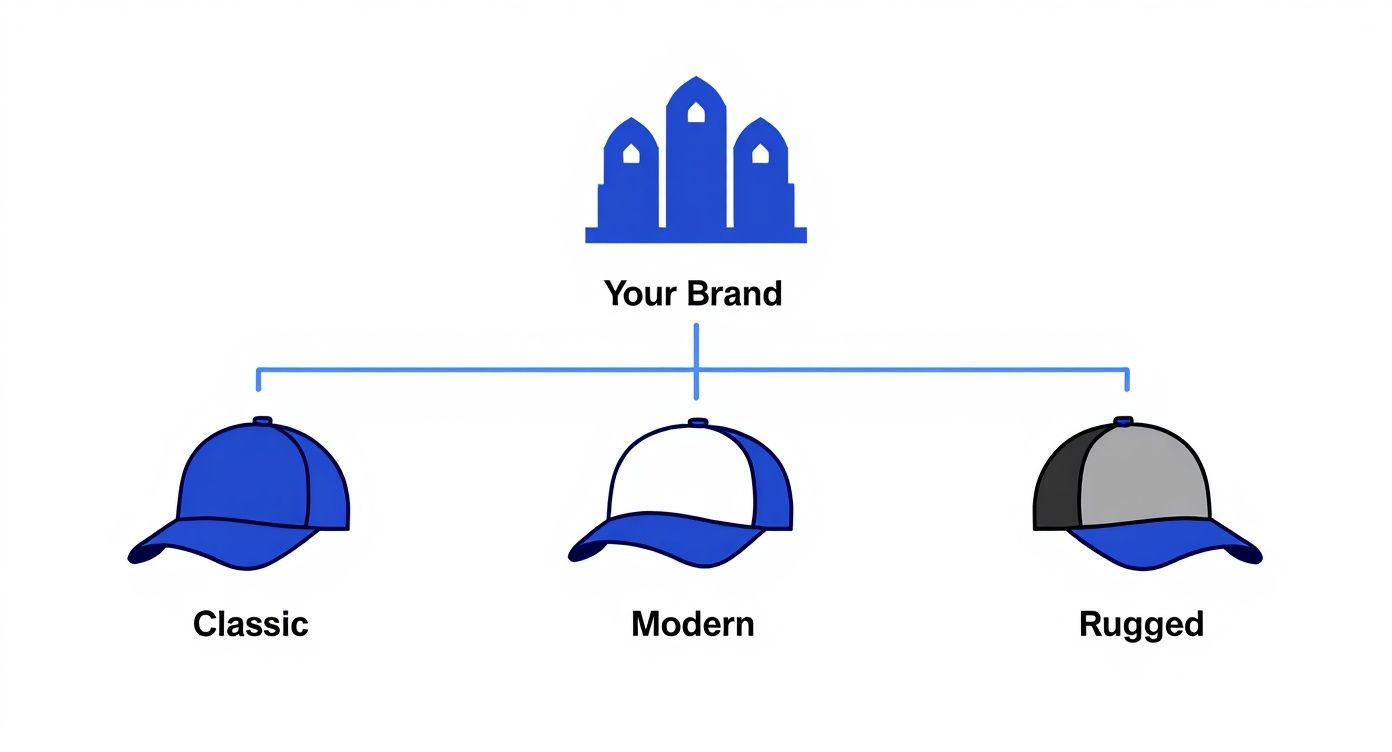
If you start by thinking about your brand's identity—is it classic, modern, or more rugged?—you’ll find it much easier to pick a cap and branding style that just feels right.
When Embroidery is the Perfect Fit
Embroidery is all about that premium, textured finish. Here, we're stitching your design directly into the cap with thread, creating a raised, three-dimensional look that feels high-end. It's incredibly durable and gives off a sense of quality and permanence, which is why it's a huge favourite for corporate uniforms, upscale merch, and club apparel.
You should definitely consider embroidery for:
- A Premium Look: The raised, tactile feel of embroidery is instantly associated with higher quality. It just looks and feels expensive.
- Ultimate Durability: Stitched designs won't crack, peel, or fade. They're built to last, making them perfect for workwear or caps that will get a lot of wear.
- Simple, Bold Logos: Text-based logos and simple, clean icons look exceptionally sharp and professional when embroidered.
Here's how I think of it: screen printing is like a high-quality poster—vivid and great for detailed images. Embroidery is more like a sculpted plaque—it’s all about timeless texture and depth. Your choice really depends on whether you want your message to be seen from a distance or felt up close.
Screen Printing vs. Embroidery for Custom Caps
Still on the fence? Sometimes seeing it laid out side-by-side makes all the difference. This table breaks down the key pros and cons of each method to help you make the final call.
| Feature | Screen Printing | Embroidery |
|---|---|---|
| Best For | Bold, multi-colour graphics, fine details | Simple logos, text, premium branding |
| Look & Feel | Flat, smooth, vibrant finish | Textured, 3D, high-end feel |
| Durability | Very durable, but can crack over time | Extremely durable, won't fade or peel |
| Cost | More cost-effective for large orders | Can be more costly, priced by stitch count |
| Cap Styles | Works well on trucker and baseball caps | Ideal for structured caps like snapbacks |
At the end of the day, both are fantastic ways to get your caps printed. There’s no single "right" answer—it's all about what's right for your project.
If you'd like to get into the nitty-gritty of these techniques, we've put together a more technical breakdown of our custom printing options. It’s also worth knowing that these aren't your only choices; newer methods like heat transfer on hats offer another great way to apply complex, full-colour designs.
Preparing Your Artwork for a Flawless Finish
Even the most brilliant design can fall flat if the artwork file isn’t set up correctly. Trust me, getting your file print-ready from the start is the single best thing you can do to avoid delays, extra costs, and a final product that just doesn't hit the mark. Think of it as the crucial bridge between your great idea and a cap you'll be proud of.
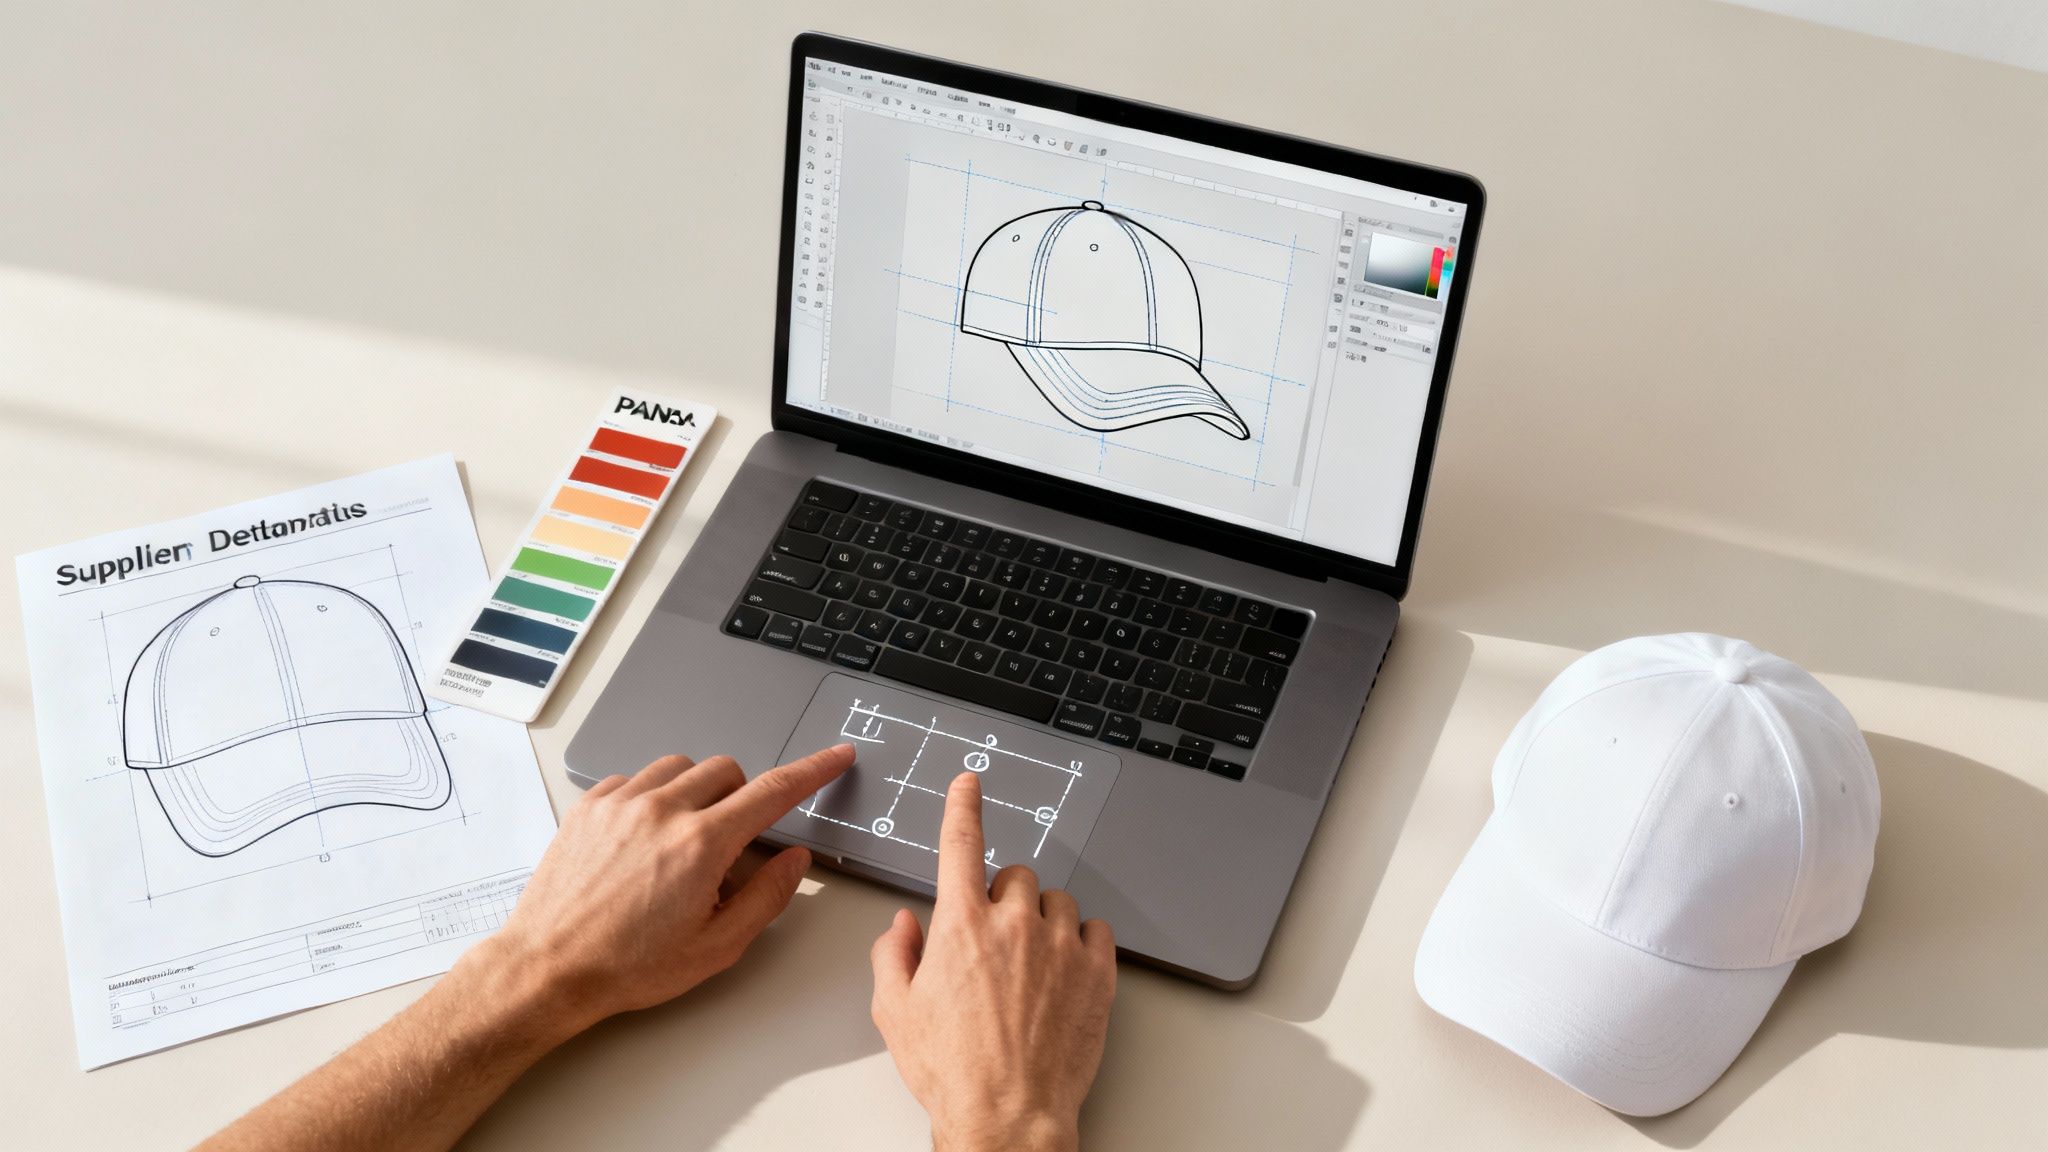
The first thing we—or any printer—will ask for is a vector file. This means formats like AI, EPS, or SVG. Why? Because they're built with mathematical paths, not pixels. This allows your logo to be scaled up or down to fit the front of a cap or the side of a building without losing an ounce of sharpness.
On the other hand, a pixel-based file like a JPG or PNG will look blurry and jagged when enlarged. It's a dead giveaway of an amateur job and results in a poor-quality print.
If all you have is a JPG, don't panic! Most suppliers, including us, offer a redraw service. For a small fee, we can professionally convert your design into a vector format. It's a small investment that makes a world of difference to the final look.
Getting Your Colours and Placement Perfect
Okay, so you've got the right file type. The next hurdle is colour accuracy. Your computer screen shows colours in RGB (Red, Green, Blue), but print production works differently. To make sure your brand's signature blue looks spot-on for your caps printed, you need to give us the Pantone Matching System (PMS) colour codes.
A PMS code is the universal language of colour for printers. It's a specific recipe that tells us the exact shade to mix, eliminating all the guesswork and ensuring your brand colours are identical across every single piece of merch you create.
Another classic mistake is forgetting that a cap isn't flat. A logo that looks fantastic on your screen can get warped or distorted when it's applied to a curved front panel. The side and back panels have their own unique, smaller print areas too.
Always ask your supplier for their artwork templates. These are lifesavers. They show you the exact printable areas and help you position your logo perfectly so it doesn't get awkwardly cropped or wrapped around a seam.
Why Professional Pre-Press Matters
Getting your artwork print-ready involves more than just file types and colour codes. Behind the scenes, professional pre-press services like colour separation and image retouching are what really make a design pop. This part of the process is so critical that the printing support industry in Australia continues to grow, demonstrating just how important these technical steps are. You can find more details on the Australian printing support services industry reaching AUD 387.5 million by 2025.
For a complete walkthrough on getting your files sorted, have a look at our guide on artwork submission tips for beginners. It’s full of straightforward, practical advice to get you started.
Getting a Handle on Pricing, Production Times, and Delivery
https://www.youtube.com/embed/g8L0n2m38dE
Working out the final cost and timeline for your custom caps doesn't have to be complicated. Once you understand the key ingredients that go into the final price, you can make choices that fit your budget and deadline perfectly.
Let's break down what really drives the cost. The two biggest factors are your chosen branding method and how many colours are in your design. A multi-colour screen print, for instance, needs more setup and ink than a simple one-colour logo. With embroidery, the price is all about the stitch count—a large, intricate design will naturally cost more than a few lines of text.
And, of course, volume is king. The more caps you order, the cheaper each one becomes. That's because the initial setup costs—getting the machines calibrated and ready for your specific design—are spread out over a larger batch. It's a simple economy of scale, which makes bulk ordering a no-brainer for big events or company-wide merch.
What to Expect for Turnaround Times
Once you give the final thumbs-up on your artwork, your order officially hits the production queue. For custom caps printed here in Australia, you can typically expect a standard lead time of 2 to 4 weeks. This gives us plenty of time to get everything printed perfectly without cutting corners.
But we all know last-minute needs pop up. If you're in a pinch for an event or a campaign launch, most suppliers (including us!) have express options. For an extra fee, you can often slash that production time down to just 5 to 10 business days, getting those caps into your hands much faster.
My best advice? Plan ahead. As soon as you know your event date, work backwards and let your supplier know your deadline right from the get-go. Being upfront helps them map out the best production path to make sure your caps arrive exactly when you need them.
Minimums and Getting Your Order Delivered
Just about every custom cap order comes with a Minimum Order Quantity (MOQ). This is the smallest number of units you can order at once.
- For screen-printed caps, the MOQ can be as low as 25 units.
- For embroidery, which is a bit more involved, it usually starts around 50 units.
Trying to order below these minimums often isn't possible because the setup costs for a tiny run just don't stack up.
After production wraps up, your caps are carefully packed and sent on their way. Delivery times will vary a bit depending on where you are in Australia, but any good supplier uses a reliable courier service. You’ll always get tracking info, so you can watch your order's journey from our warehouse straight to your doorstep.
Ready to see what your project might cost? Jump over and grab an instant print quote to get a clear idea and start planning your budget.
How to Care for Your Custom Printed Caps
Your box of custom caps has landed, and they look brilliant. Now, how do you keep them looking that sharp for months or even years to come? A little bit of TLC goes a long way in making sure your caps continue to represent your brand just as well as they did on day one.

Before you hand them out, though, it's always a good idea to do a quick spot-check. Grab a few caps from the order, lay them out, and compare them against the digital proof you signed off on. You're just looking for things like print alignment and colour accuracy. This simple once-over confirms your whole batch of caps printed is up to scratch.
Simple Cleaning for Lasting Quality
If there's one golden rule for custom headwear, it's this: avoid the washing machine at all costs. The aggressive tumbling, hot water, and harsh detergents are a recipe for disaster. They can warp the brim, shrink the fabric, and absolutely wreck your beautiful print or embroidery.
Instead, a bit of hands-on care is the way to go.
- Spot Cleaning: This should be your first port of call for any small marks or stains. Just grab a soft cloth, a bit of mild detergent, and some cold water. Gently dab the spot – don't scrub it – until it lifts.
- Hand Washing: For a more thorough clean, fill a sink or basin with cool water and a small amount of gentle detergent. Let the cap soak for about 30 minutes, giving it a gentle swirl now and then. Rinse it well with cool water afterwards.
- Air Drying: This part is crucial. Never toss a cap in the dryer. The heat is its enemy. To help it keep its shape, let it air dry naturally on something head-shaped, like a large jar or even a balled-up towel.
A great tip I've learned over the years is to use an old, soft toothbrush for tackling stubborn spots, especially on tougher fabrics like cotton twill. It gives you just enough gentle friction to work out the grime without damaging the design.
Getting the Most from Your Investment
Remember, your custom caps are more than just a cool piece of headwear; they're walking billboards for your brand. Once they're out in the wild, you want them to leave a lasting impression. This is why we put so much care into the final production stages, including packaging and presentation. In fact, the demand for high-quality presentation is driving growth across the entire Australian printing and packaging industry. You can explore the Australian printing and packaging market to see how things are evolving.
Now it's over to you. Think about how to get these caps working for you. You could launch a social media giveaway, asking people to post photos wearing the cap for a chance to win a prize. They’re also perfect for getting your team looking sharp and unified at trade shows or community events. You could even pop them into welcome packs for new staff to make them feel part of the team from their very first day.
By looking after your caps and using them smartly, you'll turn a simple piece of merchandise into a powerful, long-term brand asset.
Your Custom Cap Questions, Answered
Ordering custom caps for your business or event can feel like a big step, and it's natural to have questions before you dive in. We get it. You want to know exactly what you're getting.
To make things easier, we've gathered the most common queries we receive from our clients across Australia and answered them with the kind of straightforward advice you'd get from an expert in the field.
What’s the Smallest Order I Can Place?
One of the first things everyone asks about is the minimum order quantity (MOQ). This isn't just a random number; it's set by the practicalities of setting up the branding machinery for a production run.
For a straightforward screen print, the setup is less intensive, so you can often kick things off with a small batch of just 25-50 caps.
Embroidery is a different story. It involves digitising your logo and calibrating specialised machines, which takes more time and effort. Because of this, the starting line for embroidered caps is usually a little higher, typically around 50-100 units. It’s always worth remembering that the price per cap drops as your order size goes up, so bigger orders give you much better value.
If you want to get a better handle on the process, our guide explains more about what embroidery is and why it's such a popular, premium choice.
Can I See a Sample Before Committing to the Full Run?
Yes, absolutely. Nobody wants a surprise when a big order arrives, so seeing your design first is crucial for peace of mind.
Every reputable supplier will provide a free digital mock-up as a standard first step. This is essentially a digital preview showing what your logo will look like on the cap, giving you the chance to double-check the size, positioning, and colours.
You can also request a physical pre-production sample. This does come at an extra cost to cover the one-off setup and will add a bit of time to your overall timeline, but for larger orders, it's often worth it.
We always recommend a physical sample for large or high-stakes orders. There's just no substitute for holding the actual cap in your hands to check the fabric, the feel, and the final look of your branding before signing off on hundreds or thousands of them.
How Long Will It Take to Get My Caps?
Timing is everything, especially if you're working towards a specific event or launch date.
Once you’ve given the final thumbs-up on your artwork proof, a standard turnaround for custom caps printed in Australia is generally between 2 to 4 weeks. This includes the time it takes to produce your order and ship it to your door.
Caught in a time crunch? Don't panic. Most suppliers (including us) have express options available for an extra fee. This can cut the production timeline down dramatically, often to just 5-10 business days. The trick is to be upfront about your deadline right from the start. That way, your supplier can work with you to make sure your caps land on your desk exactly when you need them.
Ready to create custom caps that get your brand noticed? The team at Simply Merchandise is here to help you through every step, from design to delivery. Get started on your project by visiting https://simplymerchandise.com.au.


