

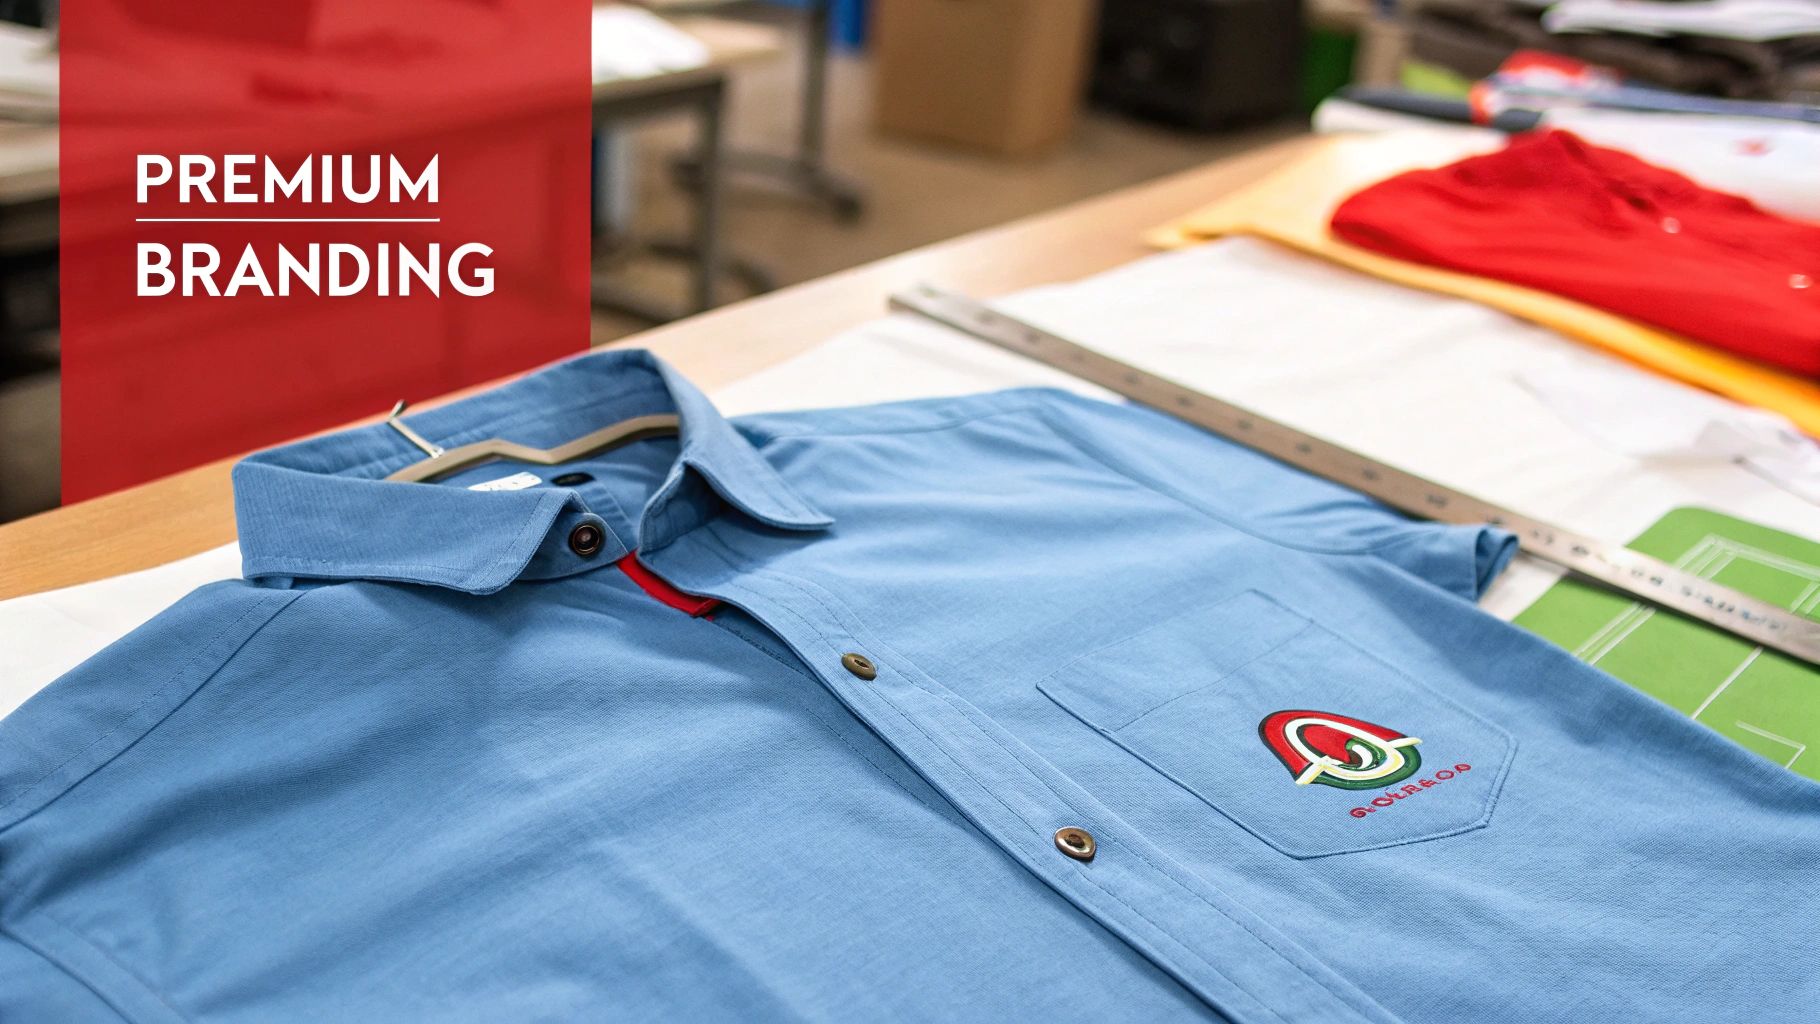
When it comes to branding your work shirts, embroidery is the gold standard. It's the premium choice for a reason—it delivers a durable, high-quality finish that often looks sharp long after the shirt itself has seen better days. For any business wanting to project a truly professional image, embroidery is the way to go. The textured, stitched logo gives a sense of quality and permanence that a simple print just can't replicate.
Why Choose Embroidery for Your Work Shirts
Deciding how to brand your team's apparel can be a tough call. Screen printing certainly has its place, but for work shirts, embroidery is in a league of its own, especially when you're aiming to build a premium brand identity.
Think of it this way: it’s the difference between an engraved metal sign and a printed paper poster. Both get the message across, but one screams quality, investment, and permanence.
That distinction really matters, particularly in tough Aussie work environments where uniforms get a serious workout. The durability you get from professional embroidery is second to none. We use high-quality polyester threads that are built to resist fading, fraying, and even the rigours of industrial washing, so your logo stays looking crisp for years.
The Lasting Impact of a Stitched Logo
One of the biggest wins with embroidery is its perceived value. The three-dimensional texture and the subtle sheen of the thread add a tactile element that really makes your logo pop. This professional touch not only instils a sense of pride in your team but also sends a clear message of stability and quality to your customers. An embroidered uniform signals that your business is established and pays attention to the details.
Because of its physical nature, embroidery works best on fabrics that have a bit of weight and structure to them. When you're picking out work shirts, the material is a huge factor in how well the embroidery holds up and looks. It’s worth getting your head around the meaning of fabric GSM to see how a textile's weight can impact the final result.
Embroidery is more than just branding; it's an investment in your company's image. A well-executed embroidered logo acts as a durable, long-lasting statement of quality that represents your business every single day.
At the end of the day, other branding methods might seem cheaper upfront, but they simply can't match the longevity and polished look of embroidery. If you’re looking to get the most out of your apparel budget, it's a good idea to compare all your options. You can learn some great tips on how to save money on your next printed shirt order to see how different methods stack up.
From Digital File to Finished Stitching
Ever wondered how your digital logo actually becomes a tangible, stitched design on a work shirt? It’s a pretty clever mix of old-school artistry and modern tech, where every single thread is mapped out before a needle even touches the fabric.
The whole thing kicks off with a crucial first step: digitising. This isn't just about converting a file from one format to another. A skilled digitiser essentially redraws your artwork, but with stitches. They manually translate your design into a detailed, stitch-by-stitch set of instructions for the embroidery machine. It's like creating a complex blueprint for thread, programming every stitch type, its direction, and each colour change to get that flawless final look. This is exactly why starting with a high-quality art file is so important.
The Automated Stitching Process
Once that digital blueprint is locked in, the real action begins. First, the work shirt is carefully stretched and secured in a hoop, which holds the fabric perfectly taut and stable. This simple step is vital for preventing any puckering or shifting while the machine works its magic at high speed, ensuring your logo comes out looking flat and sharp.
Next, the hooped shirt is loaded into a sophisticated, computer-controlled embroidery machine. Following the digitised file to the letter, the machine executes the design with incredible precision, bringing your logo to life in thread, stitch by perfect stitch.
This infographic gives you a quick visual breakdown of the embroidery journey from start to finish.
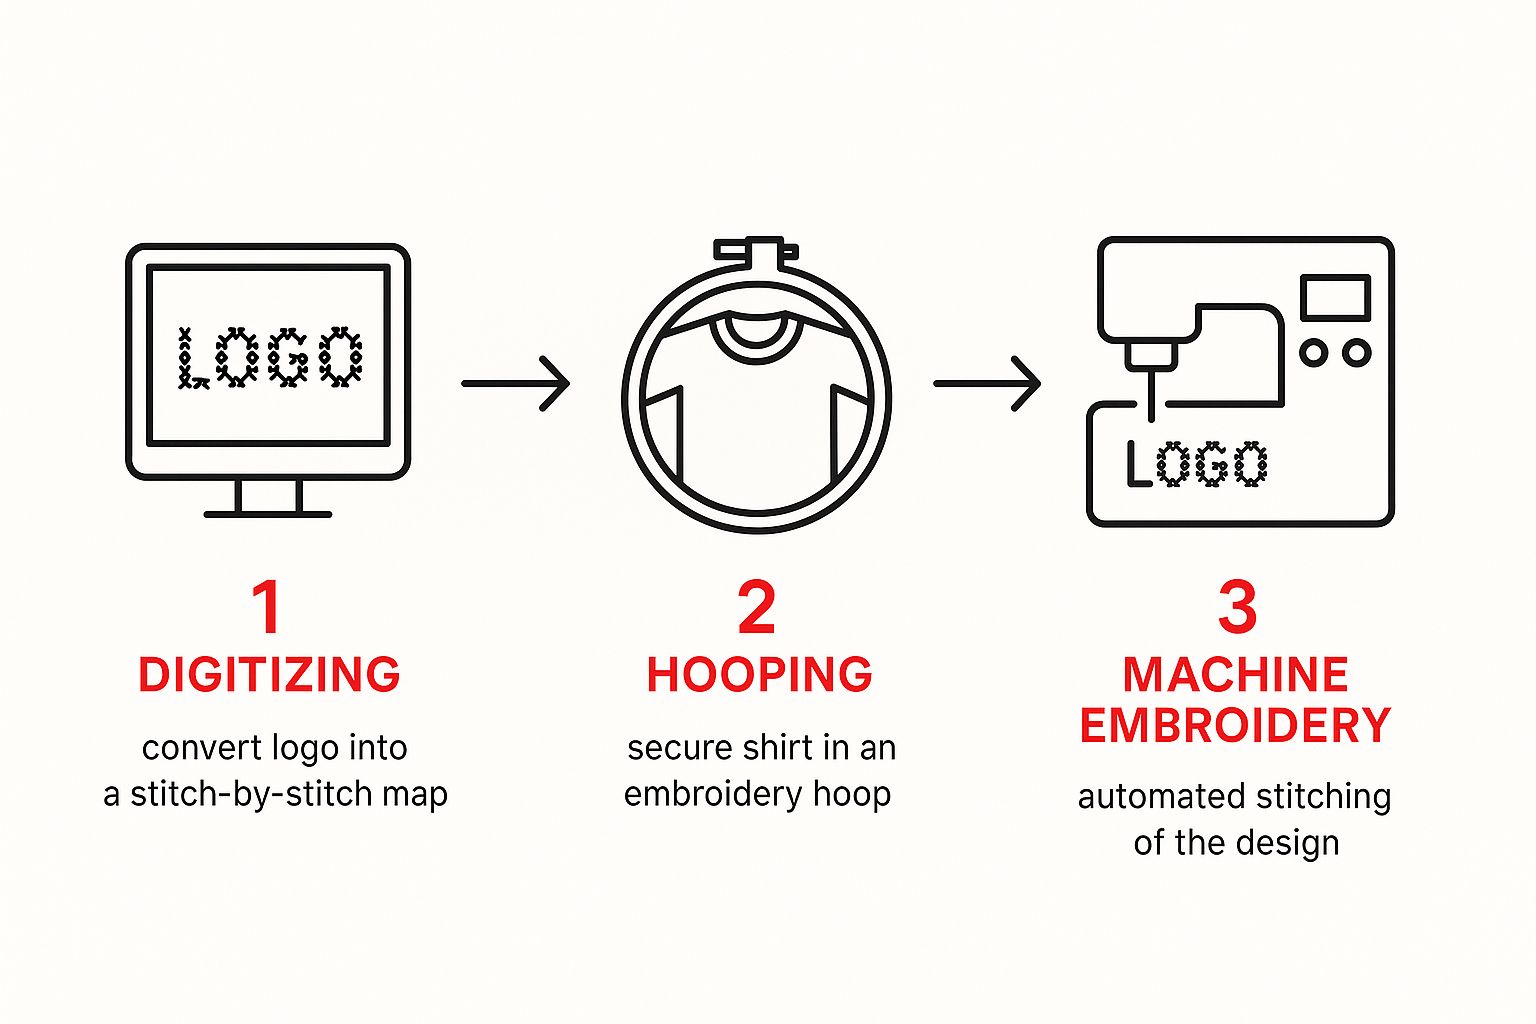
As you can see, it’s a logical flow from precise digital prep to the final automated stitching. Each stage builds on the one before it to guarantee a top-quality result.
The Skill Behind the Machine
While the technology is impressive, the human touch is what truly makes the difference. The quality of the finished embroidery really comes down to the experienced operators running the machines. These are the people who understand the nuances of different fabrics, know how to set the perfect thread tension, and keep the equipment perfectly calibrated. It’s this blend of digital precision and hands-on expertise that produces a professional logo built to last.
For a deeper dive into getting your design ready, have a look at our custom embroidery logo branding guide.
This kind of skilled labour is a cornerstone of Australia's garment finishing industry. While broader textile manufacturing has seen a decline—with employment numbers dropping from 86,800 in 2001 to 40,700 by 2021—the demand for skilled tradespeople remains solid. Projections show that jobs for clothing trades workers, the experts behind quality embroidery, are expected to hold steady through to 2025. It just goes to show how valuable true craftsmanship still is in an automated world. You can read more in this report on Australia's textile industry.
The journey from a digital file to a finished embroidered logo is a perfect marriage of modern technology and traditional craftsmanship. Understanding this process gives you a greater appreciation for the quality and durability that makes embroidery the premium choice for professional workwear.
Preparing Your Artwork for Flawless Embroidery
The journey to a crisp, professional embroidered logo begins long before a single thread touches the fabric. It all starts with your digital artwork file. Handing over the right type of file is like giving a builder a detailed architectural blueprint instead of a rough sketch on a napkin—it sets the entire project up for success from the very beginning.
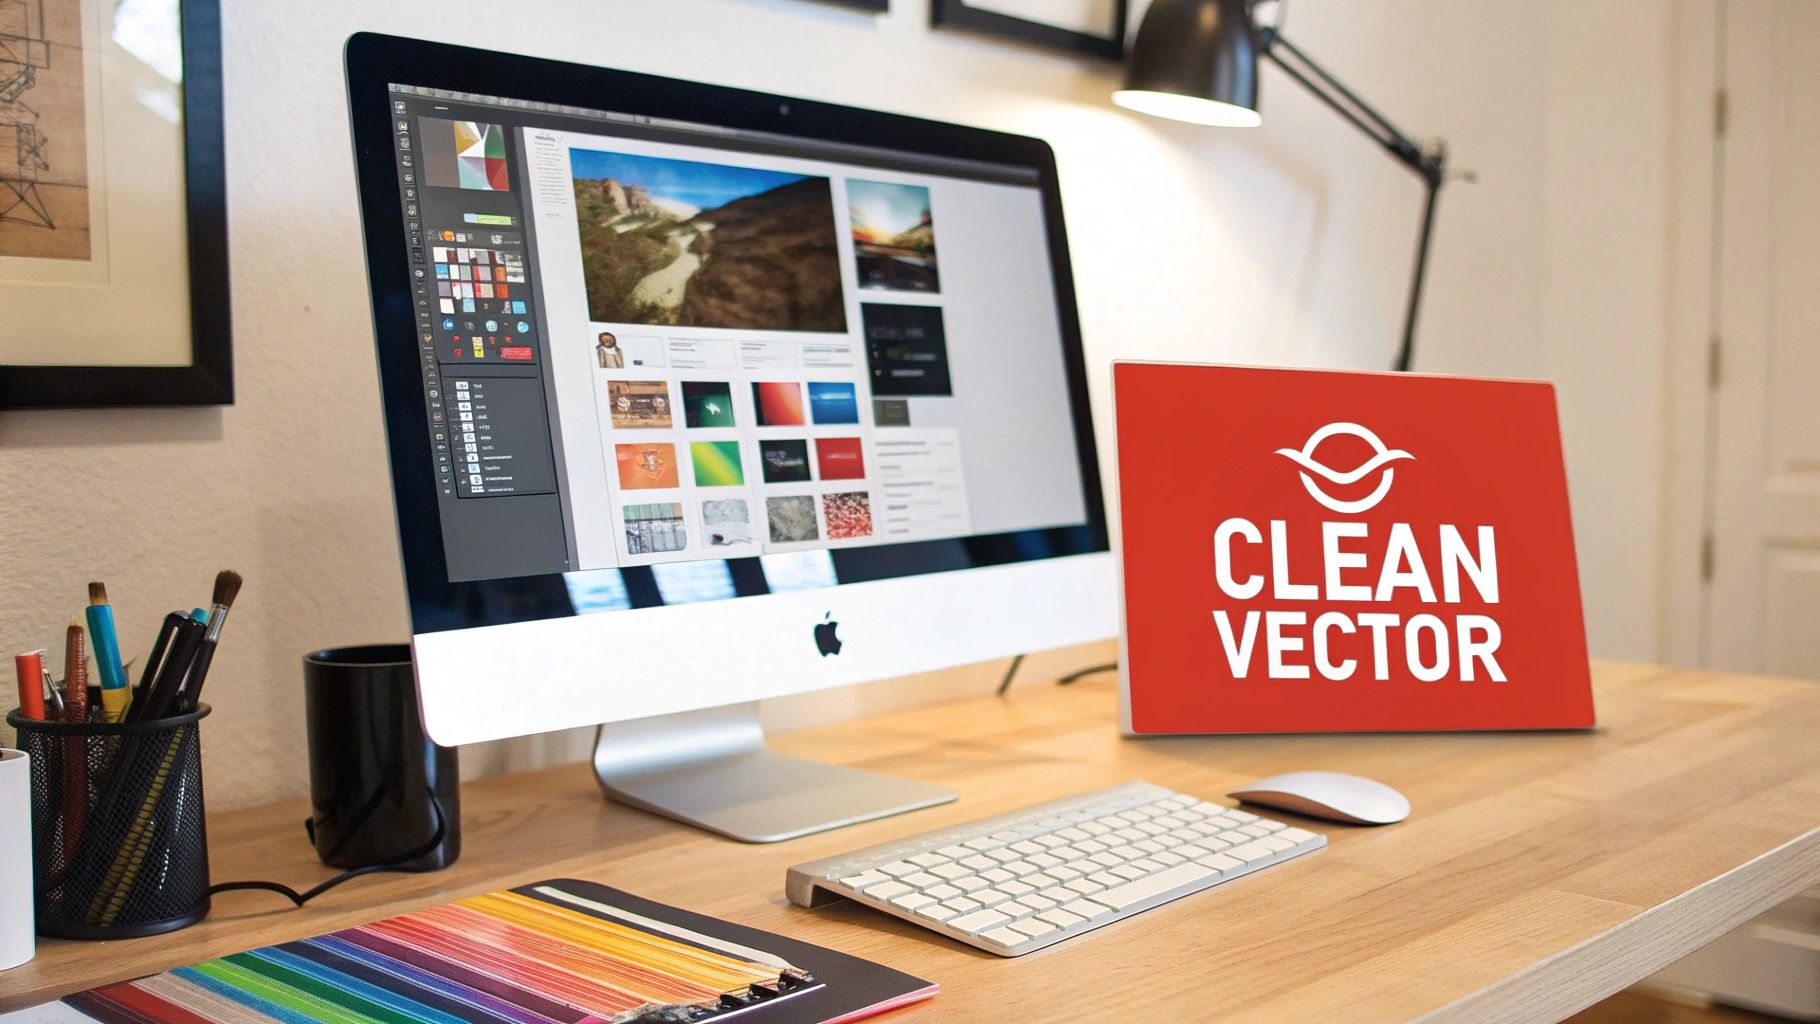
When it comes to embroidery on work shirts, the gold standard is a vector file. You'll typically see these with extensions like .AI (for Adobe Illustrator), .EPS, or sometimes a high-quality .PDF. Unlike regular image files like JPEGs or PNGs, which are made of tiny pixels, vector files are built from mathematical paths. This means we can scale your logo to any size without it getting blurry or losing a shred of clarity, which is absolutely vital for the digitising process that comes next.
Why Simplicity Wins in Embroidery
Embroidery is quite literally the art of drawing with thread, and thread has physical properties that screens don't. Details that look amazing on a monitor can quickly turn into a muddled mess when translated into stitches.
Here are a few common design elements that just don't play well with embroidery:
- Tiny Text: Letters smaller than about 6mm high tend to lose their shape and become hard to read.
- Complex Details: Super fine lines, intricate patterns, and minuscule shapes often blur together, losing all definition.
- Colour Gradients: You can't replicate a smooth fade from one colour to another with solid threads. Gradients need to be converted into distinct, solid blocks of colour.
Think of it like creating a mosaic. You can’t use tiny, pixel-like specks of tile and expect a photorealistic image. You need clear, well-defined pieces to build a picture that’s easily recognisable. The same principle applies here. A simplified, bold logo will always look cleaner and more professional on your work shirts. While artwork is key, so is the fabric prep; a big part of that is finding the best stabilizer for embroidery.
The best logos for embroidery are clean, bold, and have distinct colour separations. Simplifying your design isn't a compromise—it's a strategic move to ensure the highest quality finished product.
If your logo has some of these tricky elements, don't stress. A good embroidery partner can work with you to simplify the design for the best possible result. This kind of artwork preparation is standard practice for all sorts of branded gear. In fact, you can learn more by exploring different ways to customise your promotional products.
By starting with the right artwork, you're paving the way for embroidered work shirts that look sharp, professional, and built to last.
Choosing the Best Threads and Stitches
If your logo is the masterpiece, think of the threads and stitches as the paint and brushstrokes that bring it to life. The choices we make here are crucial, defining not just how your embroidered work shirts look, but how they hold up over time, especially in tough Australian work conditions.
Getting a feel for the basics helps you understand what goes into the final product and makes it easier to chat with us about the exact look you're after.
Finding the Perfect Thread
Not all threads are cut from the same cloth, especially when it comes to durable workwear. The two main players, polyester and rayon, each bring something different to the table. Choosing the right one really boils down to balancing ruggedness with appearance.
When you're looking for the best material for your work shirts, it's helpful to see how the most common thread types stack up side-by-side.
Comparing Common Embroidery Thread Types for Work Shirts
| Thread Type | Key Characteristics | Best For |
|---|---|---|
| Polyester | Extremely tough, bleach-resistant, excellent colourfastness. The true workhorse. | High-vis gear, tradie uniforms, hospitality aprons—anything that needs frequent, harsh washing. |
| Rayon | Brilliant, silky sheen for a premium finish. Softer feel than polyester. | Corporate polos, client-facing staff uniforms, and executive wear where a sharp look is key. |
In short, the choice is a classic trade-off.
Go for polyester when you need maximum durability for tough jobs. Choose rayon when you want a superior sheen for a more corporate or polished look.
The push for high-quality, long-lasting branding is a big deal in the Aussie apparel world. While specific numbers for embroidery can be elusive, the custom T-shirt printing market—a close cousin—was valued at a whopping $84.22 million in 2023. It’s set to climb to $133.93 million by 2032, which tells you just how much businesses are investing in customised workwear. You can dig deeper into this trend in this detailed industry report.
The Building Blocks: Basic Stitch Types
Once we’ve picked the thread, our digitising expert programs the embroidery machine to "draw" your logo using different stitches. You don’t need to become a stitch guru, but knowing the main types can give you a new appreciation for how your design is constructed. It's a bit like understanding the different branding techniques for other apparel, which we touch on in our custom beanie branding guide.
There are really three main stitches that do all the heavy lifting:
-
Satin Stitch: Picture a series of long, neat stitches laid side-by-side. This creates those smooth, solid, slightly raised lines you see on lettering and borders. It has a beautiful sheen and is perfect for making text pop.
-
Fill Stitch (Tatami Stitch): Got a large, solid area of colour in your logo? That's where the fill stitch comes in. It’s made of shorter, running stitches that criss-cross to create a flat, textured surface, almost like you’ve coloured it in. It gives great coverage and keeps big design elements stable.
-
Running Stitch: This is the simplest of the lot—think of a single, dashed line. We use it for creating fine details, delicate lines, or as a hidden foundation (an underlay) to give other stitches a stable base to sit on.
Where Should We Put Your Logo on the Shirt?
Deciding where to stitch your logo is just as important as the design itself. The classic left-chest spot is a go-to for a reason—it’s clean, professional, and everyone expects it. But sometimes, thinking outside that box can really make your brand pop and give your team's uniforms a unique edge.
The key is to think strategically. Will your crew be throwing on hi-vis vests or jackets during the day? If they are, that perfectly placed chest logo is going to be hidden from view. This is exactly why exploring other spots can be a game-changer, keeping your brand visible no matter what.
Getting Creative With Placement
Shifting your logo to a different area isn't just a practical move; it can look really sharp and modern. It’s a simple way to make your embroidery on work shirts feel a little less like everyone else's.
Here are a few popular alternatives that work wonders:
- On the Sleeve: The upper arm, left or right, is prime real estate. It's easy to see from the side and won't get covered up by an open jacket or vest.
- Across the Back Yoke: This is the spot right below the collar on the upper back. It's a fantastic canvas for a larger logo and makes a big statement, especially for team members who are often seen from behind.
- On the Collar: A small, tasteful logo stitched onto the collar point adds a subtle touch of class. It’s a great option for a secondary logo or for brands that want a more understated, premium feel.
The best placement ensures your logo is doing its job all day long. Think about what your team does every day—how they move, what gear they wear—and choose a spot that gives your brand the most visibility.
Why Size and Consistency Matter
Once you’ve picked the perfect spot, we need to nail the size. A logo that’s too big for a sleeve can look clumsy, but one that’s too small on the back of a polo will just get lost. We'll work with you to scale your design so it looks balanced and professional on the garment.
We use standard measurements to keep everything looking consistent, whether we’re working on an XS or a 5XL shirt. For a typical left-chest logo, for instance, we’ll place it about 20cm down from the shoulder seam and line it up centrally above the armpit. Sticking to these industry standards means every single shirt looks sharp and uniform. A well-placed logo on a quality garment like the Sols Imperial Adult T-shirt really shows you care about the details.
This focus on quality branding is a big deal for Aussie businesses. The national embroidery market is currently worth around $68.7 million a year and is expected to grow by 5.6% annually through 2031, largely thanks to industries like construction and healthcare investing in top-notch uniforms. You can dig deeper into these Australian embroidery market trends if you're interested.
Looking After Your Embroidered Work Shirts
You've invested in getting your work shirts professionally embroidered, and you want them to look sharp for as long as possible. The good news is, a little bit of care goes a long way. Getting your washing and drying routine right will protect the threads, backing, and fabric, keeping your uniforms looking crisp and professional for years.

It helps to think of the embroidered logo as its own little system. The threads, the stabiliser underneath (the backing), and the shirt fabric are all working together. The biggest threats to this system are high heat and rough friction, which can cause the threads to shrink or damage the backing, leading to that dreaded puckered look.
The Right Way to Wash and Dry
Making a few small tweaks to your laundry habits can make a huge difference. These simple steps will help maintain the quality and appearance of your team's gear.
-
Turn It Inside Out: This is the easiest and most effective trick. Before you toss a shirt in the wash, turn it inside out. This simple action shields the embroidery from rubbing against other clothes, zippers, or buttons that could snag the threads.
-
Go Cool on the Wash Cycle: Always opt for a gentle wash cycle using cool or lukewarm water. Hot water is the enemy here; it can make the embroidery threads shrink at a different rate to the shirt's fabric, causing the design to warp or pucker.
-
Stick to Mild Detergent: Avoid harsh detergents and definitely steer clear of bleach. These can strip the colour from the threads over time, leaving your vibrant logo looking faded and tired. A standard, mild detergent is all you need.
If you remember just one thing, make it this: treat your embroidery gently. By turning shirts inside out and keeping them away from high heat, you're actively protecting the structure and colour of your company's logo.
A Quick Word on Ironing
If your shirts need a press, a bit of extra caution is all it takes. The golden rule is to never place a hot iron directly onto the front of the embroidery.
Instead, always iron the shirt on the reverse side. For an extra layer of protection, you can place a thin piece of cloth, like a tea towel, between the iron and the fabric. This approach prevents the intense heat from melting or flattening the threads, ensuring your logo stays looking sharp and well-defined.
Your Top Questions About Embroidered Work Shirts
When you're sorting out branded gear for your team, a few questions are bound to pop up. Getting the right answers makes all the difference in choosing the best option. We've put together the most common questions we get about embroidering work shirts to give you the practical info you need.
How Is Embroidery Pricing Worked Out?
The single biggest factor that decides the price is the stitch count. This often surprises people who are used to screen printing, where every extra colour adds to the cost. With embroidery, the number of thread colours doesn't really move the needle on price.
What does matter is the size and complexity of your logo. A large, detailed design with solid-filled areas needs a massive number of stitches, which means more time on the machine. A simple text logo, on the other hand, is much quicker. It's a bit like paying a painter by the hour—a detailed mural takes a lot longer than a simple sign, and the cost reflects that.
You'll also usually see a one-off setup fee for digitising. This is where we convert your logo into a special file that our embroidery machines can understand. The good news? It's a one-time thing. We keep your digitised logo on file, so any future orders are faster and cheaper to run.
Can You Embroider Any Kind of Shirt?
Embroidery is super versatile, but it’s not a perfect fit for every single fabric out there. The best results come from stable, sturdy materials that can handle the stitching process without puckering.
Most work shirts are brilliant for embroidery. This includes:
- Polo Piqué: That classic textured fabric has plenty of body to hold stitches beautifully.
- Cotton Twill: Think business shirts. The tight weave gives us a lovely, smooth canvas to work with.
- Polyester Blends: These are tough, common in modern workwear, and hold up exceptionally well.
Where it gets a bit tricky is with very thin or super-stretchy fabrics, like some performance tees. The tension from the needle can sometimes cause the material to bunch up. But don't worry, a pro will always use the right type of backing (also called a stabiliser) behind the fabric. This supports the logo area and keeps everything looking flat, crisp, and professional. We'll always point you to the best garment for your logo.
As a rule of thumb, heavier and more stable fabrics give the best foundation for a flawless finish. Your supplier should be able to guide you to the perfect shirt that will make your logo look its best.
What’s the Usual Minimum Order?
This can vary a bit from one supplier to the next, but you'll often find minimums set somewhere between 10 and 20 items. That number isn't just pulled out of thin air; it comes down to the realities of setting up the machines.
Getting a job ready to run involves a fair bit of work: loading all the right thread colours, programming the design, hooping the garments, and running a test piece. Spreading that initial setup effort across a decent number of shirts makes the price per item much more affordable for you and the whole process more efficient for us. Ordering in bulk nearly always gives you better value.
How Long Will the Embroidery Actually Last?
When it’s done right with high-quality polyester thread, your embroidered logo is built like a tank. It's specifically made to handle tough industrial washing, daily wear and tear, and harsh Aussie work conditions without fraying, unravelling, or fading.
Honestly, in almost every case, the stitched logo will easily outlast the shirt itself. This incredible durability is why embroidery is considered the most permanent and reliable branding method you can get, offering fantastic long-term value for your money.
Ready to get your team looking sharp with branding that lasts? At Simply Merchandise, we make ordering high-quality embroidered work shirts easy. Explore our range and get a free quote today!


