
Access Denied
IMPORTANT! If you’re a store owner, please make sure you have Customer accounts enabled in your Store Admin, as you have customer based locks set up with EasyLockdown app. Enable Customer Accounts

Personalised caps: A Practical Guide for Australian Brands – personalised caps
Posted By Matthew Malios
on
Personalised caps aren’t just headwear—they transform your team into moving billboards. Simply Merchandise helped a neighbourhood café turn everyday uniforms into a memorable marketing tool.
How Personalised Caps Fuel Brand Recognition
At Bean & Barista in Fremantle, staff often struggled to stand out at local festivals. A fresh batch of custom caps bridged that gap—conversations started, and free social shares rolled in. This simple gesture delivered ongoing exposure every time someone wandered past the café or stepped inside.
- Team Unity boosts morale and gives staff a cohesive look.
- Brand Recall can increase by up to 70% when your logo rides on wearable items.
- Cost Per Impression plummets as caps travel from tables to parks and markets.
“Caps gifted with personality spark genuine customer connections, not just transactions.”
These hats quickly outgrow their souvenir status. They become talking points and walking ads wherever your crew goes.
This guide will walk you through 5 key areas—from cap styles and materials to branding, ordering and care.
Key Benefits Of Custom Caps
Getting clear on the main advantages helps you set realistic goals. First, we’ll match styles and fabrics to your brand story and local climate.
Next, you’ll compare branding methods like embroidery, screen printing and heat transfer. That way, you can choose the right look without busting your budget.
What You Will Learn
Each chapter builds on the last so you won’t miss a detail. By the end, you’ll know how to:
- Pick cap styles that resonate with your audience.
- Choose materials that suit Australia’s weather and your durability needs.
- Navigate embroidery, screen printing, sublimation and more.
- Optimise logo placement on curved panels.
- Handle lead times, minimum orders and sample approvals.
Ready to get started? The next section dives into cap styles—from classic baseball fits to trendy bucket hats. You’ll also weigh cotton twill’s comfort against polyester mesh’s breathability.
What Comes Next
After styles, we’ll unpack branding techniques using clear analogies and real-world examples. Then, we’ll guide you through ordering—so you never miss a deadline.
Finally, you’ll explore use cases from cafés, clubs and events to spark fresh ideas. By the end, ordering impactful personalised caps in Australia will feel effortless.
“A well-designed cap becomes a loyal customer’s favourite souvenir.”
Let’s dive in and give your brand the head start it deserves.
Understanding Cap Styles And Materials
Selecting the right cap is like choosing the perfect pair of shoes: it needs to suit the occasion and feel comfortable all day. Whether you’re gearing up for a festival giveaway or outfitting your team, each style delivers its own impact.
- Baseball Caps sit snugly and sport a classic profile—ideal for sport days and casual activations.
- Snapbacks offer plastic closures that click into place, fitting a wide range of head sizes.
- Trucker Caps use polyester mesh panels to maximise airflow, making them a go-to for outdoor events.
- Bucket Hats bring a relaxed brim all the way around, perfect for beachside promotions or sunny festivals.
Below is an infographic that nails how caps drive team unity, boost brand recall and lift ROI.
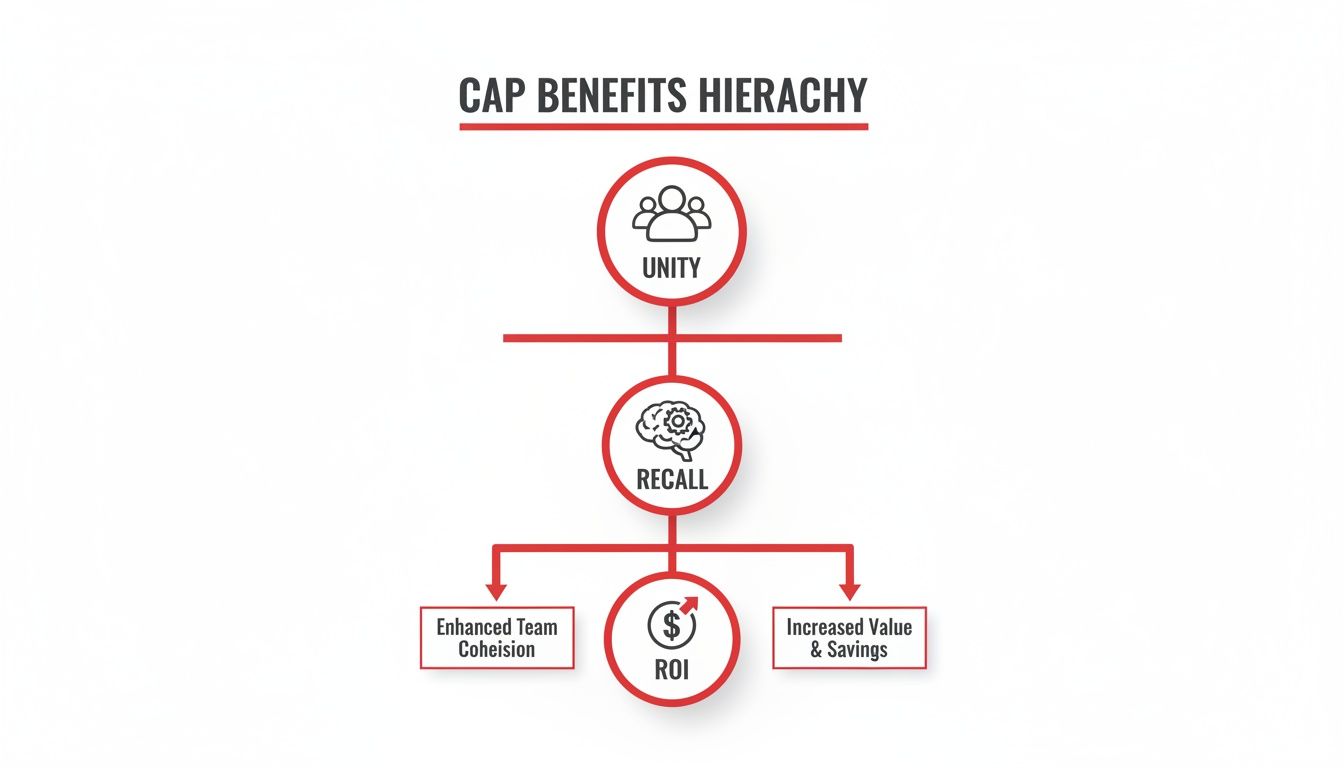
Caps do more than shade faces—they turn every wear into a walking advert. When your crew steps out in matching headwear, it cements a sense of togetherness and makes your logo stick in minds.
Comparison Of Cap Materials
Different fabrics mean different levels of comfort, durability and branding clarity. Here’s a quick look:
Comparison Of Cap Materials
| Style | Material | Key Features |
|---|---|---|
| Baseball Cap | Cotton Twill | Soft touch; sturdy; budget-friendly |
| Snapback | Polyester Mesh | Lightweight; breathable; crisp finish |
| Trucker Cap | Polyester Mesh | High airflow; quick-dry; vibrant print |
| Bucket Hat | UPF Blend | Excellent sun protection; water-resistant; premium feel |
Use this table to weigh up how each fabric will perform under real-world conditions.
Fit And Closure Options
A cap that slips off in the middle of an event isn’t helping anyone. Here’s how closures compare:
- Snapbacks latch firmly with plastic teeth—reliable and simple.
- Strapbacks use metal buckles for a premium touch that lasts through constant adjust-and-go.
- Flex-Fit Bands stretch to fit a broad range but don’t show your adjustment at a glance.
“Choosing the right closure can transform a giveaway into a long-loved accessory.” – Headwear Specialist
Explore headwear options and styling to find the perfect match for your brand’s design.
Balancing Budget And Quality
Going cheap might seem smart at first, but think about how often each cap gets worn—and how many impressions it delivers.
- Cotton twill caps start at $5.50 per piece for 50+ units.
- UPF-blend hats begin around $8.00 each.
- UPF fabrics carry a 15–25% price premium for their sun-safe properties.
- Standard cotton styles can be 20–30% less expensive but may fade sooner.
- A cap priced at $8 that’s worn 50 times works out to just $0.16 per impression.
Every cap is more than a giveaway—it’s an ongoing marketing channel. Invest wisely for the best return on your brand.
Branding Methods And Techniques
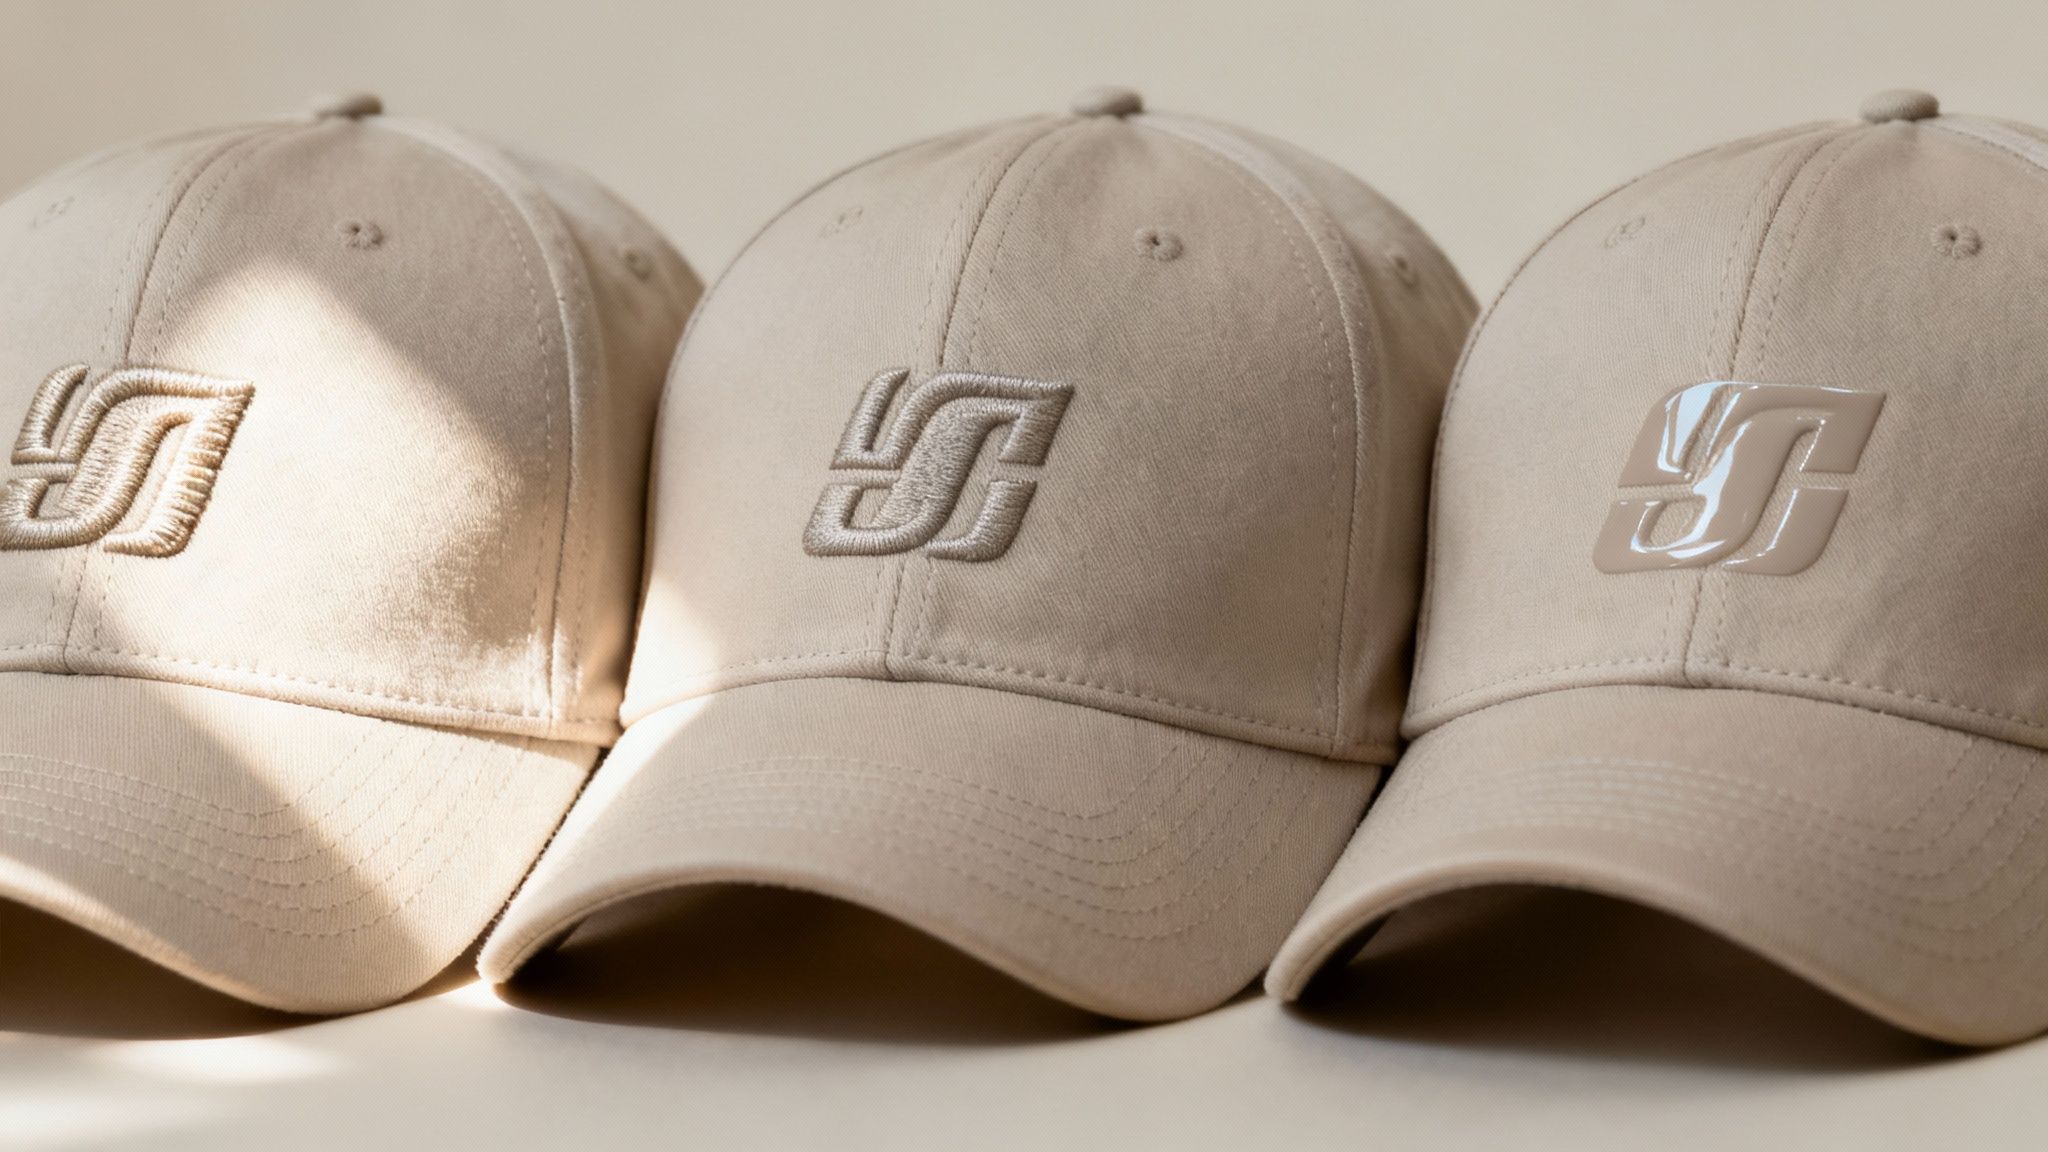
Imagine embroidery as a rich, textured wallpaper and printing as bold, eye-catching posters on your caps. This simple comparison helps you pick the approach that aligns with your brand’s goals.
Embroidery weaves high-quality threads directly into the fabric, delivering a tactile impact you can feel. When you step up to 3D embroidery, your logo pops off the cap like a sculptural accent.
Personalised embroidered caps have become one of Australia’s top choices for branded headwear. They combine style, utility and sustainability, standing strong through hundreds of washes while projecting a polished, unified look for teams and events. Learn more about embroidered caps in Australia
To help you compare at a glance, the table below summarises durability, cost and best use cases for each method.
Branding Technique Overview
| Method | Durability | Cost | Ideal Use |
|---|---|---|---|
| Embroidery | High | $$–$$$ | Premium logos, team wear |
| Screen Print | Medium | $–$$ | Bold graphics, large batches |
| Heat Transfer | Medium–High | $–$$ | Small runs, full-colour transfers |
| Sublimation | High | $$–$$$ | Photo-quality prints on polyester caps |
This snapshot makes it easier to balance your desired look against your budget and batch size.
Screen Printing Essentials
Screen printing forces ink through finely crafted mesh stencils, creating crisp, vibrant images much like a high-impact poster. It shines when you’re ordering 100+ units, as the initial setup cost spreads out over a large run.
- Setup Fees Often start around $50 per colour stencil
- Ideal Artwork Vector files (.AI or .PDF) for razor-sharp details
- Material Matters Fabric weave influences ink soak and final vibrancy
Heat Transfer Highlights
Heat transfer sticks printed vinyl or film to your caps using heat and pressure. This technique keeps costs down for runs under 50 caps and reproduces complex gradients without breaking the bank.
- Wash Life Up to 300+ washes with premium transfer films
- Design Prep Flatten layers and convert text to outlines for clean edges
- Flexibility Great for small orders and multicolour artwork
Sublimation Insights
Sublimation infuses dye directly into polyester fibres, producing fade-resistant, full-colour designs that won’t peel. It demands specialised polyester caps and heat chills above 200°C.
- Best For Gradient-heavy or photo-realistic artwork
- Expense Higher costs due to specialised inks and cap blanks
- Limitations Works only on light polyester fabrics; muted on dark backgrounds
File Preparation And Fees
Proper file prep will safeguard print quality across every method. Keep these pointers in mind:
- Thread Choices: Match polyester threads to your cap’s colour palette for added sheen
- Setup Charges: Embroidery usually skips fees, while printing methods may bill stencil or film costs
- Artwork Formats: Supply vector or high-res raster files to avoid pixelation
Check out our guide on custom printing options for a step-by-step walkthrough of each workflow.
Always test a sample to confirm colour accuracy and thread tension before committing to full production.
Mini Case Study
A Brisbane bakery opted for screen-printed cotton twill caps at a weekend market. They ordered 200 units, and the result was a tangible boost in stall traffic and social media buzz.
- Logo colours stayed vibrant after multiple washes
- The caps drove 5× more impressions than printed flyers
This real-life example highlights how matching your branding method to campaign goals can amplify your ROI.
Choosing the right branding technique ensures your personalised caps hit the sweet spot between aesthetic impact and budget. Next, we’ll explore design placement and sizing tips to make sure your caps look sharp and fit perfectly.
Design Placement And Sizing Advice
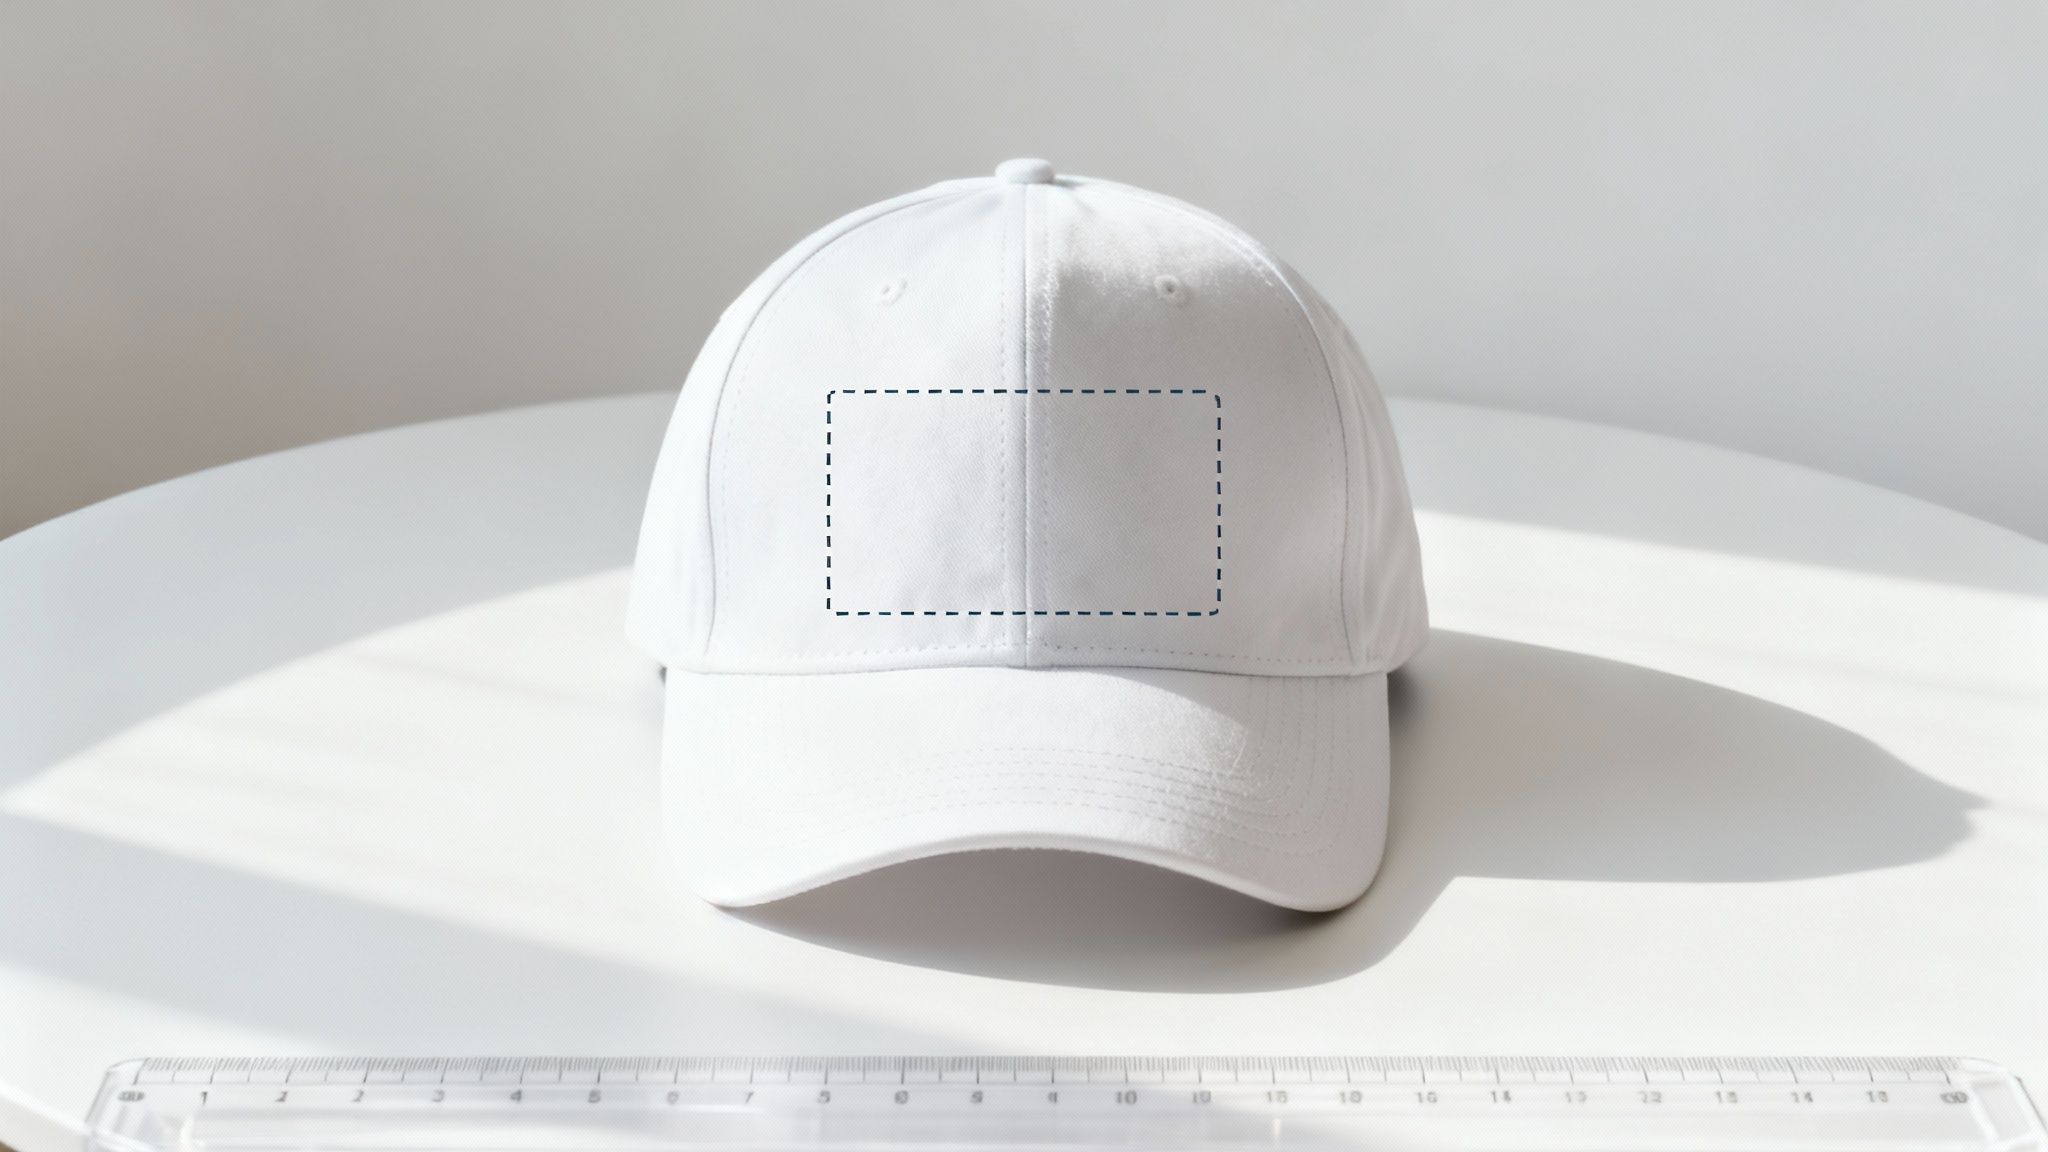
Think of the cap’s front panel as a mini billboard. A perfectly sized logo can turn heads at a busy conference or outdoor event.
Leave enough blank space so your design isn’t lost on the curve. Too big and the edges wrap around; too small and it sinks into the background.
Balancing Logo And Negative Space
Just like framing a photograph, you need room for your logo to breathe. Aim for harmony between the design and the empty areas around it.
- Keep logos between 50mm and 70mm wide on adult baseball caps to maintain legibility.
- Ensure at least 10–15mm of blank space around the design so it stands out.
- Use contrasting thread or print colours to help logos pop against darker fabrics.
A cap’s dome curves in three dimensions, so what looks right on a flat screen can feel off on the finished hat. Always check a mockup to see how your PNG or vector file settles into the crown’s shape.
| Demographic | Head Circumference | Recommended Logo Width |
|---|---|---|
| Children | 51–54cm | 40–50mm |
| Teens | 55–58cm | 50–60mm |
| Adults | 57–61cm | 60–70mm |
Choosing The Right Closure And Fit
Picking the closure is more than a style call—it affects how the logo sits and how easy the cap is to wear.
- Strapbacks with metal buckles deliver a clean, adjustable look.
- Snapbacks click into place for quick sizing—perfect for sports teams.
- Flexfit bands stretch comfortably over varied head sizes, though they hide the adjustment points.
“Central placement on the crown helps your logo remain the star of the show,” says a headwear designer.
Align your artwork between the seams so it doesn’t warp or skew. That simple step keeps your branding crisp and balanced.
Style Tips For Different Uses
Every scenario has its own sweet spot for design placement. A giveaway at a tradeshow wants loud and proud on the front; a uniform cap might carry a subtler badge on the side or back.
- For sports teams, choose 3D embroidery centred above the bill.
- For retail merchandise, try side-panel prints for a fresh twist.
- For corporate events, place the main logo on the front and a smaller mark on the rear strap.
Also, check your visor depth—shallow brims can hide parts of a low-profile logo if someone tilts their head. A wider, flatter visor makes detailed artwork easier to see.
Small tweaks here can save you from reorders and delays later.
Testing Samples Before Finalising
Ordering a sample cap is worth every cent. You’ll see how the curves affect your design and confirm your thread or print colours under natural light.
When your first mockup arrives:
- Inspect edge clearances for cropping near seams.
- Check colour contrast under indoor and outdoor lighting.
- Try the closure on different head sizes for comfort.
- Review embroidery tension to avoid puckering on mesh panels.
Once you’ve ironed out these details, you’re ready to move into full production. This step closes the gap between a screen mockup and a cap people will actually wear.
By following these placement and sizing techniques, your personalised caps will deliver maximum brand visibility.
Next up, we’ll explore how to plan orders and budgets to keep costs in check.
Ordering Process And Budgeting Tips
Planning a batch of personalised caps is a bit like charting a road trip—you need a clear map, pit stops and estimated timings. Start by gathering quotes, noting each supplier’s minimum order quantities (MOQs) and lead times. That way, everyone knows the route before the engine roars to life.
Initial Quote Request
Kick off by outlining your cap style, preferred fabric and branding technique in your brief. Most suppliers ask for at least 24 units before you hit base pricing.
Next, check for any set-up fees—things like screen printing stencils or embroidery digitising can add up. Always request a digital proof to spot layout issues early, then approve a physical sample to verify colour accuracy and fit.
Here’s how to streamline your quote process:
- Share vector logo files for crisp reproduction.
- Specify closure preferences: snapback, strapback or Flexfit.
- Confirm shipping details and delivery windows.
- Set a date for your proof review to avoid delays.
An itemised quote shines a light on artwork prep and freight costs. Once you compare suppliers line by line, choosing the right partner becomes a breeze.
Lead Times And Rush Options
Standard runs usually take 10 to 20 business days. If you’re pressed, rush options can cut that to 5 days—though they carry a 15–25% surcharge. Keep in mind that peak demand, especially before major events, can tack on an extra 5 days.
“Build in buffer time around seasonal campaigns to avoid last-minute stress.”
Use this checklist to track your timeline:
- Submit quote requests by your target date
- Review digital proofs within 2 days
- Approve samples before production
- Give final sign-off at least one week ahead
Below is a snapshot of how key milestones line up in a typical cap order.
Ordering Timeline And Costs
| Order Stage | Typical Lead Time | Cost Range |
|---|---|---|
| Quote Request | 1–2 days | Free |
| Sample Approval | 3–5 days | $20–$50 per cap |
| Production Run | 10–15 days | $7–$12 per cap |
| Rush Conclusion | 5–7 days | +15–25% surcharge |
Even during busy seasons, tacking on a 5–7 day buffer at each stage sets you up for smooth delivery.
Budget Hacks And Hidden Fees
Tame your budget by spotting cost drivers before they surprise you. Small charges—like extra thread colours or express freight—can sneak up fast. Use these tactics to keep expenses in check:
- Hit discount tiers by adjusting quantities.
- Mix several cap styles in one order to share set-up fees.
- Demand a transparent breakdown of every cost.
- Snag free art setup and freight deals when they pop up.
A few extra cents per cap can boost durability, stretching your cost-per-impression down the line.
Investing a bit more now often pays off in longevity—and that’s real value.
For smoother proofs and fewer revisions, check out our guide on Artwork Submission Tips: A Simple Guide for Beginners.
Wrap up your order with these final steps:
- Ask for a detailed packing list.
- Inspect stitching and colour consistency upon arrival.
- Store caps in a cool, dry spot and rotate stock oldest to newest.
With clear timelines and budgets, you’ll launch your cap campaign with confidence. Early planning unlocks seasonal discounts and better credit terms. Review past orders, consider a rolling annual schedule and negotiate extended payment options for large runs. Happy ordering!
Care Advice And Use Cases
Your personalised cap is more than just headwear—think of it as a mobile billboard. A few straightforward care steps will keep that logo looking sharp day after day.
Handwashing with a mild detergent protects the fabric from stretching and prevents colour fade. This gentle routine locks in every stitch so your branding stays crisp.
- Wash caps in lukewarm water with a mild detergent. This keeps fibres strong and threads intact.
- Skip machine spin cycles; the tumbling action can distort the frame and fray embroidery.
- Gently pat the cap with a clean towel to pull out moisture, then let it air dry.
Gentle Wash And Dry Techniques
Imagine your cap soaking in a warm bubble bath—just five minutes is enough to loosen grime without rough handling. A soft-bristled toothbrush on the sweatband banishes oils and stains without a fight.
- Soak caps for 5 minutes in a mild soap solution to lift surface dirt gently.
- Rinse under a gentle trickle of water to flush out residue and prevent fabric pilling.
- Air dry over a curved support or a rolled towel to keep the crown’s shape. Avoid direct sun, which can dull colours.
Shape Preserving Storage
Storing hats in a heap is like squashing a sandcastle—it loses its form fast. Instead, give each cap its own space or support to hold onto that signature curve.
- Hang caps on dedicated hat racks or pegs to maintain structure.
- Slip crumpled tissue paper inside the crown for extra panel support.
- Store in a cool, dry spot away from heaters and damp corners.
“A simple hat rack can boost cap longevity by 90%, avoiding creases and distortion.” – Headwear Specialist
Stain Removal Hacks
Spills happen, but quick action keeps them from setting like a stubborn guest. With a few household staples you can tackle spots before they become permanent.
- For grease marks, dab a little dish soap on the stain and let it sit for 15 minutes.
- Blot gently instead of rubbing to avoid pushing grease deeper into the fibres.
- White vinegar is your ally for yellow sweatbands—apply, rinse thoroughly, and watch the stain lift.
- Always test any cleaner on a hidden area before treating the main fabric.
Café Loyalty Success Story
In Melbourne, a bustling café made custom caps part of its loyalty programme. Customers wearing the branded headgear quickly became walking ambassadors—selfies included.
- Gifting caps to regulars sparked a 35% rise in repeat visits.
- Barista caps turned into free social media content, attracting new faces through shared snaps.
- A rotating palette of limited-edition colours created a buzz and drove urgency.
Explore how bespoke headwear fits into broader campaigns: check out our guide on personalised promotional products.
Sports Club Team Spirit
Over in Brisbane, a netball club whipped up embroidered caps to rally fans and players. The matching headwear became a badge of unity at every tournament.
- Launch-day cap giveaways lifted membership by 20%.
- Stadium crowds turned into waves of team colours, amplifying brand visibility.
- Caps doubled as merchandise, adding an extra revenue stream.
Festival Promotion Use Case
At a coastal music festival, organisers handed out printed trucker caps like free backstage passes. Attendees wore them long after the last encore, turning heads into mobile adverts.
- 75% of festival-goers kept wearing the caps post-event.
- Thousands of shared photos boosted brand recall online.
- Sponsors saw a 10% uptick in enquiries after the festival.
From café counters to stadium stands and festival fields, personalised caps prove they’re more than a fashion statement—they’re a marketing workhorse. Pair these real-world examples with proper care and your brand will stay front and centre.
Ready to give your campaign a boost? Find out how Simply Merchandise delivers top-quality caps (and more) no matter your budget or timeline.
Quick Care Checklist
- Handwash every cap no more than 10 times a year to preserve structure.
- Rotate your headwear collection to spread wear evenly.
- Inspect for loose threads and trim them before washing.
- Store away from direct sunlight to prevent colour fade.
Follow these care tips and learn from real use cases to keep your personalised caps fresh and impactful. Explore our FAQs for extra advice.
Frequently Asked Questions
Here you’ll find straightforward answers to common queries about ordering personalised caps. From minimum quantities to artwork approvals, we’ve got you covered.
Minimum Order Quantities
Most suppliers require a minimum order of 24 caps per customisation method. Embroidery typically starts at 24 units, while printing can go down to 12 caps.
- Embroidery: 24 units per design
- Screen printing: 12 caps minimum
- Heat transfer: From 10 caps per run
- Sublimation: Usually 20 units
Mixing styles in one order? Suppliers often pool set-up fees, which can bring your overall cost down.
Lead Times By Method
Your chosen customisation method drives lead times. Standard runs generally take 10–20 business days. If you need it faster, rush services can slice that in half for a 15–25% surcharge.
| Method | Typical Lead Time |
|---|---|
| Embroidery | 10–20 days |
| Screen Print | 10–15 days |
| Heat Transfer | 7–10 days |
| Sublimation | 12–18 days |
Remember to factor in an extra 3–5 days for proofing and sample approvals before production kicks off.
Accepted File Formats
For the sharpest results, most cap makers ask for vector art (.AI, .EPS or .PDF). Printing work also accepts high-resolution raster files (300 dpi PNG, JPEG or TIFF).
Convert text to outlines and embed fonts to prevent any missing or substituted typefaces.
Ensuring Colour Accuracy
Colour shifts can occur when artwork moves from screen to fabric. To keep your brand colours true, request physical swatches or printed proofs.
- Provide Pantone or CMYK values for key brand colours
- Approve a physical sample under natural light
- Adjust thread weights or ink densities on darker fabrics
- Check our custom embroidery guide for digitising tips on curved surfaces
“Selecting the right file format cuts proof cycles in half.”
Artwork Approval Process
You’ll get a digital mock-up within 2 business days. The sooner you review and sign off, the smoother your project flows.
- Verify logo placement and size
- Match thread or ink colours to your brand guide
- Confirm text legibility on curved panels
- Provide final sign-off in writing to start production
- Specify closure type (snapback, strapback or Flexfit)
Fast approvals can shave up to 5 days off your timeline. Aim to respond within 48 hours to keep everything on track.
Ready to bring your custom caps to life with expert support? Contact Simply Merchandise online at https://simplymerchandise.com.au today.
Related Posts

The Most Common Branded Merchandise for Business Marketing
The Most Common Branded Merchandise for Business Marketing (And Why They Work) In digital marketing, screen time is...
Read More
Definition of Merchandise for Business Marketing
Definition of Merchandise for Business Marketing In a corporate and marketing context, merchandise (often referred to as...
Read MoreInvalid password
Enter

