
Custom embroidered caps are so much more than just something to wear on your head; they're a powerful, walking advertisement for your brand. They take your logo and turn it into a tangible, high-quality statement that builds recognition and gives off a professional vibe every single time it's worn.
Why Custom Embroidered Caps Are a Smart Branding Move
In a world cluttered with digital ads that are here one second and gone the next, an embroidered cap offers something real and lasting. Don't just think of it as another piece of swag. See it for what it is: a strategic asset, a mobile billboard that keeps generating impressions long after an event is over. The feel of embroidery—that raised texture and durable stitch—immediately signals quality, elevating how people see your brand.
That perceived quality is everything. When someone gets a well-made cap, it creates a genuinely positive connection to your business. It's why they’re a go-to for everything from corporate golf days and trade show giveaways to welcome packs for new hires and thank-you gifts for top clients. It’s a simple, effective way to make your team feel like a team and your customers feel appreciated. A great cap quickly becomes a wardrobe favourite, weaving your brand into the fabric of everyday life.
The Impact of Tangible Merchandise
The power of having a physical product in someone's hands is well-proven. The custom headwear market here in Australia, for example, has been growing steadily at a rate of 6.5% a year heading into 2025.
Even more telling is the research showing that 85% of consumers are more likely to remember a brand after receiving a custom cap. That statistic alone makes them a top-tier choice for any marketing campaign.
This recall value is what builds a strong brand identity. Unlike a flyer that’s tossed in the bin, a cap is worn again and again, reinforcing your logo with every use. Each time it's on someone's head, it's a personal endorsement. This kind of sustained visibility is exactly what you need to build a memorable brand, making custom caps a very shrewd investment. To see how physical items fit into the bigger picture, you can explore our guide on branded merchandise for business.
A well-designed custom embroidered cap does more than just display a logo; it communicates your brand's commitment to quality and attention to detail. It’s an investment that pays dividends in visibility, loyalty, and team spirit.
Building Unity and Brand Advocates
Beyond reaching customers, these caps are fantastic for building your internal culture. Kitting out your team in matching, high-quality headwear creates a real sense of unity and professional pride.
It turns your employees into walking, talking brand advocates, whether they're at a client meeting, a community event, or just doing the weekend shopping. For brands wanting to add a modern twist, you can even explore how a custom QR code apparel design could create a cool, scannable experience right on your caps.
Choosing the Right Cap Style for Your Brand
Picking the right cap for your logo is a bit like casting the lead role in a movie. The style you choose sets the tone and tells a story about your brand before a single word is spoken. Are you classic and professional, or are you modern and laid-back? Getting this choice right is the first step to creating custom embroidered caps that people will actually want to wear.
Think of the cap as the frame for your artwork. A structured baseball cap, with its rigid front panels, is the perfect stage for a sharp corporate logo or a detailed emblem. It stands tall and holds its shape, projecting an image of stability and quality—ideal for team uniforms, corporate events, or premium giveaways.
On the flip side, you have the unstructured "dad hat." This cap tells a totally different story. Its soft, relaxed fit creates a casual, lived-in feel that’s perfect for a contemporary lifestyle brand. These hats feel approachable and authentic, making them a go-to for merchandise lines, local cafes, and tech startups aiming for a friendly vibe.
Matching Your Cap to Your Audience
The real secret is aligning the cap style with your brand's personality and the people you want to connect with. An outdoorsy, rugged brand, for instance, would feel right at home with a durable canvas cap or a classic trucker cap. It just makes sense for their adventurous customers.
This infographic breaks down how all the pieces—visibility, perceived quality, and team spirit—fit together to create a seriously effective marketing tool.
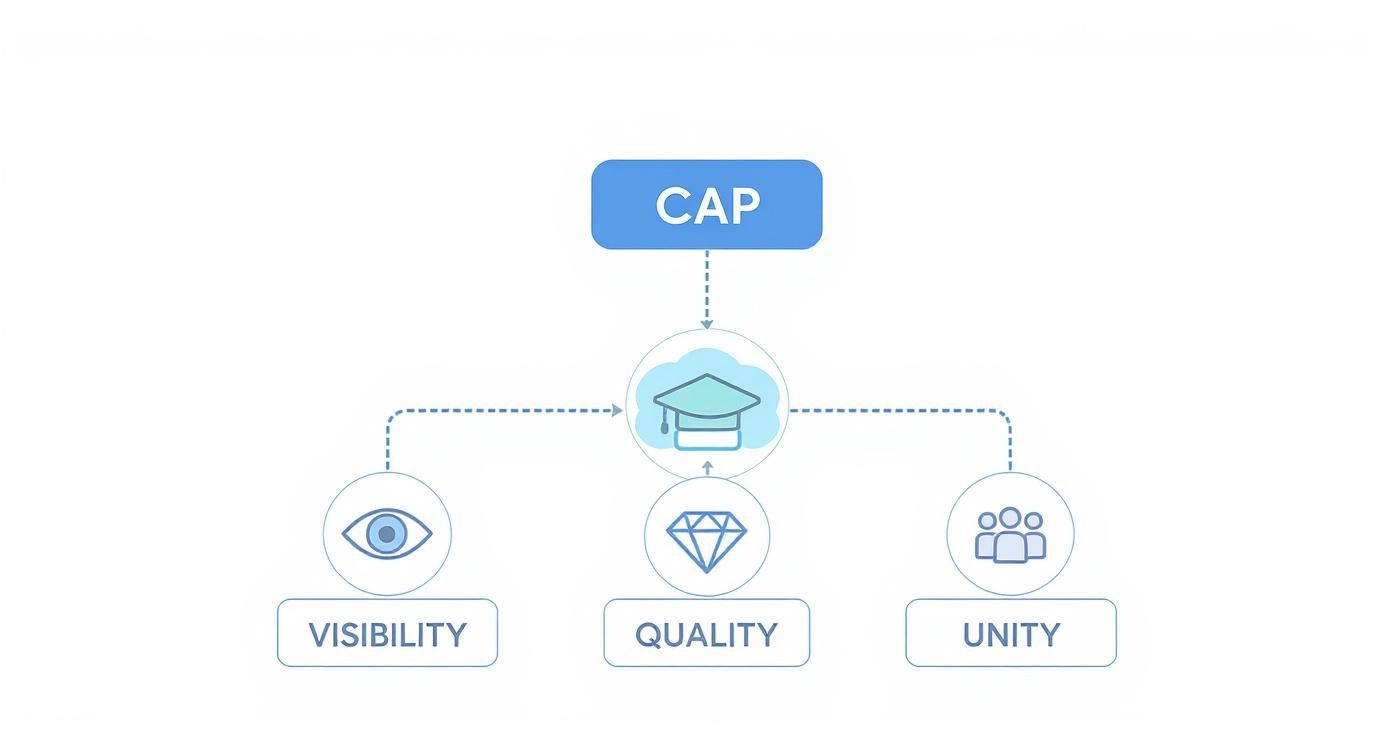
As you can see, it’s not just about slapping a logo on something. The quality and style of the cap itself either boosts or undermines the message you’re trying to send. A well-chosen, high-quality cap makes your brand look good and brings your team together under one shared symbol.
Cap Style Comparison for Brand Strategy
To help you find the perfect canvas for your logo, here’s a quick-reference table comparing popular cap styles, their ideal brand applications, and key features.
| Cap Style | Key Features | Best For (Industry/Use-Case) | Embroidery Area |
|---|---|---|---|
| Structured Baseball Cap | Rigid, buckram-backed front panels that hold their shape. | Corporate Branding, Sports Teams, Uniforms | Clean, flat surface ideal for crisp, detailed logos. |
| Unstructured "Dad" Hat | Soft, pliable crown for a relaxed, conforming fit. Usually washed cotton. | Lifestyle Brands, Cafes, Startups, Merchandise | Great for a more casual, "stitched-on" logo appearance. |
| Trucker Cap | Foam front panel with a breathable mesh back. | Events, Outdoor Brands, Food & Beverage, Casual Promotions | The foam front is perfect for bold, colourful embroidery. |
| Beanie | Knitted fabric, available in cuffed, slouchy, or skull-fit styles. | Winter Promotions, Uniforms for Cold Climates, Skate/Streetwear | Excellent for simple, centred logos on the cuff or body. |
Each of these styles offers a unique feel and appeals to a different crowd. By thinking strategically about your choice, you ensure the final product is something people will wear with pride.
Choosing the right cap style isn't just about aesthetics; it's a strategic branding decision. The style should be a genuine reflection of your company's values and a direct line to the people you want to reach.
When you nail this, your cap transforms from a simple promotional item into a walking billboard. To see these styles and more in action, feel free to explore our full range of customisable headwear and find the perfect fit for your next project.
Understanding Embroidery Techniques and Quality
Embroidery can take a simple cap and turn it into a premium piece of branding, but it's important to know that not all stitching is created equal. The specific technique used to apply your logo has a huge impact on the final look, feel, and even how long it lasts. Getting your head around the main methods is the key to choosing the right style for your caps and making sure you get a top-quality product.
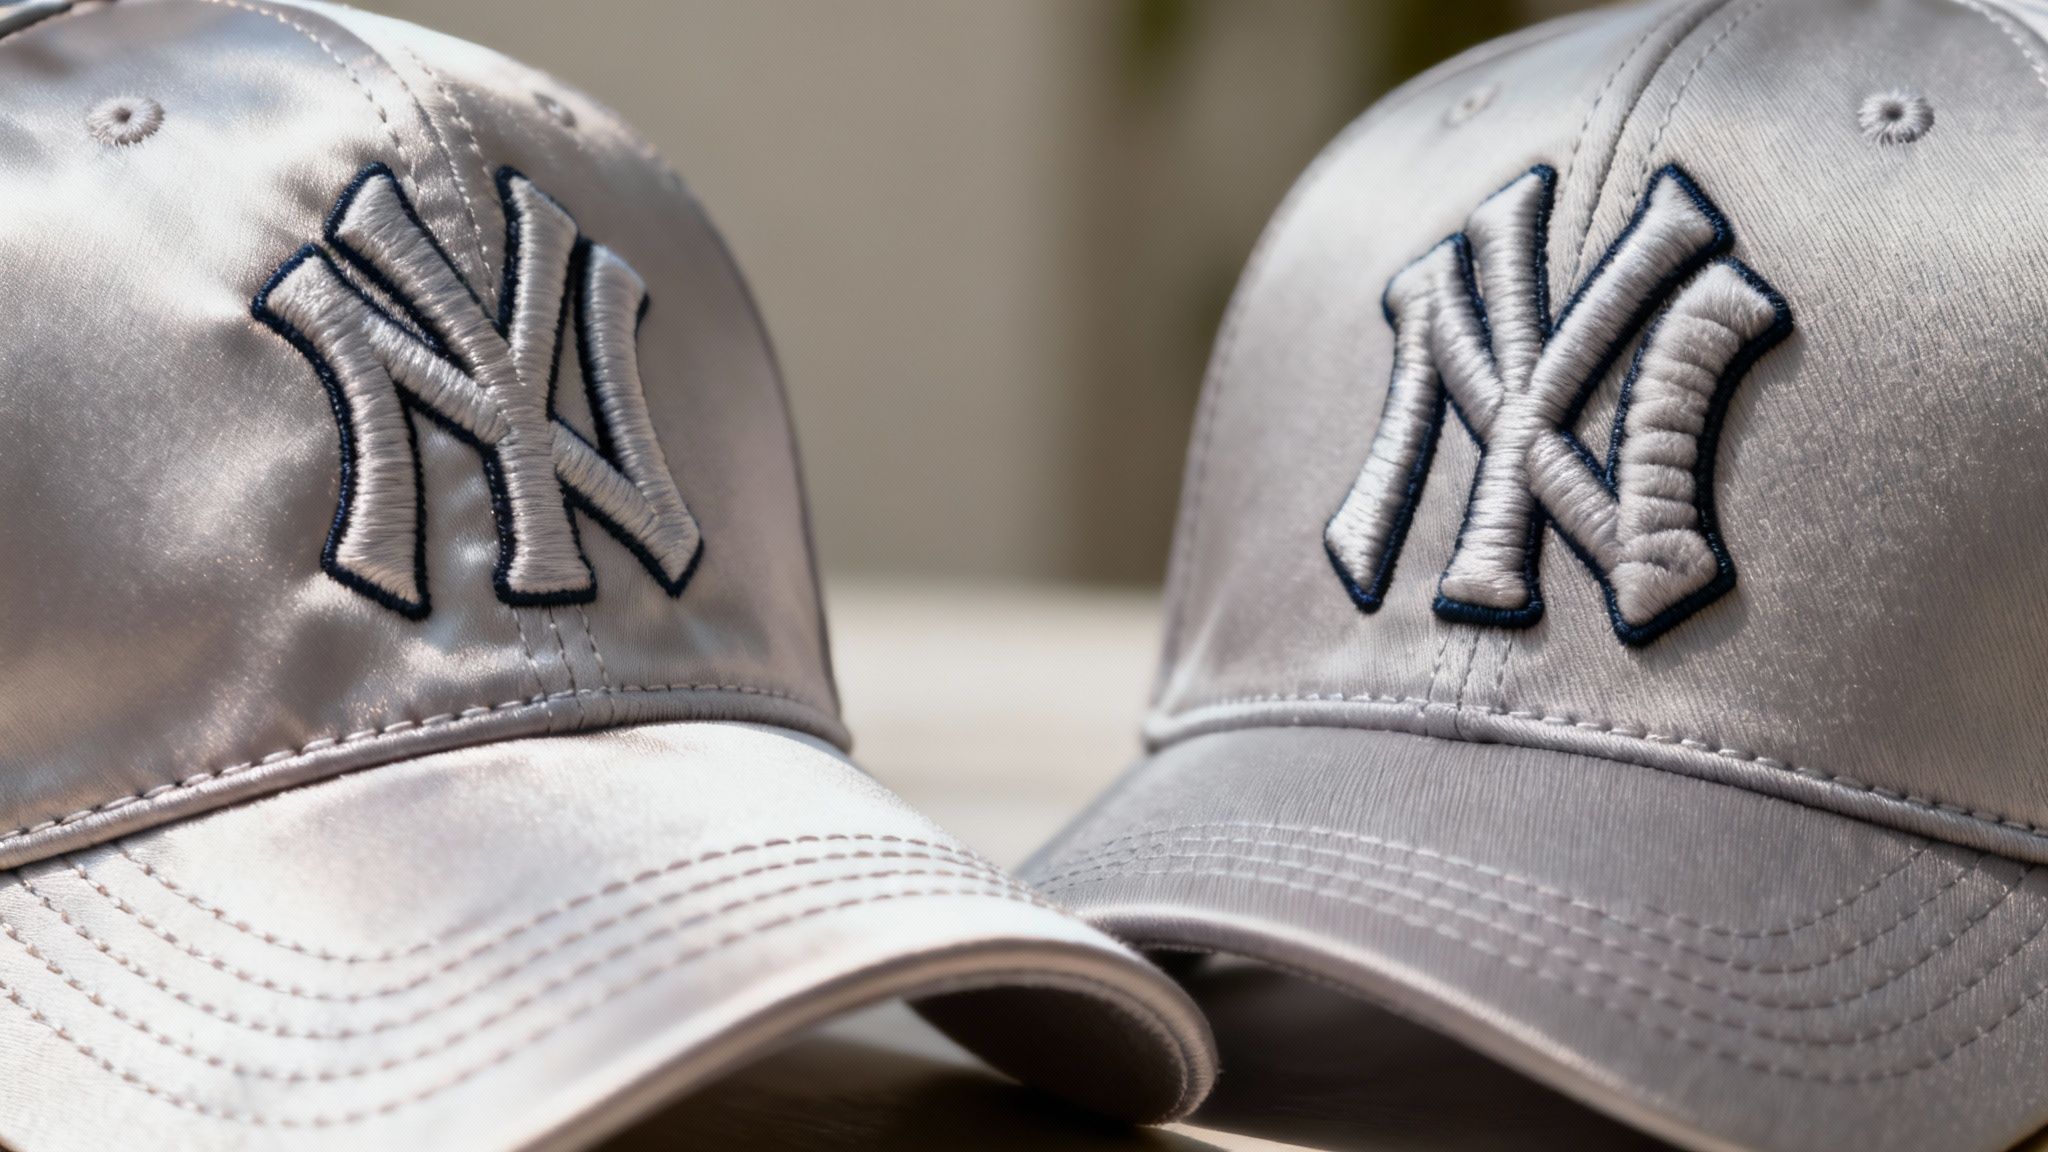
Think of the two most popular techniques this way: flat embroidery is like a detailed 2D drawing, while 3D puff embroidery is more like a small sculpture.
Flat embroidery is the classic, go-to style you see most often. The thread is stitched directly onto the cap, creating a clean, professional finish that’s absolutely perfect for intricate logos and fine text. Because it sits flush against the fabric, it has a timeless and sophisticated look.
3D puff embroidery, on the other hand, is all about adding a dramatic, raised dimension to your design. To get this effect, a piece of foam is placed on the cap and then stitched over with a very high density of thread. The foam pushes the stitches upward, creating a bold, tactile effect that literally makes your logo pop. It’s a fantastic choice for simpler, blockier designs where you want to make a big visual impact.
Key Markers of Quality Embroidery
What separates a premium, long-lasting cap from a cheap one often comes down to the small details in the embroidery itself. When you’re checking a sample or talking options with a supplier, knowing what to look for gives you the power to demand the best for your brand.
Here are the crucial quality indicators you should always keep in mind:
- Stitch Density: This is all about how many stitches are packed into a specific area. A higher stitch density gives you a fuller, richer, and more solid-looking design, with no distracting fabric showing through. Low-density work, in contrast, can look thin and unfinished.
- Thread Type: The two main players here are polyester and rayon. Polyester is the industry workhorse—it's incredibly durable, colourfast (meaning it won't bleed or fade), and even resistant to bleach. Rayon offers a beautiful, silky sheen but just isn't as tough. For branded caps that will see regular wear, polyester is almost always the better choice.
- Cleanliness and Registration: High-quality embroidery has crisp, clean edges with no loose threads or "bird nesting"—that tangled mess of thread you sometimes see on the underside. Good registration means all the colours and elements of the design line up perfectly, with no gaps or weird overlaps.
The real secret to flawless embroidery isn't just the machine—it's the 'digitising'. This is the expert process of converting your digital logo file into a stitch-by-stitch map for the machine to follow. Great digitising is what makes every detail perfect.
The Critical Role of Digitising
Before a single stitch is even sewn, your artwork has to be digitised. This is, without a doubt, the most important step in the entire process. A skilled digitiser manually plots the path for the embroidery needle, deciding on the right stitch type, direction, and density to best represent your logo in thread.
This is a true human art form that requires deep technical know-how. For example, the digitiser has to account for "pull compensation"—the natural tendency for fabric to pull inward as it's being stitched. Without adjusting for this, circles can end up looking like ovals and straight letters can become distorted. You can get a better sense of this intricate process by exploring our detailed guide on what embroidery is and how it all comes together.
Honestly, a poor digitising job is the root cause of most embroidery failures. It leads to sloppy details and an unprofessional finish, no matter how fancy the machine or high-quality the cap is. That’s why investing in a supplier with expert in-house digitizers isn’t just a good idea—it’s non-negotiable for getting a flawless result.
How to Prepare Your Artwork for Flawless Embroidery
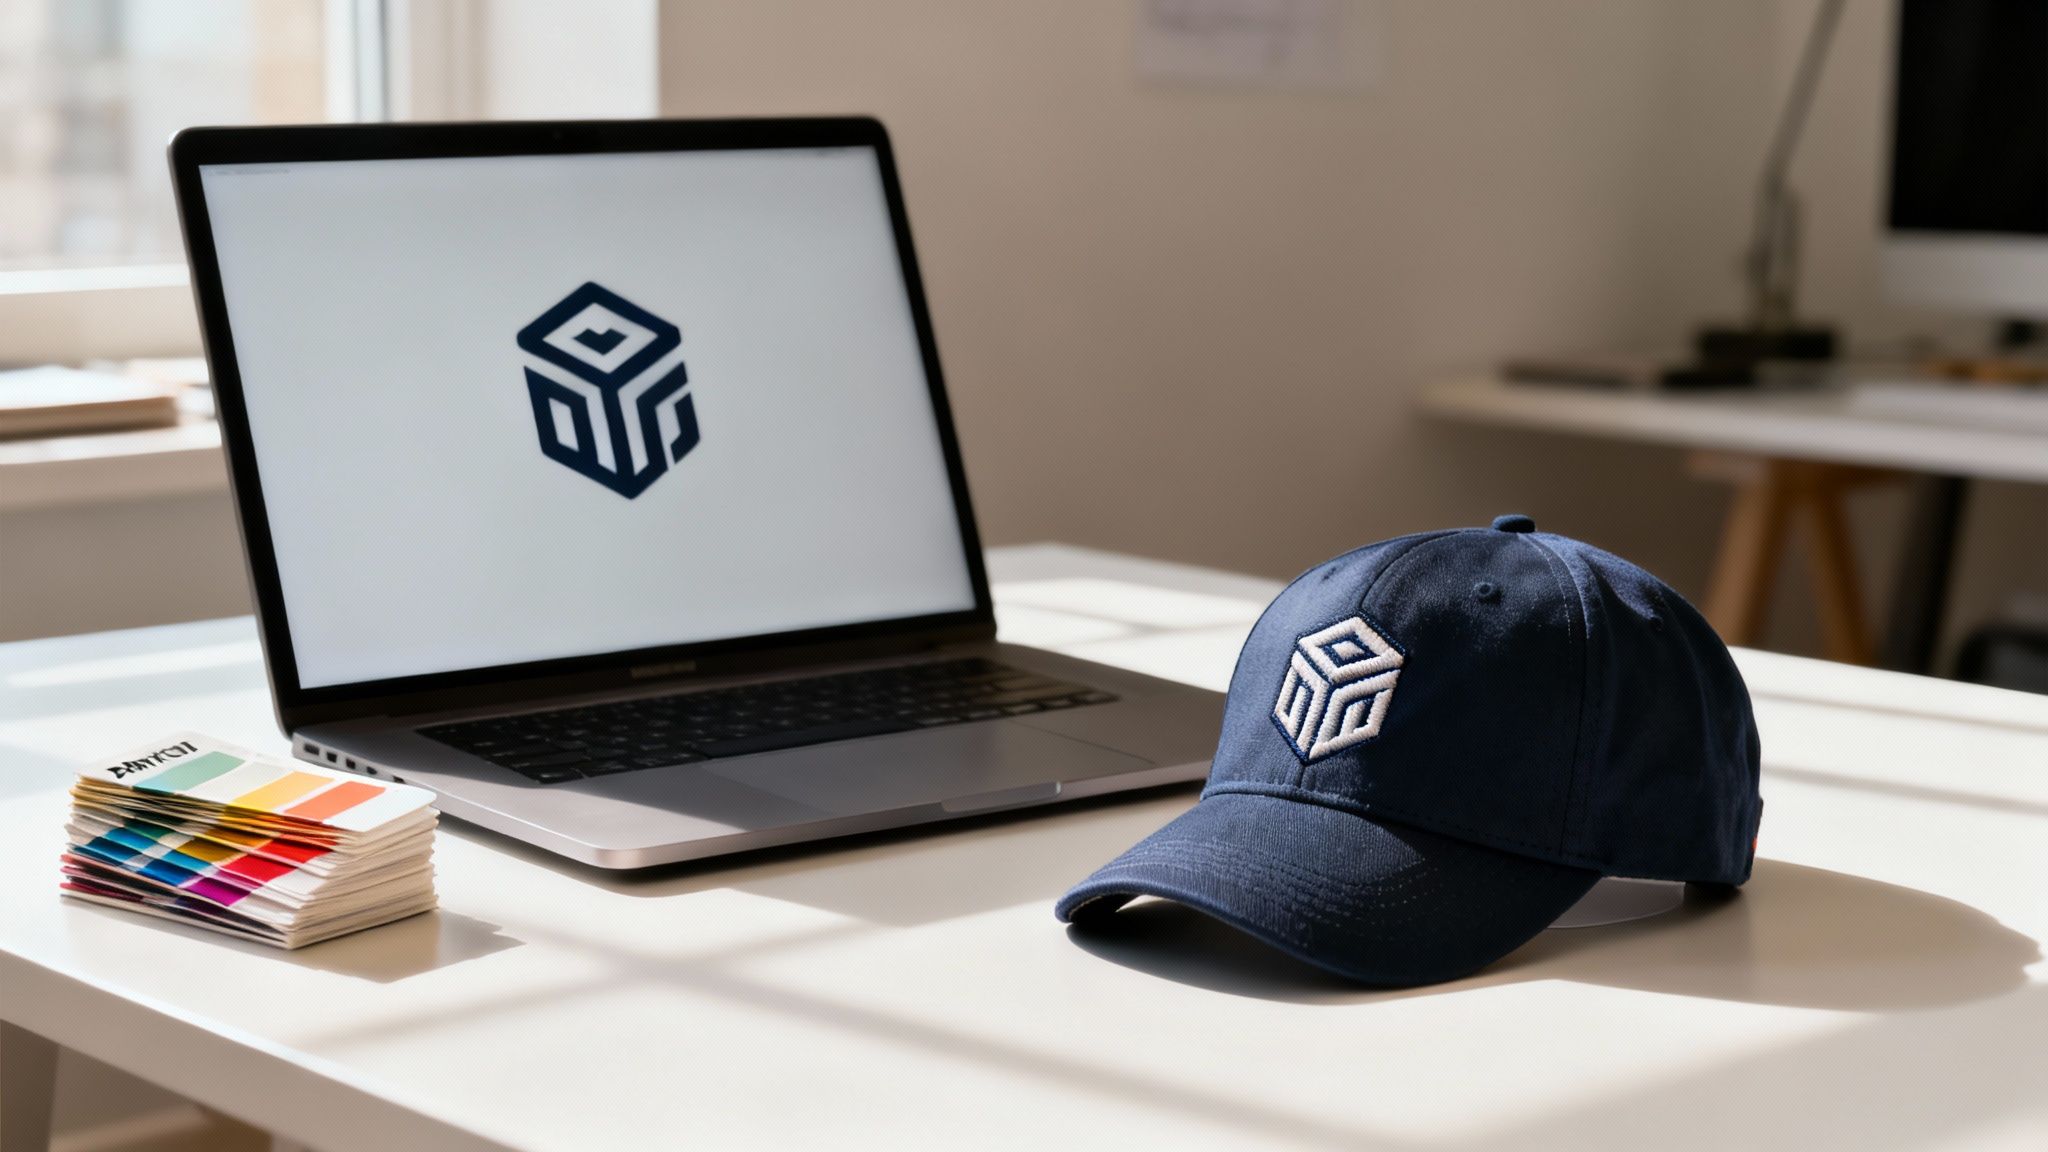
This is where the magic happens—or where things can go wrong. Taking a sharp logo from your computer screen and translating it onto the textured, curved surface of a cap is a completely different ball game. The trick is to stop thinking in ink and start thinking in thread. This simple mindset shift is the key to avoiding common mistakes that can cheapen the look of your final product.
Embroidery is a physical craft. Those beautiful, subtle colour gradients, soft drop shadows, and delicate thin lines in your digital logo? They often look messy and undefined when stitched. Thread just can't replicate those smooth, pixel-perfect details.
Tiny text is another classic pitfall. Letters that look perfectly clear on screen can easily become unreadable blobs of thread. A needle and thread have physical limits, and you need to design with those limitations in mind to get a crisp, professional result.
Think in Thread, Not Pixels
Getting your design ready for embroidery means simplifying and strengthening it. This isn’t about compromising your brand; it’s about optimising it for the medium. Bold lines and clear, distinct shapes will always look better and more impactful on a custom embroidered cap.
Here are the absolute essentials for getting your artwork right:
- Vector Files Are a Must: Always supply your logo in a vector format. That means files ending in .AI, .EPS, or .SVG. Unlike pixel-based files (like a .JPG or .PNG), vectors are built with mathematical paths, so they can be scaled up or down without losing a shred of quality. This gives the embroidery digitiser a perfect map to create your stitch file from.
- Minimum Text Height: Our rule of thumb is that text needs to be at least 6mm high to be stitched clearly. Anything smaller and you risk the letters closing in on themselves—especially tricky ones like 'a' or 'e'—resulting in a cluttered, unreadable mess.
- Go for Strong Colour Contrast: Your design has to pop. Choose thread colours that stand out against the cap fabric. A navy logo on a black cap is going to disappear. High contrast makes sure your brand gets noticed, even from a distance.
The Artwork Preparation Checklist
Before you hit 'send' on that email to your supplier, run through this quick checklist. Trust me, it will save you a ton of time and frustrating back-and-forth emails, and it will ensure the final cap looks exactly how you imagined.
- Simplify Your Design: Get rid of any gradients, shadows, or super-complex textures. Focus on the core, recognisable shapes of your logo.
- Use Solid Colours: Specify your brand colours using a Pantone (PMS) colour code. This is the universal language for colour, and it allows the embroidery team to match the thread precisely to your brand guidelines.
- Outline All Fonts: In your vector file, convert all text to outlines (or 'curves'). This essentially turns the letters into shapes, so you don't have to worry about your supplier not having the right font installed. It locks your design in place.
- Consider the Fabric: Remember, the cap’s fabric is the background for your art. You might need a version of your logo with a solid outline (a keyline) to make sure it stands out properly on darker coloured caps.
"The most common mistake we see is artwork that wasn't designed for embroidery. A few simple adjustments upfront—like increasing text size and providing a vector file—can be the difference between a cap that looks amateur and one that looks truly premium."
Getting your artwork right from the start is the single most important thing you can do to guarantee a fantastic result. For a deeper dive, our comprehensive guide on artwork submission tips is a great resource for beginners. By following these simple rules, you're setting your project up for success and ensuring your custom caps make the sharp, professional statement your brand deserves.
Getting a Handle on Pricing, Minimums, and Timelines
When you're ordering custom embroidered caps, getting your head around the business end of things is just as important as the design. Things like minimum orders, unit pricing, and production timelines can feel a bit technical, but they're actually quite simple once you see the logic. Knowing this stuff upfront saves you from budget blowouts and last-minute panic, making the whole process smooth and predictable.
The first term you'll bump into is Minimum Order Quantity, or MOQ. This is simply the smallest batch of caps a supplier will make for you in one go, usually somewhere between 20 and 50 units. It's not a random number pulled out of a hat; it’s there because every single job, big or small, has a significant amount of setup work involved.
Think of it like setting up for a professional photoshoot. The photographer still has to set up the lights, backdrops, and camera gear, whether they're shooting one person or fifty. It's the same for us. Before a single stitch is made, our team has to digitise your artwork for the machines and carefully calibrate everything for your specific design. These fixed costs mean that making just one or two caps would be incredibly expensive.
What Goes into the Price of a Cap?
The final price for your custom caps isn't just one flat rate. A few different elements come into play, and understanding them helps you make smart choices that fit your budget. The biggest lever you can pull is almost always the order quantity.
Placing a larger order is the surest way to bring your price-per-cap down. Why? Because those initial setup costs I mentioned get spread out over more items, which dramatically lowers the cost of each individual cap. For instance, the price for 100 caps will be much sharper per unit than an order of just 25.
Beyond volume, a few other things affect the cost:
- Stitch Count: This is a big one. The more detailed and solid your design is, the more stitches it needs. A higher stitch count uses more thread and takes longer on the machine, which nudges the price up.
- Number of Thread Colours: Every time the machine has to switch to a new colour, it pauses. While a few colours won't make a huge difference, a design with a dozen different thread changes can add a little bit to the production time and cost.
- Embroidery Locations: A logo on the front is standard. If you want to add embroidery to the side or the back, that will increase the price because each spot needs its own setup and run on the machine.
Here's a pro tip: Instead of placing small, frequent orders as you need them, try to finalise a versatile design and place one larger order for the year. You'll lock in a much better price and always have stock on hand for last-minute events or new team members.
Planning Your Production Timeline Realistically
When it comes to creating something custom and high-quality, a little patience goes a long way. It's also important to know the difference between a mock-up and a physical sample, as they serve different purposes at different stages.
A digital mock-up is a computer-generated preview of your logo on the cap. We can usually whip this up for you in a day or two, and it’s great for getting a general feel for placement and scale. For bigger or more important orders, though, we always suggest getting a physical pre-production sample. This is a real, stitched-out cap you can hold in your hands. It adds about one to two weeks to the clock, but it’s priceless for peace of mind.
Once you give the final green light, standard production usually takes about 2-3 weeks, plus time for shipping. It's always a good idea to plan your order at least a month before you absolutely need it. This way, you avoid the stress and extra cost of a rush job.
To see exactly what we can do and how our process works, you can find out more about our in-house custom embroidery services.
8. Making Your Custom Caps Work for You: ROI and Beyond
So, you’ve got your hands on a box of beautifully embroidered caps. The design is perfect, the quality is spot-on. What now? The real magic happens when you move from simply having the caps to using them as a smart business tool. Think of them less as a line item on an invoice and more as a hard-working asset.
Each cap is a walking billboard, a conversation starter, and a tangible piece of your brand. Getting them out into the world strategically is how you turn that initial cost into a genuine, measurable return.
Getting Caps into the Right Hands
How you distribute your caps is every bit as important as the embroidery on them. Just leaving a pile on a table for a free-for-all won't cut it. You need a plan. The goal is to make people feel like they’ve received something of real value, which in turn makes your brand seem more valuable.
Here are a few ways I’ve seen work brilliantly:
- Trade Show Power Plays: At a busy expo, everyone’s giving away pens. Stand out. Use your premium caps to start meaningful conversations with high-potential leads. Offer one in exchange for a demo or a proper chat about their business needs. It instantly changes the dynamic from a simple giveaway to a valuable exchange.
- Day-One Team Spirit: There's no better way to welcome a new hire than with a great onboarding kit. Including a quality cap makes them feel part of the tribe from the get-go. It’s a small touch that fosters a huge sense of belonging and turns new staff into proud brand advocates.
- Exclusive Brand Merch: If you’ve built a loyal following, don’t just give your caps away—sell them! Position them as premium merchandise. Your biggest fans will be more than happy to buy and wear high-quality gear that shows off their connection to your brand. It’s a fantastic way to create a new revenue stream while boosting your visibility.
Your caps are a versatile tool. By matching the distribution strategy to the audience—whether it's rewarding loyal customers, incentivising potential clients, or unifying your team—you ensure every single cap is working hard for your brand.
Turning Wearers into Marketers
The journey doesn't stop when someone puts on your cap. That’s actually just the beginning. With a bit of creative thinking, you can encourage these new walking billboards to actively promote your brand for you.
A user-generated content (UGC) campaign is a simple, yet powerful, way to do this. Kick off a social media contest asking people to share photos of themselves wearing your cap. Create a unique, memorable hashtag for it and maybe offer a small prize for the best photo each month. This strategy generates a ton of authentic, real-world content that builds trust far more effectively than a slick ad ever could.
To really understand if your efforts are paying off, you need to get comfortable with the numbers. Learning how to calculate marketing ROI is a crucial step. Applying these principles will help you see exactly what’s working, justify your budget, and fine-tune your approach for the next batch of caps.
Got Questions? We've Got Answers
Stepping into the world of custom embroidered caps for the first time? It's natural to have a few questions. We've put together some straight-shooting answers to the things businesses ask us most often.
What’s the Smallest Order I Can Place?
Most suppliers will have what’s called a Minimum Order Quantity (MOQ), which usually sits somewhere between 20 to 50 caps for any single design. There's a good reason for this.
Setting up an embroidery job involves real costs, like digitising your logo into a stitch-ready file and getting the machines calibrated perfectly. Spreading that initial cost across a decent-sized run makes it affordable. While some places might do smaller orders, you'll likely see a much higher price per cap to make it worthwhile.
My Logo Is Really Detailed. Will It Embroider Well?
This is a great question. Embroidery is an art form using physical thread, which means it behaves differently from ink on a screen or paper. Super fine lines, tiny details, and small text (we find anything under 6mm high is a problem) can get a bit lost and messy when stitched.
A good rule of thumb is to simplify complex logos for embroidery. Think clean lines and bold shapes. This ensures your final product looks sharp, professional, and instantly recognisable.
Don't worry, you won't be flying blind. Your supplier should always give you a digital proof showing exactly how your design will look in thread, and they can offer expert advice on any tweaks needed to make it perfect.
How Do I Keep These Caps Looking Great?
A little bit of care goes a long way in keeping your caps and their embroidery looking brand new. If you've just got a small mark, spot cleaning with a damp cloth is your best bet.
For a deeper clean, follow these simple steps:
- Hand wash the cap in cool water with a mild detergent.
- Rinse it out gently – no twisting or wringing!
- Let it air dry on a towel or, even better, over something head-shaped (like a balled-up towel or a jar) to hold its shape.
Whatever you do, keep it out of the washing machine and dryer. The intense heat and tumbling can wreck the cap's structure and fray the embroidery in no time.
Ready to create headwear that gets your brand noticed? The expert team at Simply Merchandise is here to guide you through the whole process, from getting your artwork just right to delivering the final product. Start your custom embroidered caps project today!