

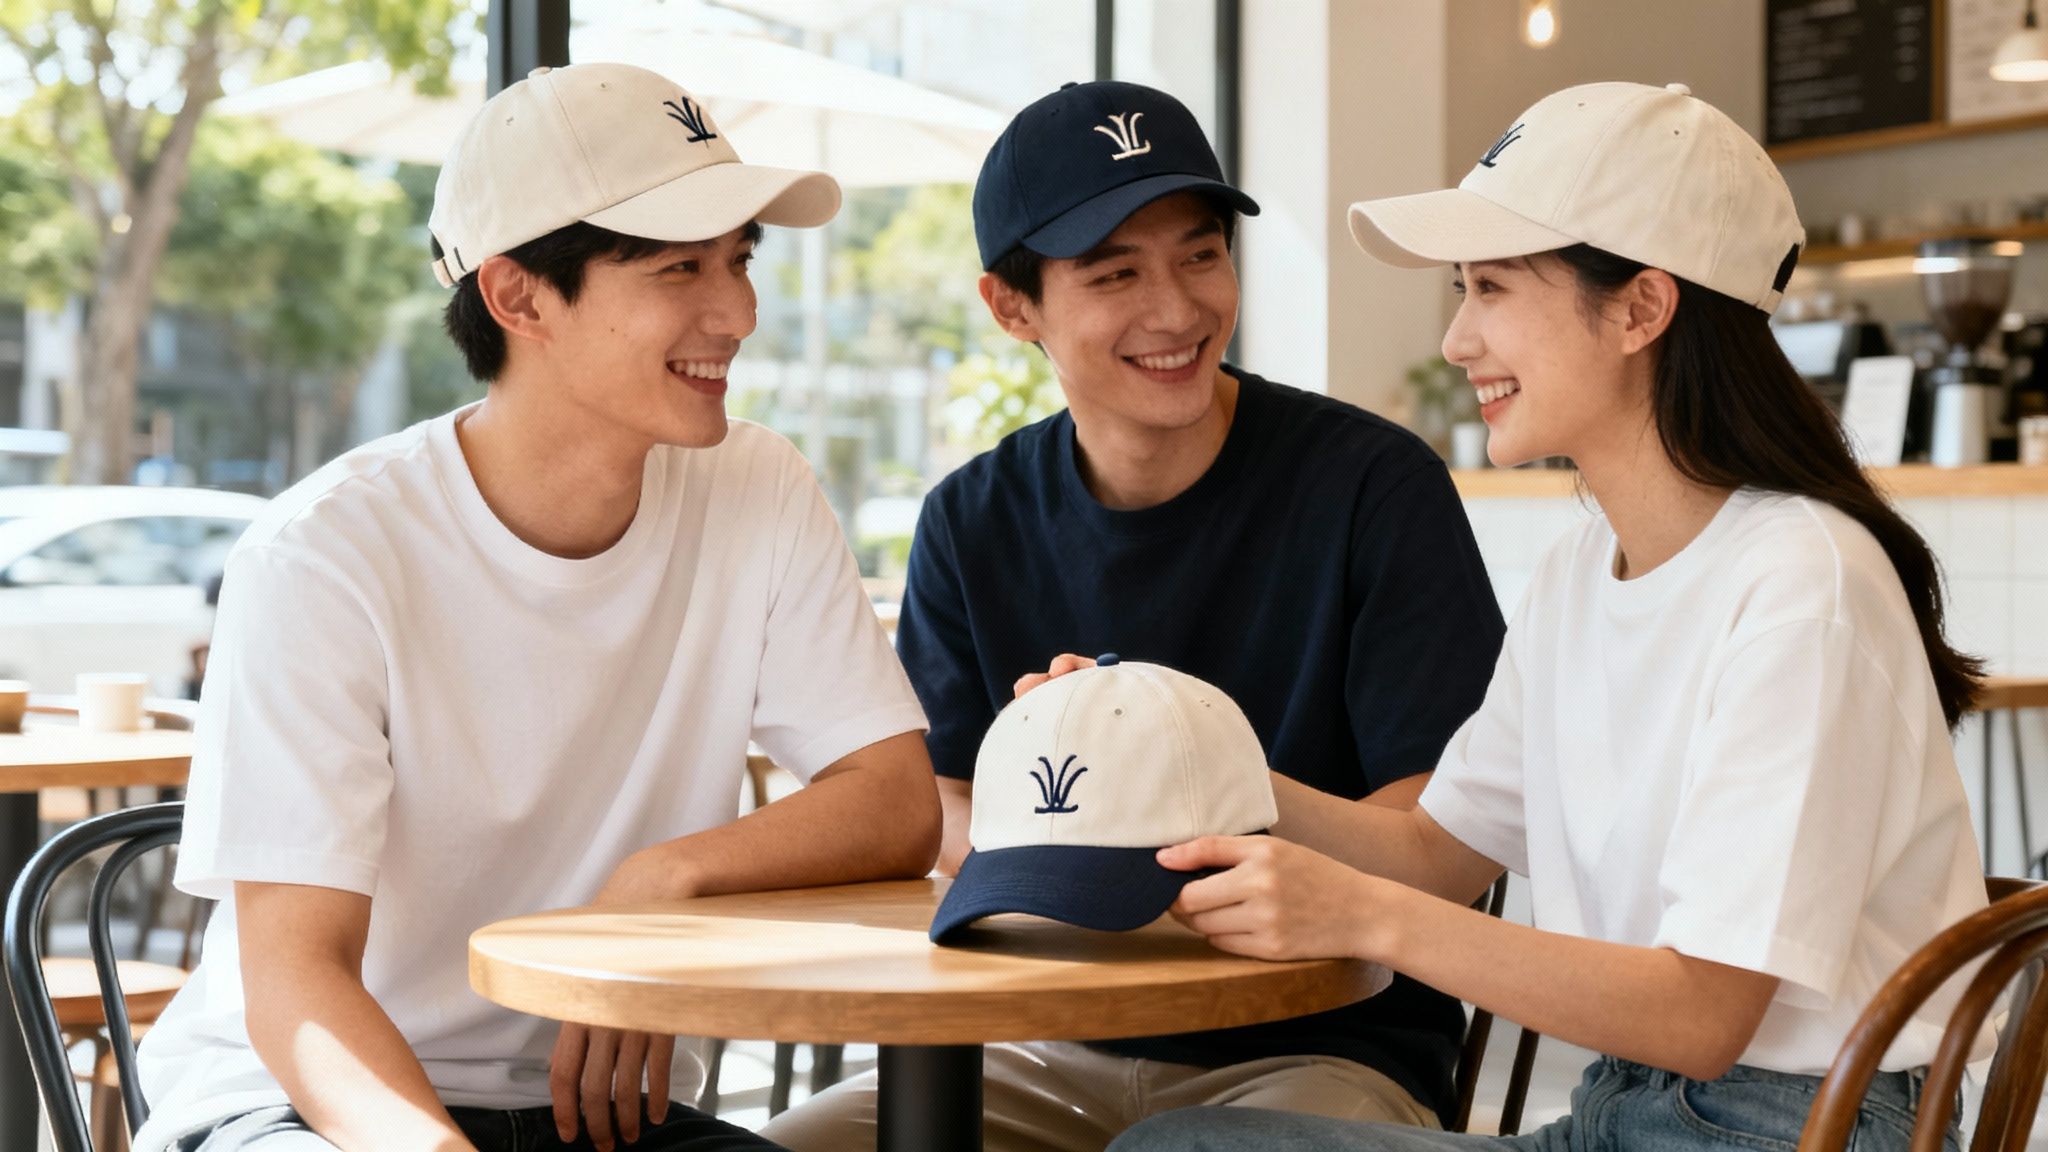
Ordering custom embroidered caps in Australia is one of the smartest ways to get your brand noticed. It’s about more than just sticking a logo on a hat; it’s about creating a premium, lasting piece of merchandise that people genuinely love to wear, whether for a team uniform, a corporate event, or a promotional giveaway.
Your Guide to Nailing Custom Embroidered Caps
If you're looking to order custom embroidered caps in Australia, you've come to the right place. This isn't just a list of steps; it's a practical guide built from years of experience. Whether you’re a business owner wanting a sharp, unified look for your team, a marketing pro gearing up for an event, or a sports club building camaraderie, we'll walk you through the process without the confusing jargon.
We'll break down every decision you need to make, from picking a cap style that genuinely fits your brand's vibe to getting your artwork prepped for a perfect stitch-out.

Why This Guide Is for You
Let's be honest, the customisation process can feel a bit overwhelming at first. Many businesses aren't sure where to start, what artwork files they need, or which cap style will give them the best result. Our goal here is to cut through that confusion and give you the confidence to make the right choices.
Think of this as your inside look at getting it right, covering the things that really matter:
- Choosing the right materials so your embroidery looks crisp and stands the test of time.
- Understanding artwork files to sidestep common (and often costly) production delays.
- Maximising your brand's impact through clever design placement and smart colour selection.
By the end of this guide, you’ll have the knowledge to not only order custom caps but to create a promotional asset that genuinely represents your brand’s quality and vision.
We’ll dive into the huge range of options out there, from classic snapbacks and trendy trucker caps to warm beanies, helping you find the perfect match for your audience. To get a feel for the different styles, a great starting point is to browse our full range of customisable headwear. It'll help you start picturing the ideal canvas for your design.
Picking the Perfect Cap Style for Your Brand
The cap you choose is more than just headwear; it's the canvas for your brand's story. Think of it as a walking billboard. Getting the style right is crucial because it’s often the first thing people see, and it instantly says something about who you are. Your choice in custom embroidered caps in Australia has to match your brand's personality, your audience, and what the caps are actually for—whether that's a sharp-looking corporate uniform, a promotional giveaway, or gear for your local sports team.
It’s a big market, too. The headwear scene in our part of the world is huge, with the Asia-Pacific region making up about 39.05% of the global share. Australia itself carves out a healthy 4.94% of that, which tells you just how much Aussies love a good cap. It’s a powerful way to get your brand out there. You can get a feel for the numbers in the Asia-Pacific hats market report.
With so many options, let's dive into the most popular styles to help you find the perfect match.
Cap Style Comparison for Australian Brands
Every cap style has its own vibe. A structured snapback gives off a classic, urban feel, while a breathable trucker cap is the go-to for a more casual, outdoorsy brand. Understanding these subtle differences is the key to picking a cap that people will actually want to wear.
Here’s a quick rundown to help you compare the main players at a glance.
| Cap Style | Best For | Target Audience | Key Feature |
|---|---|---|---|
| Snapback | Streetwear, events, merchandise | Younger demographic, urban brands | Flat brim, adjustable snap closure |
| Trucker | Outdoor events, work uniforms | Active lifestyle, trade industries | Mesh back panels for breathability |
| Fitted | Sports teams, premium branding | Fans, fashion-conscious individuals | Specific sizing for a clean profile |
| Beanie | Winter promotions, staff uniforms | All demographics in cooler climates | Warmth, versatile cuff styles |
Each of these serves a different purpose, so thinking about who will be wearing your cap and where they'll be wearing it will steer you in the right direction.
Don't Overlook the Cap's Material
Once you've zeroed in on a style, the next piece of the puzzle is the material. The fabric has a massive impact on the final look, how it feels to wear, and its overall durability. It also directly affects how well your embroidery turns out. A delicate, complex logo, for instance, needs a stable fabric to stop it from puckering, whereas a simple text logo is more forgiving.
Getting the fabric right is an investment in quality, making sure your caps look professional and last the distance.
The material you select is just as important as the design itself. A high-quality cotton twill will hold intricate stitches beautifully, while a performance synthetic is better suited for athletic use where moisture-wicking is a priority.
Let's look at the most common fabrics you'll find for custom caps here in Australia.
- Cotton Twill: This is the absolute workhorse of the cap world. It’s tough, holds its shape, and gives you a beautifully smooth surface for crisp, clean embroidery.
- Performance Synthetics (Polyester): These are lightweight, moisture-wicking fabrics perfect for sports teams or staff who work outdoors. While they're great for activewear, super-detailed logos might need a backing stabiliser to look their best.
- Wool Blends: For that premium, classic look, you can't go past a wool blend. They're often used for high-end fitted caps and beanies, offering great texture and warmth, though they usually sit at a higher price point.
Putting It All Together for Your Brand
So, how do you make the final call? It all comes back to one question: what’s the main job of these caps?
Imagine you’re outfitting a construction crew in Queensland. A breathable trucker cap with a durable cotton twill front is a no-brainer. The mesh back will keep everyone cool under the sun, while the sturdy front panels provide the perfect canvas for your company logo.
Now, picture a Melbourne tech startup creating merch for a conference. A sleek snapback or a premium fitted cap in a wool blend might be a better fit, reflecting a modern, quality-focused brand image. And if you're planning a winter festival down in Tasmania? A cuffed beanie is the obvious choice, offering warmth and a fantastic branding opportunity.
At the end of the day, the best custom embroidered caps in Australia are the ones that feel like a genuine extension of your brand and are designed with the wearer in mind.
Turning Your Artwork Into Flawless Embroidery
A killer logo can fall flat if the embroidery work is shoddy. This is where your design makes the leap from a digital file to a real, textured piece of art on a cap. Getting a handle on a few key parts of this process is the secret to making sure your custom embroidered caps in Australia look sharp, professional, and exactly how you imagined them.
That jump from screen to stitch is a genuine craft. It’s a process called ‘digitising’, where a skilled technician manually converts your artwork into a stitch file that the embroidery machines can understand. They plot every single thread, thinking about stitch direction, density, and how it will sit on your chosen fabric. Honestly, this first step pretty much decides the quality of the finished product.
Flat vs 3D Puff Embroidery
When it comes to the style of embroidery, you've got two main choices. Each one gives your design a completely different look and feel.
-
Standard Flat Embroidery: This is the classic, go-to style for a reason. It creates crisp, clean lines and is absolutely perfect for detailed logos, fine text, or any design that needs a polished, professional finish. It sits flush against the cap, giving you a timeless look that works on just about any style.
-
3D Puff Embroidery: If you want your logo to literally pop off the cap, 3D puff is the way to go. We place a special foam base under the thread, which creates a raised, three-dimensional effect. It adds a bold, tactile quality that you can feel. It’s a brilliant choice for simpler logos, big letters, or specific parts of a design you want to make the hero, guaranteeing your cap gets noticed.
The right choice really just comes down to your brand’s personality. A corporate logo often suits the clean, understated look of flat embroidery, while a streetwear or action sports brand can use the bold impact of 3D puff to make a real statement.
Preparing Your Artwork for Success
Submitting the right kind of artwork file is probably the single most important thing you can do to keep the whole process running smoothly. To get those flawless results, understanding the basics of effective artwork submission is a game-changer. The big difference you need to know about is vector vs. raster files.
Vector files (AI, EPS, PDF, SVG) are the absolute gold standard for embroidery. Think of them as being made from mathematical lines and curves, not pixels. This means we can scale them up or down to any size without them ever getting blurry or losing quality. This gives our digitiser the clean, sharp lines they need to create a perfect stitch file.
Raster files (JPG, PNG, GIF) are the opposite—they're made of tiny squares called pixels. When you try to make a raster image bigger, it just gets blurry and jagged. This makes it incredibly difficult to create clean embroidery from it. While we can sometimes work with them, it often means we have to manually redraw your logo, which adds extra time and cost to your order.
Pro Tip: Always, always try to send your logo in a vector format. It saves you time, cuts down the risk of mistakes, and gives you the highest quality result. If you don't have it, your original graphic designer should have the source files on hand.
For a more detailed walkthrough, our simple guide on artwork submission tips for beginners breaks it all down.
The path from idea to finished cap is straightforward when you get these foundational pieces right, as the diagram shows.
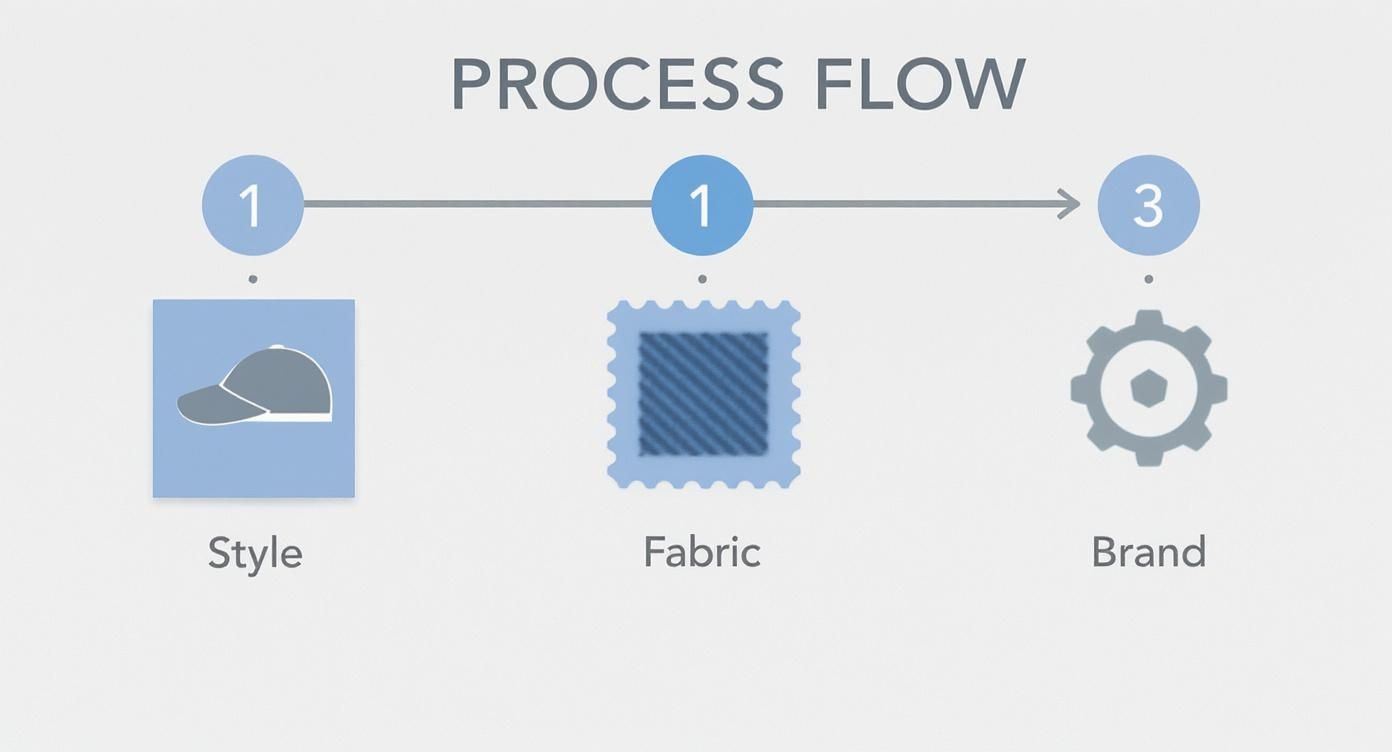
This just goes to show how those early decisions—choosing the right cap style and fabric—are the foundation for a great-looking finished product.
The Little Details That Make a Big Difference
Getting the file type right is huge, but a few other technical details really influence the final quality of your custom embroidered caps.
Stitch Count and Design Complexity The stitch count is simply the total number of stitches it takes to create your logo. A bigger, more colourful, or more complex design will naturally have a higher stitch count, which affects both the cost and how long it takes to produce. My advice? Simplify overly busy logos for embroidery. Tiny text and super-fine lines just don't translate well into thread—they can end up looking messy and unreadable.
Pantone (PMS) Colour Matching So, how do you make sure the thread colour is a perfect match for your brand? The answer is the Pantone Matching System (PMS). If you can give us the specific PMS colour codes for your logo, it takes all the guesswork out of it. We can match the thread precisely, guaranteeing your caps look consistent with all your other branding.
Getting Your Quote, Timeline, and Final Approval Sorted
Ordering custom embroidered caps in Australia should be exciting, not a headache. Let's walk through the commercial side of things—the costs, timelines, and approval stages—so you can plan your project with confidence and get a final product you'll be proud of.
The market for custom headwear is massive and growing for a reason. In fact, the global headwear industry hit around USD 28.5 billion and continues to climb, with online ordering becoming the go-to for businesses and brands. This just shows how powerful a well-designed cap can be. You can find more details on the expanding headwear market on gelato.com.
How Your Order Size Impacts the Price
It’s a simple rule of thumb in this game: the more caps you order, the less you pay for each one. This isn't a sales gimmick; it's just basic production economics. The initial setup costs—like digitising your logo and calibrating the embroidery machines—are the same whether you're making 25 caps or 250. Spreading that cost over a larger order brings the individual unit price right down.
For instance, an order of 25 caps might work out to be $20 per cap. But if you bump that order up to 100, the price could easily drop to $15 each. It really pays to think ahead. If you have another event or a staff top-up planned in six months, ordering everything in one go can save you a significant amount of money.
You’ll also see a one-time digitising fee on your first order. This isn't just an admin charge; it’s for the specialised work of converting your design file into a stitch-by-stitch map that the embroidery machine can read. It’s what ensures your logo looks crisp and professional. The best part? You only pay it once. For every future order using that same design, the fee is waived.
Realistic Timelines to Expect
Nothing is worse than a last-minute panic when you've got a hard deadline. Understanding the typical production timeline is key to avoiding stress.
Here’s a rough breakdown of what to expect for a custom embroidery job in Australia:
- Initial Proof (1-3 Business Days): After you send your artwork, you'll get a digital mock-up to check and approve.
- Production (7-14 Business Days): Once you give the thumbs up, the caps hit the production floor. This is where the magic happens and it's the longest part of the process.
- Shipping (2-7 Business Days): Delivery time varies depending on where you are. Metro areas like Sydney and Melbourne are usually quicker than regional postcodes.
Keep in mind these are just estimates. A really complex design with a high stitch count will naturally take a bit longer, as will ordering during busy periods like the lead-up to Christmas. Always double-check the estimated delivery date with your supplier when you place your order.
My best piece of advice? Always build in a buffer. If you need the caps for an event on a Friday, don't aim for a Friday delivery. Plan for them to arrive at least a week early. That way, any unexpected courier delays won't derail your plans.
The All-Important Approval Process
This is your final checkpoint, the last chance to make sure everything is absolutely perfect before we start embroidering the whole batch. Think of it as your quality control moment.
Digital Mock-Ups vs. Physical Samples
For most jobs, a digital mock-up is all you'll need. It's a computer-generated image that shows your logo on the cap, allowing you to confirm the size, placement, and overall look. It’s fast, efficient, and gets the job done.
However, if you're placing a very large order, have a particularly intricate design, or need a precise Pantone colour match for your brand, I strongly recommend a physical pre-production sample. This is a single, fully finished cap sent directly to you. You can hold it, feel the quality of the embroidery, and see the thread colours in person. It adds a little extra time and a small cost to the project, but the peace of mind it offers is priceless.
Ready to see what the numbers look like for your specific project? The easiest way to get an accurate price and timeline is to request a custom quote with your design and quantity details.
Putting Your Custom Caps to Work as a Powerful Marketing Tool
So, the boxes have arrived. Your custom caps are here, the embroidery is sharp, and they look fantastic. But the real work begins now. A great cap is so much more than just headwear; it’s a mobile billboard for your brand, working for you long after an event wraps up. The trick is having a smart plan to get them into the right hands and onto the right heads.
With a good distribution strategy, every single cap becomes a walking, talking marketing asset. We know promotional products are brilliant for brand recall, and a stylish cap is one of the most visible and desirable items you can choose. Let's look at a few practical ways to get the absolute most out of your investment in custom embroidered caps in Australia.
Unify Your Team with Branded Staff Uniforms
One of the quickest and most effective ways to use your new caps is to make them part of your staff uniform. It’s a simple change that immediately creates a professional, cohesive look for your whole team.
Think about customer-facing businesses like cafes, retail shops, or trade services. A branded cap makes your staff instantly recognisable, which builds trust and reinforces your brand with every single customer interaction. It’s a small detail that screams professionalism and shows you’ve thought about your presentation.
Of course, for a truly cohesive brand presence, your caps need to fit in with everything else you do. If you haven't already, it's well worth your time learning about creating effective brand guidelines to ensure consistency across the board.
Turn Event Attendees into Walking Billboards
We’ve all been to trade shows and conferences where the giveaways are... forgettable. A high-quality embroidered cap is a completely different story. It has a high perceived value, and it’s something people actually want to wear.
When you hand out a cap that’s both stylish and well-made, you’re not just giving away a freebie—you’re creating a brand ambassador. Every time that person wears your cap out and about, they’re giving your brand a personal endorsement to their friends, family, and everyone else they see.
Here are a few ways I've seen this work really well at events:
- Use them as a premium giveaway for people who book a demo or sign up for your mailing list.
- Offer them as a prize for a competition or raffle at your stand.
- Include them in a VIP gift bag for key clients or event speakers.
The real secret is to make the cap feel like an exclusive piece of merch, not just another bit of swag. This dramatically increases the chances it’ll be worn for months or even years, extending the life of your marketing well beyond the event itself.
If you’re looking for more ideas, you’ll find that caps consistently rank among the top 10 promotional products for a reason—they're practical, have universal appeal, and they work.
Drive Sales with Promotions and Merchandise
Your caps can also be a tool to directly boost sales. Why not bundle them with other products or services to create a more compelling offer? A local gym, for example, could offer a free branded cap to anyone signing up for a 12-month membership.
This simple strategy adds real, tangible value to the purchase and immediately equips your new customer with branded gear they can wear out in the community, promoting your business for you.
And if you’ve already built a strong brand following, your custom caps can become a profitable merchandise line in their own right. Cafes, breweries, local artists, and personal trainers can sell high-quality caps, giving their loyal supporters a way to show their love. It's a fantastic way to generate extra revenue while building an even stronger community around your brand.
Make Them Last with Proper Care Instructions
Your marketing efforts shouldn't stop when the cap is on someone's head. You want it to last. A faded, misshapen cap doesn’t send the right message about your brand, so including simple care instructions is a small, thoughtful touch that goes a long way.
A small tag or a little card with washing tips can make all the difference. I always suggest advising people to:
- Spot clean any stains first with a mild detergent and a soft brush.
- Hand wash in cool water to protect both the embroidery and the cap's shape.
- Avoid the washing machine and dryer at all costs—they can cause shrinkage and damage the stitching.
- Air dry on a round object like a jar or a ball to help it keep its proper form.
By helping people look after their cap, you’re ensuring your logo stays sharp and the colours stay vibrant. This simple gesture extends the product's life, maximising your brand's long-term exposure and impact.
Got Questions About Custom Caps? We've Got Answers
Even when you've got a great plan, a few last-minute questions always seem to surface before you hit 'confirm' on an order. To help you iron out those final details, we’ve put together answers to the most common queries we get about creating custom embroidered caps in Australia.
Think of this as your final pre-flight check, covering the practical bits and pieces that turn a good project into a great one.
What’s the Smallest Order I Can Place?
This is usually the first thing people want to know, and the answer really depends on the supplier. Here in Australia, many embroiderers are set up for smaller runs, so you'll often find a minimum order quantity (MOQ) of around 20 to 25 caps. This is fantastic for small businesses, local sports teams, or just trying out a new design.
But it's worth thinking about the numbers. While a small order is definitely doable, the price you pay for each cap drops significantly as your quantity goes up. If you can map out what you'll need for the next six months, placing one larger order is always going to be easier on the wallet.
How Can I Get the Thread Colour to Perfectly Match My Logo?
Getting your thread colour spot-on is critical for brand consistency. The gold standard for this is the Pantone Matching System (PMS). These are universal colour codes that take all the guesswork out of matching colours.
If you have a brand style guide, your PMS codes should be in there. Just give those codes to your supplier, and you're guaranteed an exact match. Without them, we can get incredibly close with a high-res file, but only a PMS code can lock in that 100% accuracy.
A PMS code is like a unique recipe for a colour. It cuts through any variation you might see on different computer screens, making it the single best way to keep your brand looking sharp on physical products.
Can I Get Embroidery on More Than One Spot?
Absolutely! The front panel is classic, but adding your logo or text to other areas is a great way to elevate the design.
Some popular secondary spots include:
- The Back: This is the perfect place for a website or a tagline right above the closure.
- The Sides: Great for a secondary logo, a small icon, or even the year your business was established.
- The Strap: On some styles, you can even add a little bit of text to the closure strap itself.
Just keep in mind that each location is a separate embroidery job. This means every extra placement will add to the cost per cap, so make sure you factor that into your budget from the get-go.
What Is This "Digitizing Fee" on My Quote?
You'll almost always see a one-off "digitizing fee" on your first invoice, and it’s a non-negotiable part of the embroidery process. This isn't just a random admin fee—it’s the charge for a skilled technician to manually convert your design into a digital stitch file that our machines can understand. To get a better feel for the technical side, you can read our guide on what embroidery really involves.
This is a true craft. The technician maps out every single stitch, its direction, and its density to make sure your logo looks crisp and professional. It's a vital setup step for a quality finish, but the best part? It's a one-and-done deal. We save your digitised file, so you'll never pay that fee again for reorders of the same design.
Ready to create custom headwear that makes a lasting impression? At Simply Merchandise, we simplify the entire process, from artwork guidance to final delivery. Explore our huge range and get a free quote today at https://simplymerchandise.com.au.


