


Custom printed T-shirts are so much more than just another piece of clothing. Think of them as powerful, walking billboards for your brand, offering a tangible way to build team spirit, create unforgettable event merchandise, or launch a standout promotional campaign here in Australia.
Why Custom T-Shirts Are a Seriously Powerful Branding Tool
A custom T-shirt isn't just apparel; it's a moving advertisement. Every time someone pulls on your shirt, they’re giving your brand, event, or cause a personal endorsement to everyone they cross paths with.
This subtle yet incredibly effective form of marketing builds brand recognition and fosters a genuine sense of community around your organisation. It’s a versatile tool that can be tweaked for just about any business goal you can think of.
This guide is your complete roadmap to making custom printed T-shirts work for your Australian business. We’ll walk you through everything you need to know to make your project a success, turning a simple idea into a high-quality finished product you can be proud of.
You'll get a clear handle on:
- Printing Methods Demystified: We’ll break down the differences between screen printing, DTG, and sublimation so you can pick the right technique for your design.
- Fabric and Fit Selection: Discover how to choose the perfect garment that not only looks great but feels comfortable enough for people to want to wear it.
- Artwork Requirements: Get practical tips to ensure your logo or design prints crisply and professionally, every single time.
- Navigating Costs and Timelines: Understand what drives the price and how to plan your order to meet any deadline without stress.
This isn't just a trend, either. The numbers show that Aussie businesses are increasingly turning to personalised apparel. The local custom printed T-shirt market was valued at USD 44.21 million in 2024 and is forecast to surge to USD 122.34 million by 2033. That’s a massive annual growth rate of 11.98%.
By the end of this guide, you’ll have the confidence and know-how to order the ideal custom T-shirts that leave a lasting impression. These shirts are a key part of the wider world of branded merchandise for business, helping you create a cohesive and professional brand identity that gets noticed.
Choosing the Right Printing Method for Your Shirts
Picking the right printing method is probably the single most important decision you'll make for your custom tees. It's the one thing that will dictate the final look, the feel, how long it lasts, and of course, the price. Think of it like cooking: you wouldn't use a frypan to bake a cake. The same logic applies here—the right tool for the right job is key.
Each technique has its own sweet spot, making it perfect for certain designs, fabrics, and order sizes. Getting your head around these differences is what ensures your brilliant idea on a screen becomes a fantastic, wearable piece of art that people will love.
Let's dive into the four main players in the Aussie T-shirt printing game: Screen Printing, Direct to Garment (DTG), Dye Sublimation, and Heat Transfer. We'll use some simple analogies to break down how each one works so you can confidently match the method to your needs.
This simple flowchart shows how different goals—like building brand awareness or boosting team spirit—all point to custom apparel as a powerful solution.
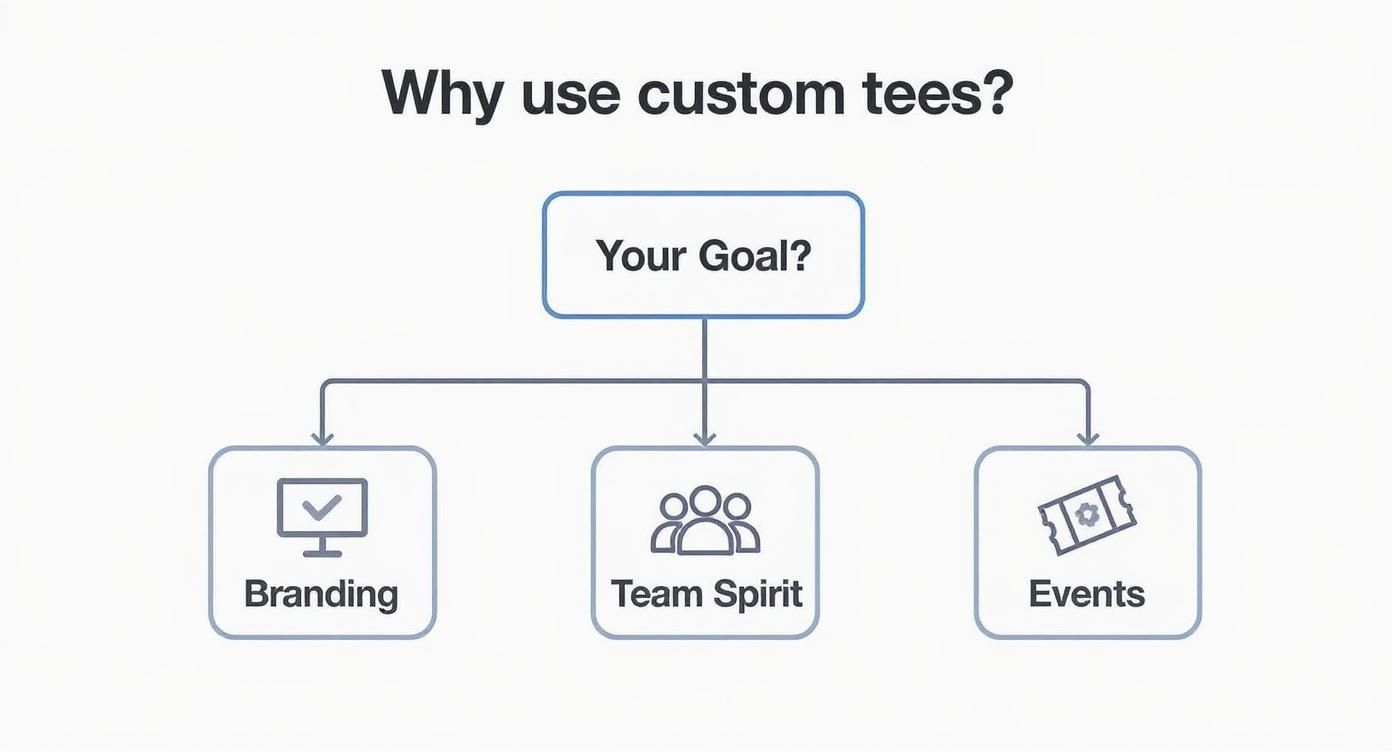
The bottom line is that whether you're gearing up for a big event, kitting out the team, or just getting your brand name out there, custom T-shirts are one of the most effective tools in your arsenal.
Screen Printing: The Stencil Powerhouse
At its core, screen printing is a bit like using a highly detailed stencil. A fine mesh screen is made for each colour in your design, and then a thick, vibrant ink is pushed through it directly onto the shirt. You repeat this for every colour, building up the final image.
The result is an incredibly durable, professional-looking print with colours that really pop. Because of the initial setup in creating these screens, it becomes incredibly cost-effective for larger runs. The more you print, the cheaper each shirt gets.
This makes it the undisputed champion for:
- Big events and festivals where you need hundreds (or thousands!) of identical shirts.
- Company uniforms for your entire workforce.
- Merchandise for bands or brands with bold, simple logos that need to stand the test of time.
It’s no wonder screen printing is still the most popular printing technique in Australia. It’s valued for its toughness and the fantastic savings you get on bulk orders. To see how this compares to other methods, check out our deep dive into all our custom printing options.
Direct to Garment: The Fabric Printer
Imagine a high-tech office printer, but instead of paper, it prints directly onto clothes. That’s Direct to Garment (DTG) in a nutshell. A specialised inkjet printer applies water-based inks straight into the cotton fibres of the T-shirt.
This technology allows for an unlimited range of colours, making it perfect for complex, photorealistic images, detailed illustrations, or designs with subtle shading and gradients. And because there’s almost no setup time, DTG is ideal for small batches or even one-off prints.
Key Insight: DTG shines where screen printing struggles. It unlocks the ability to do highly detailed, full-colour designs on small orders without the hefty setup costs, making truly personalised gear accessible to everyone.
It's the perfect choice for a small business that needs just a dozen vibrant tees for a trade show, or an artist who wants to reproduce a detailed painting on a handful of shirts.
Dye Sublimation: The Fabric Tattoo
Dye sublimation is a pretty amazing process that acts like a permanent tattoo for fabric. First, your design is printed onto special transfer paper. Then, using heat and pressure, the ink turns into a gas and bonds directly with the polyester fibres of the shirt. The ink becomes part of the material, rather than just sitting on top.
This creates a print that you can't feel at all—it's super soft, completely breathable, and guaranteed to never crack, peel, or fade. It's the go-to method for those incredible, all-over prints that cover an entire garment from seam to seam.
The catch? It only works its magic on 100% polyester or high-polyester blend fabrics, and it needs a white or very light-coloured base to show the true colours.
Heat Transfer: The Versatile Customiser
Often called a vinyl transfer, heat transfer is like a professional, high-quality version of an iron-on. Your design is precision-cut from a sheet of special vinyl and then applied to the shirt using a commercial-grade heat press.
This method is incredibly versatile and cost-effective for simple customisations, particularly for adding individual names or numbers to the back of sports jerseys. While modern heat transfers are much more durable than the DIY ones you might remember, they don't quite have the same long-term staying power as screen printing or sublimation.
If you're outfitting a team, it’s worth checking out a guide to name printing methods for custom shirts, which offers some great tips specifically for team apparel.
Printing Method Comparison for Custom T Shirts
Feeling a bit overwhelmed? Don't worry. This table breaks down the key differences to help you choose the best printing method for your specific project.
| Printing Method | Best For | Durability | Cost per Shirt (Bulk) | Fabric Suitability |
|---|---|---|---|---|
| Screen Printing | Large orders (25+), simple designs with 1-4 solid colours. | Excellent; very long-lasting. | Low | Best on cotton and cotton blends. |
| Direct to Garment (DTG) | Small orders, complex photorealistic designs, unlimited colours. | Good; can fade slightly over time. | High | 100% cotton is essential for best results. |
| Dye Sublimation | All-over prints, sportswear, full-colour vibrant designs. | Excellent; permanent, will not fade or crack. | Moderate | 100% polyester or high-poly blends only. |
| Heat Transfer | Individual names/numbers, small logos, very small orders. | Fair to Good; can crack over time with washing. | Moderate | Works on most fabrics including cotton and poly. |
Ultimately, the best method comes down to three things: your design, your fabric, and how many shirts you need. Use this guide as your starting point, and you'll be well on your way to creating the perfect custom tee.
Selecting The Perfect Fabric And T-Shirt Fit
Once you’ve nailed the printing method and your killer design, the next big decision is the T-shirt itself. This choice is huge. It's the foundation of your whole project and what determines whether your shirt feels premium or like a cheap giveaway.
Think about it: this is the difference between a tee that becomes someone's favourite and one that's shoved to the back of the wardrobe forever. Getting the fabric and fit right means your investment results in comfortable, flattering shirts people genuinely want to wear. Let's break down what you need to know.
Unpacking Your Fabric Options
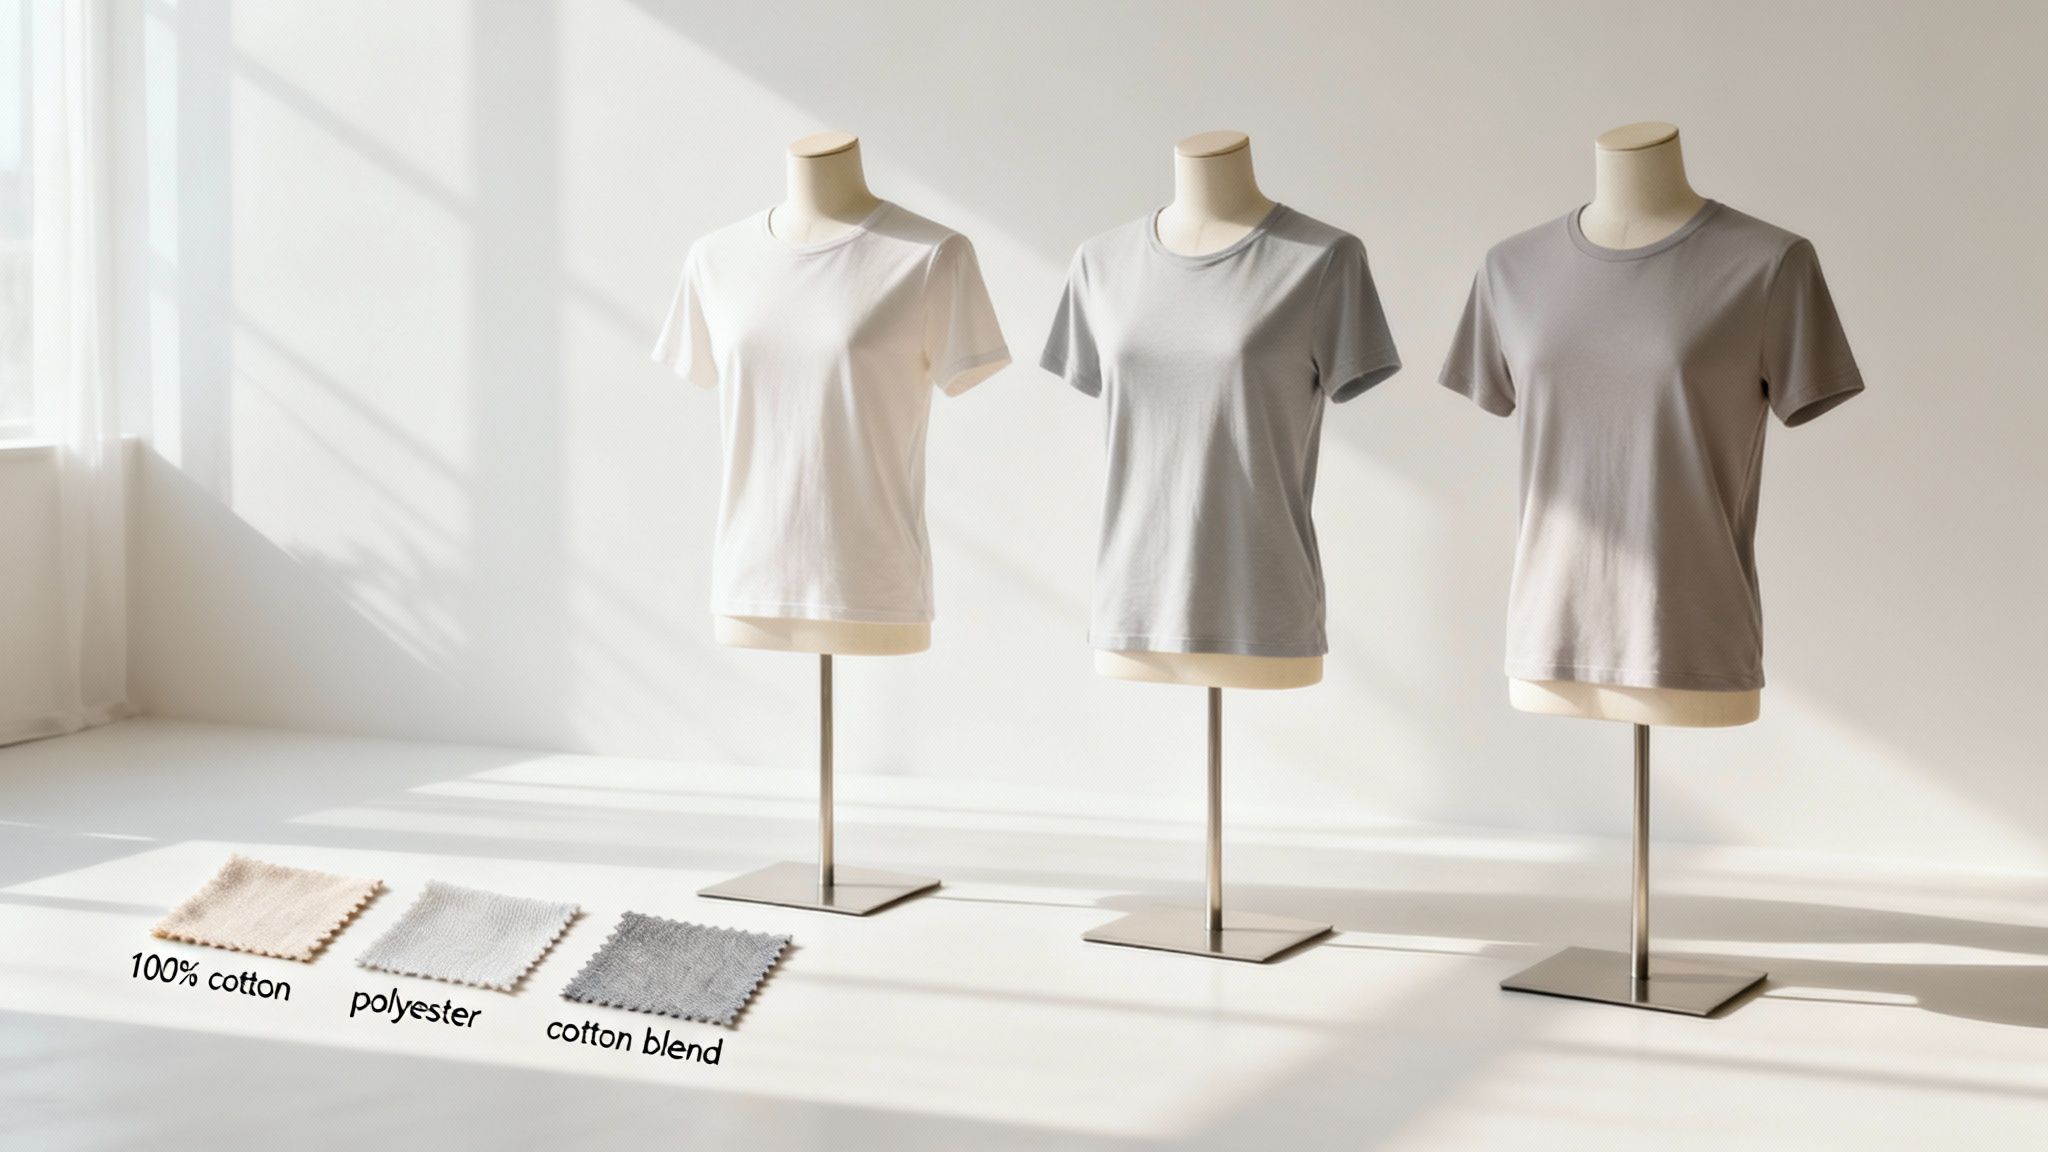
The material of your T-shirt directly impacts its feel, breathability, durability, and even how well the ink sits on it. It’s a bit like choosing tyres for a car; what you need for a daily runabout is totally different from what you’d want on a race car.
Here are the most common fabrics you'll come across for custom printed t-shirts:
- 100% Cotton: The undisputed classic. It’s loved for being naturally soft and breathable. Cotton also provides a fantastic surface for printing, especially for vibrant DTG prints. It's an easy crowd-pleaser for general promo gear and event tees.
- 100% Polyester: This is the synthetic workhorse. Polyester is incredibly durable, wicks moisture away from the skin, and resists shrinking or stretching. That makes it the go-to for sportswear, team uniforms, or any activewear where performance is a priority.
- Cotton/Poly Blends: Want the best of both worlds? Blends (like a 50/50 or 60/40 mix) combine the softness of cotton with the strength and moisture-wicking power of polyester. They’re super versatile, comfy, and less prone to wrinkling than pure cotton.
Decoding Fabric Weight
Fabric weight, measured in Grams per Square Metre (GSM), is simply a way of describing how thick or heavy the material is. A higher GSM means a heavier, more durable shirt. A lower GSM gives you a lighter, softer feel.
Key Takeaway: There's no single "best" GSM—it all comes down to what the shirt is for. A light and airy 140-160 GSM shirt is perfect for a summer event in Brisbane, but a heavyweight 180-200+ GSM tee offers a more premium feel and better longevity for corporate uniforms or high-end merch.
Understanding GSM helps you match the garment to its purpose and the Aussie climate, ensuring it's actually comfortable to wear.
Finding The Right T-Shirt Fit
The fit is just as crucial as the fabric. A poorly fitting shirt, no matter how cool the design, just won't get worn. To make sure everyone on your team or in your audience looks and feels great, you need to pick the right style.
- Standard Fit (or Classic Fit): This is your traditional T-shirt cut. It’s pretty straight from the chest to the waist, leaving plenty of room to move without being baggy. It's a safe bet and a universally flattering choice for a wide audience.
- Slim Fit (or Fashion Fit): This style is more tailored, tapering through the body for a closer fit at the chest and waist. It creates a modern, sharp silhouette that's popular for retail-quality merchandise and fashion-forward brands.
- Relaxed Fit (or Oversized Fit): Think looser, baggier, and often with dropped shoulders. This fit is all about comfort and a current, streetwear-inspired vibe. It’s a fantastic option if you’re targeting a younger demographic.
When choosing the fit for your custom tees, always check a detailed sizing chart to get it right and avoid any headaches later. Our team can also walk you through the different brands and styles in our huge range of clothing categories to find the perfect match for your project.
How to Nail Your Artwork for a Flawless Print
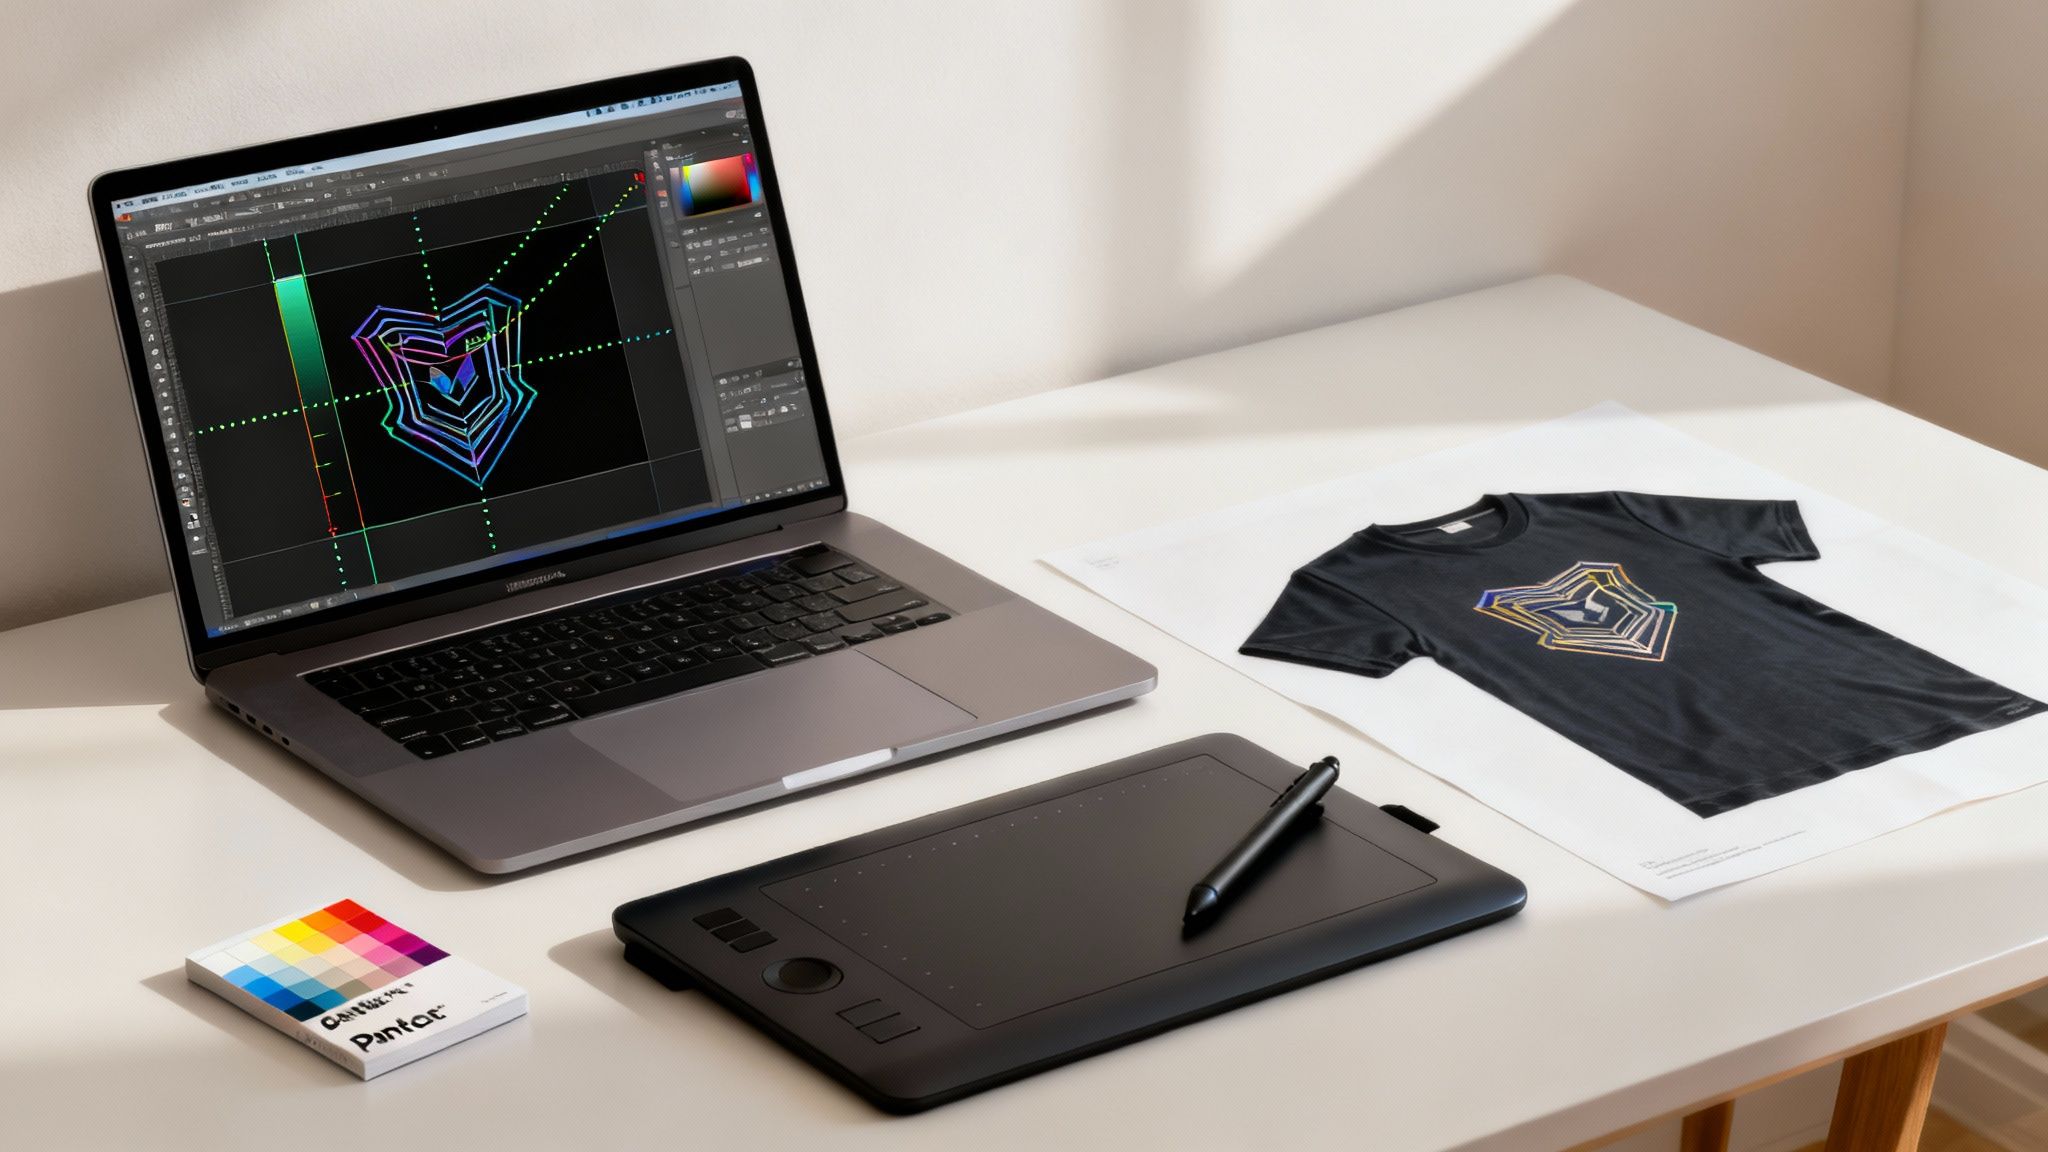
You’ve got a killer design for your custom tees, but getting it from your screen onto fabric without a hitch? That's all down to the artwork file. Submitting a print-ready design is the secret sauce to making sure your vision comes to life perfectly, avoiding those dreaded blurry logos or jagged edges.
Think of it like cooking. The quality of your ingredients dictates how good the final meal is. In t-shirt printing, your artwork file is the star ingredient. Getting it right from the get-go saves everyone time, dodges disappointment, and guarantees a crisp, professional finish.
Vector vs. Raster: What You Absolutely Need to Know
This is the big one. The most crucial concept to wrap your head around is the difference between vector and raster files. They might look the same on your monitor, but they’re built in completely different ways that have a huge impact on the final print.
- A raster file (like a JPG, PNG, or GIF) is like a digital mosaic made of tiny coloured squares called pixels. It has a fixed size. If you try to blow it up, you're just stretching those same pixels, which leads to a blurry, pixelated mess.
- A vector file (think AI, EPS, or SVG) is more like a mathematical recipe. It uses lines, points, and curves to draw your design. Because it's a set of instructions, not fixed pixels, it can be scaled up to the size of a billboard or down to a postage stamp without losing a shred of quality.
The Bottom Line: For t-shirt printing, vector files are the undisputed champion. They deliver the clean, razor-sharp lines needed for a perfect print, every single time. This is why we always push for them.
Don't have a vector file? No stress. Our team at Simply Merchandise offers a free artwork setup service to help convert your design into a print-ready format.
Getting the Technical Details Right
Beyond just the file type, a few other specs are vital for a top-notch print. Nailing these details will help you sidestep common issues and ensure your design looks exactly how you pictured it.
- Resolution (DPI): If you absolutely have to use a raster file, make sure it’s high resolution. The industry standard for printing is 300 Dots Per Inch (DPI) at the actual size it will be printed. That tiny logo you pulled from your website? It's probably 72 DPI and will look fuzzy on a shirt.
- Outline Your Fonts: Here’s a classic trap. If our computer doesn’t have the same font you used in your design, it will automatically substitute it for something else, wrecking your layout. The fix? Convert all your text to outlines (or "curves"). This turns the letters into permanent vector shapes that can’t be changed.
- Colour Mode: Your screen uses an RGB (Red, Green, Blue) colour model to show images, but printers use CMYK (Cyan, Magenta, Yellow, Black). For dead-on colour accuracy, especially for brand logos, the Pantone Matching System (PMS) is the way to go. It uses unique codes to ensure your specific shade of brand-blue is replicated perfectly.
We know this can feel a bit technical, which is why we’ve created a straightforward guide with artwork submission tips in a simple guide for beginners to walk you through it.
Getting these details right matters more than ever. The Australian custom t-shirt printing market is booming, with revenue climbing from roughly USD 84.22 million in 2023 to a projected USD 133.93 million by 2032. You can dig into more data on this growing market and discover insights about rising consumer preferences on Credence Research.
Getting a Handle on Costs, Timelines, and Eco-Friendly Options
Figuring out the logistics of a custom T-shirt order can feel like a bit of a puzzle, but it really comes down to just a few key pieces. Once you understand what drives the final price, how long it all takes, and the sustainable options on the table, you'll be able to make smart decisions that perfectly match your budget, deadline, and brand values.
The cost of your project is more than just the price of a blank shirt; it's a mix of several moving parts. Every choice you make, from the fabric you pick to the artwork you design, has a ripple effect on the final cost per unit. This is especially true in Australia, where the demand for quality custom tees is booming.
In 2024 alone, Aussies are on track to go through 234 million units, with the market value hitting around USD 849 million. That’s a huge market, and it shows that making informed choices can lead to some serious savings. You can dive deeper into this growth and find out more about the Australian T-shirt market on IndexBox.
Decoding Your T-Shirt Pricing
So, what actually goes into the price you pay? It’s mainly four things. Get your head around these, and you'll be able to budget like a pro and get the most bang for your buck.
- Your Garment Choice: The blank T-shirt is your foundation. A premium, heavyweight organic cotton tee from a brand like AS Colour is naturally going to have a higher price tag than a standard, lightweight cotton shirt for a one-off event.
- The Printing Method: As we've covered, different techniques come with different costs. Screen printing is brilliant for bulk orders, making it super cost-effective. On the other hand, DTG is your go-to for smaller runs with lots of colours.
- Artwork Complexity: This is a big one. A simple, one-colour logo on the chest will always be more affordable than a massive, multi-colour design printed on the front, back, and sleeves. Every extra colour and print location adds to the setup and production time, which is reflected in the price.
- Order Quantity: Here’s where you can really make your budget work for you. The golden rule of custom apparel is simple: the more you order, the lower the price per shirt becomes. Why? Because those initial setup costs get spread out over a larger number of items.
Key Insight: Understanding Minimum Order Quantities (MOQs) is a game-changer. Screen printing, for example, needs a minimum run of around 20-25 shirts to be worthwhile because of the time it takes to create the screens. For just a handful of tees, DTG or heat transfer is the way to go.
Want to see how these factors affect your specific project? The easiest way is to plug in your details and get an instant print quote online.
Planning Your Production Timeline
One of the first questions we always get is, "How fast can I get my shirts?" The answer depends on a few steps, but a little forward planning goes a long way. A standard production timeline ensures a smooth, stress-free process from start to finish.
- Artwork Approval: The clock officially starts ticking the moment you sign off on the digital proof we send you. This is a crucial checkpoint to make sure every detail is perfect before we hit the printers.
- Production: This is where the magic happens. A typical production run takes about 10-14 business days. This can shift a little depending on how complex your order is and how busy the production schedule is at the time.
- Delivery: Once your T-shirts are printed, checked, and packed, they’re shipped directly to your door, anywhere in Australia.
If you’re up against a tight deadline for a trade show or an event, don’t panic. We often have express services available to speed things up. The most important thing is to let us know your required delivery date right from the start when you ask for a quote.
Making an Eco-Conscious Choice
Sustainability isn't just a buzzword anymore; it's a core value for many modern Australian businesses. Choosing eco-friendly options for your custom tees sends a powerful message about who you are and what your organisation stands for.
Here are a few ways to make your apparel project a little greener:
- Sustainable Fabrics: Ask for garments made from materials like organic cotton, which is grown without nasty pesticides, or recycled polyester (rPET), which gives old plastic bottles a new life as fabric.
- Water-Based Inks: These inks are a fantastic, environmentally friendly alternative to traditional plastisol inks. They're free from PVC and other harsh chemicals, making them gentler on the planet.
- Local Production: By sourcing from an Australian supplier like Simply Merchandise, you automatically reduce the carbon footprint that comes with shipping goods from overseas.
By keeping these elements in mind, you can create custom T-shirts that not only look incredible but also reflect a real commitment to doing business responsibly.
Bringing Your Custom T-shirt Project to Life
So, how do you take a brilliant idea from a sketch on a napkin to a stack of professionally printed tees? It’s actually a pretty straightforward process once you know the path. Let's walk through the final steps to make sure your project is a huge success and the finished shirts look even better than you imagined.
Think of it like building anything great – it starts with a solid plan. Your first move is to get a detailed quote. This is where you’ll hand over your design, pick your t-shirt style, and let us know how many you need. We'll then send back a price and, most importantly, a digital proof. This is basically a digital mock-up of your shirt, showing you exactly how the design will look.
From Digital Proof to Perfect Print
Pay close attention to that digital proof, as it’s your single most important checkpoint. It’s your chance to look over every detail—the size of the design, where it sits on the shirt, the colours—and make sure it’s absolutely spot on before we print a single thing.
Once you give us the thumbs-up on the proof, we get to work. Your order hits the production floor, and our team starts the printing process. You can sit back and relax while our experts bring your vision to life, ensuring a top-quality finish.
A Crucial Tip: Always, always double-check your digital proof. This is your final chance to confirm everything from spelling to the exact colour codes is correct. Signing off on the proof is what officially kicks off production, so a thorough check here saves any headaches down the line.
We recently worked with a Sydney-based charity for their annual fundraising run. They needed bright, comfy tees to get everyone excited. While reviewing their digital proof, they spotted a tiny typo in the event date. Catching it at that stage saved them a huge amount of stress and money, and their event merch turned out perfectly.
Real-World Examples
It always helps to see how it works in practice. Here are a couple of common scenarios we see all the time when people order custom printed t-shirts.
-
The Corporate Trade Show: A Melbourne tech company was heading to a big trade show and needed 100 sharp-looking polo shirts. They opted for a premium cotton blend with their logo subtly embroidered on the chest. To be extra sure, they asked for a physical sample to check the fabric feel and stitch quality. That one small step gave them complete peace of mind before placing the full order.
-
The Local Sports Club: A Brisbane soccer club needed jerseys for their junior teams, including individual names and numbers. We used heat transfer printing for the custom names and screen printing for the club's crest. They sent us a simple spreadsheet with all the sizes and player details, which made the whole process incredibly smooth and error-free.
Whatever you’re trying to achieve, the steps are much the same. It all comes down to clear communication, careful proofing, and working with a team that knows what they’re doing. At Simply Merchandise, we handle the tricky parts with free artwork setup and unlimited revisions, so you can go from an idea to a finished product with confidence, knowing your custom t-shirts will make the right impact.
Your Custom T-Shirt Questions, Answered
Diving into the world of custom tees can bring up a few questions, especially if it's your first time ordering. To help clear things up and get you started with confidence, we've put together straightforward answers to the questions we hear most often about ordering custom printed t-shirts in Australia.
What’s the Smallest Order I Can Place?
The minimum order quantity (or MOQ as you'll often see it called) really hinges on the printing method you’ve picked for your design.
For screen printing, you're usually looking at a minimum of around 20-25 shirts. That might sound like a lot, but it’s because the setup is quite hands-on—a separate screen has to be made for every single colour in your design. Spreading that initial setup cost over a decent-sized batch is what makes each t-shirt affordable.
On the other hand, digital printing methods like Direct to Garment (DTG) don't have that same kind of colour-by-colour setup. This flexibility makes DTG brilliant for smaller batches or even a single, one-off tee. It’s the perfect solution when you just don’t need a large quantity.
How Long Until I Get My T-Shirts?
You can generally expect your order to be ready in about 10-14 business days here in Australia. That timeline kicks off from the moment you give the final thumbs-up on your artwork proof.
Of course, this can shift a little depending on things like how complex your design is or how busy the production schedule is. If you're in a real pinch for an event, most suppliers offer express services to get your order pushed through faster.
Our Pro Tip: Always mention your deadline right from the get-go when you ask for a quote. It lets everyone plan properly and ensures your t-shirts arrive on time, minus the last-minute panic.
Can I See a Sample Before You Print Everything?
You bet. Making sure everything is perfect is a key part of the process. You'll always get a digital artwork proof first—basically, a digital mock-up showing what your design will look like on the t-shirt you've chosen. This is your chance to double-check that the size, placement, and colours look exactly right.
For bigger or more detailed orders, asking for a physical pre-production sample is a great move. There’s nothing like seeing and feeling the real thing. It lets you inspect the garment, check the print quality with your own eyes, and give your final approval before the main production run begins.
What Kind of Artwork File Do You Need for the Best Result?
For the absolute sharpest, cleanest print, nothing beats a vector file. It’s the undisputed gold standard in the printing world.
These are the file types you're looking for:
- .AI (Adobe Illustrator)
- .EPS (Encapsulated PostScript)
- A vector-based .PDF
The magic of vector files is that they can be scaled up or down to any size without getting pixelated or losing quality, which means your design will have perfectly crisp lines. If all you have is a standard image file like a .JPG or .PNG, it needs to be high-resolution—at least 300 DPI at the size you want it printed—to avoid looking blurry.
Ready to create standout apparel for your brand? The expert team at Simply Merchandise makes ordering easy with free artwork setup, fast turnarounds, and a huge range of high-quality garments. Get your project started today at https://simplymerchandise.com.au.

