Embroidered caps are one of the most effective ways to get your brand seen, turning everyday headwear into a professional statement that people will actually wear. But before you get lost in thread colours and design details, the single most important decision you'll make is choosing the right cap style and material.
This choice is the foundation for everything that follows. It dictates the final look, the feel, and even how well your logo will hold up over time.
Finding the Right Cap for Your Design

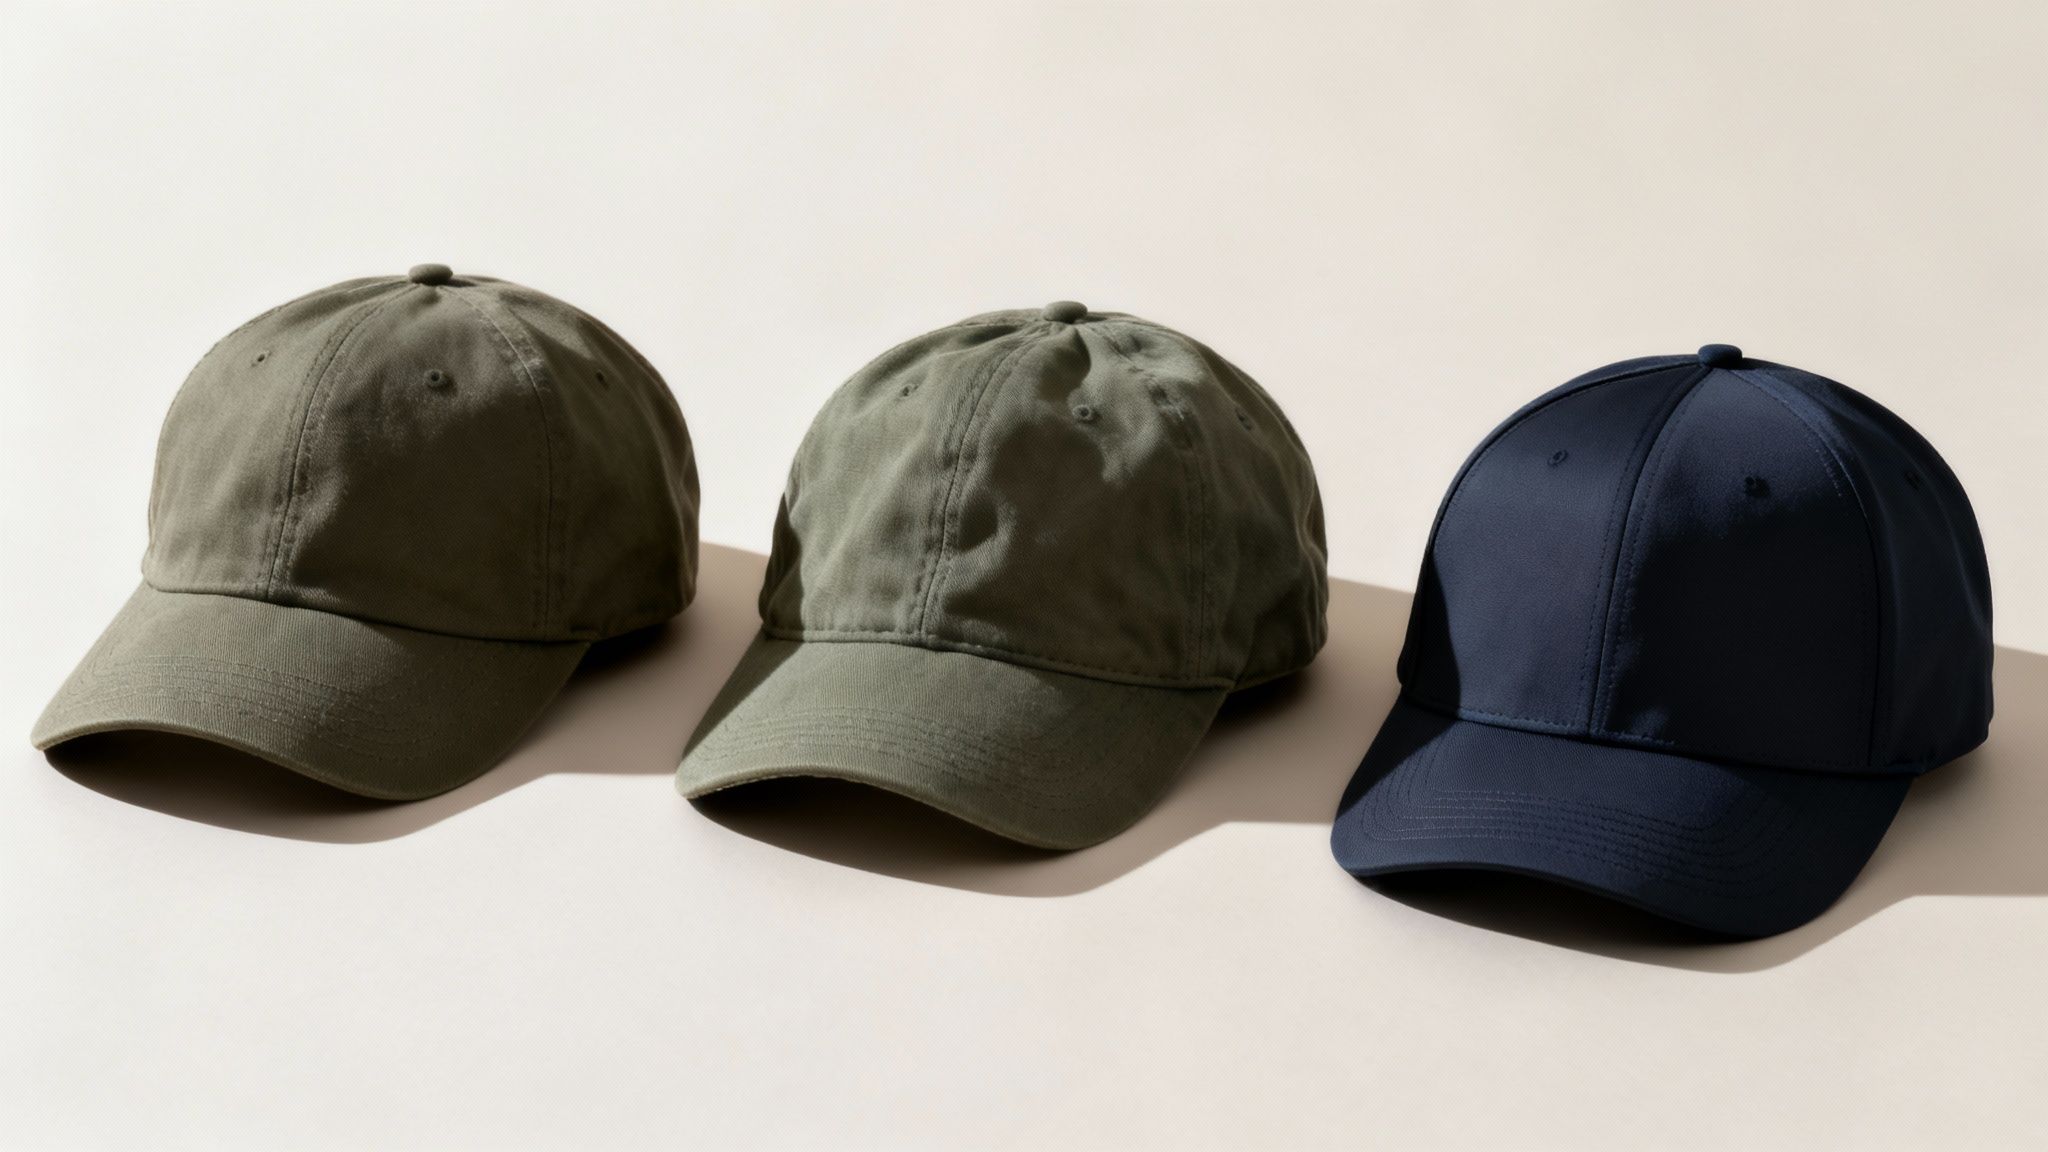
It sounds obvious, but the secret to a brilliant embroidered cap is... the cap itself. The silhouette and fabric you choose set the entire tone for your project, influencing not just the aesthetic but also how the embroidery needle physically interacts with the material.
Think of it like building a house—you wouldn't put a premium finish on a weak foundation. A stunningly digitised logo can easily be let down by a flimsy, poorly-fitting cap. On the flip side, the right hat can elevate even a simple design into something that looks and feels truly premium.
Matching Cap Style to Your Brand's Purpose
Different cap styles serve completely different functions. Your choice needs to line up with your brand's personality and how the caps will be used. Are you outfitting a corporate team for a trade show, creating merch for a cool streetwear brand, or giving a thank-you gift to high-value clients? Each scenario calls for a different style.
To help you decide, here’s a quick breakdown of how common cap styles align with different business goals.
Matching Cap Styles to Common Business Goals
| Cap Style | Best For | Material Recommendation | Embroidery Consideration |
|---|---|---|---|
| Structured Baseball Caps | Corporate branding, team uniforms, promotional giveaways | Heavy cotton twill, wool blends | The firm front panel is a perfect, stable canvas for detailed logos. |
| Relaxed "Dad" Hats | Lifestyle brands, staff gifts, university merch | Washed cotton, canvas | The unstructured front works well for simpler, text-based logos or minimalist icons. |
| Modern Snapbacks | Streetwear brands, sports promotions, youth-focused marketing | Acrylic, polyester blends, corduroy | The large, flat front panel is ideal for bold, statement graphics. |
Ultimately, the goal is to create something people genuinely want to wear. A cap that fits the recipient's lifestyle is far more likely to be worn again and again, giving your brand maximum visibility long after it's handed over.
How Fabric Affects the Final Embroidery
Beyond style, the cap's material is a massive factor. The fabric’s texture, weight, and weave directly impact how the stitches sit and the overall quality of the finished product.
Classic cotton twill is the industry workhorse for a reason. It's sturdy, provides a clean finish, and holds stitches beautifully, making it a reliable go-to for most detailed logos.
On the other hand, performance fabrics like polyester blends are brilliant for athletic teams or outdoor events because they're breathable and moisture-wicking. Just keep in mind that their lighter, stretchier nature requires a skilled digitiser to avoid puckering around the embroidery.
Exploring a wide range of custom headwear is the best way to find that perfect combination of style and material for your specific project.
Translating Your Logo into Thread
Embroidery isn't like printing. We're not just putting ink on a surface; we're literally building your design with a needle and thread. This means that what looks great on a screen needs a bit of a rethink to look just as sharp and professional on a cap. It's a craft that transforms a flat, digital file into a textured piece of art.
The whole process kicks off with your artwork. For the cleanest possible result, you'll need to supply your logo as a vector file. Think formats like .AI, .EPS, or sometimes a .PDF. Vector files use mathematical paths, which means we can scale them up or down without them turning into a blurry mess. On the other hand, a standard image like a JPG or PNG is made of pixels. When you try to enlarge it, it just gets fuzzy and is pretty much useless for creating precise stitch paths.
Why Some Designs Just Don't Work
I've seen it all over the years—some logos are simply not cut out for embroidery. The process has real-world, physical limitations that certain design elements just can’t get around. Knowing these from the get-go will save you a ton of time and potential frustration. Before diving into embroidery, it’s always a good idea to understand the fundamentals of how to design a professional logo that can work across all sorts of mediums, not just a screen.
Here are the usual suspects that cause trouble on embroidered caps:
- Tiny Text: Any letters under 6mm high are a no-go. They almost always end up looking like a blurry, unreadable smudge. The needle and thread are just too thick to create that kind of fine detail.
- Complex Colour Gradients: Think of a sunset effect where one colour blends smoothly into another. You can't do that with thread. Embroidery relies on solid, distinct blocks of colour.
- Intricate Details: Super fine lines, tiny little shapes, and overly complex patterns tend to get lost. The thread itself has a physical thickness, and those minute details will just merge into one another.
My best advice? Create a simplified, "hat-friendly" version of your main logo. This might mean dropping the tagline, making some lines a bit chunkier, or even cutting back on the number of colours. The goal here is clarity and impact, not a carbon copy of your most detailed brand mark.
What’s the Deal with the Digitising Fee?
When you get a quote for embroidered caps, you'll almost always notice a one-time digitising fee. This isn't just some random admin charge—it's arguably the most important step in the whole process. Digitising is the expert skill of manually converting your vector artwork into a special stitch file that the embroidery machine can actually understand.
A skilled digitiser doesn't just push a button and let software do the work. They manually plot out every single stitch, deciding on its type, direction, and density to best bring your design to life. They have to consider the specific fabric of the cap and the curve of the crown, often adding underlay stitches for stability and making adjustments to compensate for how the fabric pulls and pushes during stitching. It’s this hands-on expertise that ensures your logo looks crisp, doesn’t cause the fabric to pucker, and will hold up over time.
For a bit more on getting your files ready, take a look at our simple guide on artwork submission tips.
Deciding on Stitch Type and Placement
Okay, so you've got your design sorted. Now for the fun part: deciding how it will actually look and feel on the cap. This is where you choose the embroidery technique and where on the cap your logo will live. Getting these details right is what separates a generic giveaway cap from a piece of quality branded gear that people genuinely want to wear.
Think of the stitch type as the texture and personality of your logo, while placement is all about visibility and how people will see your brand.
Standard vs. 3D Puff: What’s the Difference?
You’ve got two main options when it comes to the actual stitching, and they create dramatically different effects.
Standard flat embroidery is your classic, go-to choice. It’s exactly what it sounds like: the stitches lie flat against the fabric. This method gives you a clean, sharp, and professional finish. If your logo has fine lines, small text, or a lot of intricate detail, flat embroidery is almost always the best way to go. It’s brilliant at capturing that precision.
Then you have 3D puff embroidery. This technique adds a whole new dimension—literally. We place a small piece of foam on the cap and stitch over it with a really dense thread count. This pushes the stitches up, creating a raised, tactile effect that pops right off the cap. It’s a fantastic choice for making a big impact with simple, bold text or chunky logos.
Where Should Your Logo Go?
The placement of your design is just as critical as the stitch type. A cap has a few key zones, and each one serves a different purpose.
- The Front Panel: This is your prime real estate, no question. It's the most visible spot and gives you the biggest area to work with, making it the perfect home for your main logo. Structured caps are especially good for this, as they provide a nice, firm surface for both flat and 3D puff designs.
- The Side Panels (Left or Right): These are excellent for secondary information. Think a website URL, a small icon, or maybe an anniversary date. The space is obviously smaller, so you'll need to keep the design simple and clean.
- The Back Arch: The space curving over the back closure is a classic spot for a tagline, a company value, or a location like "Melbourne". It’s a great finishing touch that adds another branding opportunity.
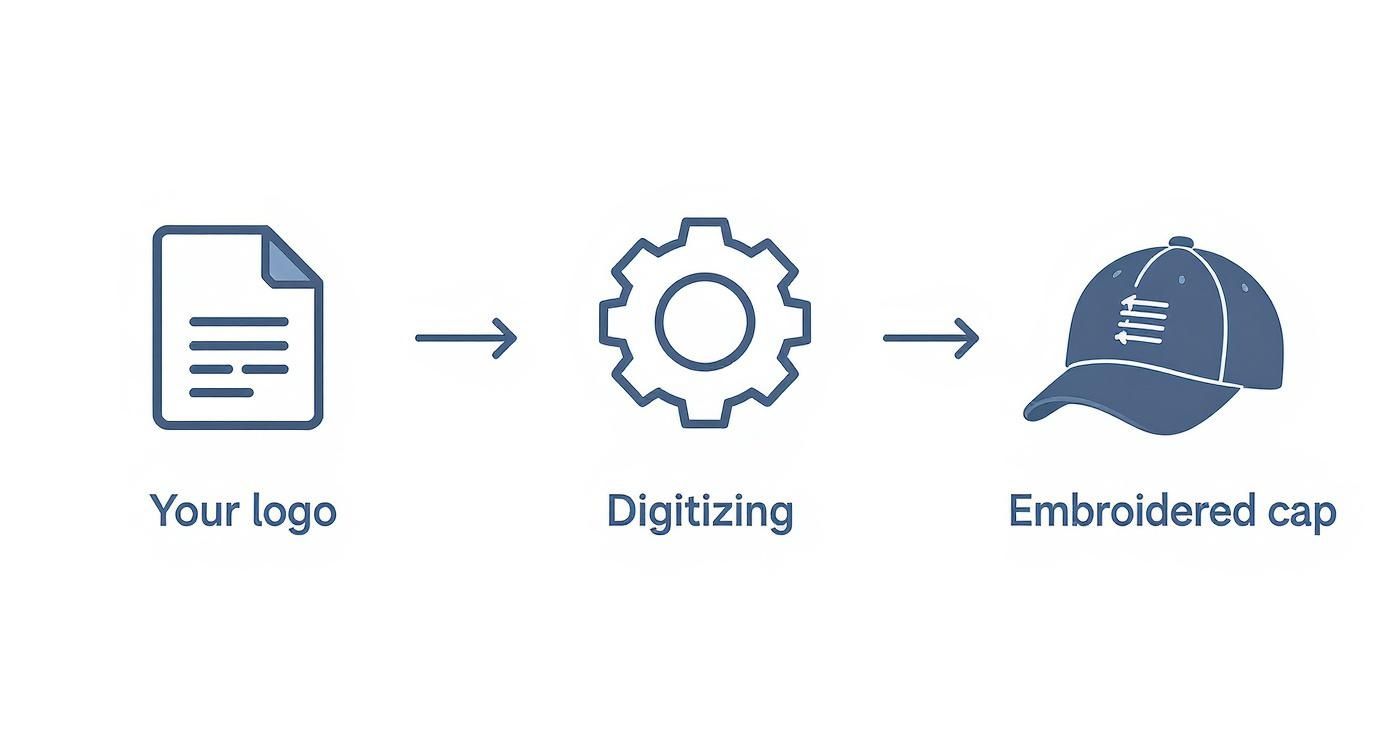
This graphic gives you a visual walkthrough of how a digital design file becomes a tangible, stitched-out cap.

The most important thing to understand here is the digitising process. It’s not just a file conversion; it’s an expert manually mapping out every single stitch for the embroidery machine to follow.
Here's a tip from experience: Why not mix and match? A bold 3D puff logo on the front paired with a subtle, flat embroidered website on the back arch looks incredibly high-end. It shows attention to detail and makes smart use of all the available space.
Ultimately, picking the right combination comes down to a balance between your design's complexity and the physical reality of the cap. If you want a hand with this, our team provides expert in-house custom embroidery services and can walk you through the best options for your specific logo. A little bit of careful thought here can turn your caps from simple promo items into stylish accessories that people will actually love to wear.
From Quote to Delivery: What to Expect When You Order
Alright, you’ve picked your cap style and finalised your design. Now comes the exciting part: placing your order. This is where a little bit of know-how can make a world of difference, ensuring the process is smooth and your finished caps are exactly what you envisioned. Let’s walk through the key checkpoints so you can avoid common pitfalls and get it right the first time.
Understanding Minimums and Pricing
The first thing you’ll probably notice when getting a quote is the Minimum Order Quantity, or MOQ. This isn't just an arbitrary number; it’s a practical necessity. Setting up an embroidery machine for a custom run involves a lot of work behind the scenes—digitising your design, loading the right thread colours, and calibrating everything perfectly. The MOQ ensures that this initial setup cost is viable when spread across a batch of caps.
You'll also see that the price per cap drops as you order more. It's simple economies of scale. Ordering 25 caps, for example, will always have a higher per-unit cost than ordering 100 caps. If you’re on the fence about quantity, always ask for a price breakdown for a few different tiers. It can help you find the best value for your budget.
This is the perfect time to get a crystal-clear, itemised quote. No one likes surprises down the line. If you're keen to see how the numbers stack up for your project, you can easily request a custom quote to get a full breakdown.
The Importance of the Digital Proof
Before your caps hit the machine, you’ll get a digital proof. This is the single most important checkpoint in the entire process. Seriously, don't just glance at it and click "approve." This mockup is the blueprint for your final product, showing exactly how your logo will look in terms of size, placement, and colour.
Treat it like the final sign-off it is and scrutinise every detail.
- Spelling and Details: It sounds obvious, but you’d be surprised how easily a small typo can slip through. Check every single letter and number.
- Colours: Computer screens can be deceiving. Don't just rely on how the colour looks on your monitor. Double-check that the thread colour codes listed on the proof match your brand’s official guidelines.
- Placement and Size: Does the logo look balanced and centred? Is it too big or too small for the panel? This is your last chance to make tweaks.
When you approve that proof, you’re giving the final go-ahead for production to begin exactly as shown. If there’s an error on the proof you approved, the responsibility for it will be yours. Take your time.
Confirming Turnaround and Delivery
Once you’ve given your approval, the real work begins. Your supplier should give you a clear and realistic timeline. It's important to understand that "turnaround time" usually just covers the production window—from the moment you approve the proof until the order is packed and ready to ship. It almost never includes the shipping time itself.
The tailoring and clothing accessories manufacturing sector in Australia is a healthy industry, pulling in an estimated $1.5 billion in revenue. One of the big advantages of working with local suppliers is that you often get faster, more dependable turnaround times compared to ordering from overseas. You can find more insights on the Australian clothing accessory industry on ibisworld.com.
Always confirm an estimated delivery date that accounts for shipping. And if you have a non-negotiable deadline for an event or launch, make sure you communicate that right from the very start. A bit of proactive communication here is the key to a stress-free experience, and it guarantees your caps will be in your hands right when you need them.
Getting the Most Out of Your Custom Caps

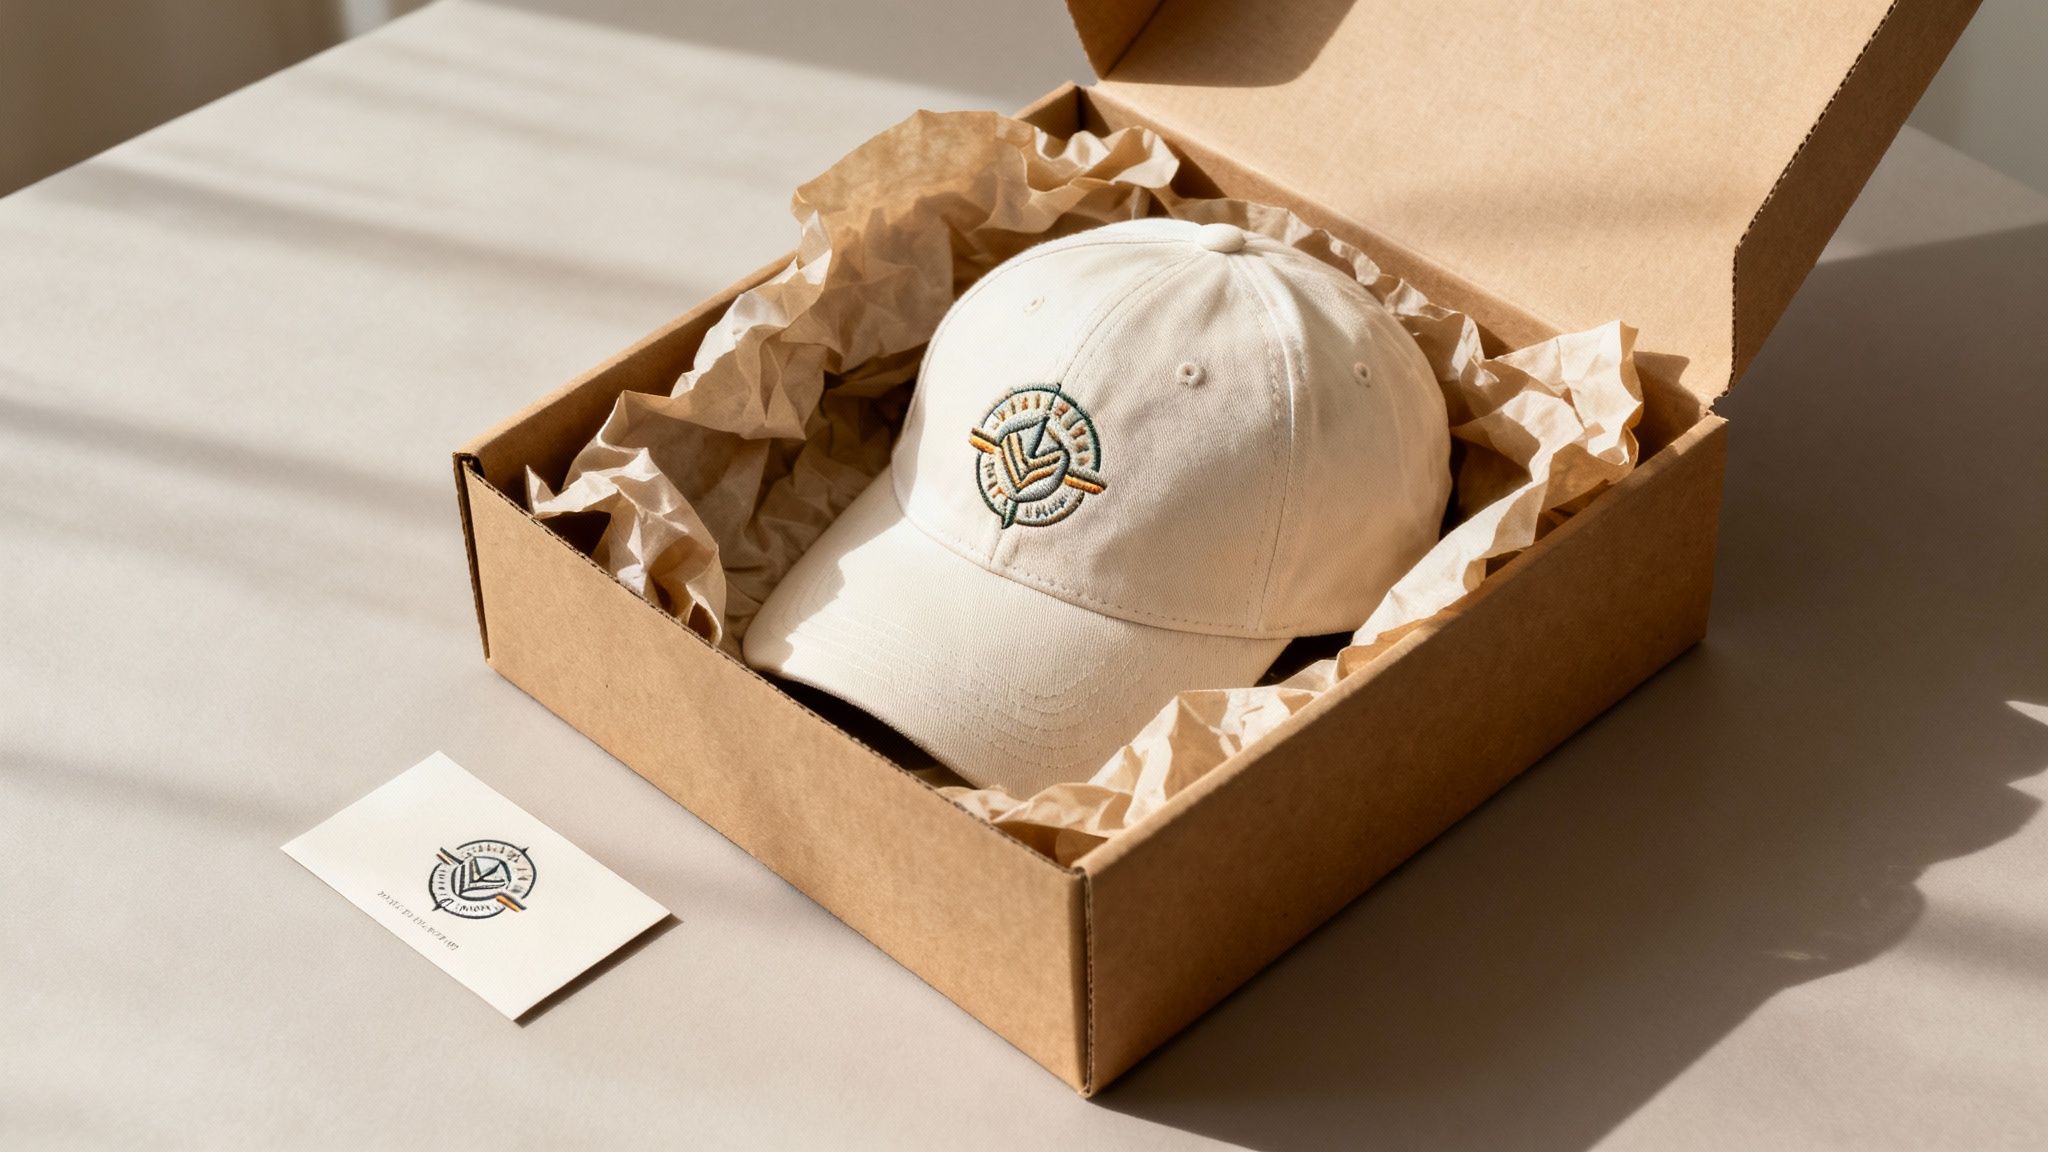
The boxes have landed, and your new embroidered caps look fantastic. But the real value isn't just in the product itself; it’s in what you do with them next. With a bit of thought, you can transform them from a simple promotional item into a powerful, long-lasting branding tool.
The first step is simply protecting your investment. While our caps are built to last, both the fabric and the detailed stitching need a little care to stay looking sharp.
The golden rule? Keep them out of the washing machine. A machine wash can completely warp the cap's structure and wreck the embroidery you've spent time perfecting. Spot cleaning with a soft cloth and some mild detergent will handle most minor marks. For a more thorough clean, a gentle hand-wash in cool water is the way to go. Just let it air dry—ideally on something head-shaped to keep its form.
Keeping Your Embroidered Caps in Top Condition
It only takes a few simple habits to maintain the quality of your caps, ensuring they represent your brand well for years to come.
- Washing: Stick to hand-washing in cool water with a gentle detergent. Definitely no bleach, and avoid the urge to wring it out, as that will ruin the shape and can damage the embroidery.
- Drying: Always air dry. A neat trick is to stuff the crown with a small towel to help it hold its shape. Keep it out of direct sunlight to stop the colours from fading.
- Storage: Don't just crush them in a drawer. Storing your caps on a shelf or hanging them on a hook is the best way to preserve their structure and prevent creases.
Following these small steps makes sure every cap you hand out continues to look professional and feel like a premium item.
Creative Ways to Use Your Caps
Caps are a staple for trade shows and events, but their potential goes so much further. Think of them as a versatile piece of your branding toolkit that can make a real impact in other areas of your business.
For instance, popping a high-quality cap into a welcome pack for new hires is a brilliant touch. It’s a small gesture that immediately builds a sense of belonging and team pride from their very first day.
A premium cap given as a "thank you" to a long-term client feels far more personal and thoughtful than a generic gift. It’s something they can actually use, keeping your brand top of mind every time they wear it.
And why not sell them? If you've built a strong community around your brand, your caps can become a popular piece of merchandise, generating revenue and turning loyal customers into walking billboards. To make them look irresistible online, mastering e-commerce fashion photography is key to showing off the quality and detail.
Embroidered headwear has a long and significant history in Australia, from fashion statements to symbols of identity. During World War I, Australian troops wore hats with embroidered badges to signify their unit—a powerful marker of belonging. You can read more about the history of Australian Imperial Force headwear on awm.gov.au. It's this same sense of identity and pride that your custom caps can build for your brand today.
Your Embroidered Cap Questions, Answered
When you're putting your brand on a product, you want to get it right. It’s only natural to have a few questions before you commit. Getting clear answers upfront is the key to making sure the caps you receive are exactly what you pictured, and that they fit your budget. Let's walk through some of the most common questions we hear from businesses just like yours.
Is Embroidery Better Than Screen Printing for Caps?
This is probably the most frequent question we get, and the answer really boils down to two things: durability and perceived value.
Embroidery is the process of stitching your design directly into the fabric of the cap. This creates a raised, textured finish that immediately feels premium and high-quality. Because it's literally part of the hat, it’s incredibly resilient and won't crack, peel, or fade over time. It's the undisputed industry standard for headwear for a reason.
Screen printing, on the other hand, involves pushing ink through a screen onto the surface of the fabric. It’s a fantastic option for t-shirts or hoodies, but it just doesn't perform well on the tough, curved surfaces of a cap. The ink can look patchy on coarser materials and simply doesn't have the same professional finish or longevity as a stitched design. For a look that lasts and truly represents your brand well, embroidery is always the way to go.
If you're curious about the nuts and bolts of the process, you can learn more about what embroidery is and how it works in our detailed guide.
How Much Will It Cost to Embroider My Caps?
There's no simple "one-price-fits-all" answer, as the final cost really depends on a few moving parts.
- How many caps are you ordering? Like most custom products, the more you order, the lower the price per cap becomes. Bulk orders are always more cost-effective.
- How complex is your logo? In the embroidery world, complexity is measured by stitch count—the total number of stitches needed to recreate your artwork. A simple, text-based logo will have a far lower stitch count than a detailed company crest with multiple colours.
- Where is the embroidery going? A standard logo on the front is the most common and affordable option. Adding extra logos to the side panels or the back will naturally increase the cost.
Expect to see a one-off digitising fee on your first order. This isn't just a random charge; it covers the skilled process of converting your digital artwork file into a detailed stitch map that the embroidery machines can read. A good supplier will always provide an itemised quote so you can see exactly what you're paying for.
Can I Embroider Any Design?
While embroidery is incredibly versatile, it does have some physical limitations. Think of it this way: you're drawing with a needle and thread, not a fine-tipped pen.
Extremely fine details, subtle colour gradients, and tiny text (we generally advise against anything under 6mm high) are tough to replicate cleanly. The thread is often too thick to capture these nuances, which can lead to a blurry or illegible result.
The best designs for embroidery are bold, clean, and use solid blocks of colour. We often work with clients to create a simplified, "hat-friendly" version of their main logo. This might mean removing a small tagline or slightly thickening up some of the finer lines. It’s a simple adjustment that makes a world of difference to the final quality, ensuring your logo looks sharp and professional.
Interestingly, embroidery has a rich history as a craft. It even featured prominently in 19th-century Australian fashion, where intricate techniques like Berlin wool work were used to embellish men's caps as a symbol of status. You can find more historical tidbits on historical Australian embroidery on artquill.blogspot.com.
Ready to create standout headwear that gets your brand noticed? The expert team at Simply Merchandise is here to guide you through designing and ordering the perfect embroidered caps. Start your project with us today!


