
Embroidered polo tops are a timeless choice for showcasing a brand. They offer a premium, durable finish that instantly elevates a uniform or promotional outfit. Think of them as the gold standard for branded clothing—they project professionalism, quality, and a real sense of team unity.
This guide is here to walk you through everything you need to know to create the perfect custom apparel for your organisation.
Your Guide to Perfect Embroidered Polo Tops
Welcome to your complete guide on creating impactful embroidered polo tops. This classic piece is a true cornerstone for professional branding, working just as well for corporate uniforms as it does for team wear or event staff.
What sets embroidery apart is its sophisticated, textured finish. It makes your logo pop with a kind of durability that standard printing just can't match.
We'll take you through the entire journey, step by step, covering all the essentials to ensure you get a high-quality result that you're proud to have your brand on. A great way to see how these tops fit into a professional wardrobe is to explore business casual outfit ideas and see how they create a polished look.
What's Inside This Guide
First things first, let's explore the foundational choices that make or break the final product. Getting these right is the first step toward creating apparel that looks and feels fantastic.
Here’s a quick look at what we’ll cover:
- Fabric and Fit: We'll dive into how materials like cotton, polyester, and blends affect not just comfort and appearance, but also how well your embroidery turns out.
- Embroidery Methods: You'll learn about the digitising process (turning your art into stitches!) and the different stitch types used to bring your design to life.
- Artwork Preparation: Get some practical tips on file types, matching colours, and simplifying your design for a clean, flawless finish.
- Logistics and Pricing: We’ll break down how things like stitch count, order quantity, and timelines all play a role in your project's budget and delivery schedule.
By the end of this guide, you’ll have the confidence and know-how to navigate the custom apparel process like a pro. Let's get started on creating some truly exceptional branded merchandise.
Choosing the Right Polo Fabric and Fit
Selecting the perfect polo shirt for your embroidery project is a bit like a chef picking the freshest ingredients for a signature dish. The fabric and fit are your foundation. They directly impact the final look, feel, and durability of your branded apparel. Get these elements right, and you’ll create a professional garment that people genuinely want to wear.
It's worth noting just how much demand for personalised apparel has grown in Australia. Comfort, quality, and customisation aren't just preferences anymore—they're expectations. The local market for custom clothing, especially high-quality embroidered polos, is booming. In fact, the custom t-shirt printing market in Australia is projected to jump from $84.22 million in 2023 to $133.93 million by 2032, a surge driven by the very trends that make embroidered polos so popular.
Understanding Polo Fabrics and Weaves
The fabric you choose affects everything from how breathable the shirt is to how crisply your logo shows up in thread. Each material brings its own unique set of characteristics to the table, making it a better or worse fit for certain environments and uses.
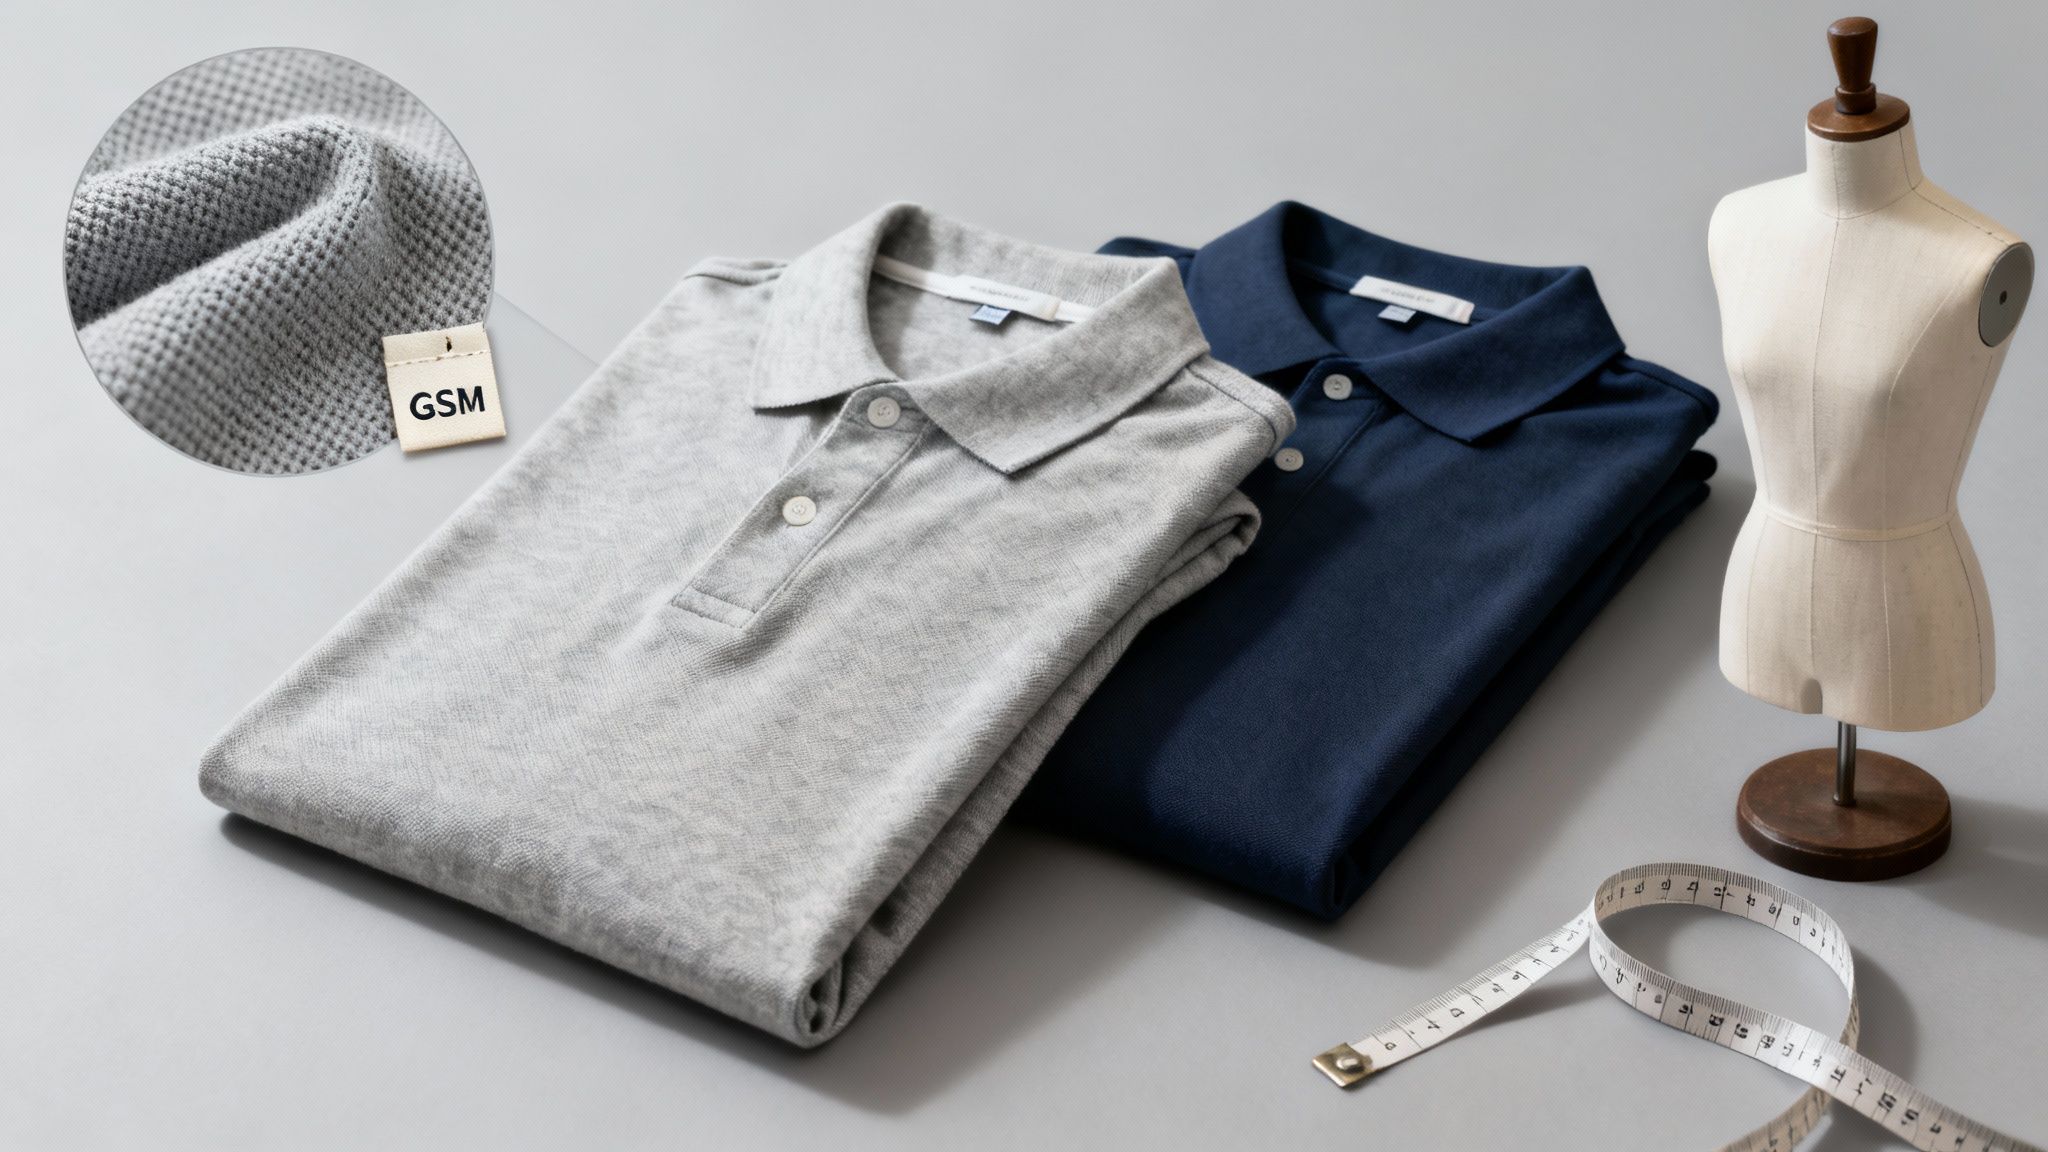
When it comes to embroidered polo tops, you'll generally encounter three main fabric choices:
- 100% Cotton: You can't go wrong with this classic. Prized for its softness and breathability, cotton provides a stable, matte base that’s perfect for detailed embroidery. The natural fibres really grab onto the stitches and hold them securely.
- 100% Polyester: Known for being tough and wicking moisture away, polyester is the go-to for sportswear and active teams. It’s great at resisting shrinking and fading, which keeps your branded gear looking sharp for longer.
- Poly-Cotton Blends: These blends offer the best of both worlds, mixing the softness of cotton with the resilience and moisture-wicking power of polyester. This makes them an incredibly versatile and popular pick for everyday corporate wear.
Beyond just the material, the weave of the fabric also plays a big part. The traditional choice for polos is a piqué knit, which has that classic textured, almost geometric pattern. Its stable structure is fantastic for embroidery because it helps prevent the fabric from puckering around the logo. On the other hand, a jersey knit is smoother and lighter—more like a standard t-shirt—giving it a more casual feel.
To help you decide, here’s a quick rundown of how the most common polo fabrics stack up against each other.
Polo Top Fabric Comparison
| Fabric Type | Key Characteristics | Best For | Embroidery Considerations |
|---|---|---|---|
| 100% Cotton | Soft, breathable, absorbent, has a matte finish. | Corporate uniforms, premium promotional items, everyday wear. | Provides a stable base for crisp, detailed stitch work. |
| 100% Polyester | Durable, moisture-wicking, quick-drying, wrinkle-resistant. | Sports teams, outdoor events, active work environments. | Requires proper backing to prevent puckering; stitches sit on top. |
| Poly-Cotton Blend | Combines cotton’s softness with polyester’s durability and low maintenance. | General-purpose uniforms, retail, hospitality. | A great all-rounder that embroiders well and holds its shape. |
As you can see, the right fabric really depends on what you'll be using the polos for.
Choosing the Ideal Polo Fit
How a polo fits is just as important as what it's made of. A well-fitting shirt ensures your team looks unified and professional, and it provides the comfort they need to get through the day. The right fit can make a huge difference in how your brand is perceived.
Here are the three main styles you’ll come across:
- Classic Fit: This is the most generous and traditional cut, offering plenty of room through the chest and waist. It’s all about comfort and freedom of movement, making it a safe bet for diverse teams.
- Modern Fit (or Retail Fit): A more contemporary option, the modern fit is slightly tapered through the body and sleeves. It gives a more tailored appearance without feeling restrictive, hitting that sweet spot between classic comfort and a sharper silhouette.
- Slim Fit: Designed to sit closer to the body, this fit is tapered for a sleek, fashionable look. It’s often the choice for client-facing roles or brands that want to project a particularly modern image.
When you're picking a fit, think about your team's day-to-day activities and the range of body types. Offering a couple of fit options can be a fantastic way to make sure everyone feels comfortable and confident in their uniform.
Matching Fabric and Fit to Your Needs
The final piece of the puzzle is connecting your fabric and fit choices to your specific needs. This is how you ensure your investment in embroidered polo tops pays off with a garment that’s both practical and professional.
For example, an outdoor events team would get a lot of value from a modern-fit, 100% polyester polo because it’s both moisture-wicking and tough. On the flip side, a corporate office team might prefer the premium feel of a classic-fit, piqué knit cotton polo for daily comfort and a polished look.
For a truly versatile uniform that works in almost any setting, a poly-cotton blend is often the safest and most effective choice. To see how these garments can fit into a wider uniform strategy, have a look at our comprehensive guide to corporate wear.
Bringing Your Logo to Life with Thread and Needle
So, you’ve picked out the perfect polo top. Now for the exciting part: turning your logo into a tangible, textured piece of art stitched directly onto the fabric. This is where the real craft comes in, and it all begins with a crucial first step called digitising.
Think of digitising as creating a detailed, stitch-by-stitch road map for your logo. This isn't just a simple file conversion. A skilled technician manually translates your design into a language the embroidery machine understands, plotting every single stitch. It’s a bit like a composer arranging music—they decide where each note (or stitch) goes to create a masterpiece.
Getting this initial setup right is everything. A poorly digitised file can cause the fabric to pucker, details to look messy, and a logo that just feels... off. On the other hand, a professional job ensures every line and curve is rendered cleanly, laying the foundation for a flawless finish. To get a better feel for the whole process, you can dive deeper into what is embroidery in our detailed guide.
The Embroiderer’s Toolkit: Stitch Types
Just as a painter uses different brushes for texture and effect, an embroiderer uses various stitch types. Each one has a specific job and contributes to the final look and feel of your logo. Knowing the basics helps you get exactly what you’re picturing in your head.
Three main stitches form the backbone of almost every embroidered design:
- Satin Stitch: This is your go-to for bold outlines and crisp lettering. It’s made up of a series of straight stitches laid tightly together, creating a smooth, glossy, and slightly raised finish that catches the light beautifully.
- Fill Stitch (or Tatami Stitch): When you need to colour in larger areas, the fill stitch is the workhorse. It creates a flat, textured surface, providing solid colour coverage for the main body of your logo.
- Running Stitch: This is the simplest of the lot, used for fine details, delicate lines, or outlining a shape before the fill stitch is applied. Think of it as the fine-tipped pen in an embroiderer's toolkit.
By combining these different stitches, a digitiser builds a design with layers, texture, and real visual interest. The contrast between a shiny satin stitch on your company name and a matte fill stitch for a background shape is what makes a great embroidered logo truly pop.
Taking it to the Next Level
Beyond these foundational stitches, there are more advanced techniques that can give your apparel a truly unique and memorable feel. One of the most popular is 3D Puff Embroidery. This method involves placing a piece of foam on the polo before the satin stitches are sewn over it.
The density of the stitching cuts the foam, and the excess is pulled away, leaving behind a dramatically raised, three-dimensional element. It’s a fantastic way to make a key part of your design—like a single letter or a bold icon—literally jump off the shirt. It adds a premium, tactile quality that immediately grabs attention.
Getting Your Artwork Ready for Flawless Embroidery
Before a single stitch is made, the most important work happens on the screen. Creating a truly stunning embroidered polo top all comes down to the quality of the artwork you provide. Think of it like a chef needing the best ingredients for a gourmet meal – we need the right digital files to deliver a crisp, professional result.
Getting this stage right is the difference between a logo that looks sharp and one that’s a bit of a letdown. It's our best chance to nail the details and make sure your brand is represented perfectly.
This visual breaks down the simple but critical journey from a digital file to the finished, stitched reality. It’s a great illustration of how proper artwork preparation is the foundation for a flawless final product.
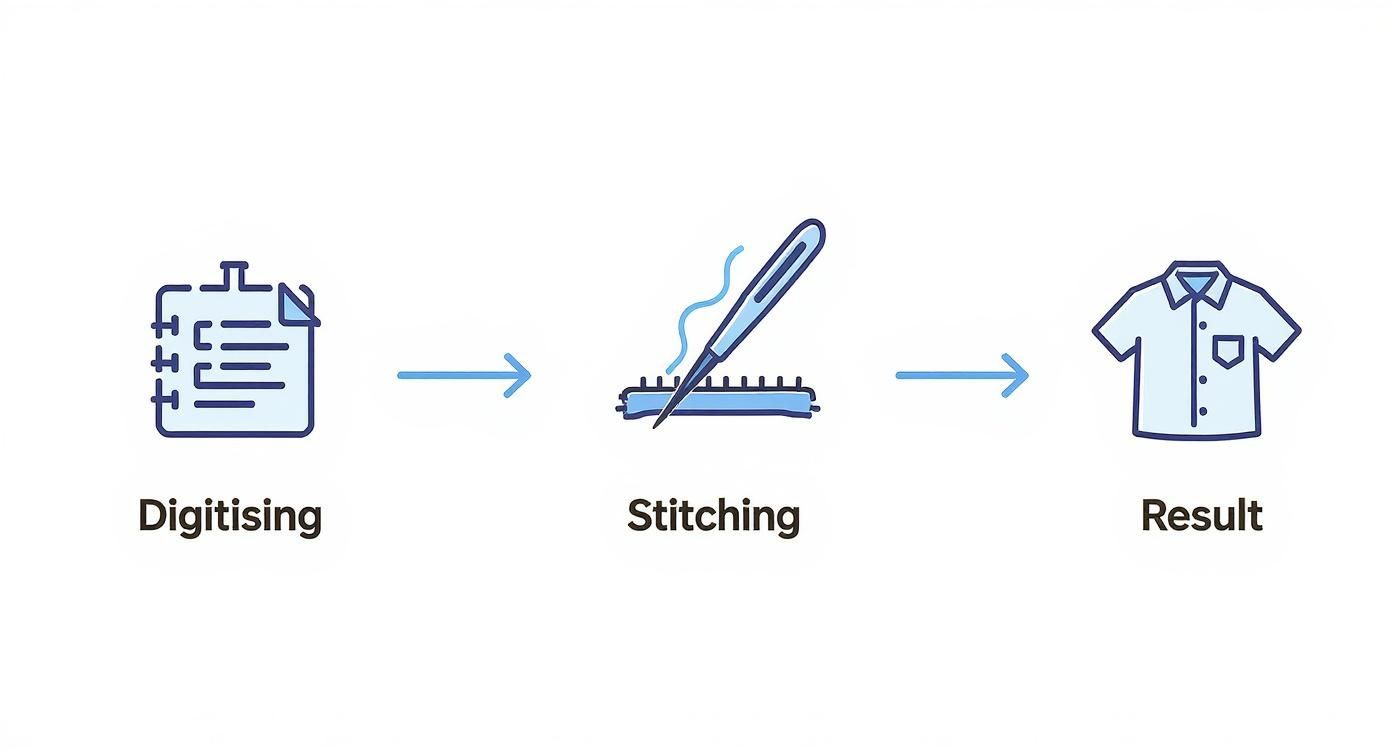
As you can see, the digitising process is a direct translation of your artwork. Garbage in, garbage out, as they say! The better the file we start with, the better your embroidered logo will look.
Vector Files: The Gold Standard for Embroidery
First things first, let's talk file types. For what we do, vector files are king. These are the files that typically end in .AI, .EPS, or .SVG.
Unlike standard images, vectors are built using mathematical equations, not pixels. This means we can blow them up to the size of a billboard or shrink them down to fit on a collar without them ever getting blurry or losing an ounce of quality.
On the other hand, raster files like JPEGs, PNGs, and GIFs are made up of tiny squares (pixels). When you try to enlarge them, they become a pixelated mess, making it impossible for our digitising software to create a clean stitch pattern. Submitting a vector file is genuinely the single best thing you can do to guarantee a top-notch finish.
Nailing Your Colours and Details
Getting the colours just right is the next piece of the puzzle. The colours on your monitor are created with light (RGB), but embroidery uses physical thread. To make sure your brand colours are matched perfectly, we rely on the Pantone Matching System (PMS). When you give us the PMS codes for your logo, we can pull the exact thread colour that aligns with your brand guidelines.
Think of a PMS code like a universal paint formula. It ensures the specific blue on your screen is the exact same blue stitched onto your polos, locking in brand consistency across all your merchandise.
It's also important to remember that embroidery is a physical craft. Some things that look incredible on a screen just don't translate well to a needle and thread.
Here are a few technical points to keep in mind:
- Minimum Text Height: Tiny text is the enemy of clean embroidery. Letters need to be big enough for the needle to form them clearly, otherwise, they can turn into an unreadable jumble of stitches.
- Line Thickness: In the same way, super-fine lines often get lost in the fabric's texture or look uneven. They need a bit of substance to show up properly.
- Simplify Gradients: Those smooth colour fades (gradients) you see online are almost impossible to replicate with thread. For embroidery, these effects need to be simplified into solid blocks of colour to look their best.
For a more detailed rundown, we've put together a simple guide with more artwork submission tips for beginners.
Thinking Strategically About Logo Placement
Finally, where do you want your logo to go? The left chest is the classic, go-to spot for embroidered polos, but it's far from your only option. Getting creative with placement can add a unique touch and really elevate the look of the garment.
Here are a few other popular spots to consider:
- Right Chest: A great alternative, often used to balance another logo on the left or for co-branding with a partner.
- Sleeve (Left or Right): A smaller, secondary logo or icon on the sleeve adds a subtle, modern flair. It's a very popular choice.
- Back Yoke: This is the spot just below the collar on the back. It’s perfect for a website, slogan, or even a larger version of your logo.
- Collar: For a really subtle, premium detail, a tiny icon or brand initial on the collar looks fantastic.
The best location really depends on your logo's design and the impression you want to make. A sleeve placement can feel more contemporary and fashion-forward, while the traditional left-chest logo reinforces a timeless, professional image.
How Pricing and Production Timelines Work
To get your project off the ground smoothly, it’s really helpful to understand the nuts and bolts of pricing and production. Knowing how the costs of embroidered polos are calculated and what a realistic timeline looks like will save you from any last-minute surprises with your budget or deadlines.
Let's pull back the curtain on how it all comes together.
Decoding the Cost of Embroidery
The final price for your embroidered polos isn't just one number plucked from thin air. It's a combination of a few key factors, and seeing how they fit together shows you exactly what you’re paying for.
Three things really drive the cost:
- Stitch Count: This is the big one. The more detailed, large, or dense your logo is, the more stitches are needed to bring it to life. A simple line of text, for example, will have a much lower stitch count than a full-colour crest with intricate details. More stitches mean more machine time and more thread.
- Order Quantity: As with most custom-made items, bigger is better. Placing a bulk order almost always brings the price down per polo. The reason is efficiency—once the machines are set up and running, it’s much more cost-effective to produce a large batch than just a few.
- Number of Colours: While stitch count is the main driver, having a logo with lots of different thread colours can sometimes add to the cost, especially if it means the machines need to be stopped and changed over frequently.
You’ll often hear about a 'digitising fee'. This is a one-off setup cost to translate your digital artwork file into a format the embroidery machine can read. Think of it as creating the master blueprint for your logo—once we have it, we can use it again for any future orders with the same design.
What to Expect for Production Timelines
Good things take time, and that’s especially true for high-quality custom apparel. Rushing the job can lead to mistakes, so it’s always best to plan ahead. A standard production timeline has a few important steps to make sure your final product is perfect.
Here’s a typical look at the journey from idea to delivery:
- Artwork Approval: This is where it starts. We’ll send you a digital mock-up showing your logo's placement, colours, and size for you to sign off on.
- Pre-Production Sampling: For many orders, we’ll create a physical sample. This gives you the chance to actually see and feel the embroidered logo on the polo before we start the main production run.
- Full Production Run: Once you’ve given the green light on the sample, your full order of embroidered polos hits the machines.
- Quality Control and Shipping: Before anything leaves our warehouse, every single polo is checked for quality. Then, they’re carefully packed and shipped out to you.
For a broader perspective on how costs are structured in the industry, you can look at detailed pricing information from other resources. This can help you benchmark quotes and get a feel for what to expect.
Understanding these stages helps set realistic expectations. From the moment you approve the artwork to the day your order arrives, it usually takes a few weeks. If you have a hard deadline for an event or a uniform launch, make sure to let your supplier know right from the start.
When you're ready to get down to specifics for your project, it's easy to get started. Just request a personalised quote for your embroidered polos and we'll take it from there.
Why Simply Merchandise Delivers Superior Results
Choosing the right partner for your embroidered polo tops can make or break your project. It’s about more than just a needle and thread; it’s about expertise, an eye for detail, and a genuine commitment to getting it right the first time. This is where experience really counts.
At Simply Merchandise, we've staked our reputation on getting the small details perfect, because we know they make a huge difference. Your branded apparel is a reflection of your organisation, and we take that responsibility seriously.
See It Before You Commit With a Physical Sample
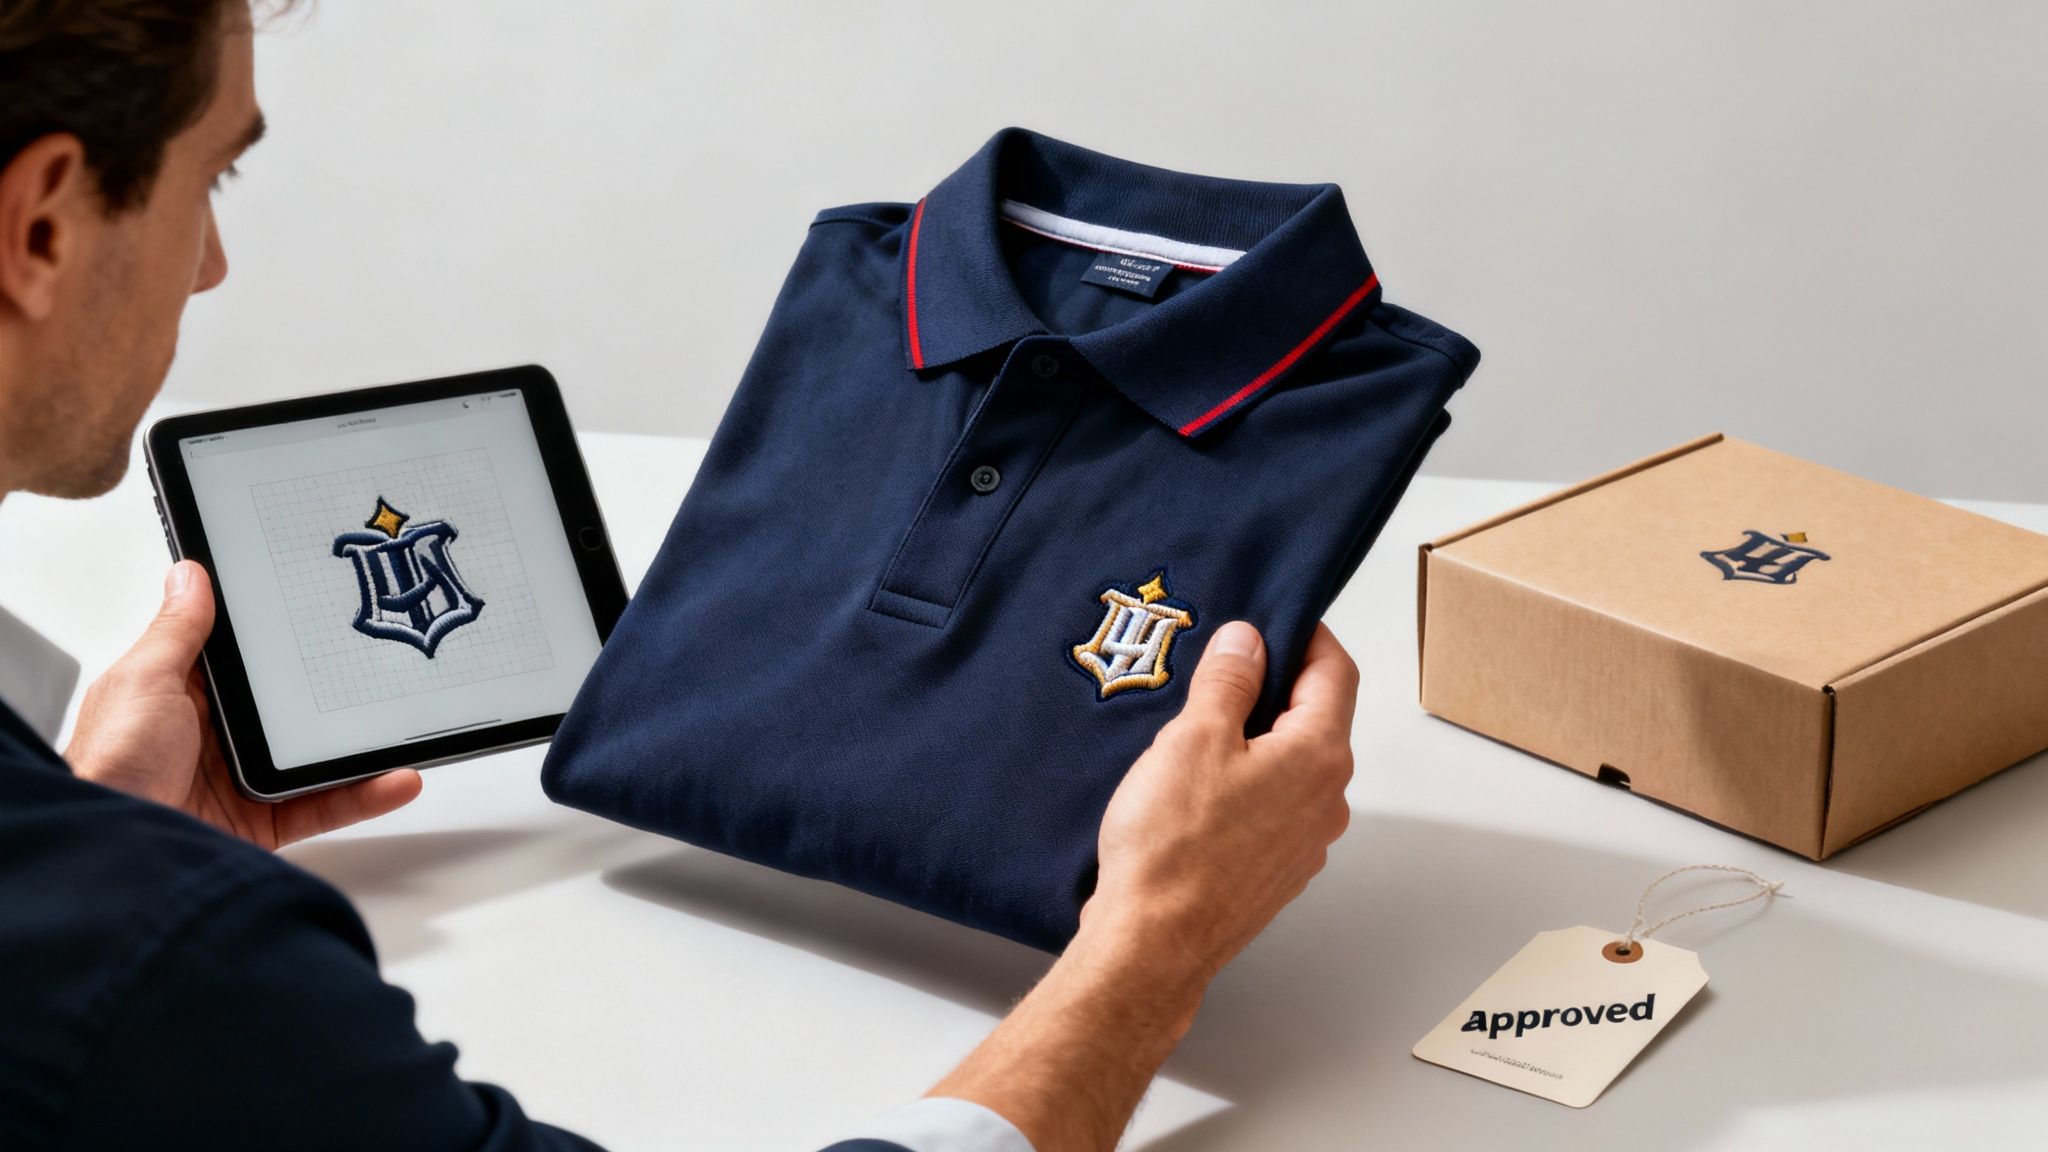
One of the biggest worries when ordering custom apparel is the unknown. Will the colours match? Will the logo look sharp? We get it. That’s why we offer a physical pre-production sample for your approval before we run the full order.
This isn't just a digital mock-up on a screen; it's the real thing. You get to hold the actual embroidered polo, feel the fabric, and check the stitching up close. It’s all about making sure you’re 100% happy with the result.
A physical sample is your ultimate quality control check. It lets you sign off on your project with complete confidence, knowing the final product will be exactly what you envisioned.
Complimentary Artwork Refinement
Even a great logo can be tricky to embroider. Tiny details, fine text, and subtle colour gradients that look fantastic on a screen don't always translate well into thread. That's exactly why we offer a complimentary artwork refinement service for every single client.
Our in-house experts will take a close look at your logo and adjust it specifically for embroidery. This might mean making a line slightly thicker or simplifying a tiny element to ensure every stitch contributes to a clean, professional finish. It’s this hands-on approach that guarantees your brand looks its absolute best.
We’ve built our process around clarity and quality. You can learn more about our specialised in-house custom embroidery services to see how we manage every step. Think of us as your trusted partner, here to guide you through the process and make sure your project is a total success.
Got Questions? We’ve Got Answers
Stepping into the world of custom apparel can feel like there’s a lot to learn. To make things simple and help you get started with confidence, we’ve rounded up some of the most common questions we get about creating the perfect embroidered polo tops.
Think of this as your quick guide to clearing up the details, so you can make the best choices for your brand.
What’s the Best File Type for My Logo?
For the crispest, sharpest embroidery, a vector file is king. These are your .AI, .EPS, or .SVG files. Unlike a standard image file (like a JPEG), vectors are made from mathematical lines, not pixels.
What does that mean for you? It means we can scale your logo up or down to any size without it ever getting blurry or pixelated. It’s the secret to a flawless stitch-out every time. We can sometimes work our magic with high-res JPEGs or PNGs, but a vector file is the gold standard.
Can Any Design Be Embroidered?
Pretty much! But some designs are a natural fit for thread, while others need a little tweaking. Things like super-fine details, tiny text, or smooth colour gradients (think of a sunset photo) can be tricky to replicate with stitches.
Our expert team is here to help. We offer a free artwork refinement service to make sure your logo is embroidery-ready. We’ll make subtle adjustments—like thickening a line here or simplifying a gradient there—to guarantee a professional finish that you’ll be proud of.
For instance, we might convert a complex gradient into a few solid, layered colours. This small change often creates a much cleaner and more striking look on the finished polo.
How Long Will My Order Take?
The timeline really depends on your design's complexity and how many polos you're ordering. But generally, here's how it breaks down:
- Artwork Proof: We’ll send you a digital mock-up of your design for approval, usually within a day or two.
- Pre-Production Sample: If you've requested a physical sample, it takes about a week to create and ship it to you for the final green light.
- Full Production: Once you give us the go-ahead, producing your embroidered polo tops typically takes between 10 to 15 business days.
It’s always a good idea to plan ahead, especially if you’re working towards a specific event date. If you're in a bind, just let us know! We can often work something out with our express service options.
What Is a Digitising Fee?
Think of the digitising fee as a one-time setup cost to translate your logo into a language our embroidery machines understand. It’s the process of converting your digital file into a specialised stitch file.
A skilled technician does this by hand, plotting out every single stitch path, density, and direction. Once we’ve created this master file for your design, we keep it safe for you. That means you’ll never have to pay this setup fee again on any future orders using the same logo.
Ready to create branded apparel that turns heads? The expert team at Simply Merchandise is here to guide you through every step, from design to delivery. Explore our huge range of customisable products and see how easy it is to bring your brand to life. Visit us today at simplymerchandise.com.au