
When it comes to branding your company's polo shirts, embroidery is in a class of its own. For businesses looking for a truly professional, long-lasting, and high-end finish, it's the obvious choice. Unlike screen printing, which sits on top of the fabric, embroidery uses thread stitched directly into the garment. This creates a textured, premium logo that often outlasts the polo itself, making it a savvy investment for team uniforms and promotional wear.
Why Embroidery Is the Smart Choice for Your Business Polos
Outfitting your team is about more than just clothing; it's about creating a unified, professional look that builds brand recognition and inspires trust. While you have a few options for customising apparel, high-quality embroidery is a strategic decision, not just a decorative one. It takes a simple polo and turns it into a powerful statement about your company’s commitment to quality.
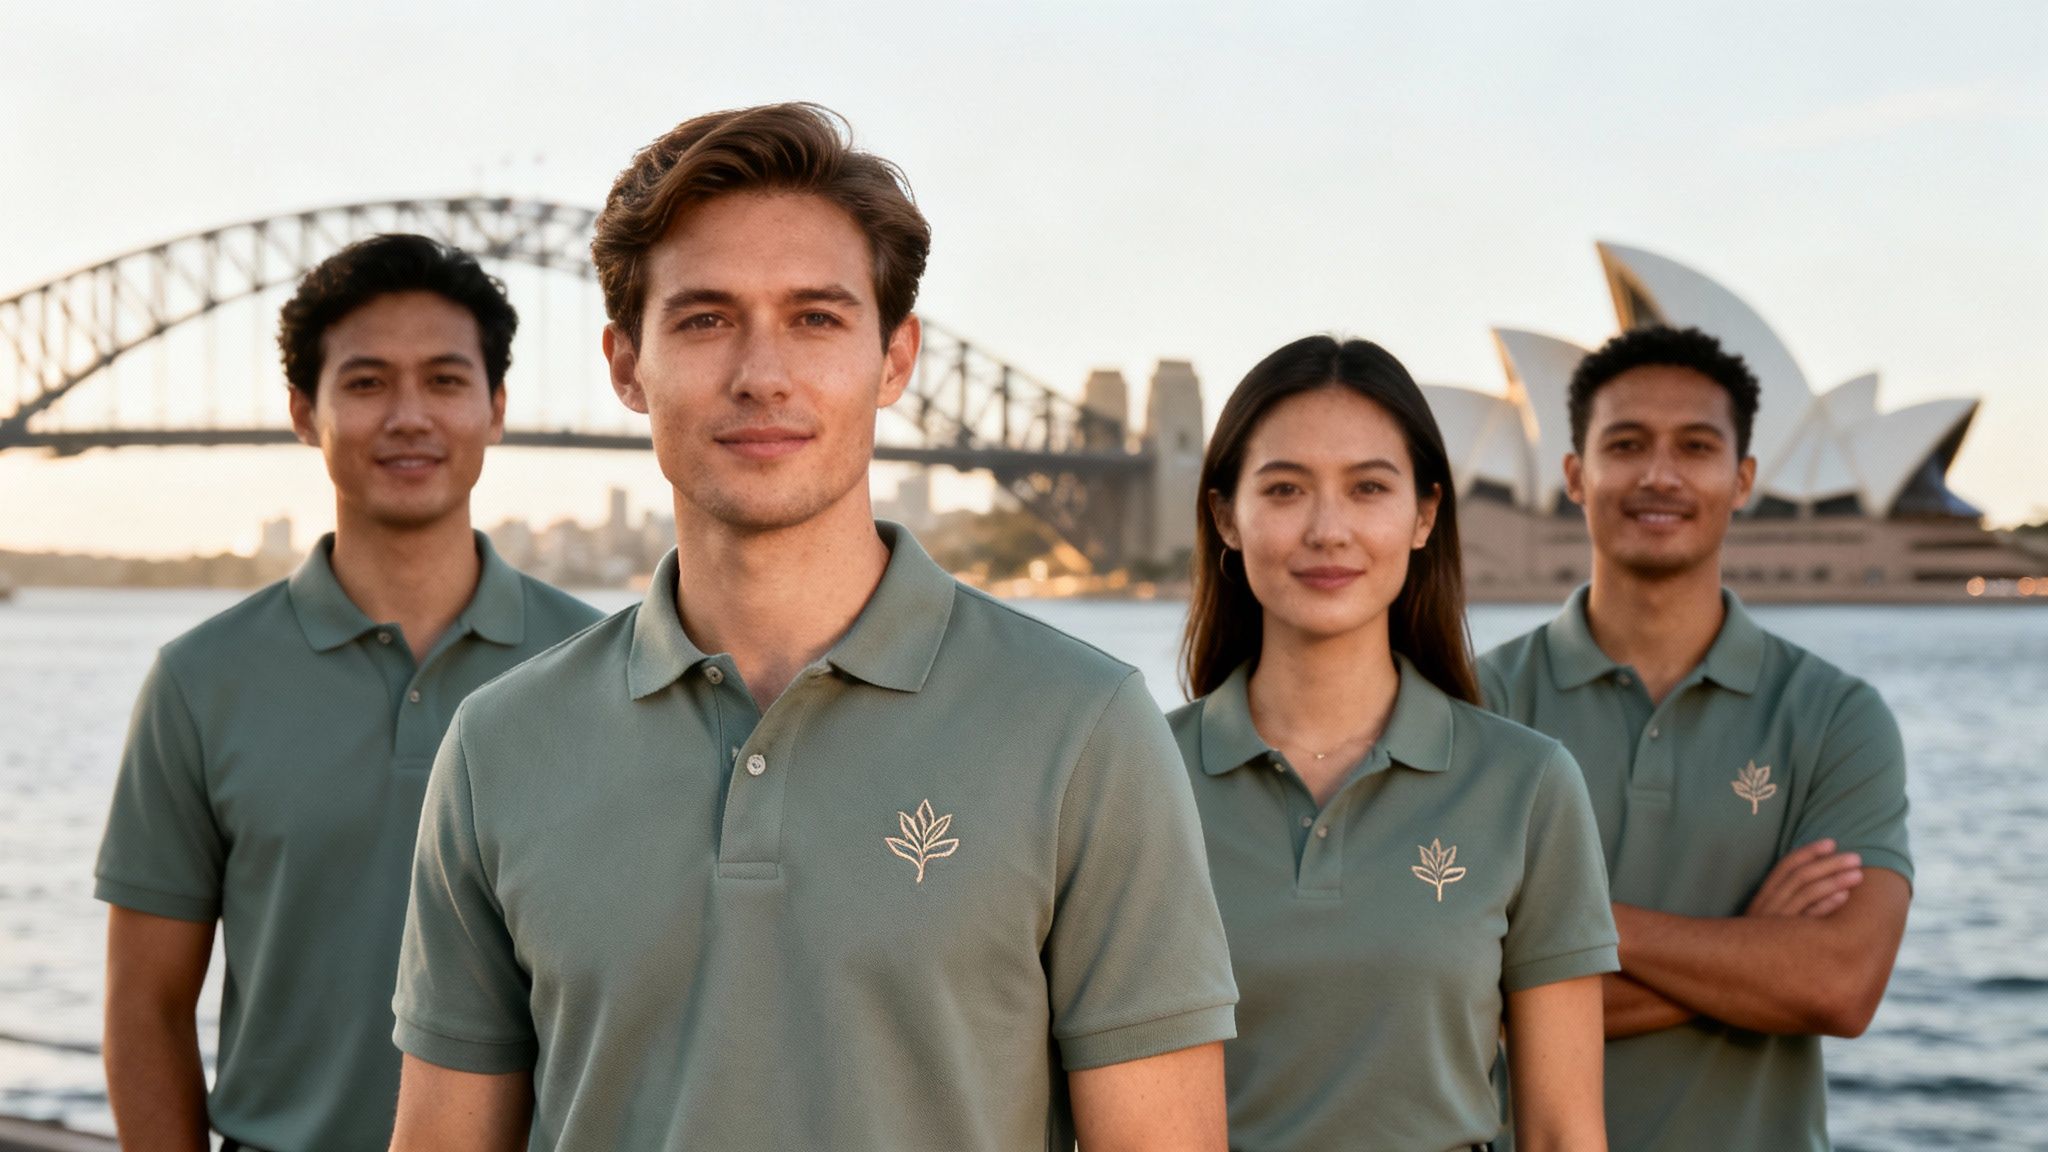
Picture your Sydney sales team walking into a client meeting, or your Melbourne crew running a busy trade show booth. A crisp, professionally embroidered polo shirt sends a signal of credibility before anyone even says hello. The raised texture and subtle sheen of the thread add a tactile quality that screen printing just can't match. It instantly elevates the perceived value of the uniform and, by extension, your brand.
Durability That Delivers Value
One of the biggest reasons businesses come back to embroidery time and again is its sheer durability. The threads are physically woven into the polo’s fabric, creating a tough design that stands up to fading, cracking, and peeling, wash after wash. This longevity means your investment keeps paying off, ensuring your team looks sharp for years, not just a few months.
This demand for durable branding is on the rise across Australia. The custom apparel market, with embroidery as a key service, is forecast to jump from AUD $84.22 million in 2023 to a massive $133.93 million by 2032. It’s clear that more and more businesses are recognising embroidery as the superior choice for their corporate gear.
Building a Cohesive Brand Image
A consistent uniform does wonders for team morale, fostering a sense of unity and professionalism. It also makes your staff instantly recognisable and reinforces your brand identity at every customer interaction. Before you jump into embroidery, it’s a good idea to ensure your branding is solid, as the embroidery will bring it to life. If you need a hand with that, this guide on how to create a strong brand identity is a fantastic starting point.
An embroidered polo is more than just a uniform; it’s a wearable business card. It works silently in the background, reinforcing your brand’s quality and professionalism every time it’s worn.
In the end, choosing embroidery for your polos is a decision that strengthens both your internal culture and your public image. It's a key piece in your branding toolkit, just like other custom promotional products that help cement your place in the market. By investing in this premium finish, you’re making a clear statement about your brand's standards.
Choosing the Right Polo for a Professional Finish
The secret to incredible embroidered polo shirts? It starts long before a single thread is stitched. Think of the polo itself as the canvas for your brand. The right choice in fabric, weight, and even colour is what makes the difference between a uniform that just exists and one that looks sharp, feels great, and lasts.
It’s all about finding that perfect balance.
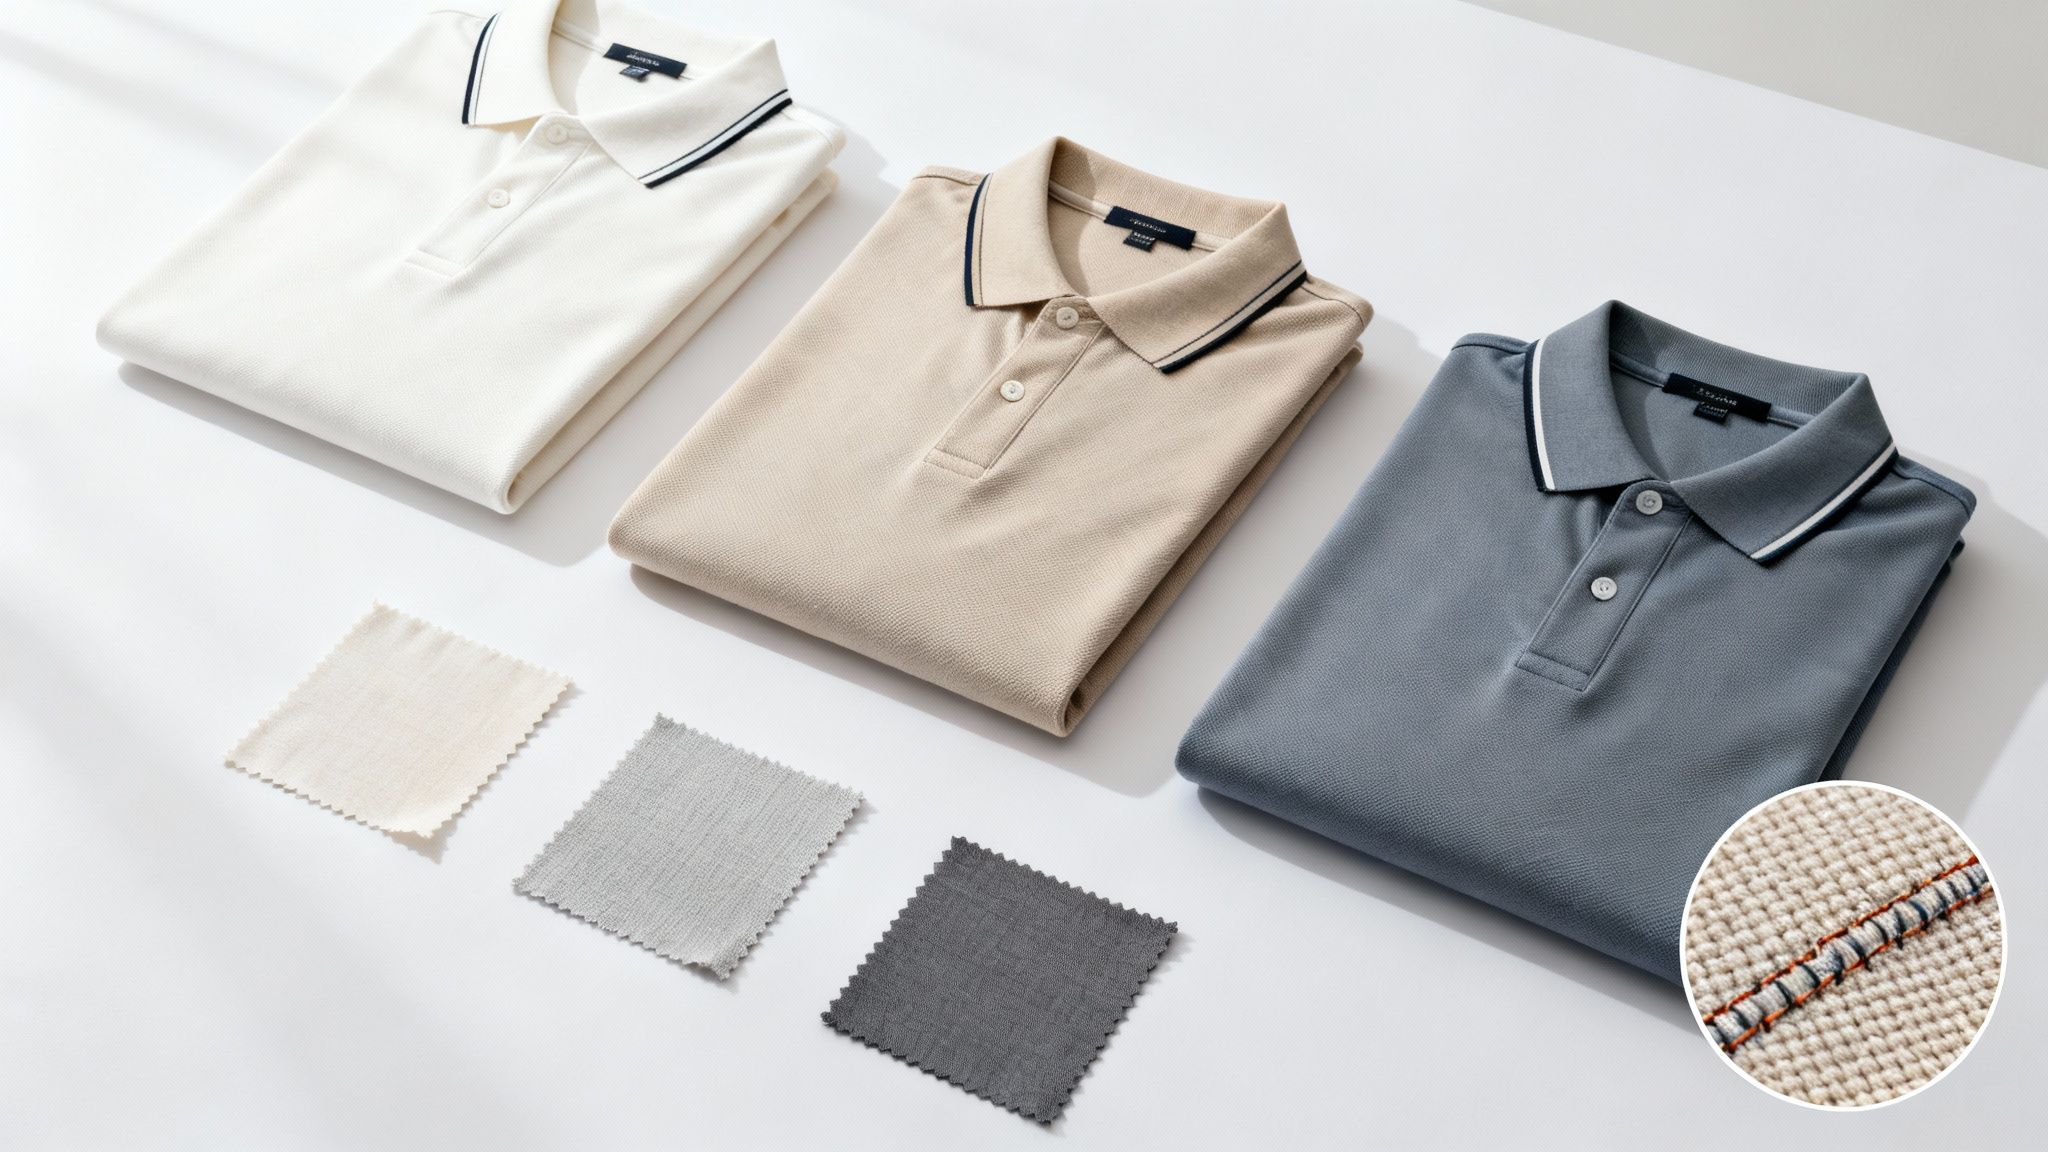
The material you select directly impacts how the embroidery settles into the garment and, just as importantly, how comfortable it is to wear all day. Every fabric has its own personality and interacts with the embroidery thread in a unique way.
Decoding Polo Shirt Fabrics
This isn't just about how the fabric feels to the touch; it's about what it's designed to do. A polo for a team working outdoors at a Brisbane trade show has completely different needs than one for staff in a climate-controlled Melbourne office.
When you're browsing options, you'll generally come across three main contenders:
- 100% Cotton: The classic choice for a reason. Cotton is known for being soft and breathable, giving it a premium feel. It creates a really stable base for embroidery, which means your logo comes out looking crisp and clean. The only downside is that it can be prone to shrinking or wrinkling if not cared for properly.
- 100% Polyester: This is your go-to for performance and durability. Polyester wicks moisture away from the skin, resists wrinkles, and holds its shape beautifully. Because it's a synthetic material with more stretch, it requires an expert touch—specifically, the right kind of backing fabric—to prevent the embroidery from puckering.
- Poly-Cotton Blends: Often the sweet spot, these blends give you the best of both worlds. You get the natural softness of cotton combined with the resilience and easy-care nature of polyester. They are absolute workhorses, making them an incredibly popular and versatile option for most team uniforms.
Getting your head around these differences is the first big step. It helps you zero in on a garment that not only looks fantastic but is genuinely practical for your team's day-to-day. You can see a great range of these materials in our collection of branded clothing to get a better feel for what might work.
To help you decide, here's a quick breakdown of how these fabrics stack up for embroidery and different work environments.
Polo Fabric Comparison for Embroidery
| Fabric Type | Best For | Embroidery Considerations | Care & Durability |
|---|---|---|---|
| 100% Cotton | Corporate offices, retail, hospitality, premium client gifts. Environments where comfort and a classic look are key. | Provides a stable, flat surface for crisp, detailed embroidery. Less prone to puckering. | Softer feel but can shrink or wrinkle. Requires more careful washing and ironing to maintain a professional look. |
| 100% Polyester | Sports teams, outdoor events, trades, active roles. Anywhere moisture-wicking and durability are essential. | Can stretch slightly under the needle. Requires a proper stabiliser (backing) to prevent puckering, especially with larger logos. | Excellent durability. Resists shrinking, fading, and wrinkles. Very easy to care for and quick-drying. |
| Poly-Cotton Blends (e.g., 65/35) | The all-rounder. Great for general office wear, field staff, event uniforms, and daily wear. | Combines the stability of cotton with the resilience of polyester. A forgiving and reliable choice for most embroidery jobs. | Offers the best of both worlds: holds its shape and colour well while remaining comfortable. Easy to wash and wear. |
Ultimately, the best fabric is the one that aligns with your team's daily activities and the image you want to project.
Understanding Weave and Fabric Weight
Beyond the fibre itself, you'll run into terms like 'pique', 'jersey', and 'GSM'. These details about the fabric's construction play a huge part in how your final embroidered polo turns out.
You've definitely seen a pique knit before—it's the classic, textured polo fabric with a subtle waffle or honeycomb pattern. This texture is brilliant for embroidery. It has more structure and stability, which helps support the weight of the stitches and minimises any pulling or puckering.
A jersey knit, on the other hand, is the smooth, flat material you find on a typical t-shirt. It's often lighter and drapes nicely, making it very comfortable. When it comes to embroidery, jersey fabrics need a bit more care. A good embroiderer will use the right kind of stabilising backing to make sure your logo lies perfectly flat without distorting the fabric.
Fabric weight, measured in GSM (Grams per Square Metre), tells you how dense the material is. A heavier fabric with a high GSM (say, 220 GSM) provides a really solid foundation for detailed embroidery. A lighter fabric (around 160 GSM) is better suited for hot weather but may need a simpler design.
Selecting Colour and Ensuring a Consistent Fit
Choosing your polo’s colour is a key branding decision. You want your logo to be seen, so think about contrast. A crisp white logo will pop on a navy polo, while a dark logo stands out beautifully on a lighter garment. Always have your brand style guide handy to pick a colour that complements your logo’s palette for that polished, cohesive look.
Finally, nothing says "professional" like a team in well-fitting uniforms. Sizing can vary wildly between different brands, so don't just guess. Always check the supplier's specific size chart. If you're outfitting a whole team, it's a smart move to order a few sample sizes first. Letting people try them on guarantees everyone gets a comfortable fit, which in turn reflects the care and attention to detail your brand stands for.
How to Prepare Your Logo for Embroidery
Getting your artwork right is hands down the most critical step for a flawless embroidered finish. You might think it’s as simple as sending over a JPG you have on file, but the reality is a little more involved. Embroidery isn't just printing; it's a physical process of translating your digital design into thread, and for that, not all files are created equal.
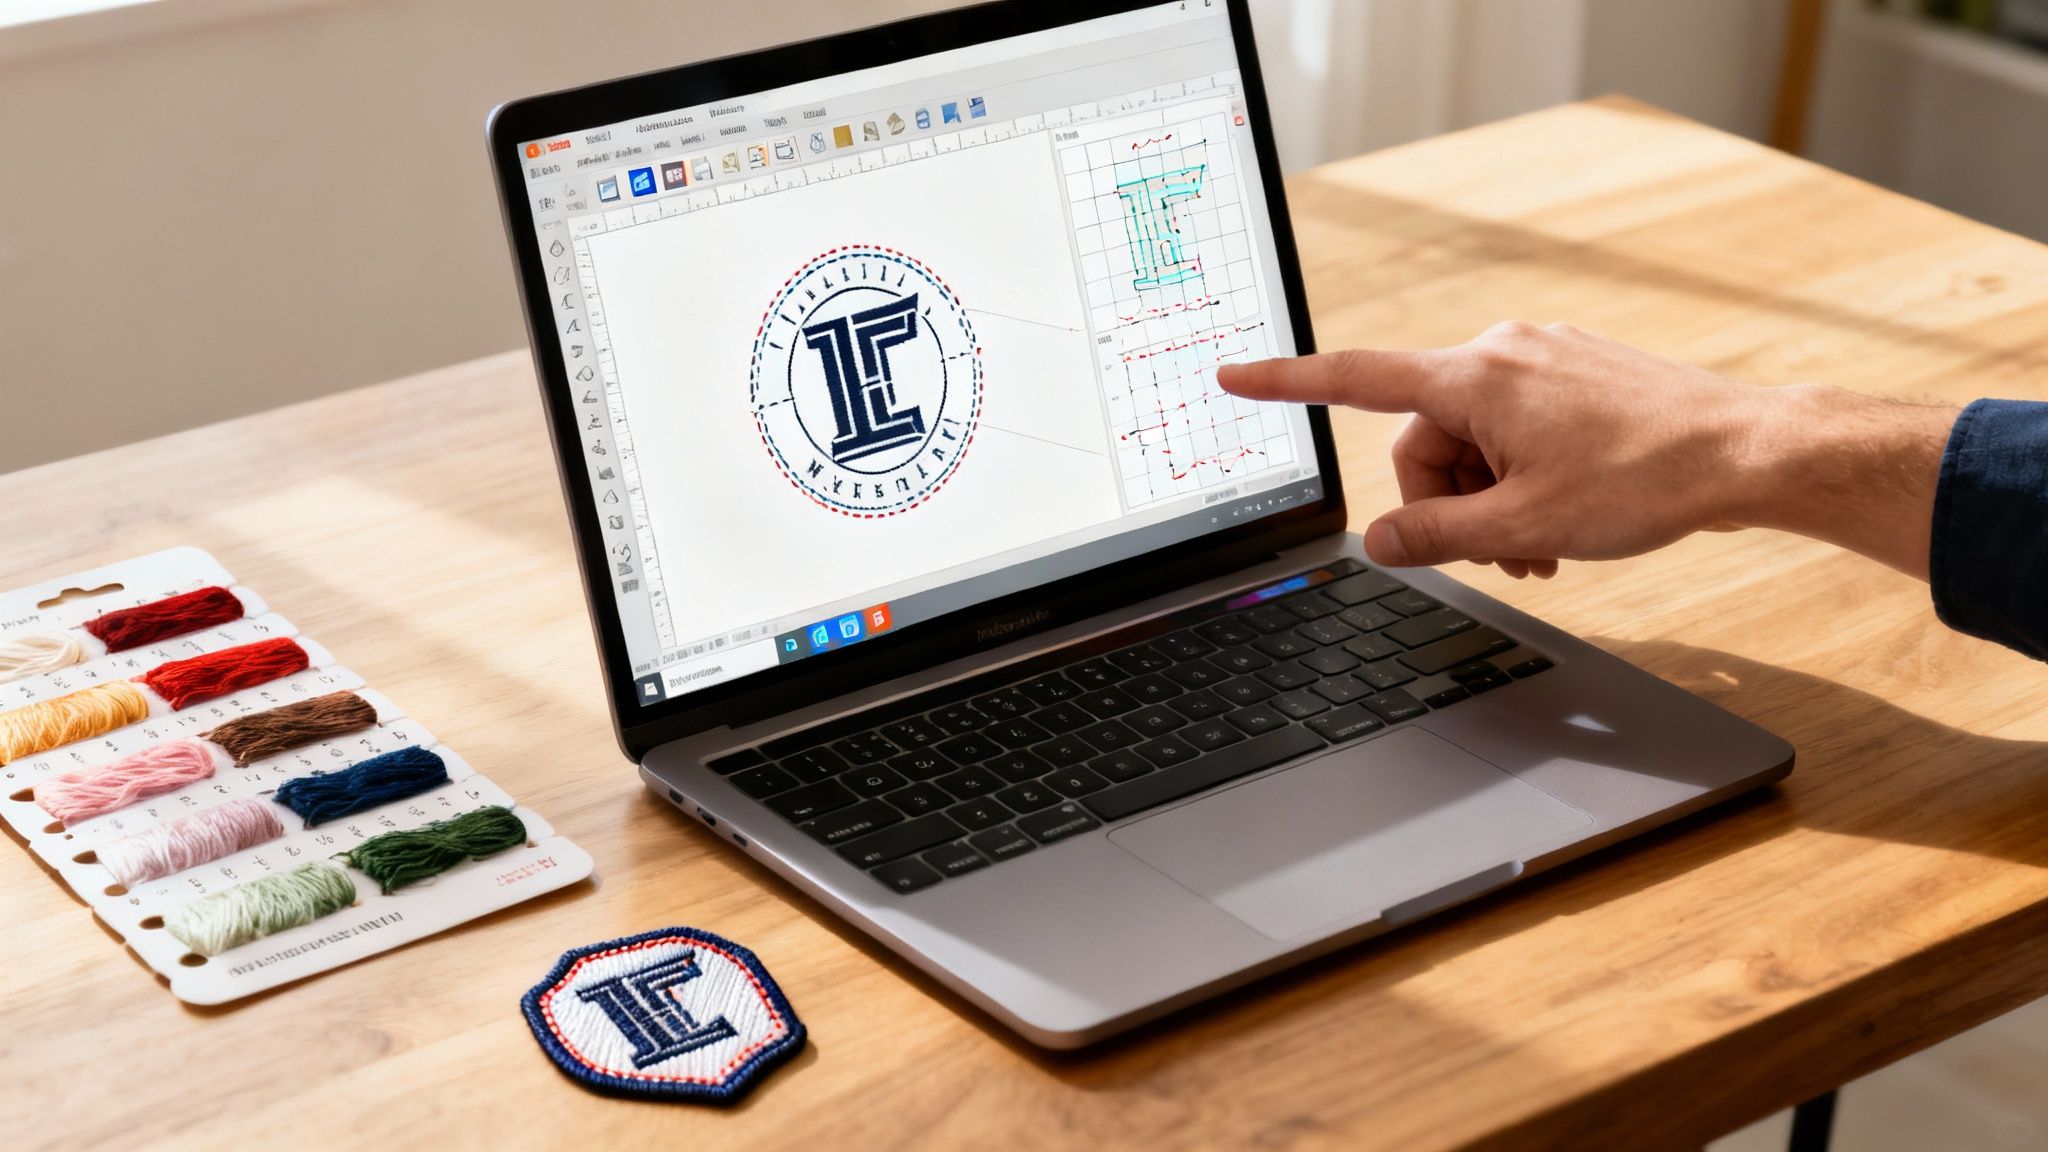
The journey from your screen to a stitched logo involves a crucial process called digitising. This isn't some automated conversion—it’s a manual craft performed by a skilled technician. They meticulously recreate your logo by plotting every single stitch, defining its type, direction, and density. This detailed stitch map is what ultimately guides the embroidery machine.
Why Vector Files Are the Gold Standard
To build that perfect stitch map, the digitiser needs a high-quality blueprint. This is where your file type makes all the difference. Common image files like JPGs or PNGs are made of pixels, and when you zoom in on them, they get blurry and lose their crisp edges. That makes them incredibly difficult for a digitiser to trace accurately.
Vector files, on the other hand, are the industry standard for a good reason.
- File types like .AI (Adobe Illustrator), .EPS, or .SVG are built with mathematical equations instead of pixels.
- This means they can be scaled to any size—from a tiny chest logo to a massive banner—without ever losing quality.
- For the digitiser, a vector file provides clean, perfect lines to work from, which translates into a much sharper and more professional final stitch-out.
While a high-resolution JPG can sometimes work in a pinch, providing a vector file is the surest way to guarantee your logo is reproduced with the precision it deserves. For a deeper dive, our guide on artwork submission tips has some incredibly helpful information.
Think of it like this: giving your embroiderer a JPG is like giving a builder a blurry photo of a house. Giving them a vector file is like handing them the architect's original blueprints. One leaves room for error, while the other ensures precision.
Simplifying Your Design for Thread
Embroidery is a physical medium, and it has its own set of rules. What looks amazing on a bright screen doesn't always translate perfectly into thread. There are a few common culprits that cause issues, and simplifying them beforehand can make a world of difference to the final product.
The Enemies of Clean Embroidery:
- Tiny Text: Any text under 5mm in height is almost guaranteed to become illegible. The needle and thread just can't create that fine detail, and the letters will end up blurring into a messy blob.
- Fine, Delicate Lines: Extremely thin lines and super-intricate details often get lost or appear broken when stitched. It's usually better to thicken them up slightly for a bolder, cleaner appearance.
- Colour Gradients: That beautiful, subtle fade from one colour to another is impossible to replicate with solid-coloured thread. Gradients have to be converted into solid blocks of colour.
A great example is a logo with a detailed, multi-coloured feather that has soft, fading edges. To make it work for embroidery, the best approach is to simplify the feather's shape into distinct, solid-coloured sections. This keeps the spirit of the design while ensuring it looks crisp and professional when stitched onto a polo.
The Power of Advanced Digitising
The quality of the digitising process has a massive impact on the final result, influencing everything from stitch density to the final texture of your logo. This is where working with a good supplier pays off. They won't just convert your file; they'll thoughtfully adapt it for embroidery.
An experienced digitiser makes smart decisions about stitch direction to create texture and depth, and they'll adjust the stitch density to stop the fabric from puckering or pulling. This expertise is what turns a standard logo into a premium piece of branding that looks fantastic and is built to last.
By preparing your artwork correctly from the start, you’re setting yourself up for a result you’ll be genuinely proud to have your team wear. It's the foundation for a great-looking embroidered polo.
Mastering Placement, Stitching, and Sizing
Once your design is digitised and ready for the machine, we get to the really tactile part of the process. This is where the craft of embroidery comes in, turning a digital file into a textured, professional emblem on your polo. The stitch types, logo placement, and final size are the details that really make the difference between a standard uniform and one that looks truly sharp.
Getting these elements right is about making your branding look intentional and premium. It ensures the final product feels balanced and wears well.
The Language of Stitching
An embroidery machine doesn't just use a single type of stitch. Think of it like a painter using different brushstrokes—different stitches create different effects. Knowing the two main types will help you understand how your logo is actually built with thread.
-
Satin Stitch: This is what we use for crisp lines and lettering. A satin stitch is made of a series of tight, parallel stitches that sit close together, creating a smooth, slightly raised surface with a nice sheen. It’s perfect for outlining shapes or making text pop.
-
Fill Stitch: When you need to colour in larger areas of your logo, the fill stitch comes into play. These are longer, running stitches that cover more ground, building up texture and depth. A skilled digitiser will often vary the angle of these stitches to catch the light in different ways, adding a subtle bit of life to the design.
It's the interplay between these two that really brings a design to life. For instance, we might use a fill stitch for a solid background shape in your logo, then lay a satin stitch over the top for the company name to make sure both elements stand out clearly.
Strategic Placement for Maximum Impact
Where you put your logo is just as important as the logo itself. While you could technically embroider almost anywhere on a polo, there are a few tried-and-tested placements that always look professional and balanced.
The most popular spot by a long shot is the left chest. There's a good reason it's the traditional choice—it sits at eye level, it's visible during a handshake, and it doesn't overpower the shirt. It’s the go-to for corporate uniforms all across Australia.
Another great option is the sleeve, either left or right. A sleeve placement feels a bit more modern and subtle. It's an ideal spot for a secondary logo, a website, or a small icon that complements the main branding on the chest.
If you're after a bolder look, the back yoke (the panel across the shoulders, right under the collar) is a fantastic choice. This is a larger canvas, perfect for bigger logos or company names that need to be seen from a distance at trade shows or events.
Always think about the context. A clean, subtle left-chest logo is perfect for a corporate sales team, but that large back-yoke design might be exactly what you need for event staff who have to be easily spotted in a crowd.
Getting the Sizing Just Right
The final piece of the puzzle is size. A logo that’s too big can look clumsy and even make the fabric pucker or pull. On the other hand, a logo that’s too small can get lost and look like an afterthought. It's all about finding that sweet spot.
Here are some standard guidelines we work with for sizing embroidery on polo shirts:
| Placement | Standard Width | Key Considerations |
|---|---|---|
| Left/Right Chest | 7.5cm – 11.5cm | The most common placement. You want it big enough to be easily read, but not so big that it dominates the shirt. |
| Sleeve | 2.5cm – 7.5cm | Great for smaller, secondary logos or icons. The final size really depends on if it's a simple graphic or a bit of text. |
| Back Yoke | 10cm – 15cm | This space can handle larger designs, but you have to be careful it doesn't get so wide that it wraps strangely around the shoulders. |
Of course, these aren't rigid rules—they're just proven starting points. The perfect size always comes down to the complexity and shape of your specific logo. This is where working with an experienced team really pays off; we can give you expert advice on what will look best for your design. We walk all our clients through these details as part of our custom embroidery logo services to make sure the final product is flawless.
Understanding Project Costs and Timelines
When you're ordering custom embroidered polos, two of the biggest questions are always: "How much will this cost?" and "When will I get them?". Getting a handle on your budget and timeline from the outset is crucial for a stress-free project. It’s not just about the price tag on a single shirt; it’s about making sure the final product looks brilliant, feels professional, and arrives exactly when you need it.
Let's walk through how pricing actually works and what you can realistically expect from a production schedule, from the moment you send us your logo to the day the box lands on your doorstep.
How Embroidery Costs Are Calculated
One of the first things I always clarify with clients is that the cost of embroidery has very little to do with the physical size of the logo. The real driver behind the price is the stitch count.
A large, simple logo with just an outline might actually be cheaper to produce than a small, complex one packed with detail. Why? Because that small, dense design forces the machine to lay down thousands of extra stitches to fill in solid areas and capture all the fine lines.
So, when we put together a quote for you, we’re looking at a few key things:
- Stitch Count: This is the big one. The more stitches needed to bring your design to life, the higher the cost. Designs with solid blocks of colour or intricate details will naturally have a higher stitch count.
- Order Quantity: As with most custom work, volume matters. Ordering 50 polos will bring the cost-per-shirt down significantly compared to an order of just 10.
- The Polo Itself: The price of the blank garment is a huge part of the final cost. A premium, high-GSM cotton polo will obviously cost more than a standard poly-cotton blend.
- Number of Placements: Do you want a logo on the left chest, a web address on the sleeve, and a tagline on the back? Each location is a separate embroidery job, so adding more placements will increase the overall cost.
This commitment to quality is why so many businesses are choosing professional embroidery. It’s seen as a lasting investment in their brand's image. In fact, Australia's custom apparel embroidery market is a major player in the promotional products industry, projected to grow at a compound rate of 5.6% through 2031. It’s clear that a well-embroidered polo is considered a mark of quality.
To get a crystal-clear idea of your costs, the best move is always to get a detailed quote. We’ll give you a full breakdown based on your specific logo and garment choice, with no hidden surprises.
The Typical Production Timeline
Knowing the production timeline helps you plan your uniform rollout or event prep without any last-minute panic. While every job has its own nuances, most follow a pretty standard path.
This visual guide breaks down the main stages you'll go through, from locking in your stitch type to finalising the size and placement of your logo.
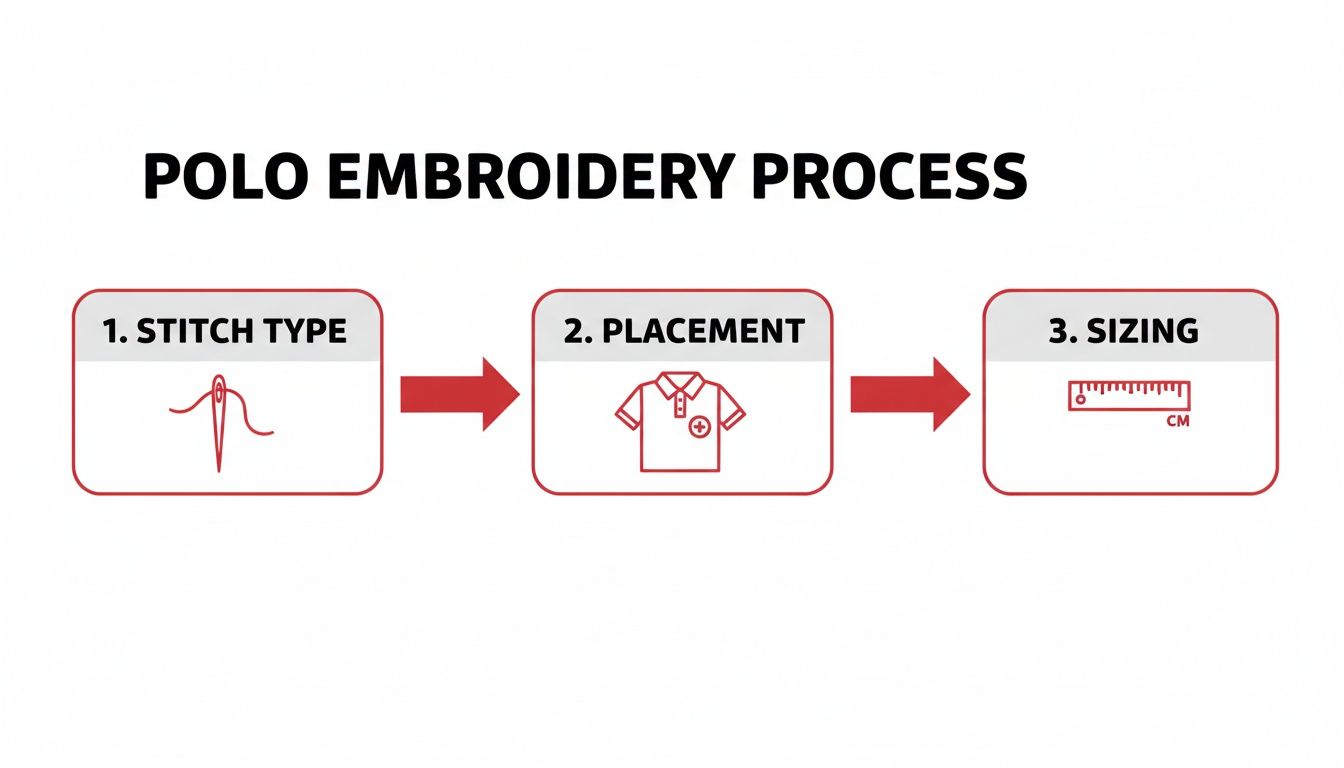
Each of these decisions plays a part in creating a final product that looks sharp and professional.
Here’s a realistic look at how the timing usually breaks down:
Artwork & Quote Approval (1-2 business days): After you send us your logo, our team gets to work. We'll review the artwork for suitability and send back a detailed quote along with a digital mock-up, so you can see how it will look on your chosen polo.
Digitising & Sampling (2-4 business days): Once you give the quote the thumbs-up, we move to the technical stage. Your logo is professionally digitised into a file the embroidery machines can read. From there, we create a physical "stitch-out" sample—an actual embroidered version of your logo on a piece of fabric.
Production (5-10 business days): With your final approval on the stitch-out, your full order hits the production floor. The exact timing here depends on the size of your order and how busy our machines are at that moment.
Shipping (1-5 business days): Delivery times will vary depending on where you are in Australia. A metro Sydney delivery will be quicker than a shipment to a regional location.
From my experience, the 'stitch-out' sample is the single most important checkpoint. It's your last chance to see and feel the real thing—the colours, the quality, the detail—before we run the entire batch. Whatever you do, don't skip this step.
All up, you can generally expect a standard order of embroidered polos to take around 2 to 3 weeks from final approval to delivery. If you have a hard deadline for an event, make sure you mention it right at the start so we can work with you to hit that date.
Got Questions About Polo Shirt Embroidery? We've Got Answers
Stepping into the world of custom apparel can feel like there's a lot to learn, especially when you want every detail to be perfect for your business. We get it. To help clear things up, we've put together some straightforward answers to the questions we hear most often. Think of this as your go-to guide for planning your order with confidence.
What’s the Minimum Order for Embroidered Polos?
This is usually one of the first things people ask, and it’s a great question, particularly for smaller businesses or teams who don't need hundreds of shirts. You might be picturing a massive order, but custom apparel has become much more flexible over the years.
Many suppliers, including us, are set up to handle smaller runs. For a lot of our polo shirt range, minimums can start from as low as 10 to 25 units. A key thing to consider with small orders is the one-time digitising setup fee, but to make it easier for businesses, we actually waive this fee on a huge number of our products. It’s always best to check the specific product page or just have a quick chat with our team to find the most cost-effective path for your needs.
Can You Embroider Really Detailed or Colourful Logos?
Embroidery is a craft that relies on needle and thread, which naturally has some physical constraints compared to digital printing. Things like ultra-fine details, smooth colour gradients, or tiny text in a digital logo just don’t translate cleanly into thread. As a rule of thumb, any text smaller than 5mm high is likely to become a bit of a blur as the stitches merge.
If your design is super complex or even photographic, a digital transfer might be the better way to go. That said, our artwork team are pros at adapting intricate logos for embroidery. We know how to simplify a design while keeping its core identity, resulting in a clean, sharp, and durable finish that looks fantastic.
We won’t ever stitch a thing without your green light. You’ll always get a digital proof showing exactly how the revised logo will look, so you can be sure the final product is what you envisioned before production even starts.
How Should I Look After My Embroidered Polos?
A little bit of care goes a long way in making your investment last and keeping your team looking sharp. The high-quality threads we use are built to be tough, but a few simple habits will keep the colours vibrant and the stitching intact for years.
Here’s our recommended routine for keeping your embroidered polos in top shape:
- Wash Inside Out: This is the easiest trick in the book. Turning the polo inside out protects the embroidery from getting snagged or roughed up by other clothes or the machine itself.
- Stick to Cool or Warm Washes: High heat can cause the polo’s fabric to shrink or fade. A cool or warm cycle with a mild detergent is the perfect combination.
- Steer Clear of Bleach: Harsh chemicals like bleach are the enemy of embroidery thread. They can strip the colour and weaken the fibres, ruining your logo.
- Dry with Care: Air drying on a hanger is always the best option. If you need to use a dryer, pop it on a low heat setting to avoid any damage to the threads.
- Iron on the Reverse: Never press a hot iron directly onto the embroidery, as the heat can melt the polyester threads. If you need to iron the shirt, just flip it inside out and press from the back.
Following these simple steps will ensure your team’s uniforms look just as good as they did on day one, wash after wash.
What is “Digitising” and Why Is There a Setup Fee?
Digitising is the essential first step that turns your digital logo—like a PDF or vector file—into a special stitch file that the embroidery machines can understand. This isn't some automated, push-button process; it requires a skilled technician to manually map out every single stitch.
The digitiser makes crucial calls on what kind of stitch to use (satin stitch for text, fill stitch for solid areas), which direction the stitches should run to create texture, and how dense they need to be to avoid puckering the fabric. It’s this human expertise that ensures your logo looks stunning in thread. The one-time setup fee covers the time and specialist skill this work demands. Here at Simply Merchandise, we know that can be a hurdle, which is why we offer free setup on a massive part of our range for clients all over Australia.
Ready to get your team kitted out in professional, long-lasting embroidered polo shirts? The experts at Simply Merchandise are here to walk you through every step, ensuring a perfect result that helps your brand stand out. Explore our huge range and get a free quote today at https://simplymerchandise.com.au.