
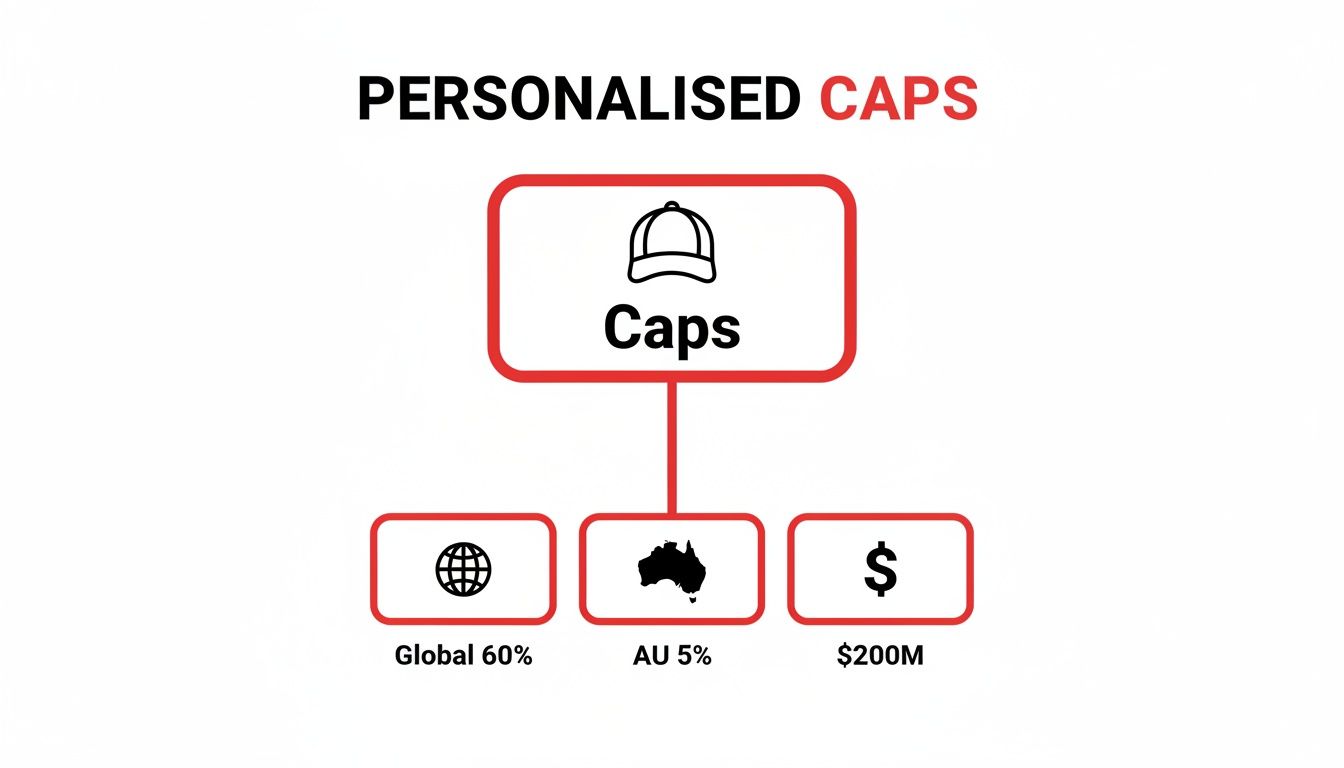
Personalised caps aren’t just accessories—they’re your brand travelling with every step. They account for 60% of global headwear unit value, making them a marketing favourite far and wide.
Market Landscape For Personalised Caps
Recent figures show Australia represents 4.94% of the Asia-Pacific hats & caps market, pointing to a local personalised-cap opportunity in the low-hundreds of millions USD. Read the full research on global headwear market trends analysis
- Versatile visibility on every attendee’s head
- Cost-effective advertising that lasts
- Instant team unity and thoughtful client gifts
- Endless theme matching with colours and fabrics
Think of selecting a personalised cap like handing out a memorable business card: size, shade and texture speak volumes in one quick glance.
Emerging Trends And Opportunities
Today’s buyers want greener materials and performance features. From organic cotton to recycled polyester, sustainability sits at the top of many wish lists.
- Organic and recycled fabrics for eco-conscious events
- Breathable mesh panels and moisture-wicking blends
- Designs that balance sporty performance with everyday comfort
“A well-chosen cap can become a walking billboard that resonates long after an event ends.”
Check out our guide on promotional products for a wider selection of branded items.
Matching cap designs to your objectives is crucial. Whether you need staff uniforms, trade show giveaways or seasonal promos, the right style and customisation method will drive real results.
Caps command 60% of global headwear unit value, so they remain the go-to choice for brand exposure.
Next sections walk you through cap styles, custom printing and embroidery methods, sizing and fit, ordering process details (lead times, minimums, samples) and budgeting tips crafted for Australian businesses.
- Align headwear to campaign goals
- Monitor brand recall after distribution
- Tap into Australia’s growing customised headwear market
Let’s dive into cap styles and personalisation methods.
Compare Cap Styles And Materials
Choosing the perfect cap is much like picking the right tool for a job—it needs to fit the purpose and carry your brand with confidence. In the world of headwear, four contenders stand out: classic baseball caps, snapbacks, truckers and performance visors. Each brings its own personality and practical benefits to the table.
- Classic Baseball Caps sport a softly curved brim that cradles embroidered logos beautifully.
- Snapbacks boast flat brims and adjustable closures, a staple in street-style wardrobes.
- Trucker Caps mix solid panels up front with mesh at the back, giving you breathability and bold branding space.
- Performance Visors strip away the crown for ultimate airflow, with moisture-wicking fabrics to keep wearers cool.
This six-panel design highlights how crown structure and brim shape influence where and how you place your logo.
When you’re deciding on materials, think about climate, comfort and the level of branding detail you need.
Cotton twill feels soft against the skin, breathes well and brings colours to life in embroidery. Mesh blends let air flow freely, making them perfect for hot days or outdoor events.
- Recycled Blends underline your eco-credentials without sacrificing style.
- Moisture-Wicking Polyester handles heavy activity and keeps caps feeling dry.
- UPF-Rated Fabrics provide sun protection for prolonged outdoor use.
- Soft Brushed Cotton adds a touch of luxury, ideal for premium staff uniforms.
Material Features Explained
Below is a quick-reference table comparing popular cap styles and materials. Use it to match form and function to your brand’s needs.
Comparison Of Cap Styles And Materials
Overview of popular cap types and their material features to help you choose the right style and fabric for your needs
| Cap Style | Material | Features | Ideal Use |
|---|---|---|---|
| Baseball Cap | Cotton Twill | Soft feel, easy to embroider, timeless profile | Staff uniforms, giveaways |
| Snapback | Acrylic Blend, Mesh | Adjustable fit, flat brim, contemporary look | Youth events, street-style merch |
| Trucker Cap | Polyester Front, Mesh | Excellent airflow, bold branding surface | Trade shows, summer festivals |
| Performance Visor | Moisture-Wicking Nylon | Lightweight, sweat-wicking, UPF protection | Outdoor sports, active campaigns |
With this breakdown, you can think of choosing a cap much like selecting a team jersey—each style suits a different game.
“A well-matched cap style can boost brand recall by up to 85% in targeted events.”
Match Styles To Use Cases
Cap styles aren’t one-size-fits-all. Here’s where they shine:
- Baseball caps anchor outdoor festivals and staff uniforms with a familiar, reliable look.
- Snapbacks fuel youth-focused retail promotions and social campaigns with urban flair.
- Trucker caps dominate tradeshow booths and summer concerts thanks to their ventilation and visibility.
- Performance visors thrive at sporting events and active brand activations with superior moisture control.
Looking ahead, Australian suppliers forecast strong demand for moisture-wicking, UPF-rated fabrics, 3D embroidery, colour-blocking and recycled materials by 2025. For a deeper dive into upcoming headwear trends, see the report from Business Daily Media.
Caps account for 60% of global headwear value, with Australia claiming about 5% of that market—roughly $200M. Those figures underscore how personalised caps remain a solid investment Down Under.
Real World Example
A local surf brand in Sydney needed 200 mesh trucker caps made from recycled nylon. They paired vivid embroidery with breathable panels to nail both sustainability promises and on-site comfort.
- Use contrasting thread to make logos pop on textured surfaces.
- Stick to single-colour blocks when working with complex prints.
For more on styles, materials and ordering, visit our headwear guide at Simply Merchandise.
Matching the right cap style, fabric and branding technique ensures your logo stays crisp and your audience stays engaged. Next, we explore customisation methods and techniques.
Explore Customisation Methods
A blank cap is like a white canvas waiting for its brushstroke. By adding your logo or a clever graphic, you elevate it into a mobile billboard that tells your story.
Every customisation path—whether it’s printing or stitching—offers its own set of benefits. Some methods pop with vivid colours, others shrug off hundreds of washes, and a few deliver that attention-grabbing, textured feel.
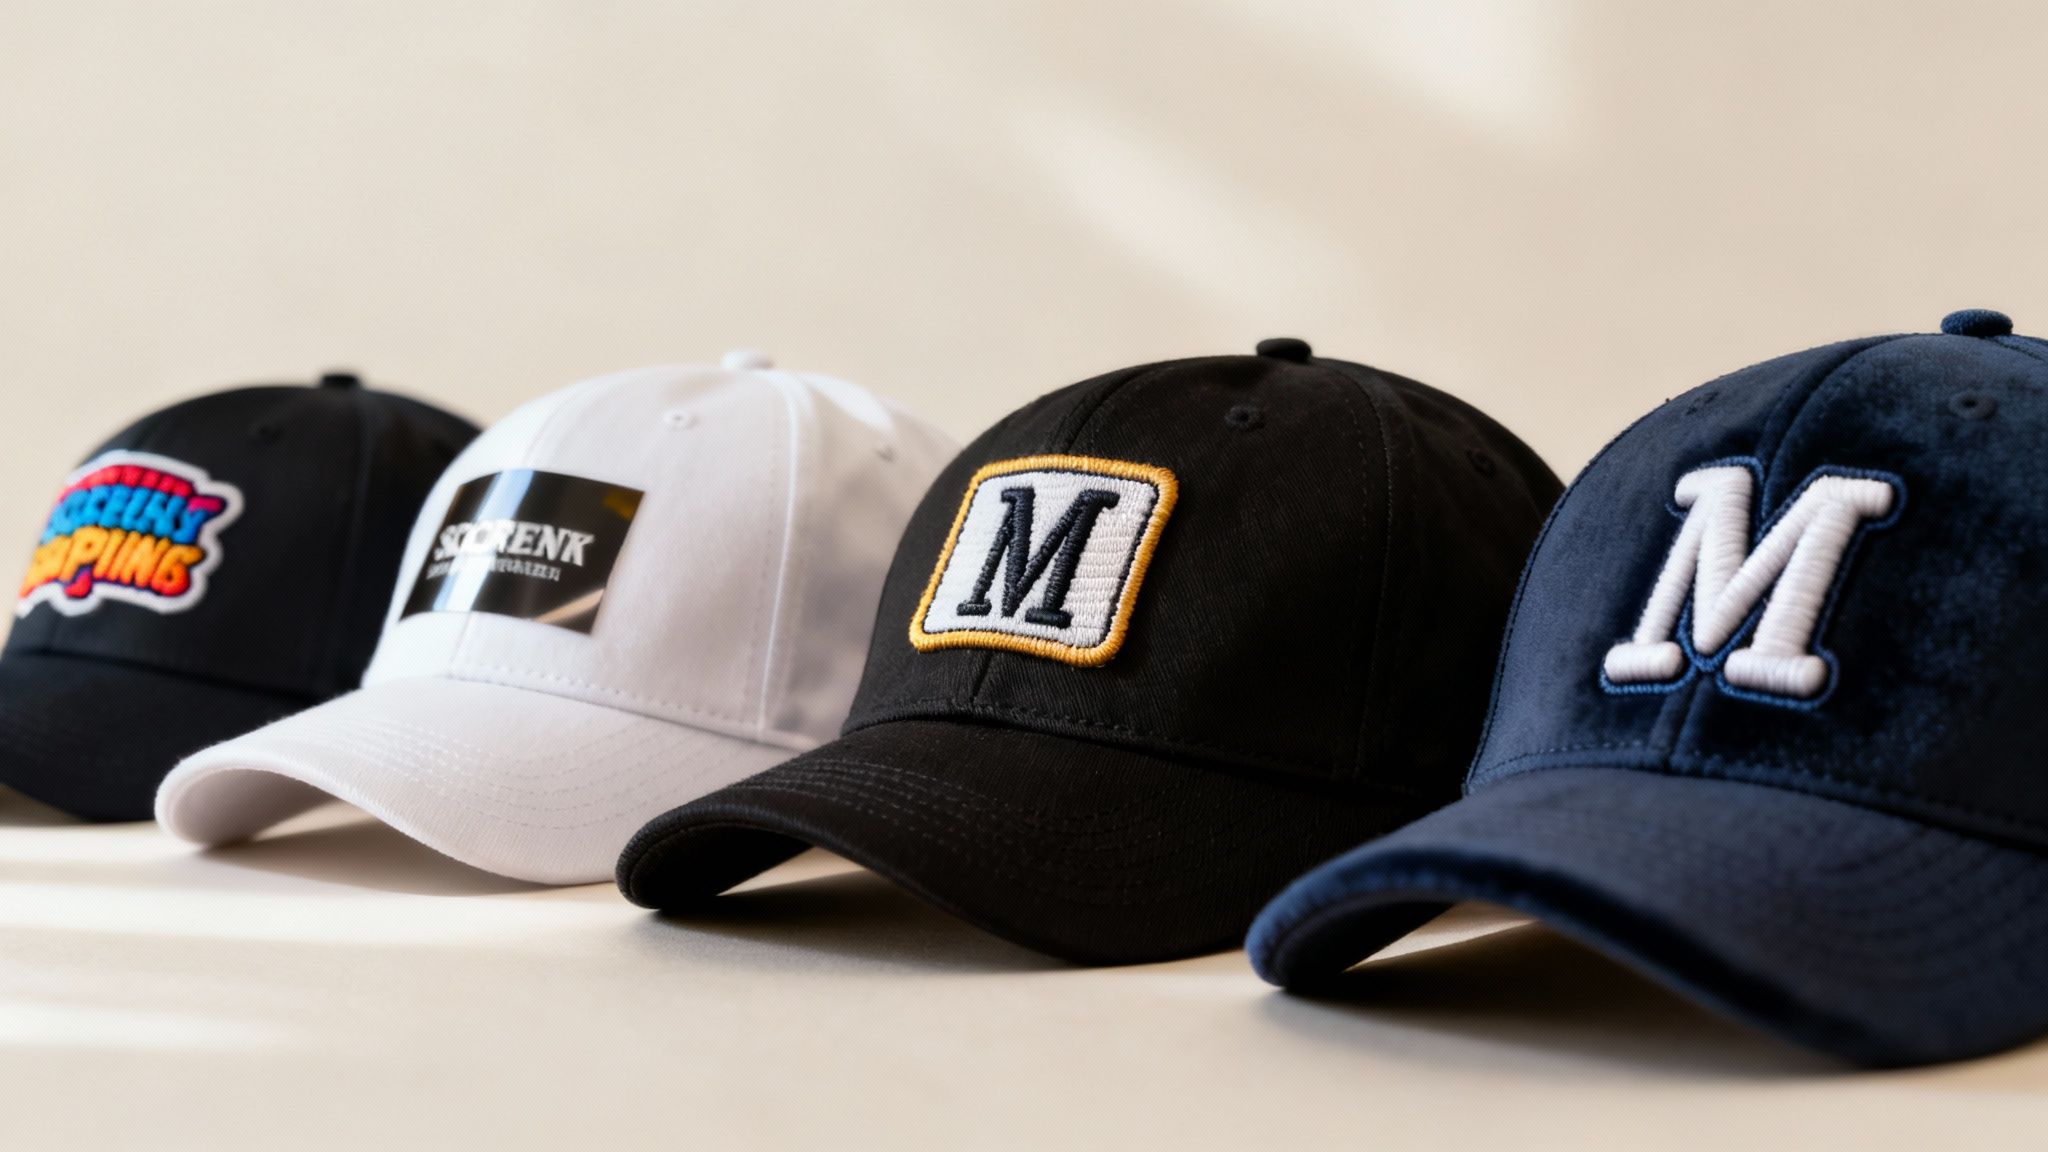
Whether you’re chasing high volume, extra durability or eye-catching depth, our guide on custom printing options breaks down each approach in detail.
How Each Technique Works
-
Screen Printing
Ink is pressed through stencilled meshes to layer bold, opaque colours.
It’s perfect for solid logos on cotton or twill.
Setup is quick once your screens are ready, so turnaround can be very fast. -
Heat Transfer
Vinyl or film designs fuse onto fabric under heat and pressure.
The outcome looks crisp, with a slightly rubbery finish that flexes with the cap.
You’ll see great colour definition, even on dark backgrounds. -
Embroidered Patches
Pre-stitched badges are sewn or glued onto the cap, creating a rugged, badge-like effect.
Ideal for workwear and themed events where a handcrafted vibe matters.
They also make it simple to replace worn badges over time. -
Direct Embroidery
Threads are stitched straight into the cap’s weave for a smooth, integrated look.
Logos stay sharp wash after wash, even on technical fabrics.
This method excels around curved seams and tight crown panels. -
3D Puff Embroidery
Foam underlay lifts the threadwork, sculpting your design in three dimensions.
Ideal when you need a logo that literally stands out from the crowd.
It pairs best with bold, simple shapes—tiny details can get lost in the foam.
Key Method Comparisons
Here’s how texture, wash resistance and price stack up, along with the use cases where they shine:
| Method | Texture | Durability | Cost (per unit) | Ideal For |
|---|---|---|---|---|
| Screen Printing | Smooth, flat finish | 30+ washes | $2–$4 | Large promotional runs |
| Heat Transfer | Slightly rubbery | 20–25 washes | $3–$5 | Multi-colour or photo-like detail |
| Embroidered Patches | Raised badge feel | 50+ washes | $4–$6 | Retail and corporate uniforms |
| Direct Embroidery | Integrated thread | 50+ washes | $3.50–$6 | Team apparel, activewear |
| 3D Puff Embroidery | Sculpted foam effect | 40+ washes | $6–$8 | Executive gifts, luxury giveaways |
“Embroidery routinely outlasts print—thread can hold strong through 50 washes or more.”
You can see how the thread interlaces to add real depth, creating a tactile surface that ink simply can’t match.
Choose The Right Technique
Deciding which method to go with depends on budget, volume and intended use. Your branding message and cap style will help narrow the field.
For 500+ caps at a festival, screen printing keeps unit prices low and jobs moving quickly. Caps made for daily wear—like sports teams—benefit from direct embroidery’s wash-proof results. And when you want that luxury finish for VIP gifts, 3D puff embroidery brings a premium look.
Consider the fabric too. Performance polyester welcomes threadwork, while cotton twill grips ink in vivid detail. You can mix methods—an embroidered centre logo with a printed slogan on the side panel often delivers the best of both worlds.
Always factor in lead times and minimum order requirements. Planning early leaves room to review proofs and secure samples without rush fees.
For example, a local surf club ordered caps with a printed wave on the brim and an embroidered crest on the crown. Team members have noted fewer complaints about fading logos, even after a full season.
Some suppliers now offer eco-friendly options too. Ask about water-based inks or recycled film transfers if sustainability aligns with your brand values.
Pro Tip: Request fabric swatches and small print tests before the full run. Feeling the materials in your hand gives you confidence in the final result.
By matching the right customisation technique with your design, material and budget, you’ll transform a simple cap into a powerful brand ambassador.
Here in Australia, we’ve watched charity marathon runners snap up branded caps before they even hit the start line.
Test a sample first to double-check colours, stitch height and overall quality—then watch as your branded caps turn heads across Australia.
Apply Branding And Placement Tips
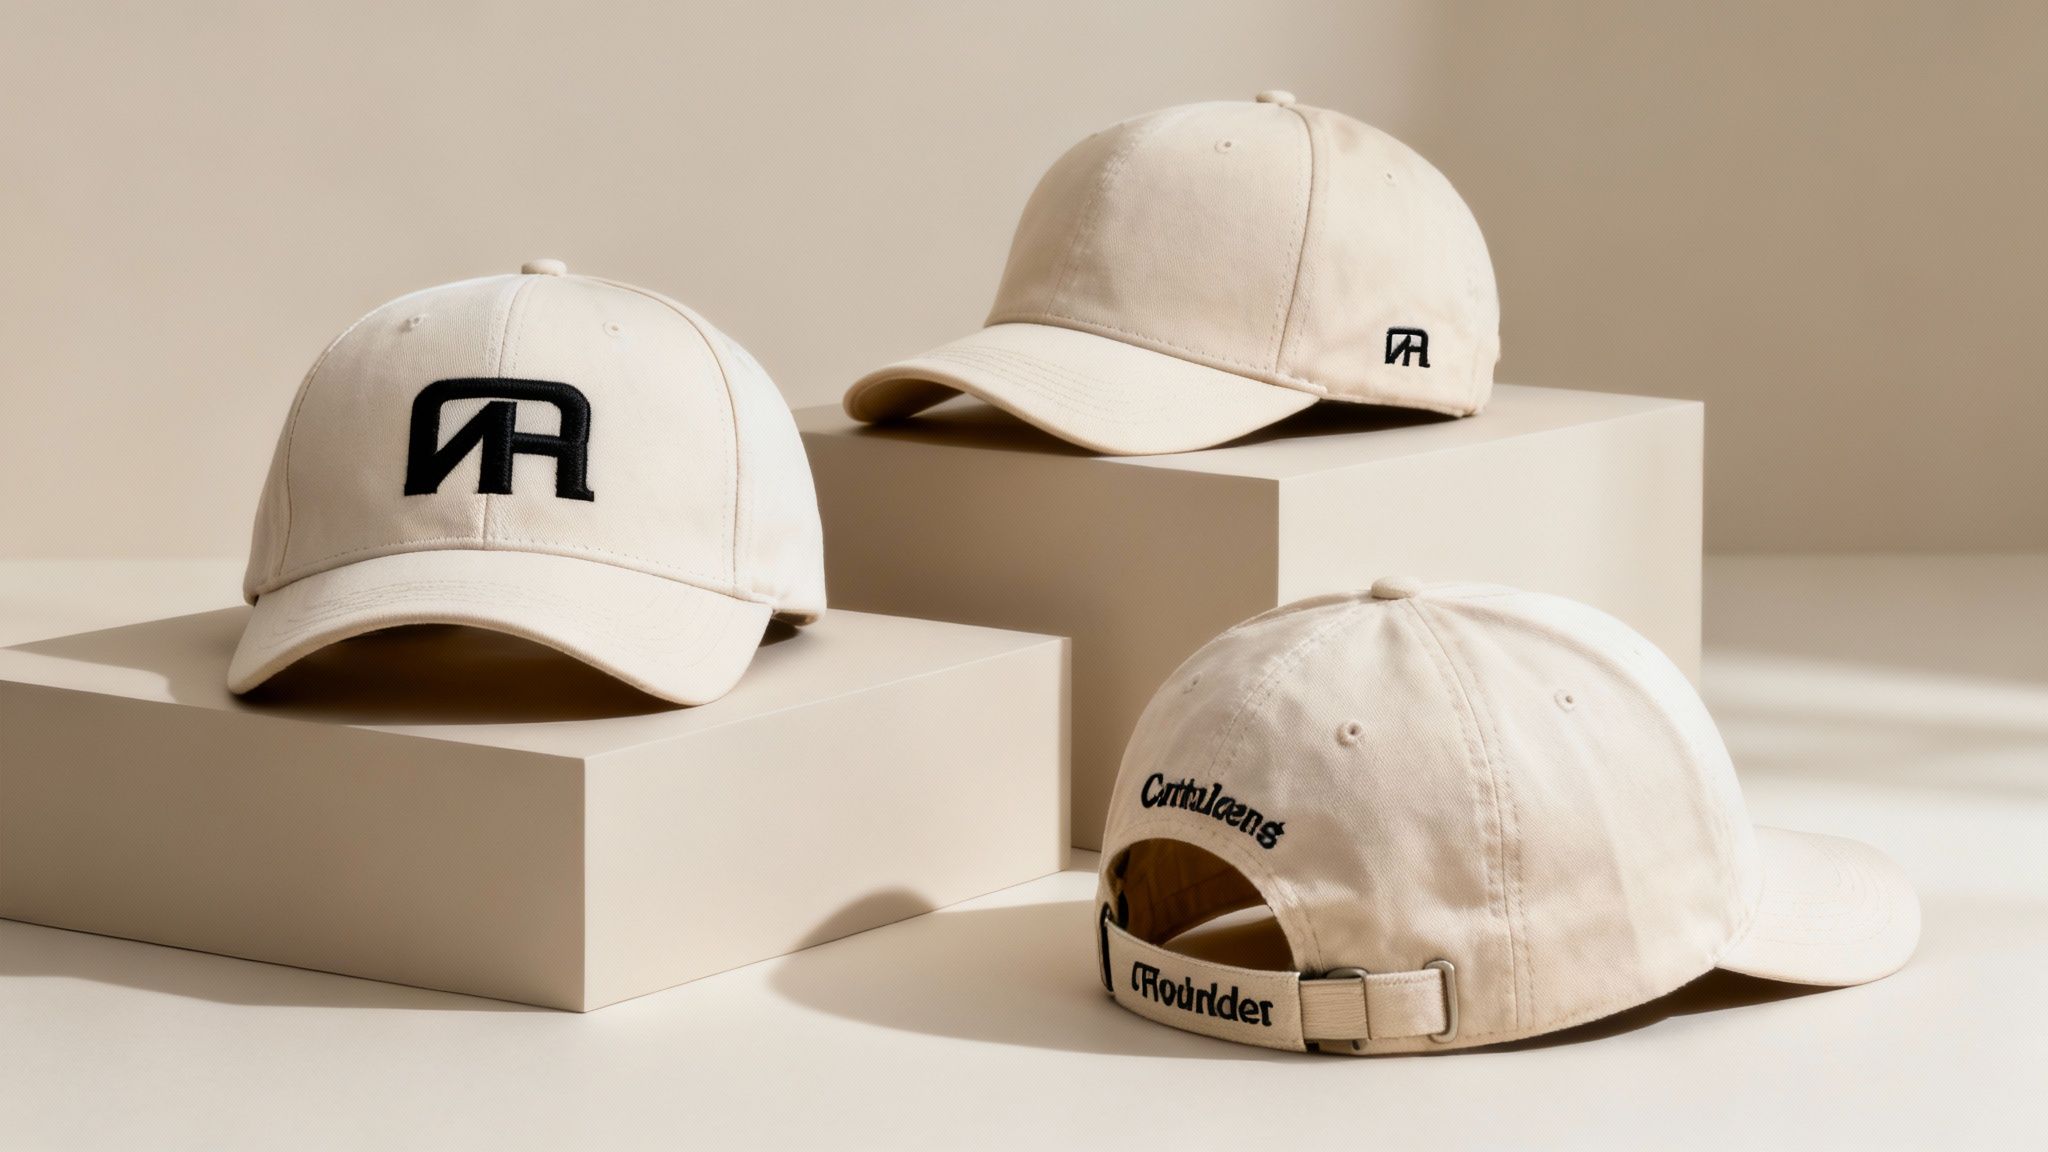
Branding a cap isn’t just about sticking a logo on fabric. It’s about picking the right spot, choosing balanced colours and making sure your text stays crisp. Those small decisions help your personalised caps jump out in a crowd.
Here are the three most popular placement options:
- Front-panel for instant impact
- Side-panel when you want a more relaxed, lateral look
- Back-strap to catch eyes in group photos
Each position brings its own visibility advantages—and a few challenges—when someone spots you from different distances.
Optimal Logo Dimensions
Sizes matter more than you might think. If your logo shrinks below 45 mm wide, it can lose fine details on technical fabrics. At the other end, stretching it past 70 mm risks distortion around seams and curves.
- For baseball and trucker caps, keep logos 50 mm wide
- For visors, aim for an 80 mm width to suit the broader brim
- On low-profile caps, cap your design at 40 mm wide
Staying within these guidelines avoids warping during printing or embroidery.
“Keep designs bold and legible at a distance” is a guiding principle among branding experts.
Colour contrast plays a starring role, too. Think white on navy or black on yellow for a pop under natural light. Steer clear of low-contrast pairings that can look washed out in photos.
Placement Position Effects
Where you place your logo sends a subtle message about your brand’s personality. Here are a few real-world scenarios:
- Trade show staff wearing front-panel logos come across as professional and authoritative
- Retail giveaways with side-panel branding encourage customers to take a closer look
- Sports team caps featuring back-strap logos shine in celebration selfies
These snapshots show how a small shift in placement can significantly boost brand exposure.
Check out our detailed guide at https://simplymerandise.com.au/pages/artwork-submission-tips-a-simple-guide-for-beginners to refine your design before sending it off.
Below is a quick comparison of placement options for personalised caps:
| Placement | Visibility Range | Ideal Use Case |
|---|---|---|
| Front-panel | 3–10 m view | Events, uniforms, giveaways |
| Side-panel | 1–5 m view | Retail, promotional tours |
| Back-strap | 1–3 m view | Team photos, street style |
Using this table as a reference helps you match placement to the moment and setting.
Side-Panel And Back-Panel Uses
Side-panel logos thrive in close-up environments like pop-up stores or trade show booths. They invite interaction without overwhelming the overall look. Back-strap designs, on the other hand, come into their own during post-game celebrations or group selfies—where that logo really pops in the back of the shot.
Consider Fabric And Design Integration
Your choice of material can change how colours and textures behave. A matte cotton cap soaks up ink differently than a shiny polyester shell, and embroidery threads catch light in unique ways.
Best practices include:
- Test contrast on real fabric swatches before finalising artwork
- Align your design away from high-tension seams to prevent warping
Always order a sample and review both digital and physical proofs under various lighting conditions. This early check helps you spot any colour shifts or distortion before you commit to a bulk order.
By combining smart placement with material know-how, your personalised caps will do more than look great—they’ll reinforce your brand at every turn.
Navigate Ordering Process And Lead Times
Place a custom cap order more like planning an event than a quick online purchase. You need to juggle minimums, proof approvals and production slots to keep your campaign on track.
Most suppliers set a minimum order quantity (MOQ) to cover setup costs. In Australia, that often starts at 50 units for local runs.
- Domestic samples might require just 5–10 caps.
- Bulk overseas orders usually kick off at 100 units.
- Express runs can drop the MOQ but add premium fees.
- Typical setup charges range from $20 to $100 per design.
Local printers commonly quote a 7–14 business day turnaround after your final sign-off. If you’re working with an Asia-Pacific factory, plan for 21–28 days plus shipping. Early chats about delivery windows ensure your deadlines and budget align.
Order Sizes And Expected Lead Times
Here’s a quick guide to typical order minimums and how long each batch takes to land in your hands:
| Order Size | Setup Fee | Lead Time | Notes |
|---|---|---|---|
| 50 units | $25 | 7–10 days | Small domestic runs |
| 100 units | $40 | 10–14 days | Standard local orders |
| 200 units | $55 | 14–21 days | Volume discounts apply |
| 500 units | $80 | 21–28 days | Bulk Asia-Pacific shipments |
These figures are a baseline. You can tweak them with express services or volume breaks as you scale.
Prep Artwork And Approvals
Nailing your artwork first time around saves you weeks. Providing clean vector files in CMYK or spot colours avoids nasty colour-matching surprises.
Locking in internal sign-off before you hit “send” stops late-stage changes. That way, you steer clear of extra proofs and rush fees.
Don’t forget to flag any special material or ink choices—like water-based dyes or organic cotton—when you brief your supplier. A clear brief means the sample you get back looks exactly like what you ordered.
“Preparation is key to avoiding unexpected hold-ups in cap production.”
After you receive samples, you can fine-tune logo placement, thread colour and fit. Balancing urgent local runs with bulk overseas shipments helps keep both cost and timing in check.
Need more insight on fees and timelines? Check out our guide on ordering promotional products.
Compare Production Options
Picking between an Australian print run and an Asia-Pacific factory comes down to two things: speed and price.
- Local express orders arrive in 5–10 business days for 50–100 caps.
- Standard local production takes about 10–14 days, with lower setup fees.
- Overseas bulk runs ship in 21–30 days, often with sharp volume discounts.
- You can split your order—get urgent caps made locally and ship the rest from overseas.
Mixing both routes means you never run out, but you also keep budgets tight.
Plan Sample Schedule
A pre-production sample is your safety net. It lets you:
- Check embroidery and print quality up close.
- Verify fabric swatch matches your brand colours.
- Confirm sizing before committing to a larger run.
Sampling usually adds about 7–10 days to your timeline, but it’s a small trade-off for avoiding costly re-runs. Keep an eye on shipping so customs or transit delays don’t throw your timeline off.
When deadlines are tight, aim to finalise artwork and book production 4–6 weeks ahead. Consistent file naming and version control prevent mix-ups before you go to press.
With this roadmap, your personalised caps will arrive exactly when and how you planned them. Start your cap order journey with confidence today.
Plan Pricing And Budgeting Strategies
Crafting a cap budget means thinking beyond the sticker price. You’ll need to factor in embroidery or printing set-up, fabric upgrades and shipping estimates. Volume discounts and artwork charges can swing your total spend by hundreds of dollars.
Start by listing every potential cost:
- Base Cap Unit Cost
- Embroidery or Printing Fees
- Setup and Artwork Charges
- Fabric Upgrades and Labels
- Domestic or Overseas Shipping
For instance, a cotton twill cap at $5 plus a $3 embroidery fee lands you at $8 per piece. Add in mesh panels or custom labels and you’re tacking on another $1–2 each. Accurate forecasting begins when you map out every line item, then shop around for the best quotes.
| Cost Item | Supplier A | Supplier B | Supplier C |
|---|---|---|---|
| Cap Price | $5.00 | $4.75 | $5.25 |
| Embroidery Fee | $3.50 | $4.00 | $3.75 |
| Setup Charge | $50 | $40 | $60 |
| Estimated Shipping | $80 | $65 | $70 |
A side-by-side comparison like this makes it easy to spot savings at a glance.
Estimate Budget Scenarios
Imagine ordering 200 caps at an effective unit price of $12.90—you’re looking at $2,580 in total. Then, estimate how many people will see your logo. Multiply cap count by average reach to gauge impressions.
- Units Ordered and Unit Cost Details
- Additional Design and Setup Fees
- Shipping and Handling Estimates
- Total Spend and Per Cap Calculation
- Impressions and Cost-Per-Impression
By benchmarking these figures against digital ad rates, you might find that caps deliver a stronger impressions-per-dollar ratio. Australian research reveals 70–85% of consumers remember brands sporting custom apparel, fuelling an annual market growth near 6–8%. Learn more on HatsOnline.
Implement Budget Tracking
Once orders start rolling in, keep your budget alive in a simple spreadsheet or project tool. Label columns for estimates, invoices and variances to uncover trends swiftly. Then, set up a weekly review to adjust forecasts if costs shift.
- Use colour coding for variance alerts
- Freeze budget versions before changes
- Highlight variances above your set thresholds
- Attach invoice copies for quick audits
- Add notes on unexpected expenses
This dynamic approach lets you respond to supplier updates and keep stakeholders in the loop. Don’t forget a 5% contingency buffer—rush fees and artwork tweaks can pop up at a moment’s notice.
Optimise Discounts And Savings
Negotiate volume breaks as your order size climbs. Ask suppliers about seasonal promotions or free setup deals to shave off fees. Bundling caps with other branded items can help you hit higher discount tiers too.
“Securing a 10% volume discount reduces your per cap cost by nearly 80 cents.”
Bulk buys often unlock better freight rates, driving down your overall spend. After campaign wrap-up, compare your actual costs against brand impressions. Use feedback from the marketing team on recall metrics and cost efficiency to sharpen your next budget.
With clear, structured budgeting and smart negotiations, personalised caps become a cost-effective branding tool. Start planning your cap campaign budget today using these proven steps—and stay ahead of hidden expenses.
Frequently Asked Questions
Tackling these queries early helps you move from planning to execution without surprises. Below you’ll find clear answers to our most common questions on ordering personalised caps.
-
Q1: What Is the Minimum Order Quantity for Custom Caps?
Most suppliers start at 50 units. If you need just a handful, local express runs can supply small samples. Bulk orders of 200+ caps unlock more attractive volume pricing. -
Q2: How Long Does Production and Shipping Typically Take?
For Australian-made orders, expect 7–14 business days once artwork is approved. If you’re sourcing from Asia-Pacific factories, plan for 21–28 days plus transit time.
Common Production Timelines
-
Q3: Which Customisation Method Outlasts Others on Performance Fabrics?
Direct embroidery and 3D puff deliver the toughest finish on sweat-wicking polyester. They resist wash and wear far better than heat transfers. -
Q4: How Do I Prepare Artwork for Accurate Colour Match?
Supply vector files in CMYK or specify Pantone colours. Always request a digital proof—and ideally a physical sample—to check those hues before full production.
Pro Tip: Review proofs under different lighting—natural, fluorescent and LED—to catch any sneaky colour shifts.
These FAQs should iron out your main concerns and speed up the ordering process. Remember to order samples early and confirm proofs so your caps arrive exactly as envisioned.
Ready to upgrade your branded gear? Order your personalised caps from Simply Merchandise today.