


Printed t-shirts are so much more than just a piece of clothing. Think of them as one of the most powerful branding tools you can have. A great custom t-shirt is essentially a walking billboard for your business, spreading the word and building brand recognition with every wear. This guide is all about showing you how to transform that simple garment into a marketing powerhouse.
Using Printed T-Shirts as a Strategic Branding Tool
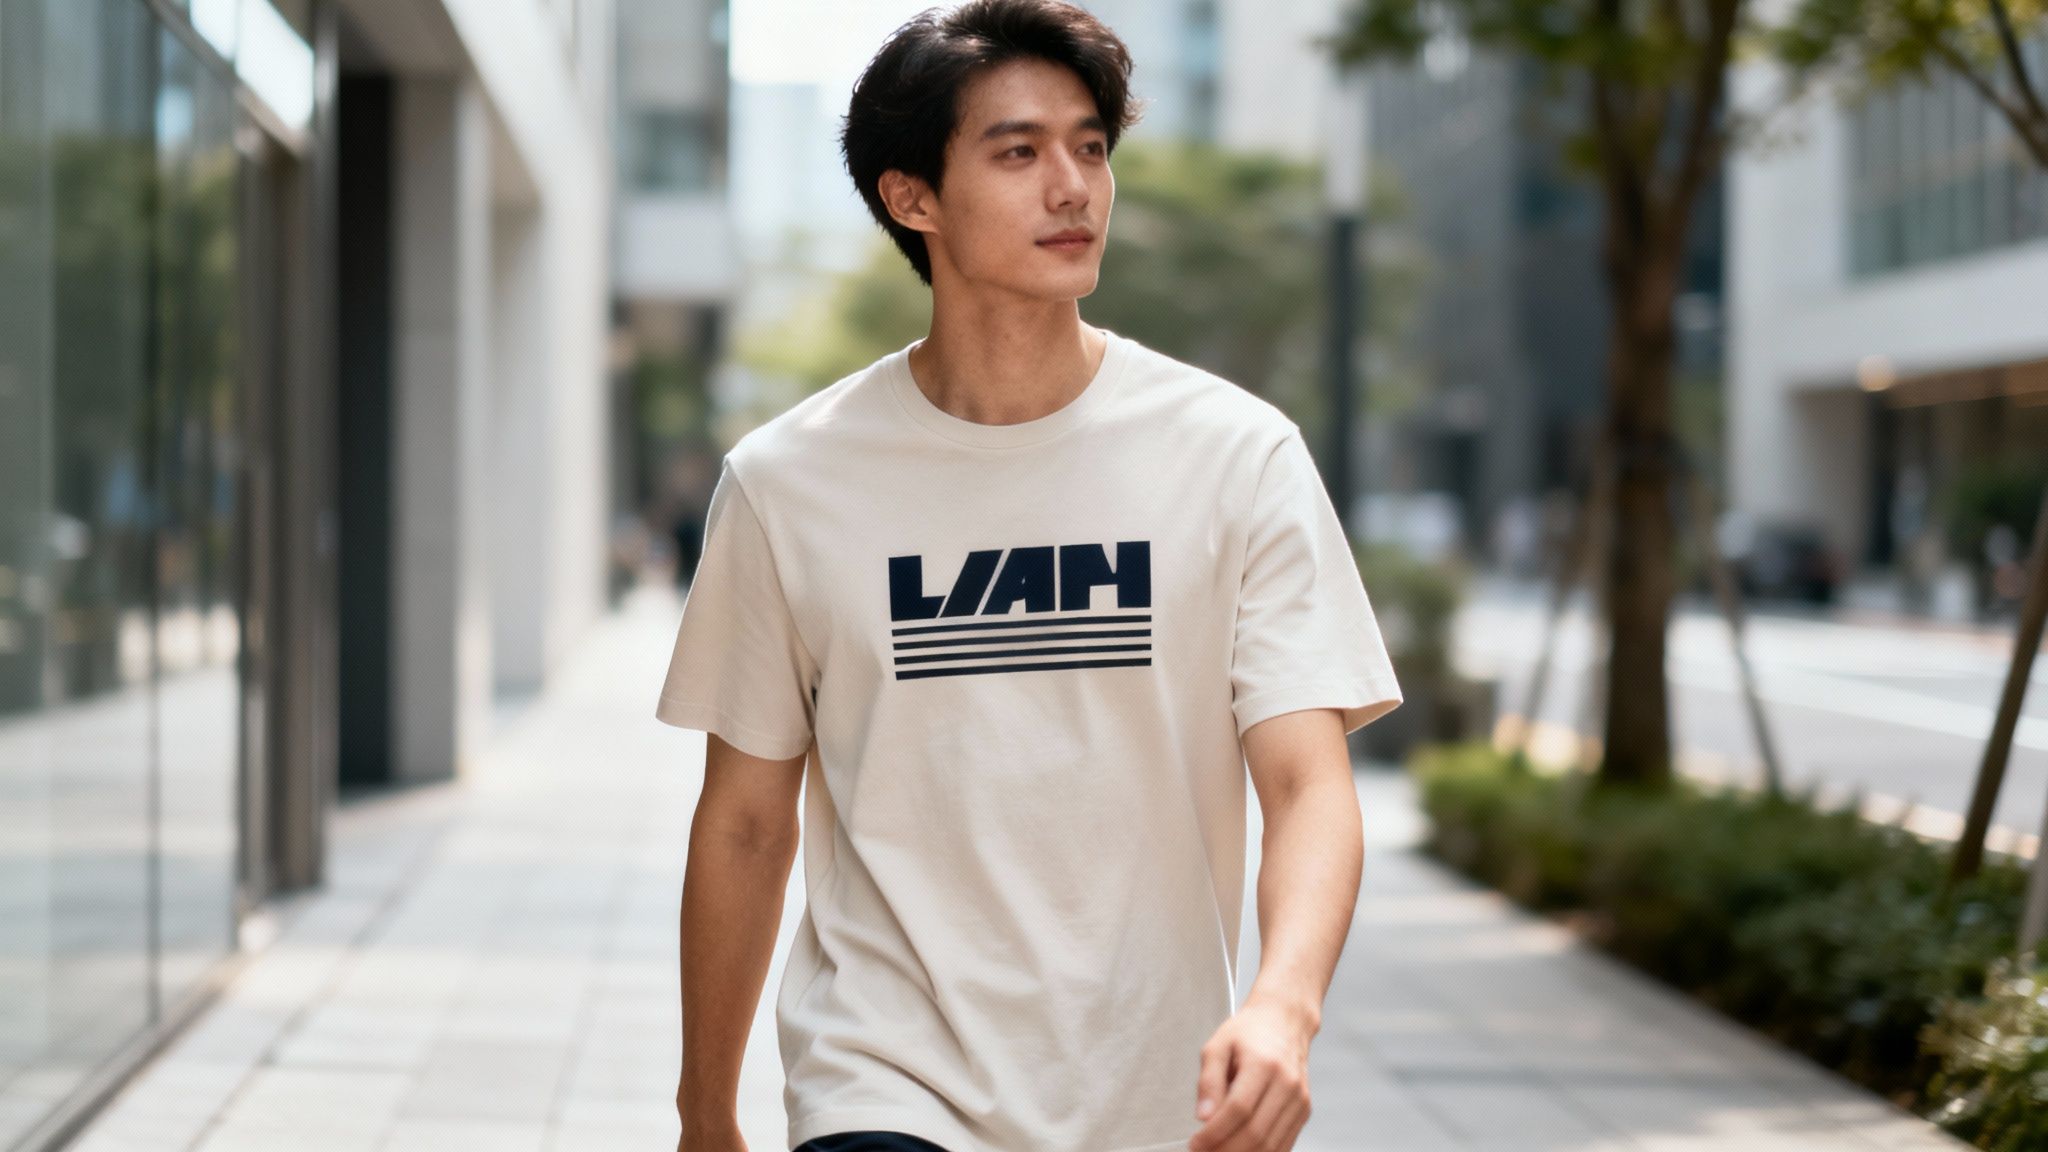
It’s best to see a printed t-shirt not as a cost, but as a smart investment in your brand's visibility. A digital ad is gone in a flash, but a quality tee can be worn for years, racking up thousands of impressions along the way. This makes it an incredibly cost-effective and long-lasting form of advertising—with a uniquely personal touch. After all, when someone pulls on your shirt, they’re giving your brand their personal stamp of approval.
The real magic of printed tees is how versatile they are. They can bring your team together, create a buzz at events, or build genuine loyalty with your customers. But to really nail it, you need to make the right choices right from the get-go.
Key Considerations for Your First Order
This guide is your roadmap. We’ll skip the surface-level stuff and dive straight into how to get the best return on your investment, making sure every choice you make lines up with your business goals. You'll get the hang of:
- Fabric and Fit: We’ll break down how different materials impact everything from comfort and durability to how your final print looks.
- Printing Methods: Confused by screen printing, DTG, and all the other options? We’ll help you figure out which technique is the perfect match for your design and budget.
- Artwork Preparation: Getting your design files right is crucial. We’ll show you how to prep your art to avoid expensive mistakes and ensure a crisp, professional finish.
Maximising Your Return
At the end of the day, a successful order of printed t-shirts isn't just about a cool design. It's about choosing the right combination of garment and printing process to create something people actually love to wear.
Throughout this guide, we'll give you the practical knowledge you need to order with confidence. To get a feel for what’s possible, check out the wide range of branded clothing options available at Simply Merchandise and see what sparks an idea. Our goal is to help you create apparel that not only looks great but also amplifies your brand's message and delivers real, measurable results.
Picking the Perfect T-Shirt for Your Project
Before you even think about the design, let's talk about the t-shirt itself. It’s easy to get caught up in the artwork, but the garment you print on is the real foundation. Think of it like a painter’s canvas—the texture and quality of the canvas will completely change how the final painting looks and feels.
Choosing the right fabric, fit, and even the weight of the material is the difference between a shirt that gets worn once and one that becomes a go-to favourite. A bad choice here can make even the most amazing design look cheap, so let’s get this part right.
The Big Three: T-Shirt Fabrics
Most printed tees you’ll come across are made from one of three main materials. There’s no single "best" option; it all comes down to what you’re using them for, your budget, and the vibe you're going for.
-
100% Cotton: The undisputed classic. Everyone loves cotton because it’s soft, it breathes, and it’s the perfect surface for traditional screen printing and modern DTG prints. It's the go-to for pretty much everything—from promotional giveaways to band merch—because it just feels great to wear.
-
100% Polyester: Think performance. This is the workhorse fabric for sportswear and team uniforms. Polyester is tough, it wicks sweat away from the body, and it won't shrink or wrinkle easily. It’s also the only fabric that works for sublimation printing, a method that creates those super-vibrant, all-over designs that never crack or fade.
-
Poly-Cotton Blends: This is where you get the best of both worlds. By blending cotton and polyester (usually a 50/50 or 60/40 mix), you get the softness of cotton plus the durability and shape-retention of polyester. The result is a really soft, lightweight shirt that hangs well and lasts, making it a hugely popular choice for anyone wanting a more premium, retail-quality feel.
One of the most common mistakes we see is people choosing a t-shirt based on price alone. Spending that little bit extra on a poly-cotton blend can create a much higher perceived value. People will wear it more often, giving your brand more exposure and a better return in the long run.
What Does GSM Mean? Understanding Fabric Weight
You’ll often see a number followed by "GSM" in a t-shirt’s description. This stands for Grams per Square Metre, and it’s simply a measure of how thick or dense the fabric is. It’s not about quality, but it has a huge impact on how the shirt feels and performs.
Think of it this way: a light, breezy summer tee feels completely different from a heavy-duty work shirt. That difference is GSM.
- Lightweight (130-150 GSM): These shirts are super soft and drape nicely. They're perfect for a more fashion-forward look or for summer events where breathability is key. They just feel a bit more premium.
- Midweight (160-180 GSM): This is your sweet spot and the industry standard for a reason. It offers the perfect balance of comfort and durability, making it a reliable, cost-effective choice for almost any project, from staff uniforms to event merch.
- Heavyweight (190+ GSM): Built like a tank. These tees are made for durability and are ideal for workwear, skate brands, or any situation where the shirt needs to stand up to some serious abuse. They feel more structured and are made to last.
Getting the Fit Right
A t-shirt can have the coolest design and be made from the best material, but if the fit is off, it’s going straight to the back of the closet. Always think about who will be wearing these shirts when you're choosing a style.
Common T-Shirt Fits
| Fit Type | Description | Best For |
|---|---|---|
| Standard/Classic Fit | A traditional, straight cut with plenty of room in the body and sleeves. | General giveaways, events with a wide range of attendees, and most work uniforms. |
| Retail/Fitted Fit | A more modern cut that sits closer to the body for a sharper look. | Merchandise for younger demographics or fashion-focused brands. |
| Unisex Fit | Designed to work for everyone, usually with a cut similar to a standard men's fit. | The safest and most popular bet for large orders going to a mixed group. |
Taking the time to choose the right canvas is the first—and most important—step in creating printed t-shirts that people genuinely want to wear. When you nail the fabric, weight, and fit, you’re not just making a promotional item; you’re creating a piece of apparel that represents your brand’s quality and connects with your audience.
Right, you’ve picked the perfect t-shirt. But that's only half the story. The printing method is what takes your design from a file on a computer to a piece of wearable art. This is where your vision truly comes to life.
Each printing technique has its own personality—its own unique look, feel, durability, and, of course, price point. Getting this choice right is absolutely crucial to nailing the final product.
The options might seem a bit much at first, but it's simpler than you think. A good way to look at it is like choosing the right tool for a job. You wouldn't use a tiny artist's brush to paint a wall, right? In the same way, the best printing method really boils down to your design, how many shirts you need, and your budget.
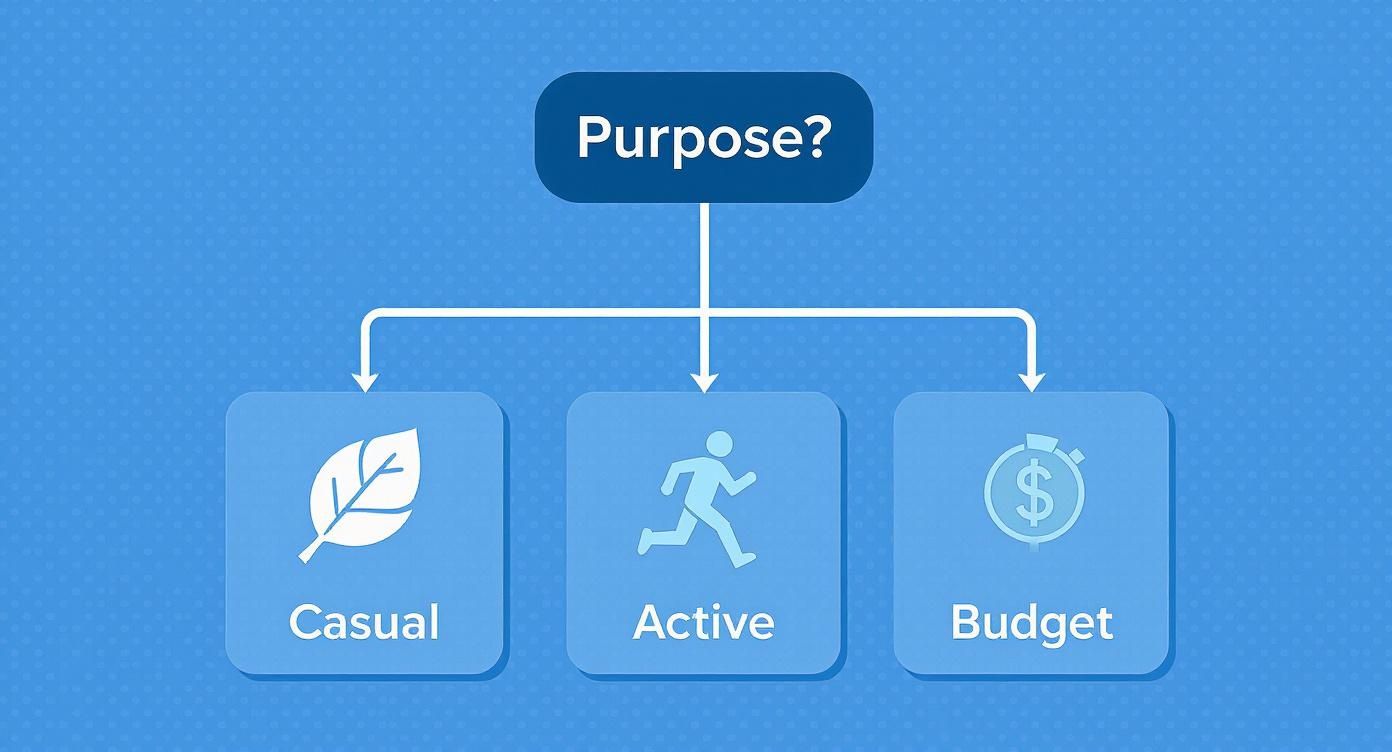
This flowchart can help you start thinking about how the purpose of your t-shirts points you toward the right garment, which in turn influences your printing options.
Let's break down the most popular methods so you can see what makes each one tick.
Screen Printing: The Industry Workhorse
Screen printing is the original and, for many, still the best. It's a classic for a reason. This technique produces incredibly vibrant prints that are built to last. Think of it like a high-tech stencil. A mesh screen is made for each colour in your design, and ink is pushed through it onto the fabric, one colour at a time.
Because of this setup process, screen printing really shines on larger runs. The more you print, the cheaper each shirt becomes. This makes it the undisputed king for bulk orders—think event merchandise, large staff uniform orders, or promotional giveaways.
Why Choose Screen Printing?
- Best For: Orders of 25+ units with bold designs that use a handful of solid colours.
- Durability: Top-notch. The ink bonds directly with the fabric, creating a print that can easily outlast the shirt itself.
- Vibrancy: The colours are exceptionally bright and solid, especially on dark-coloured t-shirts.
- Cost: While there's an initial setup fee, the cost per shirt drops dramatically as your order size increases.
Direct-to-Garment (DTG): For Picture-Perfect Detail
If screen printing is stencilling, then Direct-to-Garment (DTG) is like using a specialised inkjet printer that prints directly onto fabric. It sprays water-based inks straight onto the t-shirt, allowing it to recreate millions of colours with stunning precision.
This makes DTG the go-to for complex designs, photographs, or any graphic with gradients and subtle shading. Since there are no screens to create, it's perfect for small batches or even one-off prints, giving you amazing flexibility for trying out a design or creating personalised gear.
DTG is a huge reason the custom apparel industry is booming. The Australian custom t-shirt printing market was valued at USD 84.22 million in 2023 and is projected to hit USD 133.93 million by 2032, largely thanks to digital methods like this.
Sublimation Printing: For All-Over Vibrancy
Sublimation is where things get really interesting, but it has one very specific rule: it only works its magic on polyester or poly-blend fabrics. Here’s how it works: your design is printed with special dyes onto transfer paper. Then, using heat and pressure, the dyes turn into a gas and permanently infuse themselves into the fabric’s fibres.
The result is incredible. You get a print with absolutely zero feel to it—the ink is in the fabric, not sitting on top of it. Sublimation allows for mind-blowing, edge-to-edge, photorealistic prints that will never crack, peel, or fade. It's the standard for performance activewear, custom team jerseys, and any design that needs to cover the entire garment.
The Bottom Line on Sublimation: It delivers the most permanent and vibrant print you can get, but you must use polyester fabric. It’s a game-changer for sportswear but a no-go for 100% cotton tees.
Heat Transfer Vinyl (HTV): For Crisp Personalisation
Heat Transfer Vinyl, or HTV, is a fantastic and versatile way to add clean graphics, names, and numbers to clothing. A machine cuts your design from a sheet of coloured vinyl, and that cutout is then positioned on the shirt and applied with a heat press.
It’s an incredibly cost-effective choice for personalising team jerseys or for bold, single-colour logos that need to pop. The print has a distinct, slightly raised feel on the fabric and, while durable, it’s best suited for simpler designs compared to what DTG or sublimation can handle.
Comparison of T-Shirt Printing Methods
Choosing the right printing method can feel like a tough call, but it's much easier when you see their strengths side-by-side. This table breaks down what each technique does best, so you can match the method to your specific needs.
| Method | Best For | Colour Capability | Feel on Fabric | Durability | Cost per Unit |
|---|---|---|---|---|---|
| Screen Printing | Bulk orders (25+), simple logos, tour merch | Limited solid colours | Slightly raised, very durable layer | Excellent | Low on high volumes |
| Direct to Garment (DTG) | Photos, detailed artwork, small batches | Unlimited colours, gradients | Soft, breathable, minimal feel | Good | Moderate |
| Sublimation | Sportswear, all-over prints, photo gifts | Unlimited colours, photorealistic | Zero feel (ink is infused) | Permanent, will not fade or crack | Moderate to High |
| Heat Transfer Vinyl (HTV) | Names, numbers, simple, bold graphics | Limited solid colours | Smooth, vinyl layer on top | Very Good | Low to Moderate |
Each method has its place, from the mass-production power of screen printing to the artistic freedom of DTG. By understanding these key differences, you're now equipped to pick the perfect technique for your project.
To see what's possible and get a better feel for which approach fits your brand, check out our complete guide to custom printing options at Simply Merchandise.
How to Prepare Your Artwork for a Flawless Print
Even the most brilliant design can fall flat if the artwork file isn’t set up correctly for production. Think of your design file as the architectural blueprint for your printed t-shirts; a flawed blueprint leads to a flawed building, and a poorly prepared file results in a disappointing print.
Getting your artwork right from the start is the single most important step to avoid costly reprints and frustrating delays. It’s what ensures the crisp, vibrant design you see on your screen translates perfectly onto the fabric. This process isn’t complicated, but it does require paying attention to a few key details.
Vector vs Raster: The Scalability Showdown
First things first, let’s talk file types. The most crucial concept to grasp is the difference between vector and raster files. Imagine your design is made of either LEGO bricks or grains of sand.
-
Vector Files (AI, EPS, SVG): This is the LEGO version. Your design is built from mathematical equations that form clean lines and shapes. You can stretch a vector logo from the size of a postage stamp to the size of a billboard, and it will stay perfectly sharp every single time. This infinite scalability makes vector the gold standard for professional printing.
-
Raster Files (JPG, PNG, GIF): This is the sandcastle. Your design is made from a fixed grid of tiny squares called pixels. While great for detailed photographs, raster images lose quality when you try to enlarge them. Stretching a low-resolution JPG is like trying to make a sandcastle bigger by pulling it apart—it just becomes a blurry, pixelated mess.
For the best possible results on your t-shirts, always aim to supply your artwork in a vector format.
Setting the Standard for Quality
Beyond just the file type, a few other settings are absolutely essential for achieving a professional finish. Think of these as the technical specs that give the printer enough data to produce a great-looking shirt.
Resolution and DPI Dots Per Inch (DPI) is all about the density of pixels in a raster image. For printing, the non-negotiable industry standard is 300 DPI. If you submit a file with a lower resolution, like the 72 DPI often used for websites, you’re almost guaranteed to get a blurry or "blocky" print.
Always double-check that your file is saved at 300 DPI at the final intended print size. This ensures every detail of your design is captured with maximum clarity, preventing any unwanted pixelation on the final garment.
Colour Mode Matters Computer screens and printing presses speak different colour languages. It's a simple but vital distinction.
- RGB (Red, Green, Blue): This is the language of screens. It uses light to create colours and is perfect for anything you see on a digital display.
- CMYK (Cyan, Magenta, Yellow, Black): This is the language of print. It uses ink to create colours on a physical surface, like a t-shirt.
To ensure the colours on your shirt match what you see on screen, your artwork should be set up in CMYK mode. For perfect brand colour consistency, providing Pantone Matching System (PMS) codes is the most reliable method. PMS codes are like a universal paint swatch book for printers, guaranteeing your specific shade of blue or red is matched exactly, every time.
To get your artwork truly flawless and ready for different printing methods, you might consider using advanced AI photo editor online tools for any final tweaks. For a deeper dive, our team has put together a simple guide with more artwork submission tips to walk you through every step.
Making the T-Shirt Ordering and Production Process Work for You
A fantastic design is only half the battle. To really nail your custom t-shirt project, you need to get a handle on the logistics – the numbers, timelines, and supplier processes that bring it all to life. Think of this as the backstage work that ensures your t-shirts show up on time and on budget.
It’s a bit like doing a big grocery shop versus popping in for a few items. Buying in bulk almost always saves you money per item, and the exact same logic applies to printing t-shirts, especially with a method like screen printing. This is what we in the industry call a price break, where the cost per shirt drops as your order gets bigger.
A small run of 25 shirts will naturally have a higher price per shirt than a larger order of 250. Why? Because the setup costs – think creating the screens, mixing custom inks, and setting up the machinery – get spread across all the shirts in the order. The more shirts, the less that initial cost impacts the price of each one.
Understanding Price Breaks and Order Quantities
A little bit of forward planning here can lead to some serious savings. If you know you’ll probably need more shirts later in the year, it often makes more financial sense to place one larger order now instead of two smaller ones down the track.
Here’s a rough guide to the quantity tiers where you’ll usually see those price breaks kick in:
- 25-50 units: Perfect for small teams, limited-edition runs, or testing a new design.
- 51-100 units: A sweet spot for many medium-sized businesses and promotional campaigns.
- 101-250 units: This is where you really start to see significant savings on the per-unit cost.
- 251+ units: The best value for large events, company-wide uniforms, or merchandise you plan to sell.
Planning ahead is your secret weapon for making your budget go further. By anticipating your needs and ordering in larger batches, you’ll directly lower your cost per shirt and get a much better return on your investment.
Planning Your Production Timeline
"So, how long will it take?" It's the million-dollar question, and the honest answer is: it depends. A good rule of thumb for a standard printed t-shirt order is around 10-14 business days from the moment you approve the artwork to when it’s ready to be dispatched. But that’s not set in stone.
A few different things can nudge your timeline one way or the other, so it's smart to factor them into your project plan from the start.
Factors Affecting Your Timeline
- Design Complexity: A simple, one-colour logo is a breeze to set up and print. A detailed, multi-colour design? That takes more time, as each colour needs its own screen and a separate pass on the press.
- Garment Availability: Common t-shirt styles and colours like black, white, and navy are usually sitting on the shelf ready to go. If you’re after a specific custom colour or a less common style, it might need to be ordered in, which adds time.
- Printing Method: Screen printing has a bit more setup involved, whereas DTG can sometimes be quicker for smaller, one-off orders with complex art.
- Peak Seasons: Be mindful of busy periods! Ordering right before Christmas or at the end of the financial year can sometimes mean slightly longer lead times across the industry.
Always, always be upfront with your supplier about your deadline when you first get in touch. Being transparent from the get-go helps everyone stay on the same page and avoids any stressful, last-minute scrambles. To see how different suppliers stack up, you can research various T-Shirts Printing services and compare what they offer.
Once you understand these moving parts, you can plan your project with confidence. To see what a smooth, clear process looks like, you can learn more about how to order promotional products from Simply Merchandise and make sure your project goes off without a hitch.
Putting Your Promotional T-Shirts to Work
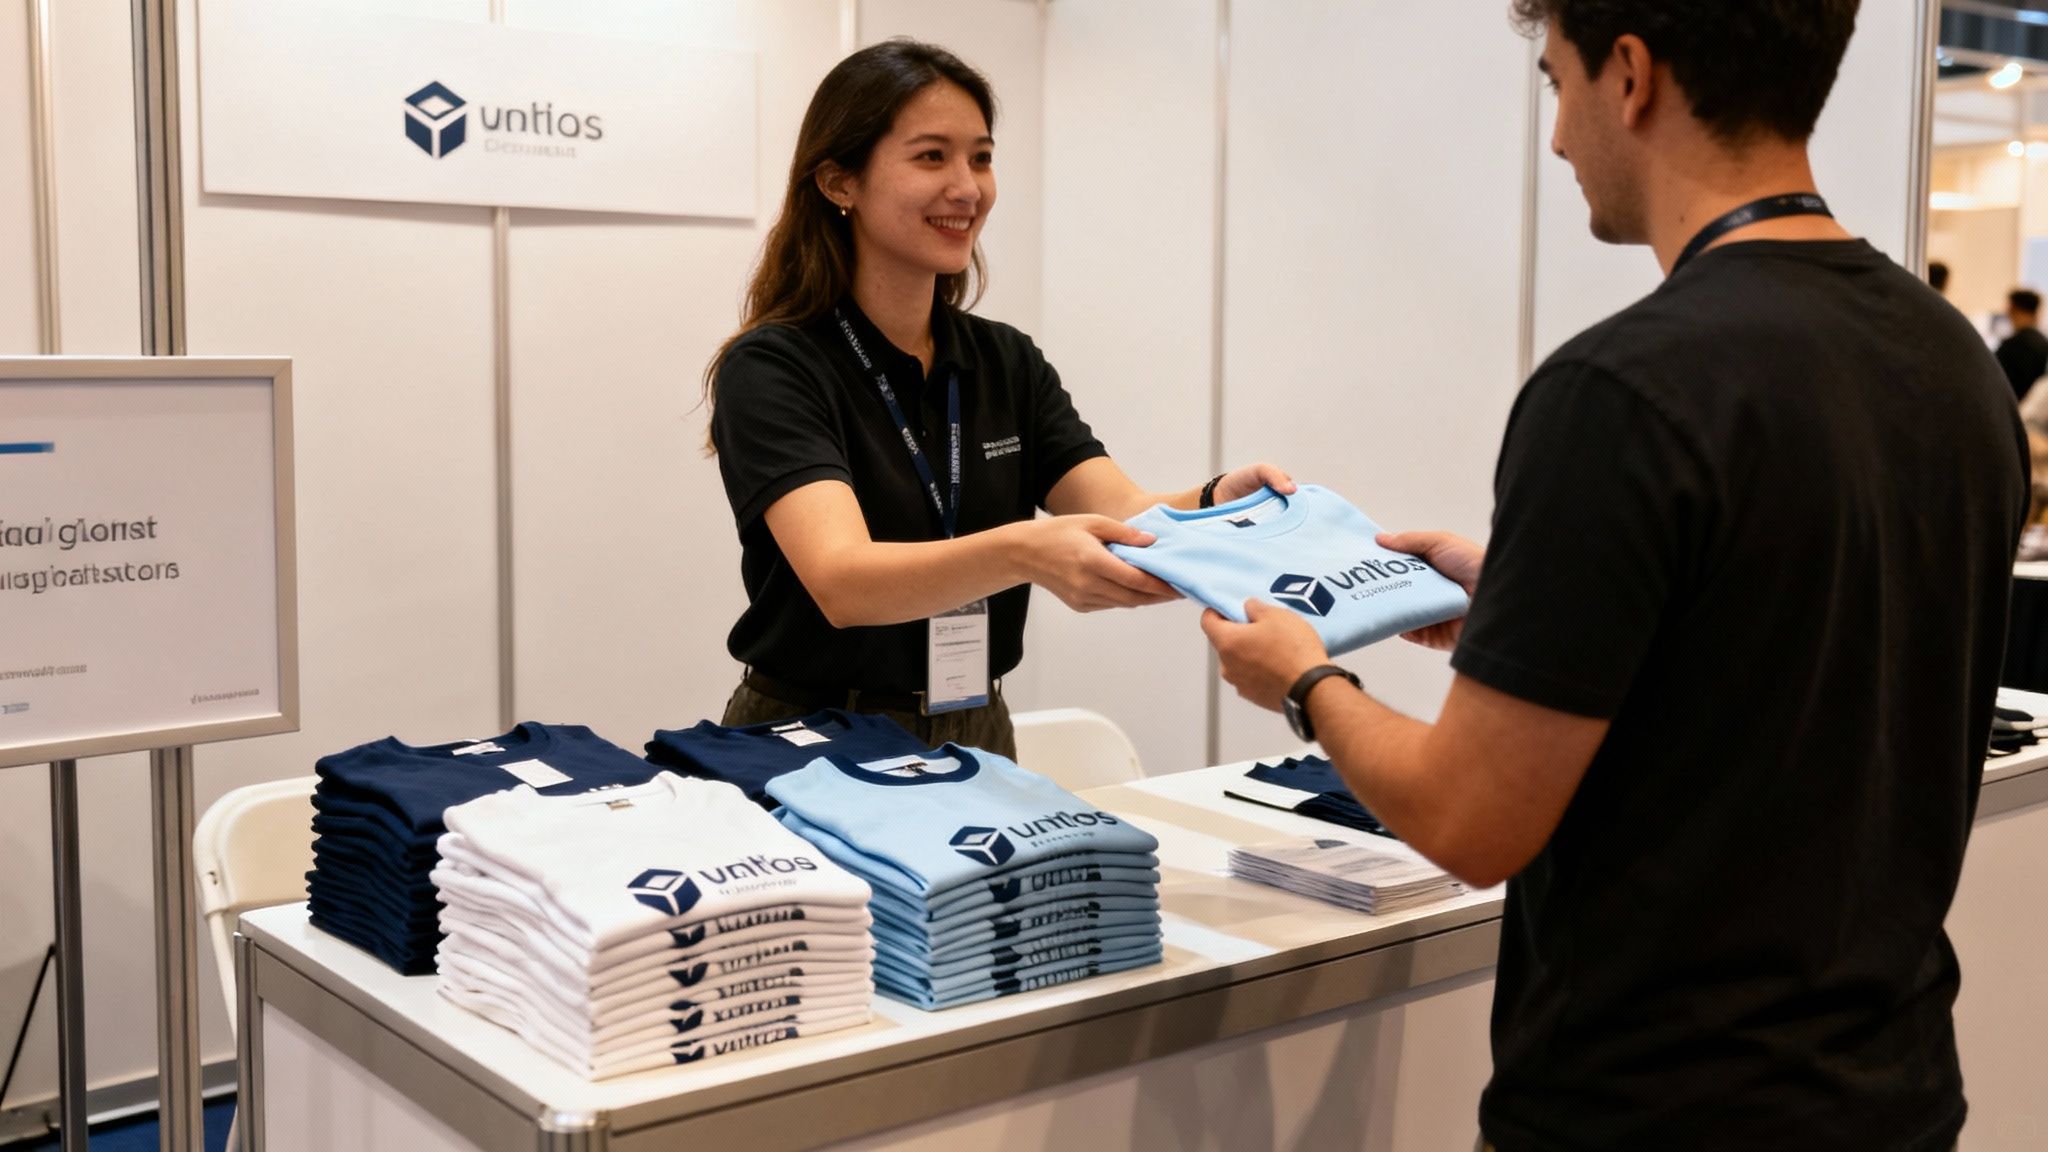
So, your custom printed t-shirts have arrived. Now the fun part begins. A box of fresh tees is brimming with potential, but turning that potential into genuine brand visibility and customer connection takes a smart plan. Just handing them out randomly won't cut it; you need to deploy them in a way that directly supports your business goals.
Every situation calls for a slightly different playbook. A t-shirt destined for a trade show giveaway needs to be a real head-turner with wide appeal. On the other hand, a staff uniform needs to scream professionalism and be built to last. When you match your strategy to the specific use case, you elevate a simple piece of clothing into a powerful marketing tool.
And make no mistake, people love a good t-shirt. In 2024, Australians got their hands on 234 million new tees, a jump of 11% from the year before. This isn't just a random stat; it shows that t-shirts are a valued, consistently worn item, making them one of the best canvases for your brand's message. You can dig deeper into the Australian t-shirt market over at IndexBox.io.
Matching the Design to the Mission
To squeeze every drop of value out of your order, the shirt's design and fabric choice must be perfectly suited for its job. Think about where these shirts will be seen and what you want people to feel when they see them.
Trade Shows and Giveaways At a bustling event, you've got seconds to make an impression. A great giveaway tee should be a magnet for attention, sparking conversations and turning recipients into walking billboards on the event floor.
- Design Tip: Go for a bold, clean graphic or a witty slogan that’s easy to read from a distance. Steer clear of cramming too much text onto the shirt.
- Garment Tip: A comfy, mid-weight, unisex-fit shirt is your best bet. Pick a bright, unique colour that pops but still feels connected to your brand identity.
Team Uniforms For your staff, a uniform is more than just a dress code. It fosters a sense of unity and projects a polished, cohesive brand image that your customers will notice.
- Design Tip: A crisp, embroidered logo on the chest is often the gold standard. It has a premium look, is incredibly tough, and signals professionalism.
- Garment Tip: A high-quality poly-cotton blend is the workhorse you need. It offers the best of both worlds: comfort, durability, and resistance to shrinking and wrinkling after countless washes.
The power of a uniform is consistency. When every team member looks polished and professional, it builds immediate trust and reinforces your brand’s commitment to quality in the minds of your customers.
Merchandise and Building a Community When you sell t-shirts as merch, you're inviting customers to fly your flag. The shirt has to be something they’re genuinely excited to wear, which puts the spotlight firmly on design and quality.
- Design Tip: Think beyond the corporate logo. Create a design that feels more like a piece of wearable art that captures the essence of your brand's personality.
- Garment Tip: This is where you invest in a premium, retail-fit shirt. Think soft, lightweight fabrics that feel amazing to wear. The better it feels, the more it will be worn.
Protect Your Investment with Proper Care
The lifespan of your printed tees has a direct impact on your ROI. A shirt that still looks sharp after dozens of washes keeps working for your brand. A faded, cracked print does the opposite. Sharing a few simple care instructions can make a world of difference.
Washing and Drying 101
- Turn It Inside Out: This is the golden rule. Flipping the shirt inside out before washing protects the print from rubbing against other clothes and the machine's drum.
- Go Cold: Hot water is the enemy. It can break down both the ink and the fabric fibres. A cold wash on a gentle cycle is the safest bet.
- Use a Mild Detergent: Harsh chemicals can be tough on prints and fabrics, causing them to fade prematurely.
- Hang to Dry: If you can, avoid the tumble dryer. Its high heat can cause prints to crack and fabrics to shrink. Air drying is always the best way to go.
By passing on these simple tips, you help ensure your investment keeps paying off long after that first event or sale. And while t-shirts are a fantastic promotional tool, you can explore even more great ideas in our guide to the top 10 promotional products.
Your Top T-Shirt Printing Questions, Answered
Jumping into the world of custom t-shirts for the first time? It's completely normal to have a few questions. Getting the right answers from the get-go is the key to a smooth process and a final product you'll absolutely love. Let's walk through some of the most common queries we hear from businesses just like yours.
What’s the Smallest Order I Can Place?
This is a great question, and the answer really comes down to the printing method you choose. Think of it this way: different tools for different jobs.
For a classic screen print, there's quite a bit of setup involved for each colour in your design. Because of this, it only makes financial sense to print in batches, which is why you’ll see a minimum order quantity (MOQ) of around 20-25 shirts.
On the flip side, modern digital methods like Direct-to-Garment (DTG) are a different beast altogether. With almost zero setup time, we can fire up the printer for just one shirt. This makes DTG perfect for sampling a design or running a very small, exclusive batch. It’s always a good idea to confirm the MOQ with your supplier for the specific method you have in mind.
How Can I Be Sure My Brand Colours Will Be Spot On?
Getting your colours right isn't just important—it's everything. Your brand's look is its signature, and we get that. The gold standard for colour accuracy is the Pantone Matching System (PMS).
When you give us your specific PMS codes, you’re not just showing us a colour on a screen; you’re giving us a precise formula to follow. For screen printing, we can mix inks to match that PMS code almost perfectly. While DTG uses a digital CMYK process (like a high-end desktop printer), providing PMS codes still gives us the best possible target to aim for. The absolute best practice? Send us your artwork as a vector file with the PMS codes already embedded.
A quick pro tip: We generally advise against printing over seams, zips, or collars. Why? Because these surfaces aren't perfectly flat. Both screen printing and DTG work best on a smooth canvas, and an uneven surface can cause the ink to skip, smudge, or look distorted. For that crisp, professional finish, it’s always best to keep your design on the main, flat areas of the shirt.
Ready to create printed t-shirts that people will actually want to wear? The expert team at Simply Merchandise is here to guide you through every step, from design to delivery. Explore your options and start your order today!

