
Choosing the right uniforms for your organisation is a big decision, and it goes so much deeper than just picking out a few shirts. It’s a chance to build your brand, keep your team safe, and boost morale, all while sticking to a budget. Getting this first step right is the key to a successful uniform program.
1. Defining Your Uniform Needs and Goals
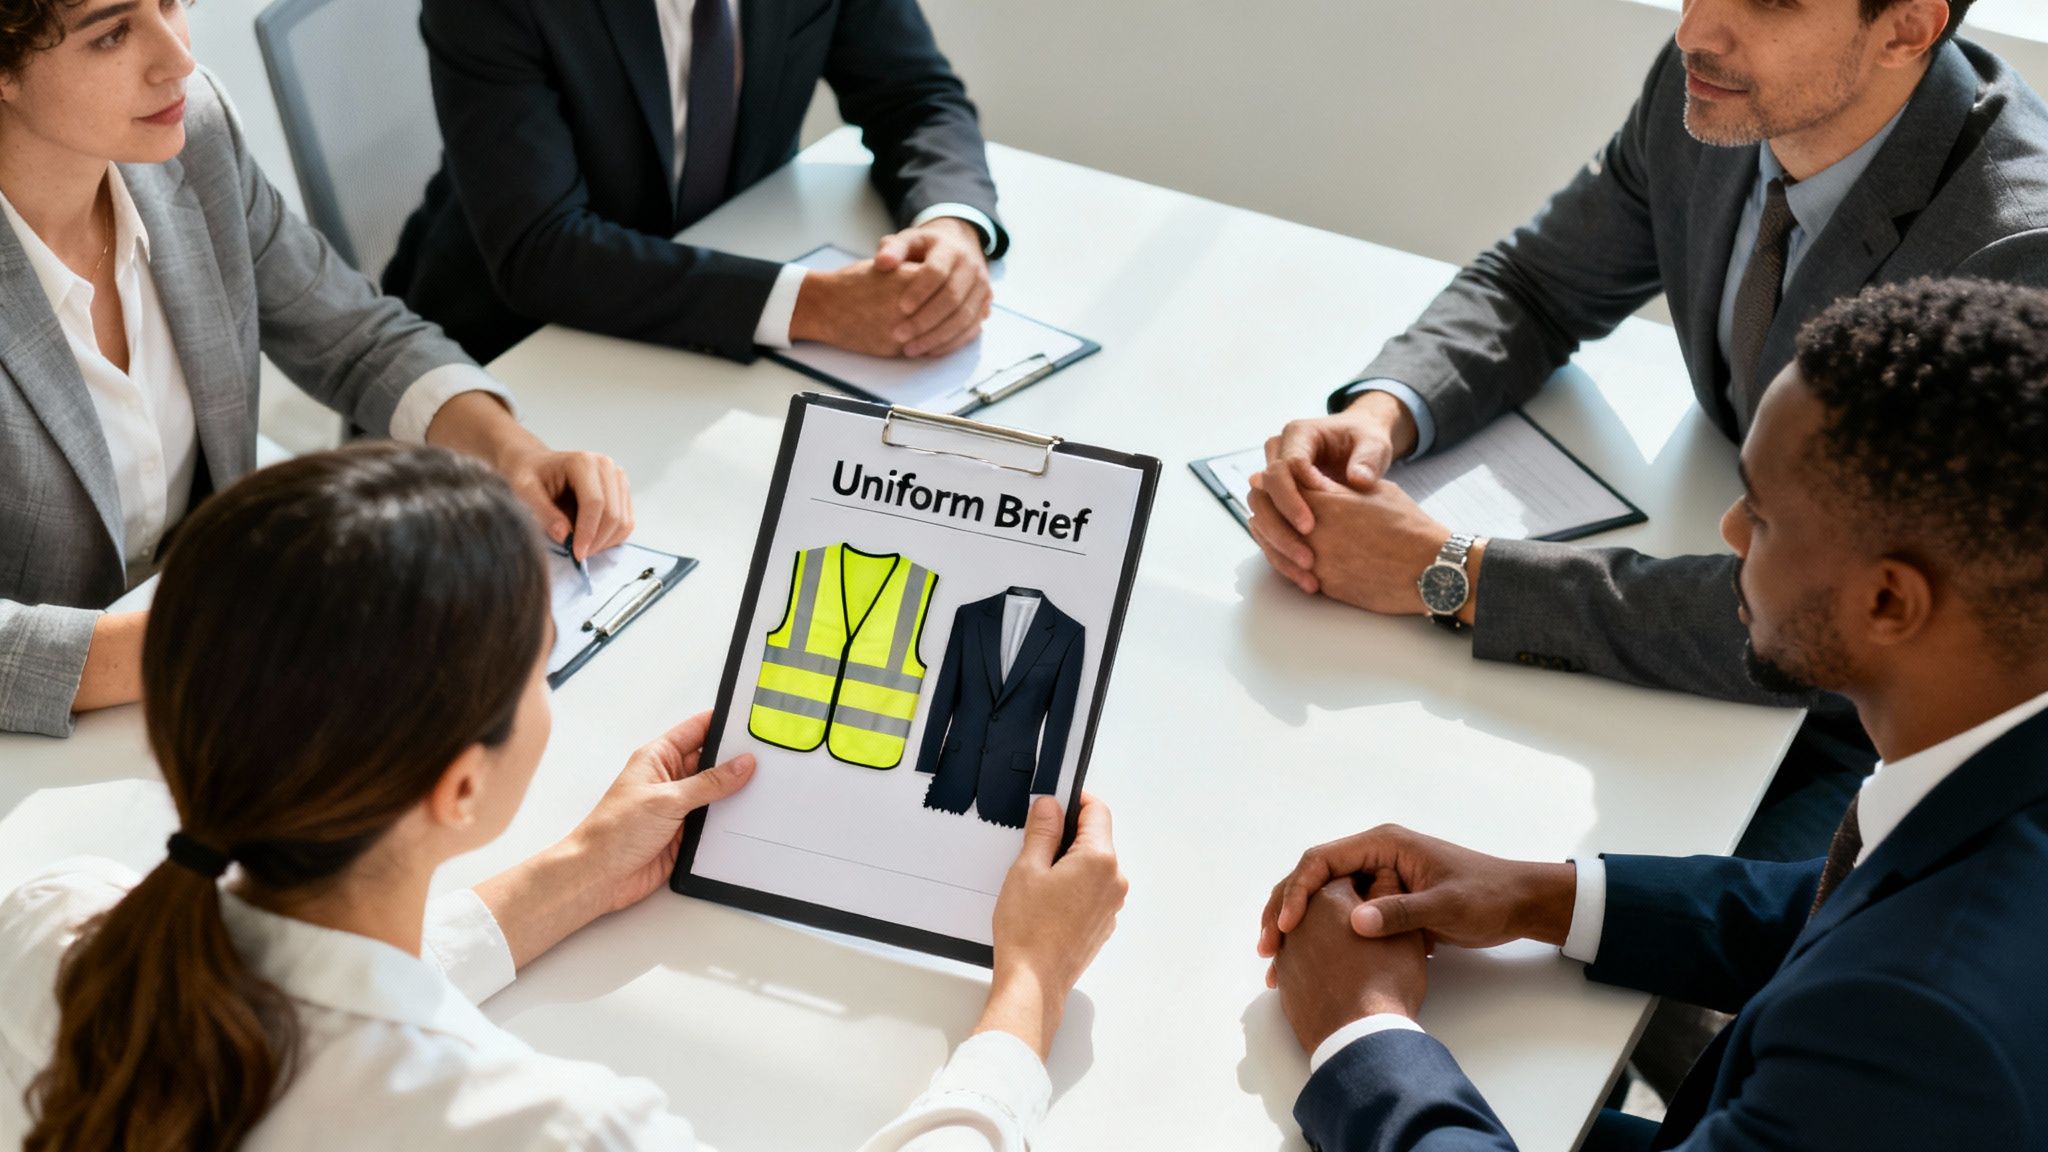
Before you even think about looking at catalogues or fabric swatches, you need to do the groundwork. It's all about asking the right questions to figure out the real "why" behind your new uniforms. If you skip this part, you can easily end up with gear that looks great on paper but just doesn't work in the real world. That’s a fast track to a wasted investment and an unhappy team.
The goal here is to create a detailed brief that will become your roadmap for the entire project.
Think about the difference between a high-end restaurant and a busy construction site. The restaurant wants to project an image of class and sophistication, so they’ll need sharp, stain-resistant aprons and well-tailored shirts. On the other hand, the construction company’s number one concern is safety. Their crew needs high-vis colours and tough, tear-resistant fabrics that meet specific AS/NZS standards. Both need uniforms, but their core purpose is completely different.
Key Questions to Guide Your Brief
To get this right from the start, gather your team and key decision-makers to talk through these points. Getting everyone on the same page now will save you from major headaches and costly changes later on.
- What’s the main job of the uniform? Is it primarily for brand recognition in a customer-facing role? Is it about safety and compliance in a high-risk environment? Or is it about creating a sense of team spirit?
- What’s the work environment like? Think about the physical conditions. Are your people working outdoors under the harsh Aussie sun, in a climate-controlled office, a hot and fast-paced kitchen, or a sterile medical clinic?
- Who’s actually wearing it? Your team is diverse. The uniform needs to be comfortable, practical, and look good on people of all shapes, sizes, and job roles.
- What’s your brand identity? Are you a formal, traditional company or do you have a more modern, casual vibe? The colours, styles, and logo placement need to perfectly match your brand.
Your uniform brief is the single most important tool in this process. It not only guides your supplier but also ensures everyone internally is aligned on the goals, budget, and what success looks like.
Real-World Scenarios and Goals
Let’s look at two completely different examples. A corporate consulting firm will likely want a professional, approachable look. Their goal is to present a consistent brand image in client meetings and make sure their staff feel comfortable through long days. Their brief would specify things like breathable fabrics, modern fits, and subtle, tasteful branding.
Now, flip that to a logistics and warehousing company. Their goals are all about safety, durability, and function. Their brief would focus on practical needs: reinforced seams, high-visibility taping for safety, moisture-wicking fabrics to keep the team cool, and plenty of pockets for tools and devices.
Thinking about function first isn't new; it has historical roots. For example, after Federation, the Australian Army swapped its colourful colonial patterns for standardised khaki uniforms designed purely for practicality and camouflage.
The strategic thinking here is very similar to choosing any other branded item for your business. For more on this, you can find helpful tips in our guide on how to choose the right promotional products. To see how differently uniforms are used around the globe, it's also interesting to read about scholastic style school uniforms.
Choosing the Right Fabrics, Styles, and Branding
Okay, with a solid brief in your hands, we get to the fun part—bringing your vision to life. Selecting the right styles, fabrics, and branding for your uniforms is a delicate balance. It's where your brand's personality meets the practical, day-to-day needs of your team.
The style of a uniform speaks volumes before a single word is said. A financial firm might lean towards classic, tailored trousers and crisp button-down shirts to project an image of trust and stability. Meanwhile, a buzzing tech startup could go for high-quality branded polos and modern chinos to look more approachable and agile.
There’s no magic formula here. The best style is one that feels authentic to your brand and genuinely works for your employees. Think beyond the overall look and get into the nitty-gritty. Do your cafe staff need aprons with pockets in specific places? Do your delivery drivers need jackets that can handle a sudden downpour? These details matter.
Navigating Uniform Fabric Choices
The fabric you land on is probably the single most critical decision you'll make for comfort and longevity. A sharp-looking uniform that’s scratchy or falls apart after a few washes is a waste of money. The work environment you mapped out in your brief is your best guide here.
For office-based roles or customer-facing positions, natural fibres and smart blends are usually the way to go.
- Cotton: It's soft, it breathes, and it feels great against the skin. The trade-off? It can wrinkle easily and might not hold up to really physical work.
- Polyester: This is the workhorse. It’s tough, resists wrinkles, and holds its colour brilliantly. On its own, though, it can feel less breathable than cotton.
- Poly-Cotton Blends: Often the perfect compromise. You get the comfortable feel of cotton combined with the durability and easy-care nature of polyester. It’s no surprise this is one of the most popular choices out there.
For more demanding jobs, especially those outdoors or involving a lot of movement, it's worth looking at technical fabrics. Think moisture-wicking materials that keep active teams dry or fabrics with a high UPF rating to shield outdoor workers from the sun. It's all about matching the material's properties to the job's demands.
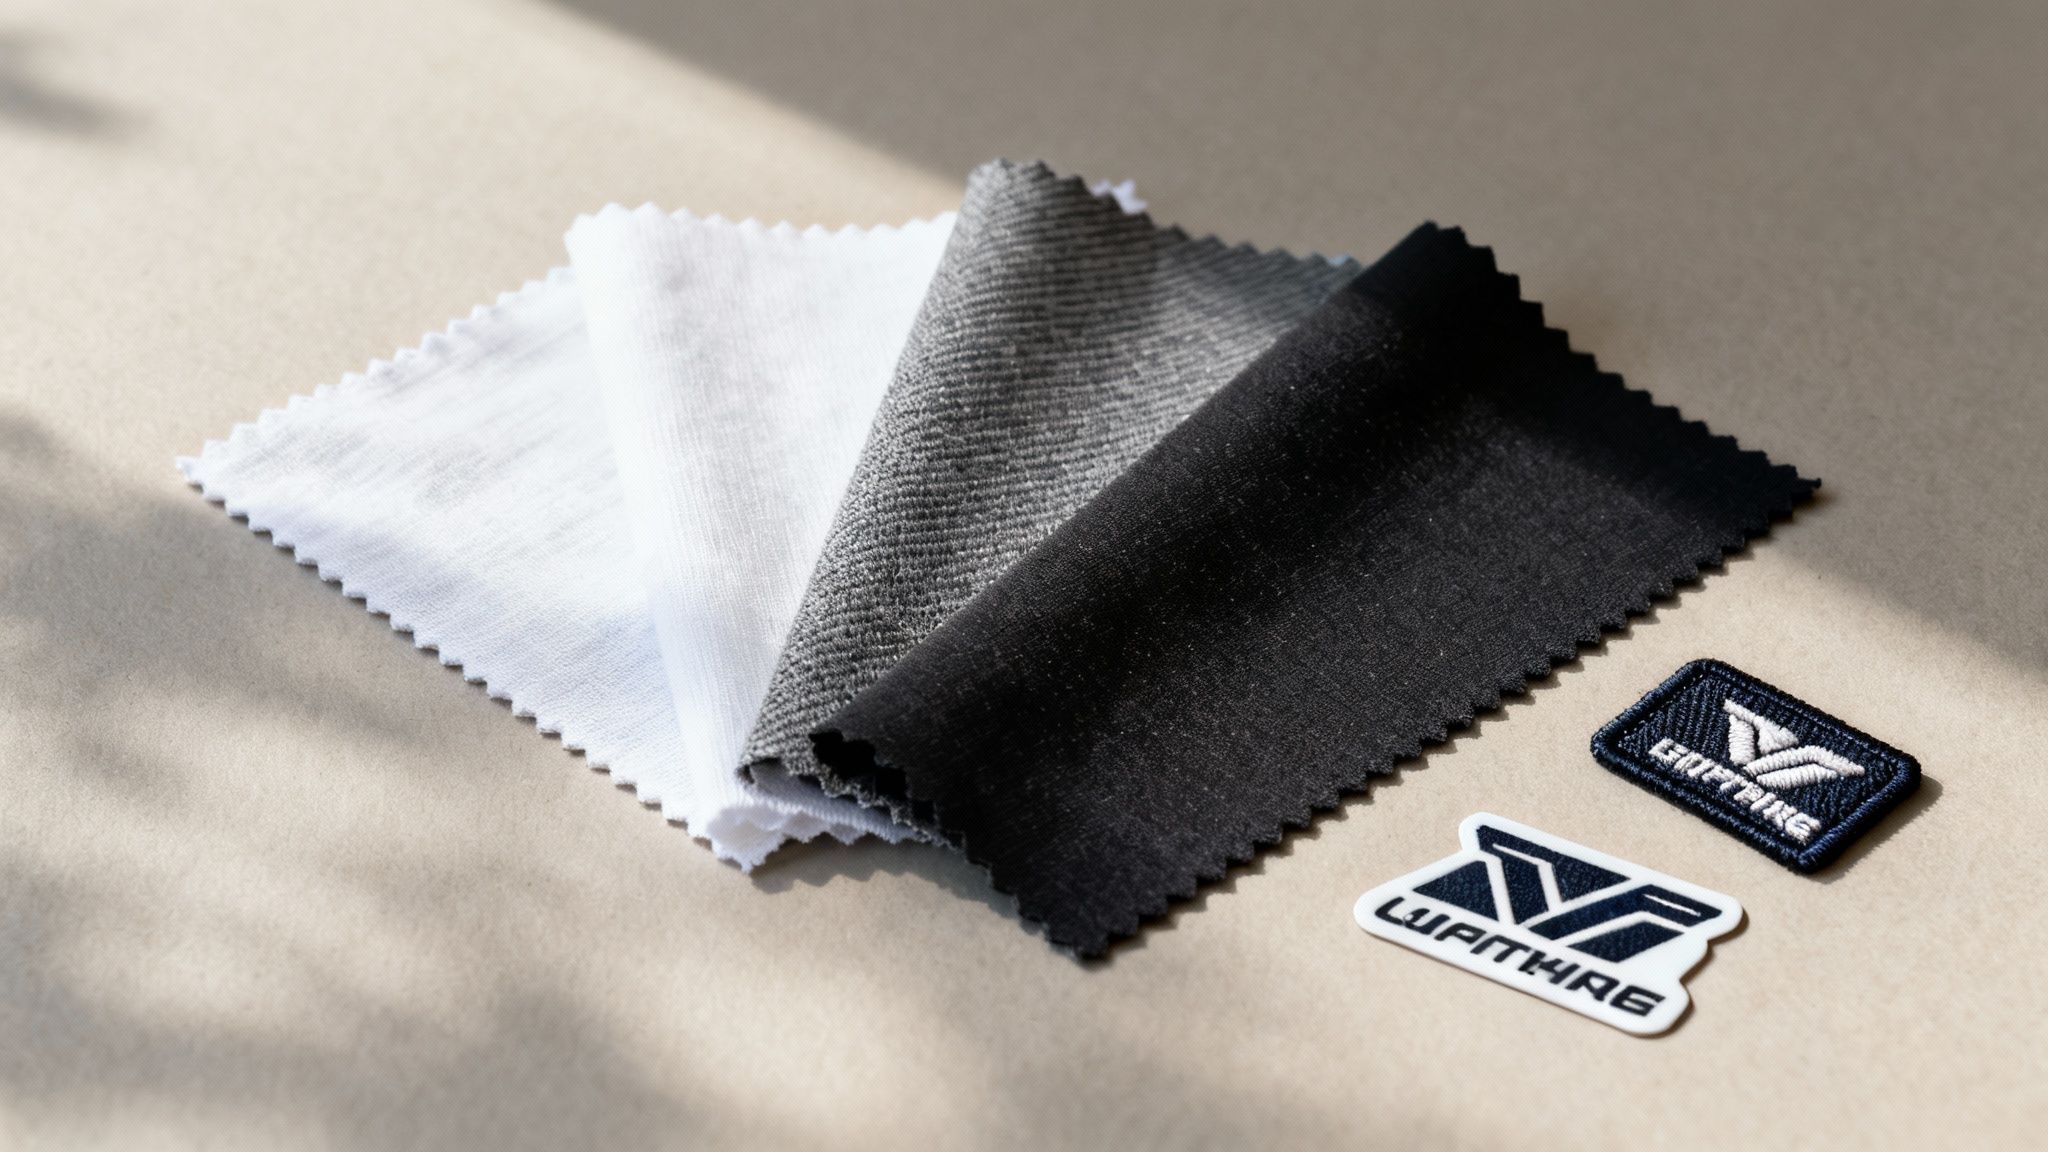
A word of advice: never just trust a catalogue description. Always, always ask for fabric swatches or sample garments. There's no substitute for actually feeling the material and seeing how it moves and stretches. It’s the only real way to know if it’s right for your team.
Making Your Brand Stand Out
Once the garment style and fabric are locked in, it’s time to add your branding. This is the final step that turns a simple piece of clothing into a walking advertisement for your business. The best method really comes down to your logo, the fabric you’ve chosen, and your budget.
Each decoration technique offers a completely different look and feel. Getting this right is crucial for making sure your logo looks crisp, professional, and built to last.
Comparing Uniform Decoration Methods
The three most common methods each have their own strengths. This table breaks down where each one shines.
| Decoration Method | Best For | Durability | Cost Factor |
|---|---|---|---|
| Embroidery | Classic, professional logos on polos, jackets, and caps. Works best with simpler designs without fine gradients. | Excellent. The stitched design is incredibly long-lasting and won't fade or peel. | Moderate to high. Priced by stitch count, so complex or large logos cost more. |
| Screen Printing | Bold, vibrant designs on t-shirts, hoodies, and hi-vis wear. Ideal for large-volume orders with fewer colours. | Very good. The ink bonds directly with the fabric and holds up well to repeated washing. | Low to moderate. Very cost-effective for large runs, but setup fees can make small orders pricey. |
| Heat Transfer (DTF) | Full-colour, highly detailed, or photographic logos on almost any fabric type, including sportswear. | Good. Modern transfers are quite durable but may not outlast embroidery or screen printing. | Moderate. Great for small orders with lots of colours, as setup costs are minimal. |
At the end of the day, you want a branding method that not only looks great when the uniforms are new but also stays looking sharp wash after wash.
Embroidery gives you that premium, textured finish that screams quality, which is why it's a go-to for corporate wear. Screen printing, on the other hand, is unbeatable for big events or promotional gear where you need a bold design that really pops.
Digital heat transfers, often known as Direct-to-Film (DTF), are the modern, versatile choice. They can perfectly replicate complex, full-colour logos, making them a fantastic solution for contemporary branding, especially on performance fabrics that can be tricky to work with.
To get a better sense of what's possible, it's worth exploring a full range of branded clothing options. Seeing real examples can help you pinpoint the perfect technique for your specific garments and logo.
How to Get the Perfect Fit for Your Team
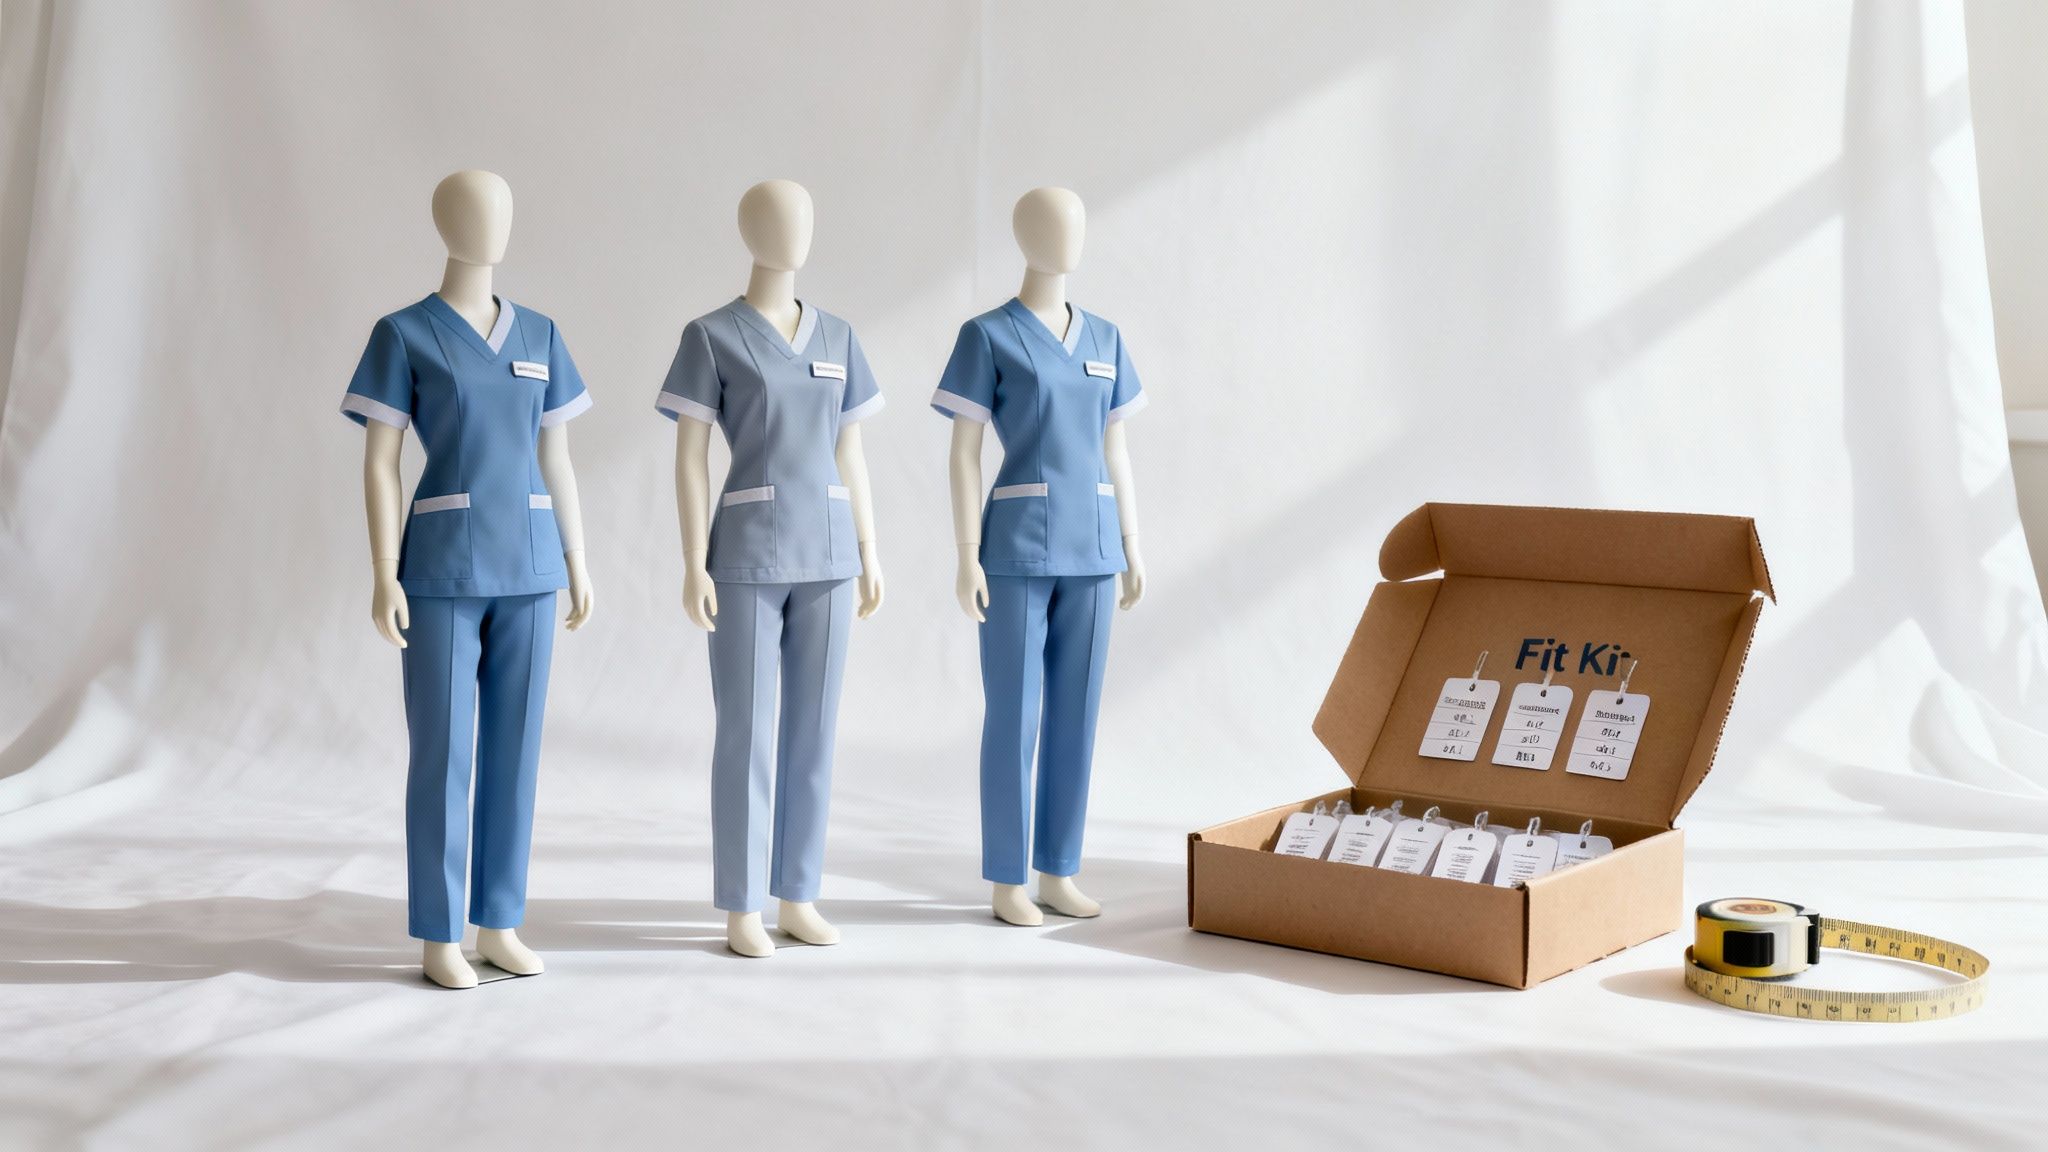
Even the most incredible, thoughtfully designed uniform is a complete failure if it doesn't fit properly. It's a simple truth. Garments that are too tight will restrict movement and make for a long, uncomfortable day. Go too loose, and you've got a potential safety hazard on your hands, especially around machinery.
Beyond the practical, a poor fit chips away at professionalism and team morale. Getting the sizing right from the very start is one of the most critical parts of the whole process. It’s the difference between a team that looks and feels great, and one that feels self-conscious every time they get dressed for work.
Master the Measurements
First things first: forget generic "small, medium, large" thinking. That's a recipe for disaster. Any professional uniform supplier will provide detailed size charts for each specific garment, breaking down measurements for the chest, waist, hips, and inseam. These charts are your bible.
To make this work, you need to guide your team to get accurate measurements. Don't just send out a link and hope for the best, because most people have no idea how to measure themselves correctly.
- Provide Clear Instructions: A simple, visual guide showing exactly where to place the measuring tape is a game-changer. A quick video tutorial works even better.
- Encourage a Buddy System: Suggest team members help each other out. It's much easier to get an accurate measurement when someone else is holding the tape measure level.
- Emphasise It's About Comfort: Reassure everyone that this is purely about getting the best fit, not about judging sizes. The goal here is comfort and confidence.
This isn't just a corporate thing. In Australia, where around 88% of government schools have uniforms, getting the fit right is essential for a student’s comfort and ability to focus. The same logic applies directly to your workplace. You can learn more about the history of Australian school uniform traditions to see how deep these principles run.
The Non-Negotiable Fit Kit
While measurements are a great starting point, they don't tell the whole story. A "large" from one brand might feel completely different from another due to different cuts and styles. This is where a fit kit becomes your most valuable tool.
A fit kit is exactly what it sounds like: a complete set of sample garments in every available size. It allows every single team member to physically try on the exact uniform they'll be wearing, which completely removes the guesswork.
Ordering a fit kit isn't an optional extra; it is the single best investment you can make to avoid a mountain of costly and frustrating size exchanges later. It guarantees everyone gets a size they're truly happy with.
Organise a "sizing day" where staff can come and try on the samples. This hands-on approach is infinitely more reliable than staring at a size chart on a screen. It also sends a clear message to your team that you genuinely care about their comfort. If you're considering a range of styles, you can explore various clothing categories for professional uniforms to see which ones might need this extra attention to fit.
Perfecting the Final Sample Approval
Once you've nailed the sizing, the next crucial checkpoint is approving a final, pre-production sample. This is your last chance to catch any issues before you commit to the full order. The sample you receive should be an exact replica of what you’ll get in bulk, down to the last button and thread.
When that sample arrives, inspect it with a fine-tooth comb. Don’t just give it a quick once-over. Check every single detail against your original brief.
Your Final Approval Checklist
- Fabric and Colour: Does the material feel like the swatch you approved? Check the colour in different lighting—office fluorescents, natural sunlight—to make sure it's accurate.
- Branding Accuracy: Is the logo decoration perfect? Check embroidery for clean stitching and no loose threads. For screen prints, make sure the edges are crisp and the placement is spot on. Get a ruler out and measure it against your artwork proof.
- Construction Quality: Inspect the seams, zips, and buttons. Does it feel durable and well-made? Give the stitching a gentle pull.
- Overall Fit and Feel: Have someone of the corresponding size actually wear it for a bit. Ask them to move around, stretch, and mimic daily tasks. Is it comfortable? Does it allow for a full range of motion?
This detailed review gives you total peace of mind. By confirming every last detail on a single garment, you can confidently give the green light for the full production run, knowing there won't be any nasty surprises on delivery day.
Getting to Grips with Safety Standards and Compliance
For many Aussie industries, uniforms are much more than just a way to look professional—they're a critical piece of personal protective equipment (PPE). Making sure your workwear meets the right safety standards isn’t just about ticking boxes. It’s a fundamental commitment to your team's safety and your legal obligations as an employer.
Honestly, getting this part wrong can have serious consequences, from preventable workplace injuries to hefty fines. The first step is figuring out which Australian Standards apply to your specific work environment. These regulations are incredibly detailed for one simple reason: they save lives.
High-Visibility Workwear: More Than Just Bright Colours
If your team works anywhere near traffic, cranes, or in low-light conditions, high-visibility (hi-vis) gear is an absolute must. The Australian standards here are strict, covering everything from the exact shade of the fluorescent fabric to how and where reflective tape is placed. It’s all designed to make sure your people are seen.
The main standard you need to know is AS/NZS 1906.4:2010. This one specifies the luminosity and chromaticity—that’s the technical term for the precise shade—of the fluorescent materials. You can't just pick any bright orange or yellow off the shelf; it has to be a compliant shade that meets this standard.
Then there's AS/NZS 4602.1:2011, which lays out the rules for the design of the garments themselves. It dictates the minimum amount of hi-vis material needed and the specific patterns for reflective taping. This determines whether a garment is compliant for Day, Night, or Day/Night use. A Day/Night polo, for example, will have a specific "H" pattern of tape on the back to ensure the wearer's human form is recognisable from any angle after dark. You can see what this looks like across a full range of compliant hi-vis workwear.
A word of advice: never just take a supplier's word that their gear is compliant. Always ask to see the documentation that proves it meets these specific AS/NZS standards. A good, reputable provider will have this on hand for every single garment they sell.
Specialised Protective Gear for Specific Risks
Depending on your line of work, your team might need protection that goes well beyond just being seen. This is where specialised uniforms, engineered with some pretty advanced fabric tech, come into play to handle specific workplace hazards.
-
Flame Resistance (FR): An absolute essential for electricians, welders, and anyone in the oil and gas sector. FR fabrics are designed to resist catching fire and, more importantly, to self-extinguish when the heat source is gone, which can be the difference between a close call and a life-changing burn.
-
Anti-Static Properties: In environments where a single spark could be disastrous—think electronics manufacturing or sites with explosive atmospheres—anti-static uniforms are non-negotiable. They’re woven with conductive fibres that safely dissipate any static build-up.
-
Sun Protection (UPF Rating): This is a huge one for countless outdoor workers across Australia, from landscapers to construction crews. Sun protection is a serious WHS issue. Always look for uniforms with a high Ultraviolet Protection Factor (UPF), ideally UPF 50+, which blocks over 98% of the sun's nasty UV rays.
Before you finalise any order, it's smart to create a quick checklist to ensure all your compliance needs are covered.
Australian Workwear Safety Standards Checklist
Here’s a quick-reference table to help you identify the key standards relevant to common Australian industries. This isn't exhaustive, but it covers the main ones you'll likely encounter.
| Standard (AS/NZS) | Purpose | Key Industries |
|---|---|---|
| AS/NZS 1906.4:2010 | Specifies the chromaticity (colour) and luminosity of high-visibility materials. | Construction, Road Work, Mining, Logistics, Rail |
| AS/NZS 4602.1:2011 | Dictates the design of hi-vis garments, including the amount of hi-vis fabric and placement of retroreflective taping. | Construction, Road Work, Mining, Logistics, Rail |
| AS/NZS 4399:2020 | Evaluates the Ultraviolet Protection Factor (UPF) of fabrics to protect against solar radiation. | Outdoor Work, Agriculture, Landscaping, Local Council |
| AS/NZS 1020:1995 | Governs the control of undesirable static electricity to prevent ignition hazards. | Fuel & Gas, Chemical Handling, Electronics Manufacturing |
| Various ISO Standards | Standards like ISO 11612 cover protection against heat and flame, specifying performance requirements for FR clothing. | Electrical, Welding, Firefighting, Oil & Gas |
Using a checklist like this helps you communicate your exact requirements to your supplier and ensures nothing gets missed in the process.
Confirming a supplier's claims is pretty straightforward if you know what to ask for. Request the technical data sheets for the fabrics and check the garment labels—they should clearly state which standards they meet. Doing this due diligence is about more than just compliance; it shows your team you’re serious about creating a safe work environment. Your uniforms really are a vital part of your safety culture.
Managing Your Uniform Budget and Order Logistics
A great uniform design is only half the battle. The real work begins when you start talking numbers and timelines. Getting your budget and logistics sorted from the get-go is the difference between a smooth, successful rollout and a project plagued by surprise costs and frustrating delays.
Let's be honest, the price tag on a single shirt is just the starting point. To truly understand what you're spending, you need to look at the whole picture. There are always other costs involved, and a good supplier will be upfront about them.
Decoding the True Cost of Your Uniforms
Building a realistic budget means digging into the details. When you get a quote, it should be more than just a single number; it needs to break down every single charge. If it doesn't, that's a red flag. Don't be afraid to ask for a fully itemised quote.
Here’s what you should expect to see listed:
- Price Per Garment: This is the base cost of each item, which will naturally vary depending on the style, fabric, and brand you've chosen.
- Decoration Fees: This covers adding your logo, whether it's through embroidery, screen printing, or a heat transfer. Usually, this is priced per application, so a logo on the chest and another on the sleeve would count as two fees.
- Setup Charges: Think of this as a one-time fee to get your logo ready for production. For embroidery, they need to 'digitise' it; for printing, they create a screen.
- Shipping and Handling: The cost to get everything from their warehouse to your door.
- Surcharges for Larger Sizes: It’s pretty common for suppliers to add a small extra charge for sizes like 3XL and up.
A transparent, all-inclusive quote is the sign of a supplier you can trust. It’s the single best tool you have to prevent your budget from spiralling out of control.
Placing Your Order and Navigating Timelines
Once your budget is locked in and you’ve chosen your supplier, it’s time to place the final order. This is where attention to detail is crucial. Your main job here is to compile a master spreadsheet. It needs every team member's name, the specific garments they need, and their confirmed size from your fitting session. Check it, then double-check it—a simple typo can cause a lot of headaches later.
At the same time, you’ll be asked to give the final sign-off on the artwork proofs. This is your last chance to make sure the logo colours, dimensions, and placement are perfect on every garment. Once you approve the artwork and send over your sizing list, the production clock starts ticking.
Understanding lead times is absolutely essential for managing everyone's expectations. For a standard local order of pre-existing uniforms with branding, you can typically expect a turnaround of 3 to 5 weeks. But if you've gone for a completely custom design or your order is being made offshore, you’re likely looking at a wait of 8 to 12 weeks, sometimes even longer. Always get this timeline confirmed in writing before you commit.
Strategic Ordering for Long-Term Success
Thinking beyond this first big order can save you a world of pain—and a fair bit of money—down the track. Two of the best strategies are ordering in bulk and setting up an ongoing supply program.
Placing a larger order upfront often gets you a better price per item. If you have a decent handle on your staff turnover or future growth, ordering a small surplus of the most common sizes is a really smart move. It means you’ll always have uniforms ready for new starters without having to place small, expensive top-up orders every few months.
For an even smoother process, talk to your supplier about setting up an ongoing program or an online portal. This lets you order garments as needed, making it super easy to get new team members kitted out quickly and professionally. When you’re ready to explore these options, you can request a detailed quote to see how each approach impacts your budget.
And don't forget about maintenance! To protect your investment and keep your team looking sharp, proper care is key. For many businesses, outsourcing this to a Dedicated Uniform Cleaners Service can be a great way to ensure the uniforms last as long as possible.
Your Top Uniform Questions, Answered
Kicking off a new uniform project can feel like a massive task. You're trying to juggle everyone's opinions, stick to a budget, and hit a deadline. It's completely normal to have a bunch of questions pop up. Getting them answered clearly from the get-go is the key to making good decisions and avoiding those classic pitfalls that can derail the whole thing.
To get started, here's a simple flowchart that maps out the typical journey of a uniform order, from figuring out the budget all the way to delivery day.
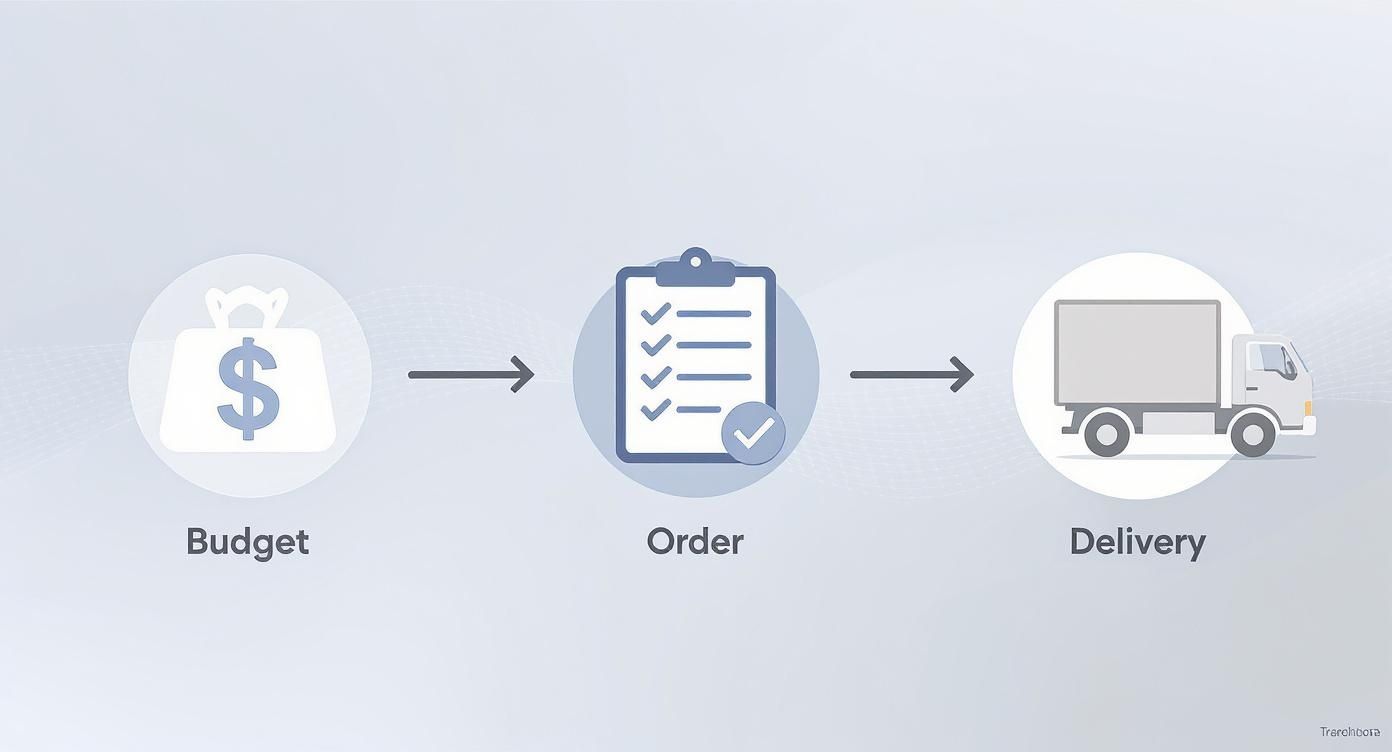
Seeing the process laid out like this really shows how one step builds on the next, hammering home why planning ahead is so important.
How Far in Advance Should We Start?
This is probably the most common question we get asked. The biggest mistake we see is people underestimating how long it actually takes to go from a bright idea to a team fully decked out in new gear. Rushing almost always means making sacrifices on quality, branding, or getting the fit right.
Realistically, you should start the ball rolling at least 3-4 months before you need the uniforms in hand. That buffer isn't just for comfort; it allows for a proper, methodical workflow that doesn't skip the crucial checkpoints.
Here's a rough breakdown of that timeline:
- Discovery & Briefing: Give this a solid 2-3 weeks for all the internal chats to happen and for you to nail down exactly what you need.
- Sourcing & Quoting: You’ll want another 2-3 weeks to reach out to suppliers and compare detailed quotes.
- Sample Approval: This is a non-negotiable step. It can easily take 3-4 weeks to get fit kits out, have staff try them on, and then approve a final pre-production sample.
- Production & Delivery: For a standard local order, you’re typically looking at 6-8 weeks for the bulk production run and shipping.
And a quick heads-up: if your project involves totally custom-made garments or offshore manufacturing, you need to tack on even more time. Planning ahead is genuinely your best defence against a stressful, last-minute scramble.
What's the Best Way to Handle Uniforms for New Hires?
So, you’ve successfully rolled out the new uniforms. Fantastic! But now, what about the new starters? You need a slick system that gets every new team member their kit quickly, without you having to sit on a mountain of inventory.
By far, the most efficient method is setting up an ongoing supply program with your provider. This means you don't have to tie up cash by holding a huge stock of uniforms that might just gather dust.
The best systems we've seen have two parts. First, you hold a small "buffer stock" of the most common sizes at your office for immediate onboarding needs. Second, you work with your supplier to create a dead-simple re-ordering process—often through a private online portal. It's a "just-in-time" approach that saves money and makes every new hire feel like they're part of the team from their very first day.
Involving your team in the uniform selection process is one of the smartest moves you can make. It builds buy-in and ensures the final choice is practical for the people who will wear it every single day.
Should We Involve Employees in the Selection Process?
Yes, one hundred percent. While you don't need to put every single decision to a company-wide vote, bringing your team into the loop is invaluable. They're the ones wearing these garments all day, every day, so their feedback on comfort, function, and practicality is gold.
A great way to do this is to form a small "uniform committee" with a few people from different departments. Get them to wear-test the samples in their actual work environment. They’ll give you feedback on things you’d never spot in a catalogue, like whether the fabric gets stuffy after a few hours or if the pockets are actually useful.
How Do We Keep Our Branding Consistent Across All Garments?
Making sure your logo and colours look the same on a polo shirt, a jacket, and a cap is non-negotiable for a professional image. The key to nailing this is being incredibly specific with your supplier right from the start.
You’ll want to provide your logo as a vector file (look for file types like .AI or .EPS) and give them the exact Pantone colour codes for your brand. This is the only way to guarantee colour accuracy.
For embroidery, always insist on seeing a physical "stitch-out" sample before you approve the full run. For printing, get a digital mock-up and specify the exact size and placement for each item (for example, 80mm wide on the left chest). Any good supplier will help you lock this all down in a style guide to keep everything looking sharp and consistent.
At Simply Merchandise, we simplify the entire process of ordering high-quality, branded uniforms for your team. From expert advice on fabrics and branding to seamless logistics, we help you create a look that perfectly represents your organisation. Explore our extensive range and let us help you get started today at https://simplymerchandise.com.au.