


Ever thought about your team as walking, talking billboards for your brand? That's the real power of brilliant workwear custom design. It’s so much more than just sticking a logo on a polo shirt; it’s a powerful statement about your company’s professionalism, your commitment to quality, and the unity of your team.
Turn Your Team Into Brand Ambassadors
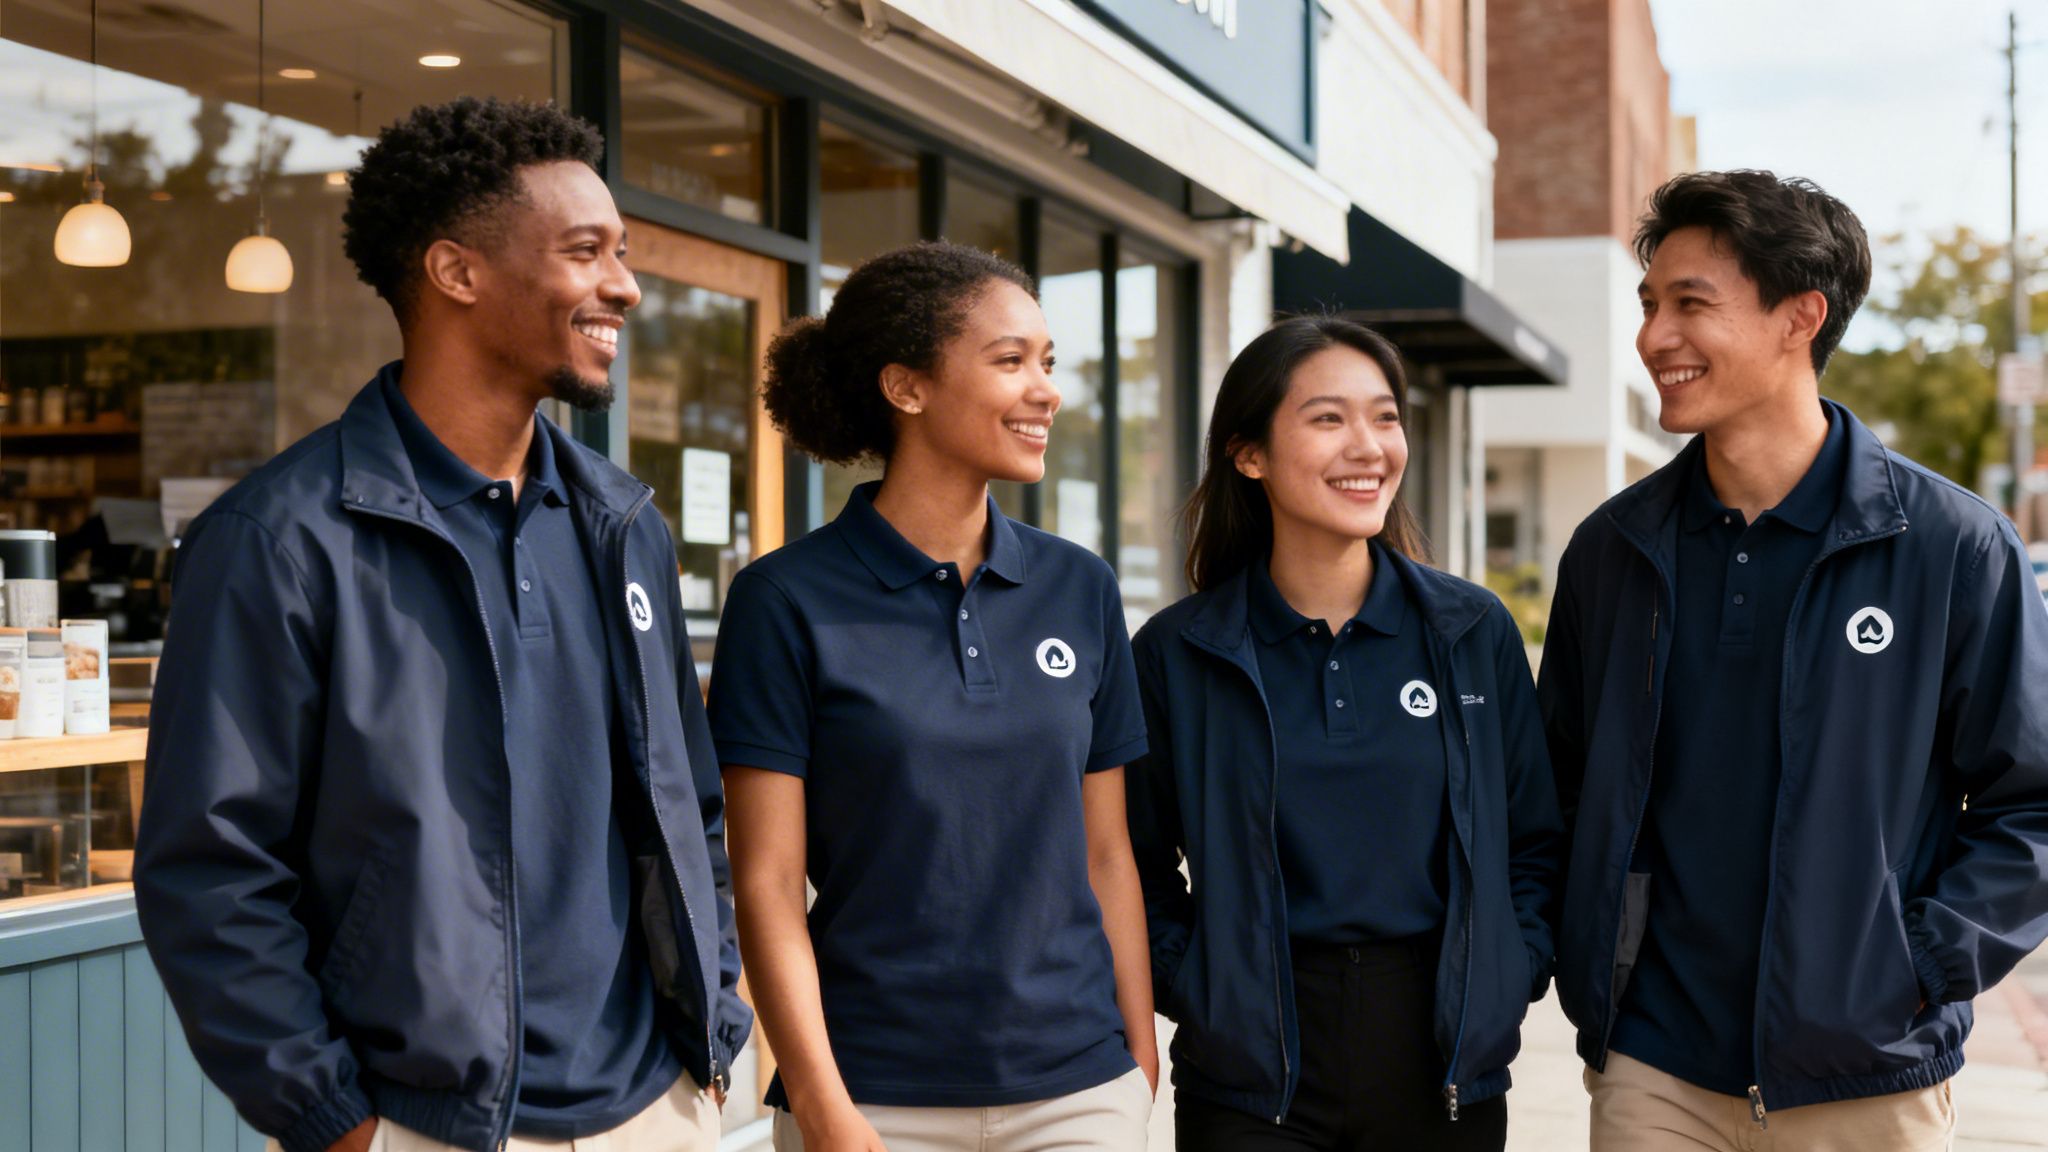
Let's get straight to it. This guide is all about showing you how smart Australian businesses are transforming their staff into their most effective brand advocates. Whether it's on a busy Perth construction site or in a sharp Sydney corporate office, custom workwear is what builds a professional identity that people remember.
Every time a team member interacts with someone, it becomes a chance to make a great impression. A crisp, well-fitting uniform projects competence and builds trust before anyone even says hello. This visual consistency strengthens your brand at every single touchpoint, from a major client meeting to a quick coffee run.
Unify Your Crew and Boost Morale
Custom workwear does more than just present a polished look to the outside world—it cultivates a genuine sense of belonging and pride within your team. When everyone is on the same page visually, it helps break down silos and reinforces the feeling of being part of something bigger. That unity often translates directly into better collaboration and a more positive workplace culture.
Think of it as the ultimate team-building investment. When you provide your people with high-quality, comfortable, and well-designed uniforms, you're sending a clear message: "You are a professional, and you represent the high standards our brand stands for." It's a simple gesture that can do wonders for morale and motivation.
A great uniform makes your team instantly recognisable and sets a standard for excellence. It’s an outward expression of your internal brand values, turning every employee into a proud representative of your business.
From Vision to Wearable Reality
This guide is your launchpad for creating a look that truly captures the spirit of your brand. We'll walk through the practical side of bringing your vision to life, covering all the essentials from fabric choices to the different decoration methods available. Getting these details right is the key to creating workwear that’s not just durable and attractive, but genuinely effective.
Just think about the payoffs:
- Enhanced Brand Recognition: A consistent look makes your team impossible to forget in a crowded market.
- Increased Professionalism: Well-designed uniforms are an instant signal of credibility and quality.
- Improved Team Spirit: Shared apparel creates a powerful sense of unity and collective identity.
- Cost-Effective Marketing: Your team becomes a crew of mobile advertisers, promoting your brand wherever they go.
To really nail your team’s professional image, you can even draw inspiration from a comprehensive guide to custom-made attire. While you might not be ordering bespoke suits, the core principles of fit, fabric, and finish are directly applicable to creating exceptional custom apparel.
And if you're wondering how this fits into your broader marketing strategy, you can explore our options for branded merchandise for business to see the bigger picture. We're here to help you navigate the entire process, creating workwear that not only looks fantastic but works hard for your brand every single day.
The Foundation of Great Workwear: Fabric and Fit
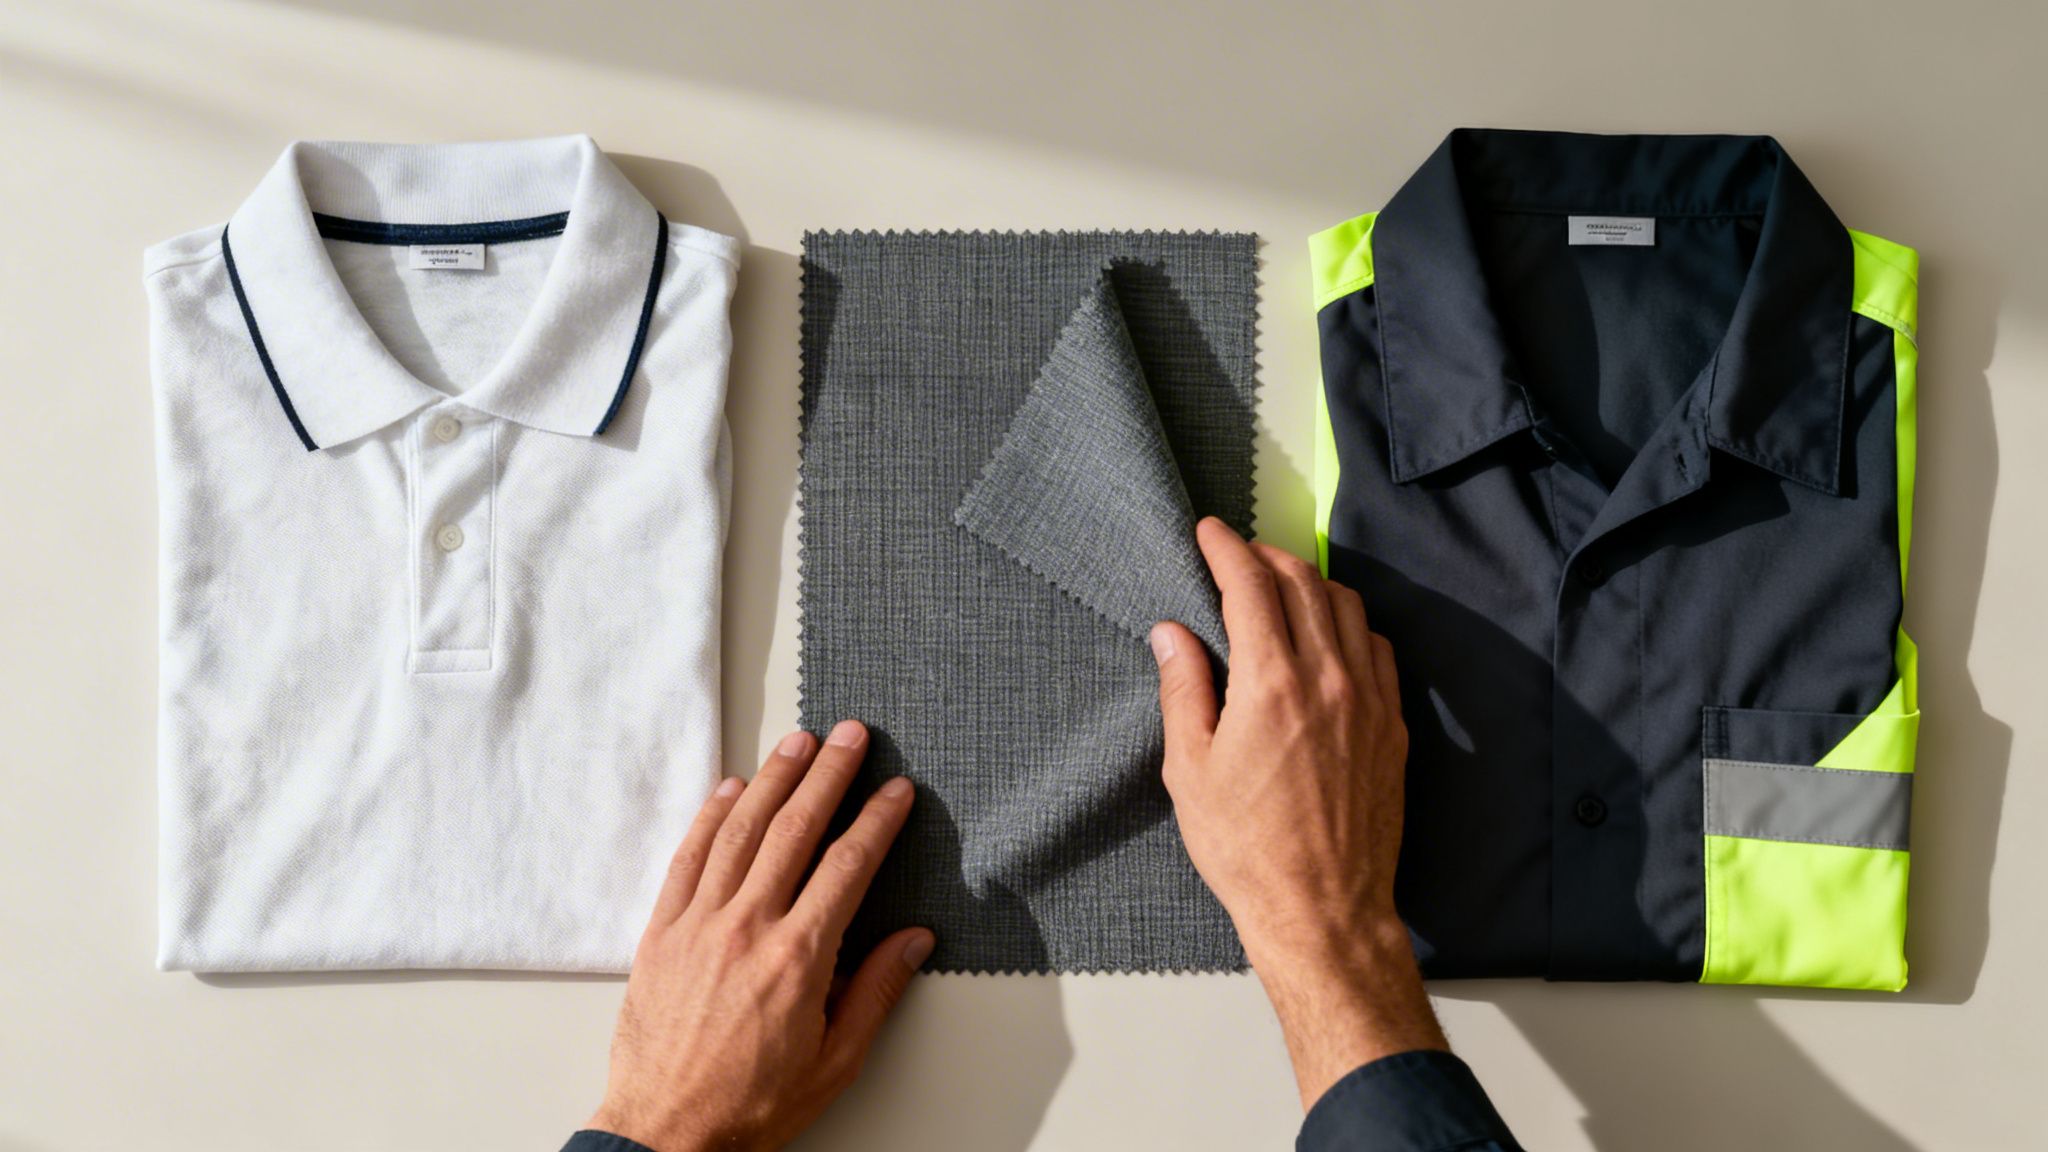
Before your logo is ever stitched on, and long before your team pulls on their new uniform, the most critical decisions have already been made. I’m talking about fabric and fit. Get these two elements right, and you’ve built the foundation for workwear that your team will genuinely want to wear.
These choices are the bedrock of comfort, durability, and safety, especially when you’re up against the tough, unpredictable Australian climate. It’s not just about looking good; it's about creating apparel that performs, day in and day out.
The scale of this industry is massive—the global workwear market was valued at an incredible USD 19.20-19.62 billion in 2025. That’s a whole lot of people dedicated to making apparel that works as hard as you do. Let’s make sure your investment hits the mark.
Choosing Fabrics That Can Handle the Australian Grind
The right material can make or break a uniform. A tradie sweating it out under the Darwin sun has completely different needs from an event manager in an air-conditioned Melbourne conference centre. Understanding the core materials is your first step.
The Classic: 100% Cotton
There’s a reason cotton is so loved. As a natural fibre, its breathability is second to none, making it a brilliant choice for beating the heat. It’s soft, absorbent, and feels great against the skin. The trade-off? Pure cotton can be a bit high-maintenance—it creases easily, can fade over time, and takes its sweet time to dry.
The Workhorse: 100% Polyester
When you need pure toughness, polyester is your champion. This synthetic powerhouse is incredibly durable, holding its shape and colour through countless washes. It resists stretching, shrinking, and wrinkles, making it a fantastic low-maintenance choice for demanding jobs. The flip side is that it’s generally less breathable than its natural counterparts.
The Smart Compromise: Cotton/Polyester Blends
This is often the sweet spot for custom workwear. A poly-cotton blend gives you the best of both worlds: the soft comfort and breathability of cotton, fused with the rugged durability and colour-fastness of polyester. From corporate polos to hi-vis trade gear, these blends are popular for a reason—they just work.
My best advice? For any uniform that will see frequent, heavy use and washing, go with a blend. A 100% cotton shirt might feel amazing on day one, but a quality poly-cotton blend will keep its colour, shape, and professional look for so much longer.
Why a Proper Fit is Non-Negotiable
An ill-fitting uniform is more than just a bad look; it can be a serious safety hazard and a drain on morale. I’ve seen it all—baggy sleeves getting caught in machinery, or shirts so tight they restrict movement and cause fatigue. It’s a recipe for an unproductive, and potentially unsafe, day.
It’s time to move past the old "one-size-fits-all" mindset. A truly professional uniform should provide a silhouette that is both functional and flattering, giving every single member of your team confidence, no matter their shape or size.
When you're assessing the fit of a garment, think about these key points:
- Freedom of Movement: Can your team bend, reach, lift, and twist without feeling restricted?
- Consistency Across Sizes: Does the garment provide a comfortable and consistent fit from the smallest to the largest sizes in the range?
- Professional Polish: Does the uniform look sharp and put-together, not sloppy or constricting?
Staying Safe and Compliant on Site
For so many Aussie industries, workwear is a non-negotiable piece of Personal Protective Equipment (PPE). If your people are working near traffic, in low-light conditions, or on busy construction sites, high-visibility clothing isn't a "nice-to-have"—it's a legal requirement.
You absolutely must get your head around the Australian Standards. The two big ones you need to know are AS/NZS 1906.4, which covers the fabrics and reflective materials, and AS/NZS 4602.1, which dictates the actual design of the garment. These standards lay out the exact requirements for colour, reflectivity, and coverage to ensure your team is seen and safe.
When you’re selecting workwear custom pieces like vests, shirts, or jackets, always confirm that they meet the compliance standards for your specific worksite. Partnering with a supplier who knows these regulations inside and out is the smartest move you can make to protect your team and your business.
You can explore a full range of compliant options and get more detail in our guide to work wear and hi-vis clothing.
Bringing Your Brand to Life with Decoration Methods
So, you've nailed down the perfect garments – the fabric is right, the fit is spot on. Now for the fun part: making them truly yours. This is where we take your logo, your brand colours, and your entire vision and turn it all into incredible, wearable branding.
Choosing how to decorate your workwear is just as crucial as picking the garment itself. The method you select will define the final look, the feel, the durability, and of course, the budget for your project.
It might seem like there are a million options out there, but don't worry. Each technique has its own unique character and purpose. Getting to know their strengths is the key to making a choice that not only looks fantastic but also holds up to whatever your workday throws at it.
This move towards custom-branded gear is more than just a trend. Projections show the global market for work clothes customisation is set to hit a massive USD 15,500 million by 2026. It’s a clear signal that businesses everywhere are seeing the value in creating a distinct, professional image. You can read more about the growing demand for personalised workwear and see why it’s such a powerful move.
The Timeless Appeal of Embroidery
When you want to convey a sense of quality and professionalism, nothing quite beats embroidery. It's the classic choice for a reason. We use specialised machines to stitch your design directly onto the fabric, creating a textured, slightly raised logo that looks and feels premium.
The durability is incredible. An embroidered logo will often outlast the garment itself, holding its colour and shape through countless wash and wear cycles. It adds a tangible weight and class that printing just can't match.
Best used for:
- Corporate Polos and Business Shirts: It delivers that polished, professional finish perfect for your client-facing team.
- Jackets and Outerwear: The texture of embroidery looks fantastic on heavier fabrics like fleece, softshell, and work jackets.
- Caps and Beanies: This is the industry standard for headwear, giving a crisp, hard-wearing result every time.
But it’s not the right fit for everything. Embroidery struggles with very large designs, as a high stitch count can make the garment feel heavy and stiff. It also isn't ideal for replicating fine gradients or photorealistic detail, so it works best with clean, bold logos.
Screen Printing for Bold, High-Volume Branding
For big, bold, and vibrant branding, screen printing is the undisputed champion. It’s a tried-and-true method that’s perfect for making a statement, especially on larger orders. The process involves pushing ink through a custom-made stencil (or screen) directly onto the apparel.
We create a separate screen for each colour in your design, which is why it’s so cost-effective for bulk orders—once the setup is done, we can print quickly and consistently. The result is a bright, durable print that really pops.
Think about a large-scale event, like a charity fun run or a company-wide conference. Screen printing is the go-to for producing hundreds of vibrant, matching tees for staff and participants, all while keeping costs manageable.
The main thing to remember is the setup. Because we need to create new screens for every job, it isn't the most economical choice for small runs or one-off items. It’s also best suited to designs with a limited number of solid colours.
Digital Transfers for Full-Colour Freedom
What if your logo is full of colour, has subtle shading, or even includes a photograph? That’s where the magic of Digital Transfers, also known as Direct to Film (DTF), comes in. This modern technique prints your most complex designs in perfect detail onto a special transfer film.
We then use a combination of heat and pressure to permanently bond that film to the garment. The result is a stunningly crisp, full-colour image with flawless detail and vibrancy. DTF can bring almost any design to life without the colour limits or setup costs of screen printing, making it perfect for smaller, more intricate jobs.
We’ve got a whole range of modern branding methods up our sleeve. To see what’s possible for your next project, take a look at our guide on custom printing options.
Sublimation for All-Over Designs
For sportswear and other polyester apparel, sublimation is in a league of its own. Unlike other methods that put a layer of ink or thread on top of the fabric, sublimation does something incredible. It uses heat to turn solid ink into a gas, which then infuses directly into the polyester fibres of the garment.
This means the design literally becomes part of the fabric. It will never crack, peel, or fade, and because there's no added layer, the garment’s original breathability and moisture-wicking performance are completely unaffected. It’s the ultimate choice for creating vivid, edge-to-edge designs on things like cycling jerseys, team singlets, and even lanyards. The only catch? It works its magic exclusively on light-coloured, 100% polyester materials.
How to Prepare Your Artwork for Flawless Results
You’ve poured your heart and soul into building a brilliant brand. The last thing you want is for your logo to look fuzzy or cheap on your team’s new workwear. When it comes to custom apparel, the quality of your artwork is everything—it’s the single biggest factor that dictates how the final product will look and feel.
Don't worry, you don't need to be a graphic designer to get this right. Let's cut through the technical jargon and get straight to what you actually need to know. A little understanding here goes a long way in preventing delays and ensuring your logo looks sharp, professional, and exactly how you envisioned it.
Think of it as an investment. Companies are putting serious money into outfitting their teams properly—the North American market alone was projected to hit USD 26.70 billion in 2026. Making sure your artwork is spot-on is how you guarantee that investment pays off.
Vector vs Raster: The Only Techy Bit You Need to Know
Okay, this is the most important part. Your logo file is either a vector or a raster image, and for almost any kind of workwear decoration, one is a clear winner.
Vector files (think file types like .ai, .eps, .svg, and sometimes .pdf) are the absolute gold standard. These are built with mathematical equations, not pixels. This means you can scale them up for a massive sign or shrink them down for a tiny chest logo, and they’ll stay perfectly crisp and clean. It’s what we need for sharp embroidery, clean screen prints, and precise laser engraving.
Raster files (like .jpg, .png, .gif) are made of pixels. They’re fine for photos on a website, but they’re a disaster for logos on apparel. Try to make a raster image bigger, and you get that blurry, pixelated mess that just screams unprofessional.
I’ve seen it happen countless times. A client will send over a low-resolution .jpg they’ve pulled from their website, wondering why it looks like a blob in the embroidery mock-up. A vector file is the original blueprint for your house; a raster file is a grainy photo of it. Always, always start with the blueprint!
The Magic of PMS Colour Matching
Have you ever had something printed, only to find the colour looks completely different from what you saw on your screen? It’s a classic problem, but one that’s easily solved with the Pantone Matching System (PMS).
A PMS code is simply a universal reference number for a specific shade of colour. When you give your supplier the PMS codes for your brand, you’re taking all the guesswork out of it. It guarantees your brand colours will be a perfect match, no matter what machine or decoration method is used. It’s the key to true brand consistency.
If you don’t have PMS codes, don’t panic. A good supplier can usually help you find a close match from a high-quality version of your logo.
This quick chart can help you decide between the most popular decoration methods based on your artwork and the look you’re going for.
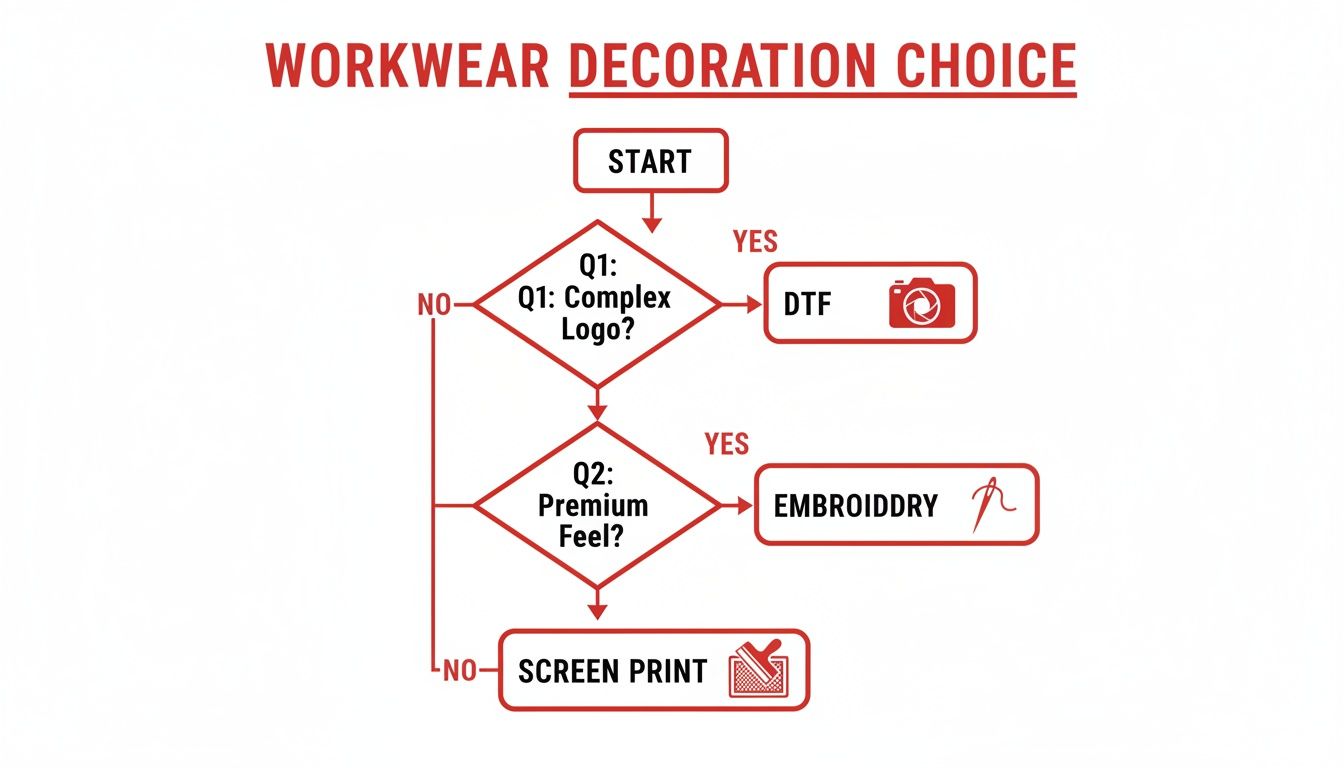
Essentially, if your logo is complex or photographic, DTF printing is your best friend. For simpler logos, you get to choose between the premium, textured feel of embroidery or the bold, vibrant finish of screen printing.
Practical Tips for Print-Ready Files
Getting your files ready doesn't have to be a headache. A few simple checks will save you a world of time and hassle.
- Outline Your Fonts. Before you hit send on a vector file, make sure all the text has been "converted to outlines." This basically turns the letters into shapes, so your supplier won’t need to have your specific brand font installed to see the artwork correctly. It’s a small step that prevents big problems.
- Consider Your Logo's Detail. A super intricate logo might look incredible on-screen, but those tiny details can turn into a messy clump of thread when embroidered. You might need a slightly simplified version of your logo just for apparel.
- Think About Placement. It’s not just about the logo, but where it sits. The left chest, a sleeve, or the upper back are standard for a reason—they work. But don't be afraid to ask about custom placements to make your gear stand out.
By providing a print-ready vector file with your PMS colours locked in, you’re setting your workwear custom project up for success right from the start. For a deeper dive, feel free to check out our simple guide to artwork submission for beginners.
Bringing It All Home: Placing Your Custom Workwear Order
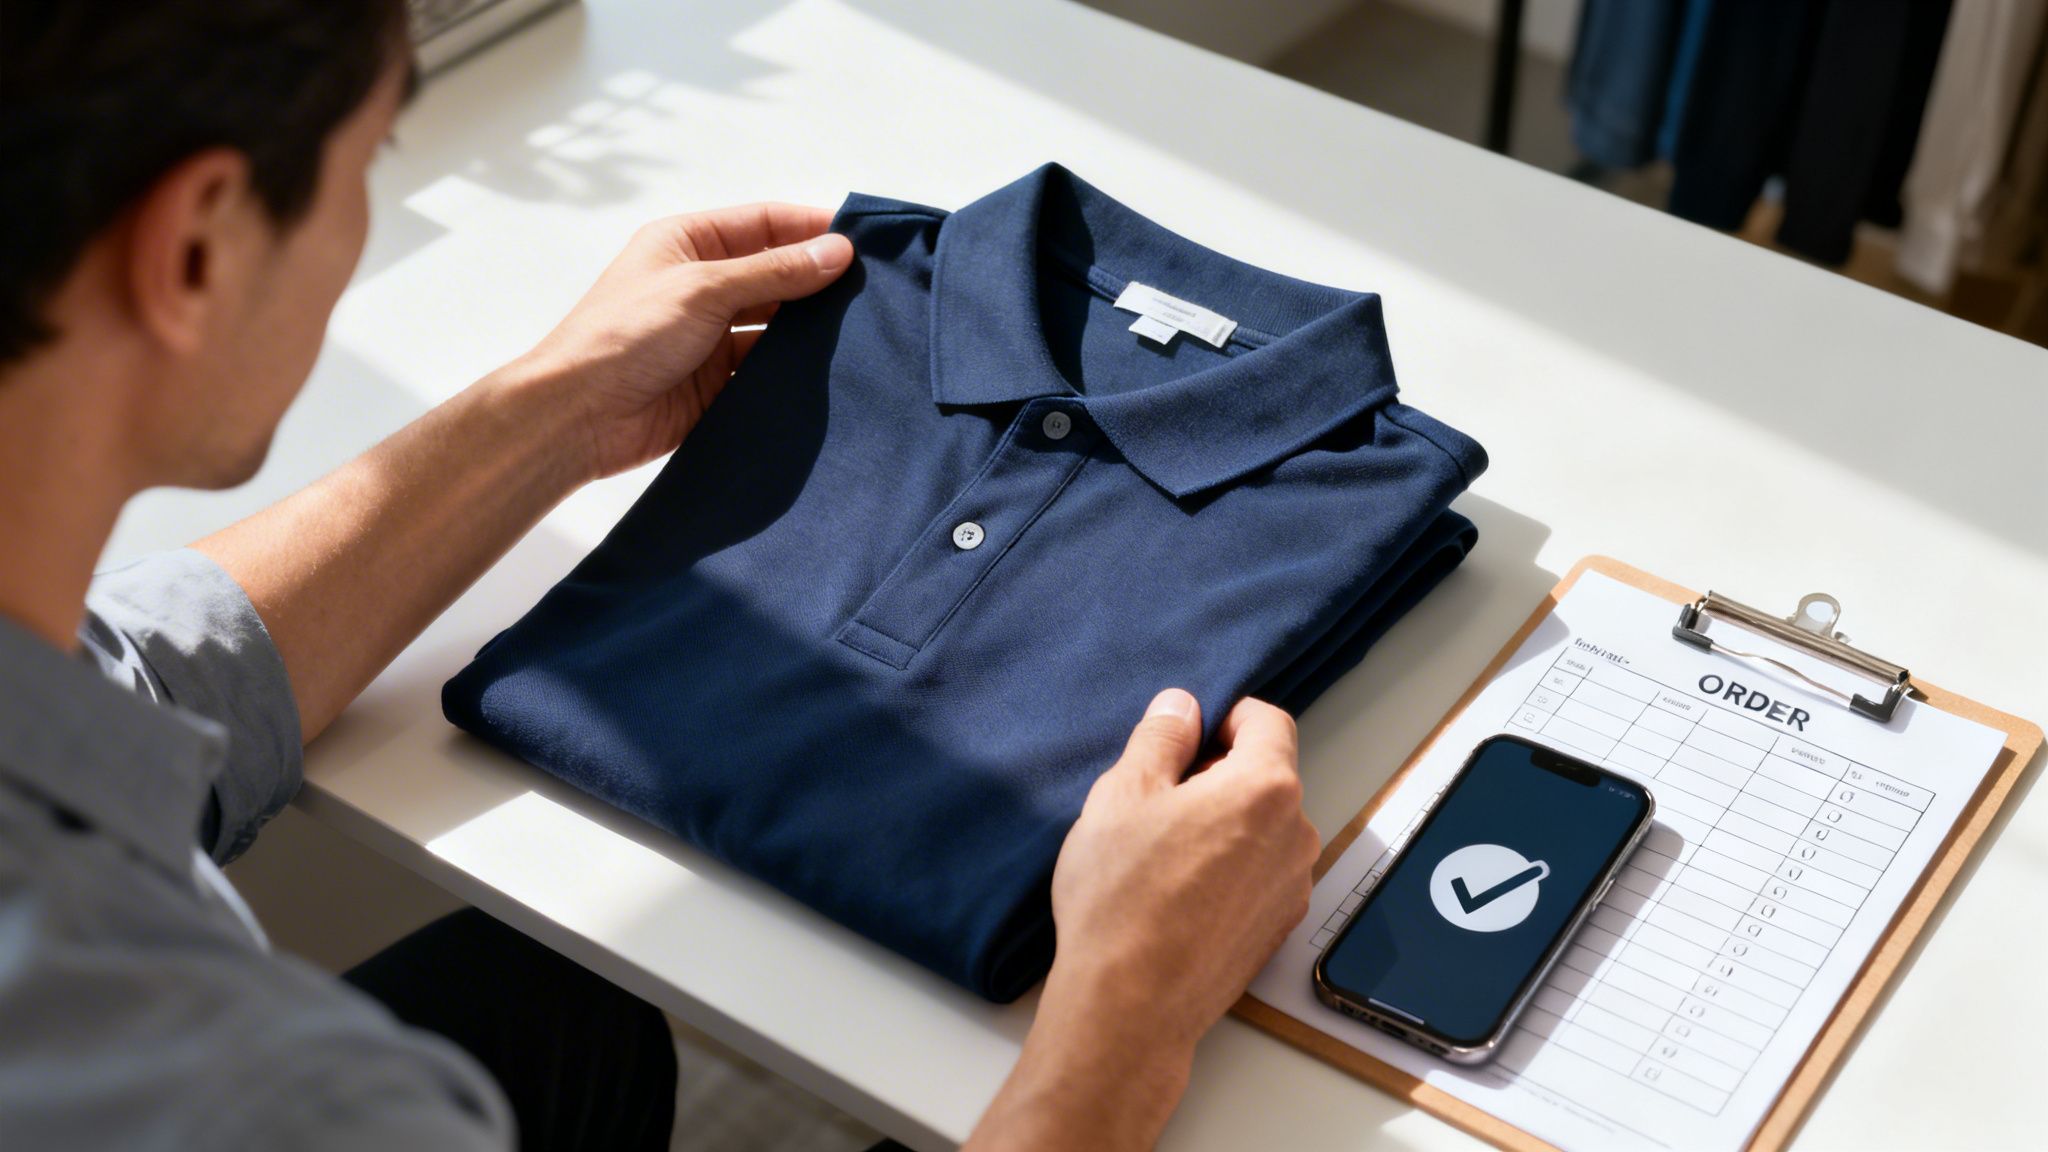
Alright, you’ve done the hard yards. You've picked the perfect garments, nailed down your designs, and now you’re ready to see it all come to life. Placing your workwear custom order is the final and most rewarding part of the whole process.
This shouldn’t be a source of stress. Think of it as the victory lap where all your careful planning pays off. Let's walk through how to manage this final stage with confidence, making sure the journey from quote to delivery is as smooth as possible.
Your First Step: A Crystal-Clear Quote
Everything truly begins with the quote. Think of it less as just a price tag and more as the foundational blueprint for your entire project. A good quote is meticulously detailed, itemising every cost so there are absolutely no surprises when the final invoice arrives.
When you get that quote, take a moment to check that it clearly outlines:
- The specific garment style, brand, and colour.
- The exact cost for each item.
- A full breakdown of decoration costs for every logo.
- Any setup fees required for embroidery or screen printing.
- An estimated timeframe for delivery.
This document sets the tone for communication. If any part of it feels vague, don't hesitate to ask for clarification. A great supplier will always be happy to walk you through every line item, ensuring you’re 100% on board before anything moves forward.
The Game-Changer: Your Pre-Production Sample
If there's one piece of advice I can give you, it's this: always, always ask for a sample. This is the single most powerful move you can make to guarantee you get precisely what you envision. Seeing and feeling the real thing before you commit to a full production run is simply priceless.
There are a couple of ways you can go about this.
1. The Blank Sample: We can send you an undecorated version of your chosen garment. This is your chance to get it in the hands of your team to check the fit, feel the fabric, and see the true colour away from the variable lighting of a computer screen.
2. The Decorated Sample: For larger or more complex orders, getting a fully decorated pre-production sample is a brilliant move. This is your opportunity to scrutinise the final product—check the embroidery quality, the vibrancy of the print, and the precise logo placement. It's the ultimate peace of mind.
A sample might feel like an extra step, but trust me, it’s the best insurance policy you can have. It removes all the guesswork and ensures the 100 shirts you order are just as perfect as the single one you approved.
Once you’ve given the final sign-off on your artwork proof—and ideally, a physical sample—your order heads into production. This is where your supplier's expertise takes over to bring it all together. If you're ready to get started, you can get a detailed and transparent quote from our team by visiting our request for quote page.
Understanding Timelines and Lead Times
One of the most common questions we get is, "So, how long will it take?" The answer depends on a few key variables, and knowing what they are will help you plan your project perfectly. A typical turnaround for workwear custom orders is about 2-3 weeks from the moment you give final artwork approval.
Here’s a look at what influences that timeline:
- Stock Availability: Are your chosen items sitting in a local warehouse, or do they need to be brought in from an overseas supplier? Local stock always means a faster turnaround.
- Decoration Complexity: A simple, one-colour screen print is naturally quicker to produce than a garment that needs intricate embroidery on three different spots.
- Order Size: While bigger orders obviously take longer to decorate, the setup process is where a lot of the initial work happens. This is why larger orders have a lower cost per unit.
Always be upfront about your deadlines. If you need your new uniforms for a trade show or a big launch event, let your supplier know from day one. A good partner can often find ways to work with your timeline or suggest great alternatives that are available sooner.
Making Your Budget Go Further
Getting the absolute best value from your workwear investment comes down to smart planning. The simplest way to bring down the cost-per-item is to order in larger quantities. Much of the initial cost is tied up in the setup, so spreading that across 100 shirts instead of 20 makes a massive difference to your bottom line.
Keep an eye out for promotions, too. Many suppliers, including us, offer great perks like free freight or free setup on most products, which can lead to some serious savings. Don't be shy about asking your supplier if there are any current deals or ways to make your budget stretch. Sometimes, a small tweak—like choosing a different garment or simplifying the decoration—can help you hit your financial goals without ever compromising on a professional result.
Your Biggest Workwear Questions, Answered
When you’re ready to get your team looking sharp in branded gear, a few questions always pop up. We get it. Over the years, we've helped countless Australian businesses navigate this process, and the same queries come up time and again.
Let’s tackle the most common ones right now, so you can move forward with your project feeling clear and confident.
What's the Minimum Order I Can Place?
This is a big one, and the answer really comes down to how you want to decorate your gear. The method you choose has the biggest impact on the minimum order quantity (or MOQ, as we call it in the industry).
Screen printing, for instance, involves a fair bit of setup to get the colours and screens just right. To make it cost-effective for everyone, you’re generally looking at a minimum run of 20-25 items.
On the other hand, methods like embroidery or modern digital transfers (DTF) offer amazing flexibility. Because the setup is much simpler, we can often get these rolling with as few as 10 units, which is perfect for smaller teams or top-up orders. We'll always work with you to find the sweet spot that fits your crew and your budget.
How Long Will My Custom Order Take?
You can typically expect your custom workwear to be ready in about 2-3 weeks. That timeframe kicks off the moment you give the final thumbs-up on your artwork proof.
Of course, a few things can influence that timeline. A straightforward embroidery job on locally stocked polos will naturally be quicker than a complex order with multiple print locations on a garment we need to bring in from overseas.
We believe in being upfront and honest from day one. That’s why your initial quote will always include a realistic delivery timeline you can count on.
My best piece of advice? Always get a sample in your hands before you commit to the full run. It’s the single best way to ensure you’re 100% happy with the fit, the fabric, and the final look. It turns a purchase into a confident investment.
Can I See a Sample Before Placing My Full Order?
Absolutely—in fact, we insist on it! Getting a sample is one of the smartest moves you can make.
We can easily send a blank sample of the garment you're considering. This way, you can check the fit across your team, feel the quality of the fabric, and see the true colour away from a computer screen.
For larger or more detailed projects, we can even produce a fully decorated pre-production sample. This gives you the ultimate peace of mind, showing you exactly how your logo will look and feel before we press go on the main order. Seeing what other businesses have experienced can also be incredibly helpful; you can read customer reviews to get a feel for the quality and service you can expect.
Ready to create a professional look that gets your brand noticed? The expert team at Simply Merchandise is here to make your workwear project a genuine success.

