

Before we even think about bringing your awesome design to life, we need to talk about the canvas: the humble t-shirt. This isn't just a piece of fabric; it's the foundation of your entire project. The material, the cut, and even the colour you pick will shape how your print looks, feels, and stands the test of time.
Choosing the Right T-Shirt for Your Design
Think of the blank t-shirt as a crucial part of the artwork itself. The fabric you choose dictates how the ink behaves, how vibrant the colours appear, and how comfortable the final product is to wear. Honestly, getting this part right is just as important as the design you're printing on it. Let's break down what you need to consider.
Matching Fabric to Print Method
Your fabric and printing method have to work together—it's a partnership. For a classic screen print, you really can't beat a heavyweight 100% cotton tee. The tight, smooth weave of the cotton gives the ink a perfect surface to sit on, resulting in those sharp, bold, and vibrant prints you see on band merch or company logo tees. It's the industry standard for a reason.
But what if you're after a softer, more "worn-in" vibe? This is where blends come in. A polyester-cotton blend or a super-soft tri-blend (that's cotton, polyester, and rayon) is fantastic for Direct-to-Garment (DTG) printing. The ink settles into the fibres a little more, creating that slightly faded, vintage look that's so popular with fashion brands. Plus, these tees just feel amazing to wear, which adds a premium touch.
Selecting a Fit for Your Audience
The style of the shirt says a lot about your brand or event. You want people to actually wear the t-shirt, not just stuff it in a drawer. The fit is key.
Here are the usual suspects:
- Classic Unisex Fit: This is your go-to, all-rounder. It's got a straight cut and standard sleeves, making it a safe bet for big events or promotional giveaways where you're catering to a wide range of people. Simple, comfortable, and gets the job done.
- Retail or Fashion Fit: Think more stylish and modern. These tees are a bit more tailored, with a slimmer fit and often shorter sleeves. Brands like AS Colour are famous for this look. It’s the perfect choice if you're selling the shirts as merchandise or outfitting staff and want a more polished appearance.
- Specialised Cuts: Sometimes, you need something a little different. A V-neck might be perfect for a yoga studio, while a long-sleeve tee is a practical choice for a tradie's uniform or an outdoor event. You can explore a wide variety of these styles within our extensive clothing categories to find the perfect match.
The Growing Importance of Sustainable Choices
These days, especially here in Australia, people care about where their products come from. Opting for an eco-friendly t-shirt isn't just a trend; it's a smart move that reflects your brand's values. Choosing garments made from organic cotton or recycled materials can really make a positive impression.
Choosing a sustainable garment isn’t just an environmental decision; it’s a branding one. It tells your audience that you care about quality and impact beyond the print itself, which can foster deeper loyalty and respect.
When someone puts on a soft, high-quality organic cotton tee, they notice the difference. That positive feeling gets associated with your brand, turning a simple piece of merch into something they genuinely value and want to wear again and again.
Decoding Screen Printing vs. Digital Printing
You’ve found the perfect T-shirt. Now for the fun part: getting your design onto it. When it comes to custom printed T-shirts, you’ll mainly be looking at two heavy hitters: the classic screen print and the modern digital print (often called Direct-to-Garment or DTG).
While both can give you a fantastic result, they’re designed for completely different jobs. Knowing where each one shines will save you a headache and some serious cash, ensuring the shirt in your hand looks just as good as the one in your head. It’s not a question of which is "better," but which is right for your project.
The Enduring Power of Screen Printing
Screen printing is the old-school, tried-and-true workhorse of the T-shirt world. Think of it like a sophisticated stencil. Ink is pushed through a custom mesh screen directly onto the fabric, one colour at a time. Because a separate screen has to be made for each colour in your design, this method is the undisputed king for large orders with simpler graphics.
Let’s say you’re a local band getting ready for a tour and you need 200 black tees with your one-colour white logo. This is a textbook screen printing job. There's an initial setup cost for the screens, but once they're ready, the price per shirt plummets with every tee you add to the order.
The result? Incredibly vibrant, punchy colours that sit right on top of the fabric. This gives the print a durable, slightly raised feel that’s built to last through countless gigs and washes. It’s the go-to for:
- Team uniforms and workwear that need to be tough.
- Event merchandise for festivals or conferences where you're printing in bulk.
- Promotional giveaways where getting the best price per unit is critical.
The real magic of screen printing is its efficiency at scale. For orders of 50 units or more, the cost-per-shirt savings are undeniable, making it the smartest choice for maximising your budget without skimping on quality.
The numbers don’t lie. In 2024, the Australian custom printing industry pulled in a staggering USD 650.3 million, with screen printing dominating the market at a 59.03% share. It's clear that for commercial-grade apparel, this classic technique is still the reigning champion.
The Rise of Direct-to-Garment (DTG) Digital Printing
If screen printing is all about volume, digital printing is all about detail and flexibility. A DTG printer works a lot like the inkjet printer in your office, but instead of paper, it applies specialty water-based inks directly onto the T-shirt’s fibres.
There are no screens, which means setup is quick and cost-effective, even for a single shirt. Imagine a startup needing just 25 tees for a trade show, complete with a complex logo full of gradients and colours. That’s where DTG shines. Printing one colour costs the same as printing a hundred, making it the hero for photorealistic images, intricate illustrations, and designs with a huge colour palette.
The ink soaks right into the cotton, so the final print has a super-soft feel with virtually no texture. This is perfect for fashion brands or anyone wanting a premium, retail-quality finish on a small batch of tees.
Deciding between a bold screen print and a softer DTG print often comes down to the look you’re after. This little guide can help point you in the right direction.
As you can see, 100% cotton is the ideal canvas for vibrant screen prints, while softer fabric blends are a great match for the vintage, worn-in look that DTG can achieve so well.
Printing Method Comparison
To make things even clearer, here’s a quick rundown of how these methods stack up against each other.
| Feature | Screen Printing | Direct-to-Garment (DTG) | Heat Transfer | Sublimation |
|---|---|---|---|---|
| Best For | Large runs (50+), simple designs (1-4 colours) | Small runs, complex/photographic designs | One-offs, names/numbers, simple graphics | All-over prints, sportswear |
| Feel of Print | Slightly raised, thick layer of ink | Very soft, no texture (ink is in the fabric) | Smooth, plastic-like layer on top of the fabric | Completely undetectable, infused into the fabric |
| Durability | Extremely high, lasts the life of the shirt | Good, but can fade over time with many washes | Varies, can crack or peel with age and washing | Excellent, will not crack, peel, or fade |
| Colour Vibrancy | Excellent, very bright and opaque | Good, best on light-coloured garments | Good, colours are bold and vibrant | Exceptional, photo-quality vibrancy |
| Fabric Limitations | Works on almost any fabric | Best on 100% cotton | Works on cotton, poly, and blends | 100% polyester only, best on light colours |
| Cost-Effectiveness | Most affordable for large quantities | Cost-effective for small quantities | Good for very small runs or individual customisation | Can be pricey, but ideal for specific applications |
Each method has its place, and choosing the right one depends entirely on your design, quantity, and the final look you want to achieve.
What About Other Printing Methods?
While screen and DTG printing will cover most projects, there are a couple of other techniques worth knowing about for more niche jobs.
Heat Transfer Vinyl (HTV)
This is where your design is cut from a sheet of coloured vinyl and then heat-pressed onto the shirt. It’s brilliant for simple text and numbers—that’s why you see it on the back of so many sports jerseys. HTV is your best bet for one-off customisations or tiny orders with bold, single-colour graphics.
Sublimation Printing
Sublimation is a bit of a science experiment. Heat turns solid dye into a gas, which then embeds itself directly into the fibres of polyester fabric. It produces stunningly vivid, full-colour, all-over prints that will never crack, peel, or fade. The catch? It only works on light-coloured, 100% polyester garments. This makes it perfect for performance sportswear and wild, photographic designs that cover the entire shirt.
You can dive deeper into these specialised techniques in our complete overview of custom printing options. Picking the right method is the final piece of the puzzle to bring your vision to life perfectly.
Getting Your Artwork Ready for a Flawless Print
Alright, you’ve nailed down the perfect t-shirt and the best printing method for your project. Now we get to the really crucial part: prepping your artwork. This is where a brilliant design idea can either soar or stumble. A poorly prepared file can turn a killer concept into a blurry, disappointing mess on fabric.
Think of this step as translating your on-screen vision into a print-ready blueprint. Getting it right from the start saves you the headache and expense of reprints and frustrating delays. Honestly, a little bit of attention to detail here makes all the difference in the final product.
Vector vs. Raster: The Two File Types You Absolutely Need to Know
First things first, let's talk file types. Understanding the difference between vector and raster is probably the single most important piece of technical knowledge you'll need. Each one is built for different printing methods, and sending the wrong type is one of the most common hiccups we see with new custom t shirts printed orders.
A vector file is basically a set of mathematical instructions. It uses lines, points, and curves to build an image, which means you can scale it to any size imaginable—from a tiny pocket logo to a massive banner—and it will never, ever lose quality or look pixelated. This incredible flexibility makes vector the undisputed gold standard for screen printing.
Common vector file formats you'll encounter are:
- .AI (Adobe Illustrator)
- .EPS (Encapsulated PostScript)
- .SVG (Scalable Vector Graphics)
On the flip side, a raster file is made up of a grid of tiny pixels, just like a digital photo. These files are perfect for capturing complex, multi-coloured designs with gradients and soft shading, which is why they are the go-to format for Direct-to-Garment (DTG) printing.
The key to working with raster files is resolution. Your file must be created at the exact size it will be printed, with a resolution of at least 300 DPI (dots per inch). If you try to blow up a low-resolution raster image, you'll get that dreaded blocky, pixelated look.
The most common raster file formats include:
- .PNG (Portable Network Graphics) – This is often preferred because it supports transparent backgrounds.
- .PSD (Adobe Photoshop)
- .JPEG (Joint Photographic Experts Group) – Use this one carefully; its compression can sometimes reduce image quality.
Nailing the Finer Details: Colours and Sizing
Once you've got the right file type sorted, there are a couple more technical checks to ensure a perfect print. These settings dictate how your colours translate to ink and how your design sits on the garment.
Why Colour Mode Matters What you see on your bright computer screen isn't what a printer sees. For most digital printing methods like DTG, you'll need to set your artwork to CMYK (Cyan, Magenta, Yellow, Key/Black). For screen printing, where specific ink colours are physically mixed, your printer will likely ask for Pantone (PMS) colour codes to get an exact match.
Size Your Design for the Real World Always, always create your artwork at the final print size. If you want the design to be 25cm wide on the finished tee, your digital file needs to be 25cm wide. This simple step prevents any nasty surprises with resizing that can ruin the quality of your artwork.
A common mistake is submitting a small, web-quality image and expecting it to look sharp when printed across the chest of a t-shirt. Always start with a high-resolution file built to the final physical dimensions.
Don't Forget to Outline Your Fonts If your design has any text, you must convert the fonts to outlines (the command is usually "Create Outlines" in Adobe Illustrator). This clever trick turns the letters into vector shapes, meaning the printer doesn't need to have your specific font installed. Forgetting this step can result in your carefully chosen typography being swapped out for a generic default font—a real design killer.
For a deeper dive into file specs and more practical advice, our guide on artwork submission tips for beginners is a great place to start.
By taking the time to double-check these key elements, you're giving us a clear, flawless set of instructions. This ensures your vision is perfectly understood and executed, leaving you with a custom printed t-shirt you’ll be proud of.
Nailing Your Numbers: Quantity, Costs, and Production Times
When it comes to ordering custom t-shirts printed, you’re really juggling three things: your budget, how many shirts you need, and when you need them by. Get these right, and your project will run smoothly. They all feed into each other, so understanding that relationship is the secret to avoiding any nasty last-minute surprises. The final price isn't just about the blank tee; it's a mix of the garment itself, the complexity of your design, and, most importantly, the size of your order.
Think of it this way: a premium, heavyweight organic cotton shirt is naturally going to have a higher starting price than a basic, budget-friendly option. Likewise, a six-colour masterpiece splashed across the front, back, and sleeve will cost more to produce than a simple one-colour logo on the chest.
What Really Influences Your Final Price?
Every decision you make tweaks the final number on your invoice. Here’s a quick rundown of the main cost drivers you need to keep in mind:
- The Garment Itself: The brand, style, and fabric of the t-shirt is your starting point and a major cost factor.
- Print Locations: Every spot you want to print on—be it the front, back, or sleeve—adds to the setup and labour costs.
- Number of Colours: With screen printing, each colour in your design needs its own dedicated screen, which bumps up the setup costs.
- Order Quantity: This is the big one. The more shirts you order, the less you'll pay for each one.
The Magic of Price Breaks and Ordering in Bulk
The single biggest lever you can pull to lower your cost-per-shirt is quantity. This is where price breaks become your best friend. Most printers, especially those using screen printing, operate on a tiered pricing model. As your order size climbs—from 25 to 50, then up to 100 or 250—the price for each individual t-shirt drops, often quite dramatically.
Why? Because the most expensive part of screen printing is the initial setup. Creating the screens and getting the press ready takes time and resources. But once that's done, printing the 100th shirt is far quicker and cheaper than printing the very first one. This economy of scale is what makes screen printing the go-to choice for larger projects like event merchandise, staff uniforms, or promotional giveaways.
The custom t-shirt market here in Australia is a testament to this, valued at around USD 44.21 million in 2024 and expected to shoot up to USD 122.34 million by 2033. This growth is fuelled by businesses taking advantage of bulk order pricing for branding, with screen printing leading the charge for this exact reason.
Mapping Out Your Production Timeline
One of the most common pitfalls I see is people underestimating how long it takes to go from a cool idea to a box of finished tees. Rushing the job is a recipe for mistakes, compromises, and stress. As a rule of thumb, it’s smart to plan for about two to three weeks from start to finish.
A typical project flows through a few key stages:
- Quote & Consultation: The initial chat about what you need and getting a detailed quote (usually 1-2 days).
- Artwork Approval: You send your design, we create a digital mock-up, and you give it the final sign-off (allow 1-3 days for back-and-forth).
- Production: Once the mock-up is approved, the printing magic happens (typically 5-10 business days).
- Shipping & Delivery: The time it takes for the courier to get your order to your door (1-5 business days, depending on where you are in Australia).
My biggest piece of advice? Always build a buffer into your timeline. This is crucial if you’re working towards a hard deadline like a product launch or a trade show. Unexpected things like stock shortages or shipping delays can and do happen, so that extra bit of time is your best insurance policy.
If you’re planning to sell your shirts, getting a firm grip on these costs and timelines is vital for turning a profit. When you know your costs, you can confidently calculate your break-even point and set a price that actually makes you money.
To get a clear idea of what your project might cost, playing around with an instant print quote tool is a great first step. It helps you see how different quantities and options affect the price, setting you up for a smooth and predictable ordering experience.
Getting it Right: Why Samples and Quality Checks are Non-Negotiable
You’ve sorted the fabrics, picked your print method, and your artwork is looking sharp. It’s tempting to hit “go” on the full production run of custom t shirts printed, but hang on a second. There’s one last checkpoint that experienced operators never skip: quality assurance.
Honestly, skipping this stage is like building a house without checking the foundation—a massive gamble you just don't want to take. This final review is your insurance policy against disappointment. It’s where you get to confirm that every little detail, from the exact shade of your brand's blue to the feel of the garment, is exactly what you envisioned.
Mock-ups vs. Physical Samples: What's the Difference?
First up, you need to know the difference between a digital mock-up and a physical sample.
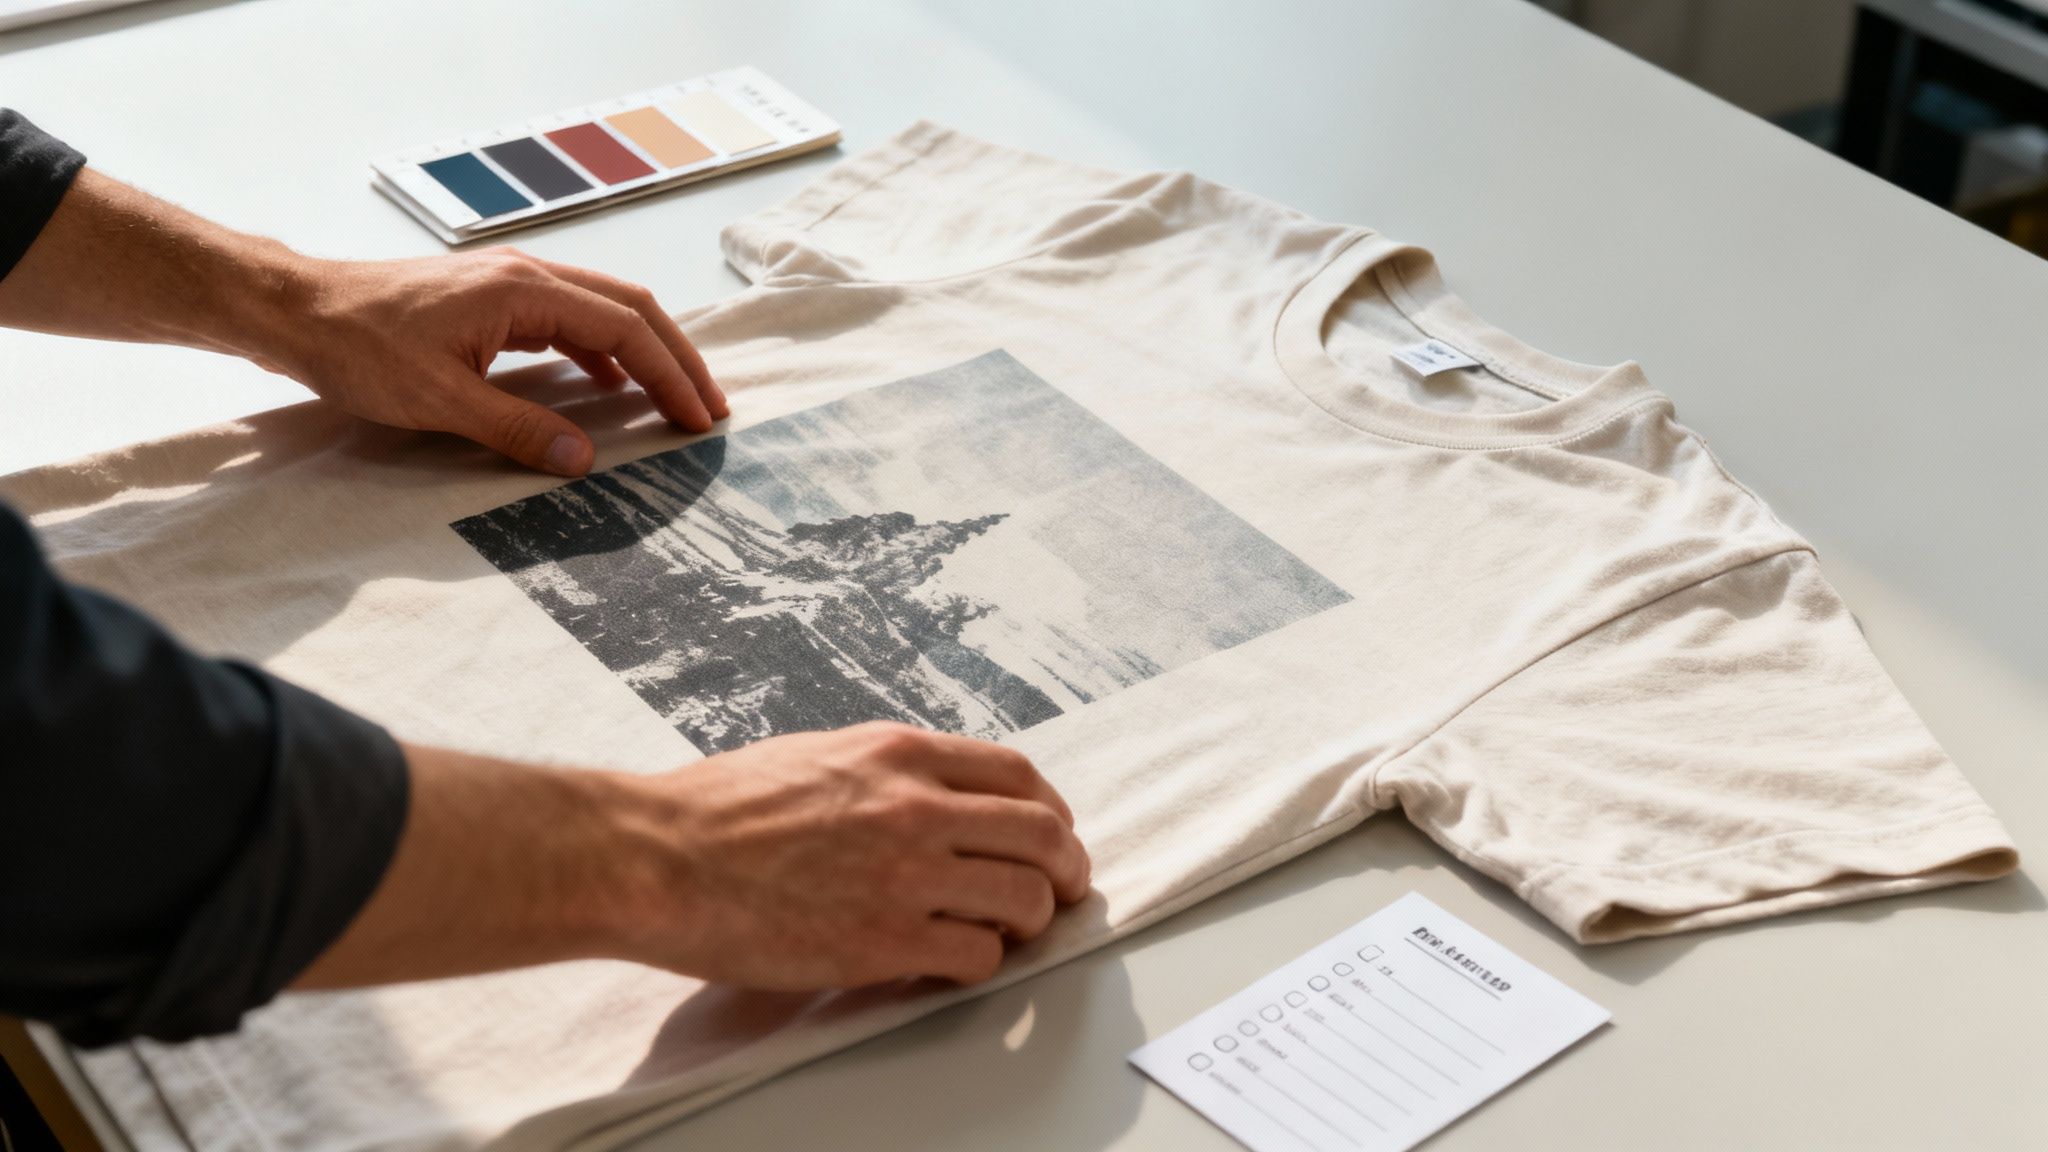
A digital mock-up is a computer-generated image showing your design on a t-shirt. It’s a fantastic tool for quickly approving the general size and placement of your artwork. It’s fast, usually free, and perfect for those initial checks.
But a mock-up has its limits. It can't tell you how the ink feels on the fabric, how the colours truly appear on the garment's specific dye, or whether the sizing is consistent. That’s where a physical pre-production sample comes into play. This is a single, fully finished t-shirt, produced using the exact same process as your final order.
Yes, it costs a little extra and adds a few days to your timeline, but a physical sample is absolutely essential in a few key scenarios:
- Large or high-stakes orders where a mistake would be a financial nightmare.
- Trying out a new supplier for the first time.
- When your design has precise brand colours that have to be matched perfectly.
- Testing a new garment style or fabric you haven't worked with before.
Your Pre-Production Sample Checklist
When that sample arrives, it’s time to become a detective. Don't just give it a quick once-over; you need to put it through its paces. A thorough review now can save you a world of pain later.
Reviewing the Print:
- Colour Accuracy: Take the shirt outside or into natural light. Do the colours match your Pantone or CMYK specs? On a dark garment, is the white ink bright and solid, not washed out?
- Print Clarity: Get up close. Are the edges of your design sharp and crisp? Is there any blurriness, bleeding, or smudging?
- Ink Feel: Run your hand over the print. Does it feel how you expected? A screen print should feel slightly raised and durable, whereas a DTG print should be soft and feel like part of the fabric.
- Placement and Size: Grab a tape measure. Is the design positioned exactly where the mock-up showed it would be? Is it printed to the correct dimensions?
Assessing the Garment:
- Garment Quality: Check the seams, stitching, and overall construction. Are there any loose threads or obvious imperfections?
- Sizing Consistency: Try it on. Does the fit line up with the brand’s size chart? If you can, wash and dry it once to see if there’s any major shrinkage.
A physical sample is your only true guarantee. It takes your project from the theoretical world of pixels and mock-ups into the tangible reality of ink and fabric, completely eliminating guesswork.
The Australian custom printing industry is always balancing price sensitivity with the push for more sustainable processes, which means quality can sometimes be inconsistent between suppliers. Taking control of the sampling process ensures you get the premium result you’re paying for. You can learn more about the challenges shaping the Australian custom t-shirt printing market.
If a full print sample isn’t an option for your project, ask your supplier about their expertise with specialised techniques. For example, understanding the finer points of their in-house custom embroidery services can build your confidence in their attention to detail across the board.
Ultimately, this final check protects your investment and makes sure the finished product is something you'll be genuinely proud to put your name on.
Answering Your Top T-Shirt Printing Questions
Even with a solid plan, a few questions always seem to come up when you're ordering custom tees. Getting these sorted early on can be the difference between a project that’s a breeze and one that’s a headache. Let's dive into some of the most common things people ask, whether they're ordering for the first time or the fiftieth.
What’s the Smallest Order I Can Place?
This is probably the number one question we get, and the honest answer is: it depends on the print method.
With screen printing, there’s a fair bit of manual setup involved in creating the screens for your design. To make this worthwhile, most print shops will ask for a minimum order of around 20-25 shirts.
Direct-to-Garment (DTG) printing, on the other hand, is a whole different ball game. Since it works more like a giant inkjet printer, there are no screens. This means there’s often no minimum order at all. It’s perfect if you just need a one-off sample or a really small batch for a tight-knit team.
How Do I Keep My Printed Shirts Looking Great?
You've put all that effort into designing the perfect shirt, so you definitely want it to last. A little bit of TLC goes a long way in keeping the print vibrant and the fabric in good nick.
- Flip it inside out: Before you toss it in the wash, always turn your shirt inside out. This simple trick shields the print from rubbing against other clothes.
- Keep it cool: Hot water is a print’s worst enemy. Stick to a cold, gentle cycle to prevent the ink from fading and the cotton from shrinking.
- Go easy on the soap: A mild detergent is all you need. Harsh chemicals and bleach will absolutely wreck both the print and the fabric over time.
- Let it air dry: If you can, hang your shirts up to dry. The intense heat of a tumble dryer can crack and fade a print. If you’re in a hurry, use the lowest heat setting possible.
Just following these steps will make a massive difference in how long your custom gear lasts.
If you do only one thing, make it this: wash your shirts inside out in cold water. This single habit protects the design from pretty much everything the laundry process can throw at it, keeping your tee looking sharp for ages.
Can You Match My Brand Colours Perfectly?
Absolutely, but we need the right info from you. If you’re screen printing, the gold standard is a Pantone (PMS) colour code. Think of it as a universal recipe book for colour that allows printers to mix the ink to the exact shade you need.
DTG is a little different because it prints using a CMYK process (like your office printer). It's incredibly accurate, but the final look can be subtly affected by the t-shirt’s fabric and base colour. For projects where the colour has to be spot-on, getting a physical sample printed first is always the safest bet.
Once you’ve got your awesome new tees, the next step might be selling them. If you're building an apparel line, learning the ropes of winning SEO for fashion brands is a great way to make sure your customers can find you online.
Ready to get your design on a shirt? The team at Simply Merchandise knows this stuff inside and out and can guide you through the whole process, making it surprisingly simple. Start your project with us today!


