

Embroidered work shirts are so much more than just something your team wears to work. Think of them as a smart investment in your brand's image, a way to build a professional front that instantly tells customers you mean business. They turn your team into walking brand ambassadors, building recognition and trust with a durable, high-quality finish that lasts.
Why Embroidered Work Shirts Are a Smart Business Investment
A plain work shirt is a bit like a standard business card – it gets the job done, but it’s easily forgotten. Now, picture that same shirt with a beautifully embroidered logo. It’s no longer just a shirt; it’s a mobile billboard, constantly advertising your business with a premium, textured design that screams quality and attention to detail. This simple touch elevates your entire brand, turning every handshake and client visit into a powerful marketing moment.
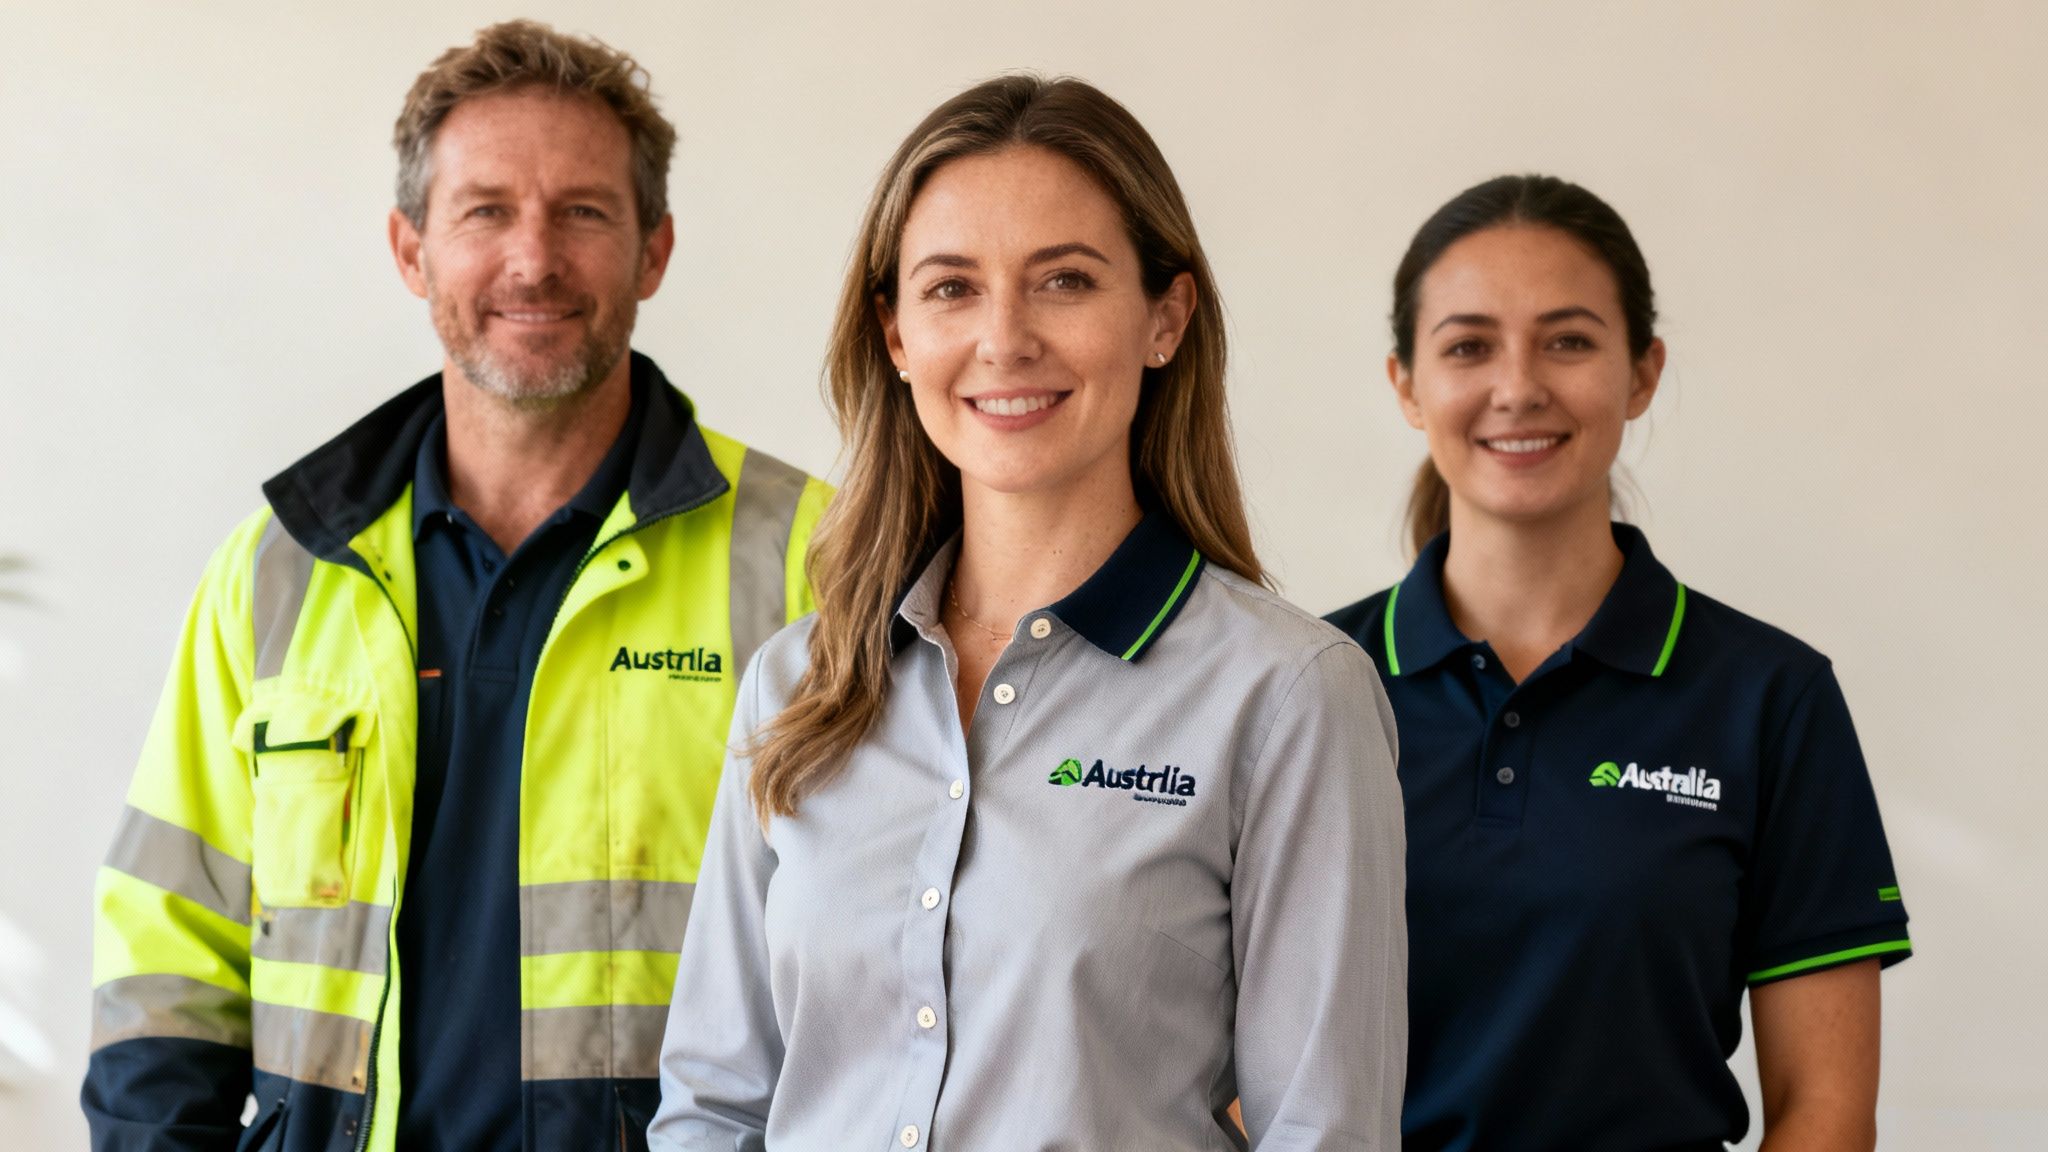
This kind of tangible branding also works wonders for team morale. When everyone is kitted out in a cohesive uniform, it fosters a real sense of unity and professionalism. That pride in their appearance often translates directly into better customer service and a stronger team identity.
Building Trust Through Professional Appearance
For any Australian business, that professional image is gold. It doesn’t matter if you’re a construction crew in Perth needing branding that can handle the grit and grime, or a corporate team in a Sydney high-rise aiming for a polished, client-facing look – embroidered shirts just work. They send a clear signal that your business is established, reliable, and takes genuine pride in what it does.
In today's competitive market, those first impressions count for everything. A unified team look instantly builds credibility and makes your business far more memorable to potential clients. It’s an investment that goes way beyond the shirts themselves; it’s an investment in your company’s reputation.
An embroidered uniform doesn’t just identify an employee; it reinforces the quality of the brand itself. Every stitch represents a commitment to professionalism, helping to build the subconscious trust that is vital for long-term customer loyalty.
A Growing Trend in Australian Workwear
We're seeing a massive shift towards professional branded apparel across the country. Australia's workwear market was recently valued at USD 534.24 million and is on track to hit a whopping USD 751.42 million by 2033. Embroidered work shirts are a huge part of that growth.
This boom is driven by a greater focus on professional dress codes in industries like manufacturing, healthcare, and the trades, where durable, high-visibility branding isn't just nice to have – it's essential.
Ultimately, choosing embroidered work shirts is a strategic move that pays off in multiple ways. It boosts your brand's visibility, strengthens your team, and builds that all-important customer trust. While you’re thinking about uniforms, it might be worth exploring our full range of promotional products to create a complete branding package for your business.
Choosing the Right Fabric and Shirt Style for Your Team
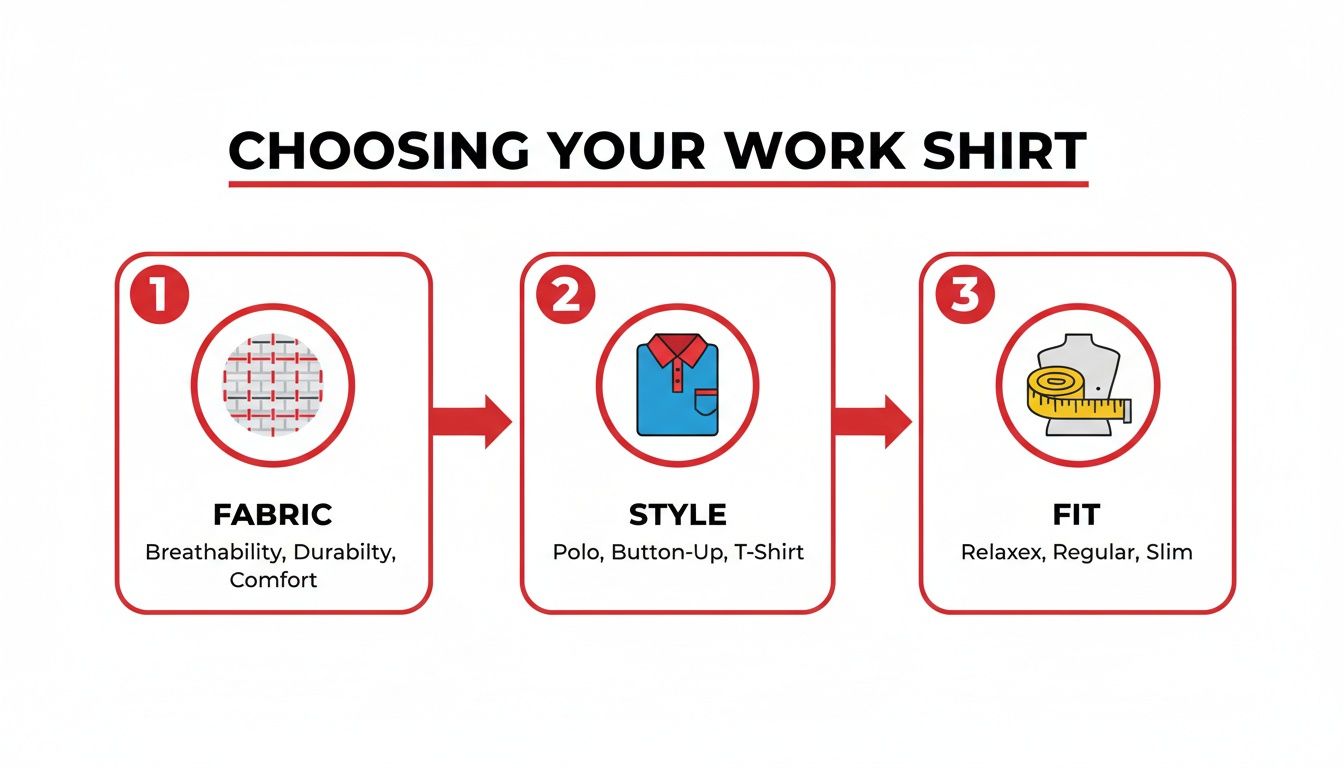
Getting your embroidered work shirts right starts long before a single stitch is made. The first, and arguably most important, decision is the garment itself. The fabric and style you choose are the foundation for your team's comfort, the uniform's durability, and the overall professional image you present.
Think of it like an artist choosing a canvas. A cheap, flimsy canvas will never do a masterpiece justice, and the wrong fabric will undermine even the most beautiful embroidery. This is especially true here in Australia, where our work environments can swing from a humid Brisbane summer to a freezing Melbourne winter. The right shirt makes sure your team not only looks the part but feels comfortable enough to do their best work.
Finding the Perfect Fabric for the Job
Fabric is all about function. It’s what determines how breathable a shirt is, how it handles sweat, whether the colour fades after a few washes, and how well it supports the embroidery over time. Nail this, and you’re halfway to a brilliant uniform.
Let's break down the usual suspects:
- 100% Cotton: You can't beat cotton for that classic, soft feel. It’s naturally breathable and feels great against the skin, making it a go-to for office teams or roles that don't involve a lot of physical running around. The downside? It soaks up moisture like a sponge and takes a while to dry, so it’s not ideal for active, outdoor work.
- 100% Polyester: This is the high-performance workhorse. Polyester is tough as nails, resists wrinkles, and is fantastic at wicking moisture away from the body to keep you dry. Because it's synthetic, the colours stay bold and bright, wash after wash. It’s the perfect choice for tradies, sports teams, and anyone working up a sweat.
- Poly-Cotton Blends: Often the sweet spot, these blends give you the best of both worlds. You get the soft comfort of cotton mixed with the strength, durability, and moisture-wicking power of polyester. This versatility makes them a hugely popular choice for embroidered work shirts, hitting that perfect balance of comfort and resilience for almost any industry.
Choosing the right material is a direct investment in your team’s daily comfort and productivity. A moisture-wicking polyester polo might be essential for a Perth landscaping crew, while a breathable cotton button-down could be perfect for a Sydney real estate agency.
To help you decide, let's compare these fabrics side-by-side.
Work Shirt Fabric Comparison for Australian Climates
Here’s a quick-glance table to help you match the right material to your industry and the unique demands of Australian weather.
| Fabric Type | Best For (Industry/Role) | Pros | Cons for Embroidery | Ideal AU Climate |
|---|---|---|---|---|
| 100% Cotton | Office staff, retail (indoor), corporate, healthcare | Very breathable, soft, hypoallergenic, professional look. | Can wrinkle easily, may pucker with dense logos, prone to fading. | Mild climates; temperate indoor environments year-round. |
| 100% Polyester | Trades, sports teams, hospitality, outdoor events | Moisture-wicking, durable, colourfast, wrinkle-resistant. | Less breathable than cotton, can hold odours, can be slippery for stitching. | Hot & humid (QLD, NT); high-exertion roles anywhere. |
| Poly-Cotton Blend | General purpose, trades, retail, field staff, drivers | Best of both: soft yet durable, less wrinkling, holds colour well. | Quality can vary; a good "all-rounder" but not the best at any one thing. | Versatile for all climates (VIC, NSW, SA) and seasons. |
Ultimately, the goal is a fabric that can stand up to the job and the weather, ensuring your team stays comfortable and your branding stays sharp.
Matching Shirt Style to Your Brand Identity
With the fabric sorted, it's time to pick a style that reflects who you are as a company. The cut and type of shirt you choose sends a powerful message about your brand before your team even says hello.
For example, a classic button-down business shirt immediately projects a formal, corporate image. It’s the perfect fit for financial advisors, real estate agents, or front-desk staff in a professional setting. It creates a crisp canvas for a chest logo and communicates authority and precision.
Polo shirts, on the other hand, strike a brilliant balance between smart and casual. They are incredibly versatile and look right at home everywhere, from a retail floor or café to a construction site or a casual Friday office. They’re the ultimate all-rounder, which is why they’re one of the most popular choices for branded apparel. If you're looking for inspiration, it can be helpful to browse through a few online stores that showcase different shirt styles and apparel collections to get a feel for what’s out there.
At the end of the day, you want a garment that works for your employees and speaks for your brand. A well-chosen shirt unifies your team and creates a consistent, professional look for your customers. To get started, feel free to explore our range of customisable clothing categories to find the perfect match for your business.
How Your Logo Becomes a Stitched Masterpiece
Ever wondered how your crisp digital logo gets transformed into a rich, textured design on a work shirt? It’s not a simple 'print' job; it’s a fascinating process that blends artistry with some very clever technology. Your design needs to be carefully translated from pixels on a screen into a language that an embroidery machine can understand.
This all starts with a crucial first step called digitising. Imagine your logo file (like a JPEG or PNG) is a painting. An embroidery machine can't see pictures; it only reads a specific set of instructions. Digitising is where a skilled technician creates a stitch-by-stitch map, telling the machine exactly where to put the needle, what kind of stitch to use, and when to switch thread colours.
It’s a hands-on process. An expert uses specialised software to manually trace your design, converting it into a set of precise digital commands. There’s a real art to it, as they have to capture the unique details and feel of your logo perfectly in thread.
The Blueprint for Your Branding
The digitised file is the absolute foundation for a good-looking embroidered logo. A rushed or poorly digitised file will lead to a messy, unprofessional result, no matter how fancy the machine or how great the shirt. Think of it as the detailed blueprint that guides the entire production.
This blueprint determines everything from the density of the stitches to the direction they run in, which even affects how light reflects off the threads. If you're curious about the nuts and bolts, you can get a deeper look into what embroidery truly involves and appreciate the craftsmanship behind it.
Just like an architect’s blueprint is essential for a sturdy building, a professionally digitised file is non-negotiable for a crisp, durable embroidered logo. It’s the single most important factor in achieving a high-quality finish.
Stitch Count: The Currency of Embroidery
Once your logo is digitised, the file will contain a specific stitch count. This number is exactly what it sounds like: the total number of individual stitches needed to bring your design to life. The stitch count, not necessarily the logo’s physical size, is the primary factor that determines the cost of embroidery.
This means a small, intricate design packed with detail could actually have a higher stitch count (and cost more) than a larger, simpler outline. More stitches mean more thread and more machine time, which all feeds directly into the price per shirt. It’s also why simplifying a complex logo can sometimes be a smart way to make it more budget-friendly.
Of course, before you even get to this stage, you need the right canvas for your logo.
As you can see, locking in the right fabric, style, and fit for your team is the foundational decision that sets your branding up for success.
The Unseen Heroes: Backing and Thread
Beyond the digital file, two physical materials are absolutely vital for a great result: the thread and the backing.
- Thread Types: For workwear, polyester thread is the industry standard. It’s incredibly strong and known for its vibrant, colourfast properties. It’s built to handle tough, industrial washing without fading, bleeding, or fraying, keeping your brand looking sharp for the long haul.
- Backing Material: This is a piece of stabilising fabric placed behind the area being embroidered. It acts like a temporary frame, holding the shirt fabric taut and stopping it from puckering or stretching while thousands of stitches are punched through it. Without the right backing, your logo would warp and lose its shape entirely.
From the meticulous digitising stage to the final stitch, every step is carefully managed to create embroidered work shirts that aren’t just uniforms—they're durable, professional symbols of your brand’s commitment to quality.
Mastering Logo Placement and Size for Maximum Impact
You’ve nailed down the perfect fabric and shirt style—now it’s time to decide where your embroidered logo will live. This decision is far more strategic than it might seem. Getting the placement and size right is just as important as the logo design itself for creating a professional, polished look.
Think of your work shirt as a piece of prime real estate. You want your brand in a high-traffic area where it gets noticed for all the right reasons. An oversized logo might shout, but a well-placed, tastefully sized one starts a conversation. It’s all about creating maximum impact without overwhelming the garment or the person wearing it.
The Most Effective Logo Placements
While you could technically embroider a logo almost anywhere, a few tried-and-true locations consistently deliver the best results for professional workwear. Each spot has its own strategic advantage, so it’s important to match the placement to how your team interacts with customers and colleagues every day.
These are the go-to options for embroidered work shirts:
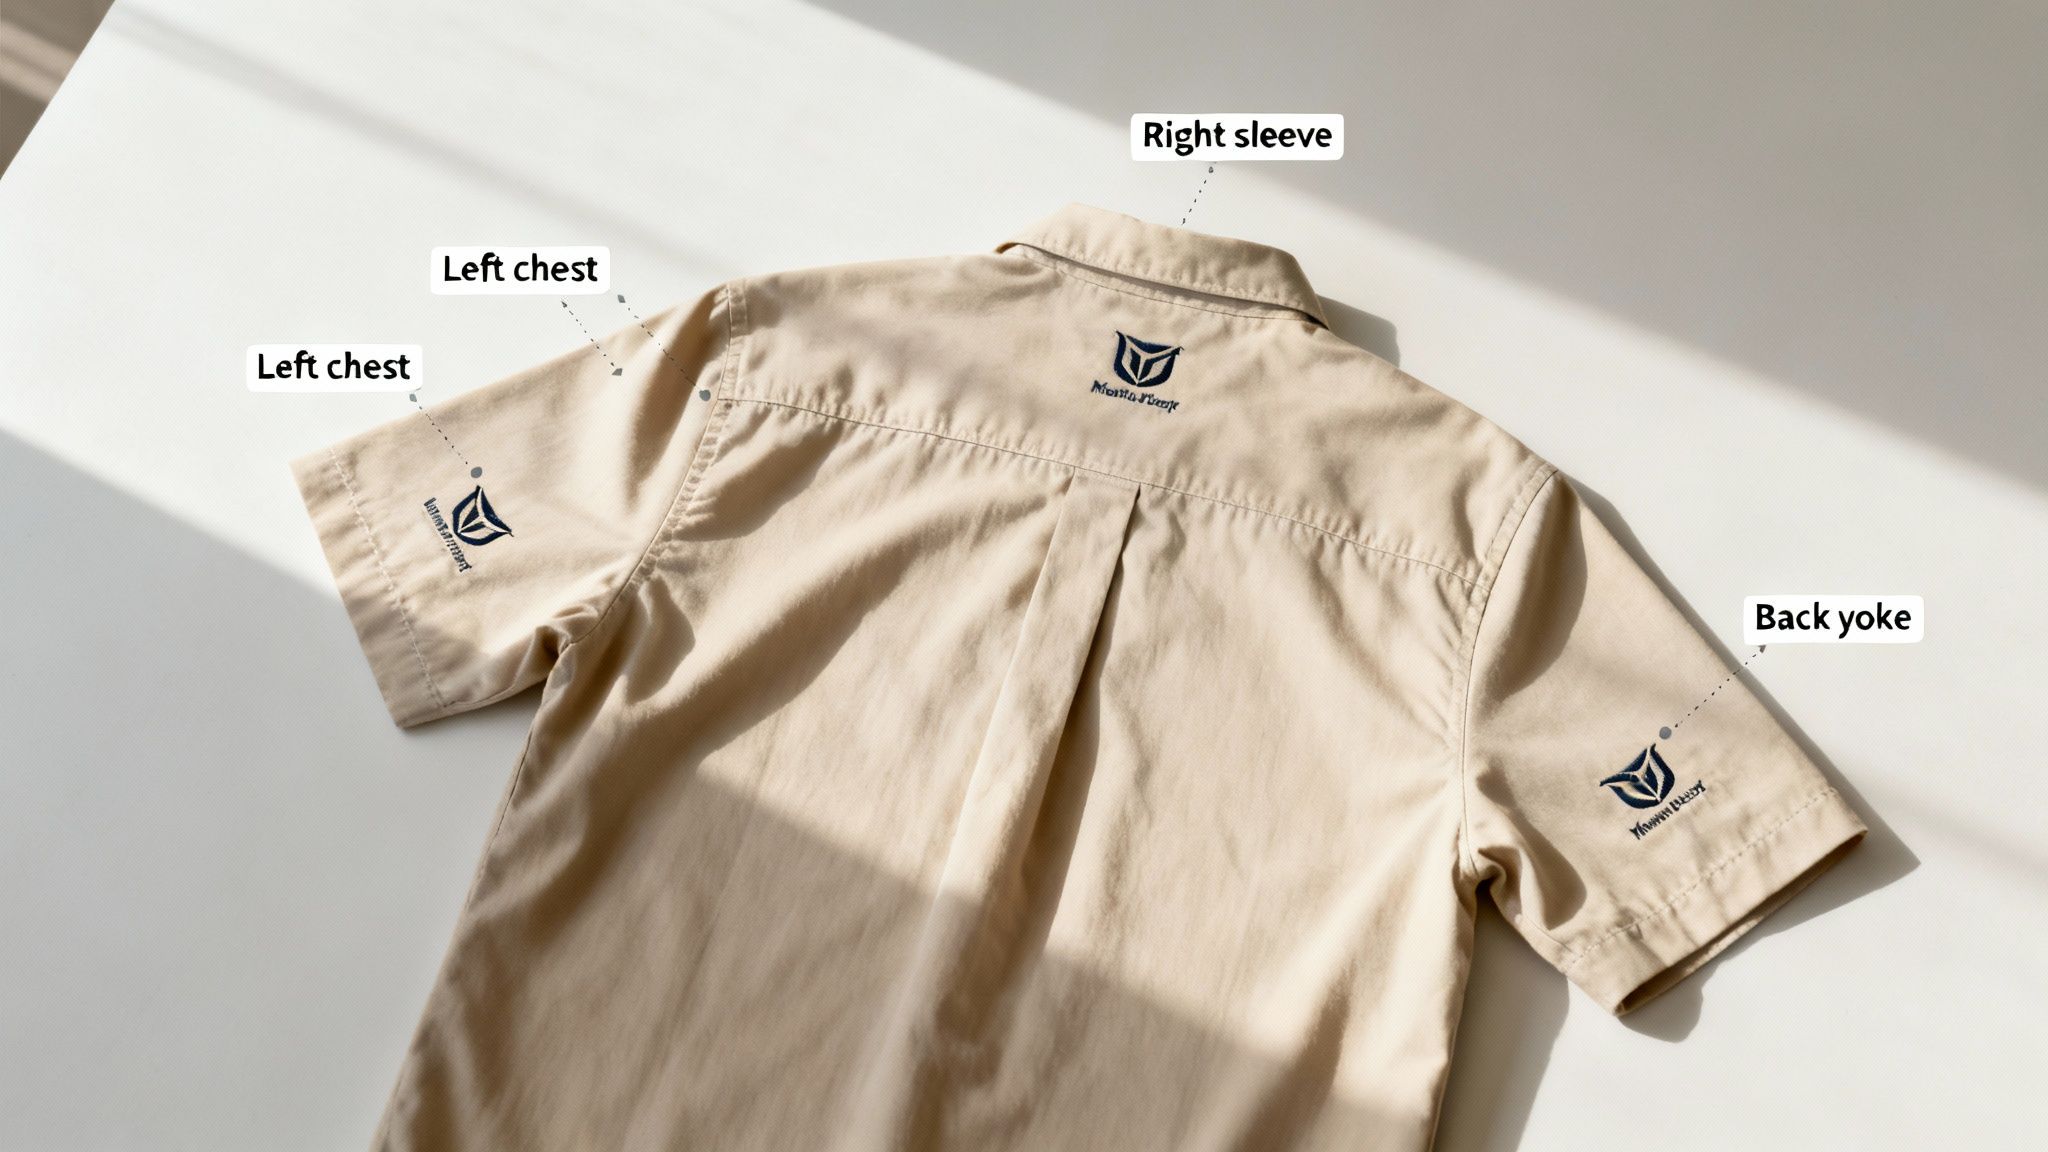
- Left Chest: This is the undisputed classic. Positioned over the heart, it's the standard for corporate and professional settings because it's immediately visible during face-to-face conversations and handshakes. It just feels right—conveying tradition and authority.
- Right Chest: A great alternative, especially if the left side is already taken up by a name or a pocket. The right chest offers the same professional feel and direct line-of-sight visibility.
- Sleeves (Left or Right): A logo on the sleeve is perfect for adding secondary branding, like a supplier’s logo or a specific industry certification. It’s also incredibly effective for staff who are often seen from the side, like retail workers stocking shelves or event staff guiding attendees.
- Back Yoke: Located just below the collar on the back, this spot offers a large, prominent canvas for your brand. It’s ideal for teams who are frequently viewed from behind—think technicians, removalists, or event security—ensuring your brand is always on display.
Getting the Size Just Right
Once you’ve picked the spot, sizing is the next hurdle. A common mistake is thinking bigger is always better, but proportion is the key to a polished look. An oversized chest logo can pucker the fabric and look clumsy, while text that's too small becomes a blurry, unreadable mess of stitches.
A well-sized logo complements the shirt. It should feel like a tasteful brand accent, not a loud advertisement. The goal is clear visibility and effortless professionalism, ensuring every detail represents your brand perfectly.
As a general rule of thumb, here are some standard size recommendations to get you started:
| Placement Location | Recommended Width | Strategic Purpose |
|---|---|---|
| Left/Right Chest | 7.5 cm – 11.5 cm | The professional standard for primary branding; ideal for most corporate logos. |
| Sleeve | 2.5 cm – 7.5 cm | Excellent for secondary logos, web addresses, or sponsor graphics. |
| Back Yoke | 10 cm – 15 cm | Maximises visibility for staff often seen from behind; great for larger text. |
These dimensions are a solid starting point for making sure your branding is both impactful and refined. For a deeper dive into making your design stitch-perfect, check out our guide on preparing your files for custom embroidery logo services.
Taking Your Order from Concept to Reality
Alright, you've picked the perfect shirt and nailed down your logo design. The hard part is over! Now it's time to actually place the order. This final stage is all about understanding the nuts and bolts of the process—pricing, timelines, and quality checks—to make sure everything runs smoothly from your initial quote to the day your shirts arrive.
Think of it like the final stretch of a long drive. You've planned your route and know where you're headed; now you just need to follow the road rules to avoid any last-minute hiccups. Let's break down exactly what to expect.
Decoding Your Quote: What Really Drives the Cost?
When you get a quote for embroidered shirts, the price isn't just pulled out of thin air. It really comes down to two key things. Getting your head around these will help you manage your budget and make smarter choices.
-
Stitch Count: As we mentioned earlier, the biggest factor in embroidery cost is the stitch count, not just how big the logo looks. A complex, detailed logo with lots of filled-in areas needs a heap of thread and takes longer for the machine to stitch. That’s why a clean, simple logo is almost always cheaper to embroider.
-
Order Quantity: The other big one is volume. Just like with most things that are manufactured, the more shirts you order, the less you'll pay for each one. Your supplier can set up their machines once and let them run, which makes bigger orders much more efficient. This is a massive advantage when you're outfitting a whole team.
Here in Australia, keep an eye out for local suppliers offering deals like free setup or delivery. These can make smaller orders much more affordable, so always ask what’s included in the price to make sure there are no surprises.
The Make-or-Break Step: Sampling and Proofing
Before a single stitch is sewn on your final shirts, you’ll go through a proofing stage. Honestly, this is the most critical checkpoint of the whole process. It's your last chance to spot any issues and ensure the final product is exactly what you envisioned.
You'll typically see two types of proofs:
- Digital Proof: This is a digital mock-up showing your logo on a picture of the shirt. It's fantastic for checking the placement, size, and general colours. What it can't do is show you the texture or true depth of the embroidery.
- Physical Stitch-Out Sample: This is where they embroider your actual logo onto a swatch of fabric. It lets you see and feel the real deal—the thread, the quality of the stitching, and how the colours look in real life.
We can't stress this enough: always ask for a physical stitch-out sample. It is the single best way to avoid any miscommunication and guarantee the final logo looks as good in reality as it does on your screen. It’s the bridge between a flat digital design and a high-quality, tangible product.
Once you approve that sample, you're giving the green light for the full production run, so take your time and look at it closely. Getting your artwork file right from the beginning can also save a lot of back-and-forth. For a few pointers, check out this simple guide for submitting artwork—it’ll make the whole thing a lot smoother.
Production and Delivery Timelines in Australia
After you’ve signed off on your sample, it’s off to production. Having a realistic idea of the timeline is crucial, especially if you need the shirts for a specific event or team launch.
While it can vary a bit between suppliers, a good rule of thumb for embroidered work shirts in Australia is 10-15 business days from the moment you approve your artwork. This can sometimes stretch out a little depending on how big your order is or how busy the production schedule is.
Once the shirts are ready, delivery time depends on where you are. If you're in a major city like Sydney, Melbourne, or Brisbane, you’ll likely get them pretty quickly. For those in regional or more remote spots in WA or the NT, it might take a few extra days. Just be sure to confirm the estimated delivery date with your supplier so you can plan ahead and get your team looking sharp right on schedule.
Extending the Life of Your Embroidered Workwear
You’ve invested in quality embroidered work shirts to keep your team looking sharp – and with a little bit of care, you can ensure they stay that way for years to come. Looking after your uniforms isn't complicated, but it's crucial for protecting the detailed stitching and bright colours that make your logo pop.
Think of it like maintaining a company car; a few simple, regular steps ensure it’s always a great reflection of your business. Following these care tips will keep your team’s uniforms looking professional and cohesive, protecting your investment and making sure you get the most value out of them.
Washing and Drying Best Practices
When it comes to washing, the golden rule is to be gentle. Aggressive wash cycles and high heat are the number one culprits for damaging both the shirt fabric and the delicate threads of your logo.
To keep your embroidered shirts in top nick, just follow these simple steps:
- Turn Them Inside Out: Always turn the shirt inside out before it goes into the wash. This simple trick puts a layer of fabric between your embroidery and the rest of the laundry, protecting it from rubbing and friction.
- Stick to a Cool Wash: Hot water is bad news for thread colours, often causing them to fade or even shrink slightly around the design. A cool wash cycle (maximum 30°C) is the way to go. It’s much kinder to the embroidery and cleans just as well with today’s detergents.
- No Harsh Chemicals: Steer clear of bleach or any detergents that contain chlorine. These chemicals are far too aggressive; they’ll weaken the polyester threads and strip the colour right out, leaving your logo looking tired and faded.
- Air Dry if You Can: Tumble dryers can blast your embroidery with too much heat. The best approach is to hang the shirts up and let them air dry. If you’re in a hurry and have to use a dryer, make sure it’s on a low-heat or delicate setting.
If you remember only one thing, make it this: high heat is the ultimate enemy of embroidery. It can actually melt the polyester threads, destroying their sheen and structure and permanently ruining the look of your logo.
The Secret to Safe Ironing
Whatever you do, never iron directly over an embroidered logo. The focused heat from an iron will melt or scorch the threads in seconds, and that’s damage you just can’t undo.
The right way to do it is to iron on the reverse side of the shirt. For an extra layer of protection, you can even place a thin cloth (like a tea towel) between the garment and the iron. It’s a small habit that makes a huge difference in keeping both the shirt and the logo looking crisp and professional.
Got Questions About Embroidered Work Shirts?
Jumping into custom workwear for the first time can feel a bit overwhelming, and you're bound to have a few questions. To help you feel completely confident in your choices, we’ve put together answers to some of the most common things people ask us when they're getting started.
What’s the Smallest Order I Can Place?
This is probably the number one question we get, especially from smaller businesses worried about minimum order quantities (MOQs). The good news is, you don’t need to order hundreds of shirts to get your team looking sharp.
While it’s true that bigger orders get you a better price per shirt, many suppliers are flexible. We often cater to smaller runs for new businesses, specialised teams, or even one-off events. It's always best to just ask. Some shirt styles have lower minimums, and it's worth checking for any deals like free setup that can make a small order much more affordable.
Can You Embroider My Logo if it Has Gradients?
That's a great question, and it really gets to the core of what embroidery can and can't do. Because embroidery uses solid-coloured threads, it can't perfectly recreate that smooth, seamless colour fade you see in a digital design.
But that doesn't mean it's a deal-breaker. A skilled digitiser can work some magic, blending different thread colours with clever stitching techniques to create a gradient-like effect. For logos with super fine text or tiny, intricate details, we might need to simplify things a little to make sure the final result is clean and professional.
A good supplier will always show you a digital proof and, more importantly, a physical stitch-out sample for you to approve. This is your chance to see and feel exactly how your logo will look in thread before you say yes to the full order.
How Do You Work Out the Price for Embroidery?
Knowing how the costs are broken down helps you stay on budget. The single biggest factor that determines the price of your embroidered shirts is the stitch count—that's the total number of individual stitches needed to bring your design to life.
This means a small but highly detailed logo might have a higher stitch count, and therefore a higher cost, than a much larger, simpler outline. Other things that play a part are the total number of shirts in your order and how many different thread colours you need. Any quote you get should be transparent, clearly separating the cost of the shirt from the cost of the branding.
Is Embroidery More Durable Than Printing?
Absolutely. Embroidery is incredibly durable and will often outlast the shirt it’s stitched onto. The high-quality polyester thread we use today is built to be colourfast and resist fraying, even after being thrown in an industrial washing machine time and time again.
While a top-quality screen print is also very tough, embroidery gives you a premium, textured finish that will never crack or fade. It keeps its sharp, professional look for years, making it a fantastic long-term investment for your team's uniform. For similar advice on garment longevity, you might find some useful tips in articles about choosing training clothes that last and are a direct investment in performance.
Ready to create a professional look for your team? Simply Merchandise is Australia's go-to expert for high-quality, custom embroidered work shirts. Explore our range and get a free quote today!


