



There's a moment every buyer of engraved timber runs into. The samples arrive, the logo looked crisp on the mockup, and in your hand it's a brown smudge with a scorched outline and a grey haze settled into the grain. Someone in the meeting asks whether the whole order will look like that.
The instinct is to blame the machine, the operator or the file. Usually it's the board. Laser engraving wood is a material decision before it's a settings decision, and a plank with the wrong adhesive, the wrong grain direction or the wrong finish will defeat a perfect file every time.
What follows is the working version: which timbers hold a crisp mark, which ones still read after a year of handling and sun, how to test without burning a production run, and how to keep the job safe. It's the order I'd work in, starting with what sits under the surface.
Which Wood Engraves Best and Why
Laser-grade plywood or a dense solid hardwood gives the most dependable result, because of what the beam does when it lands.
What the beam does
A laser doesn't print on timber. It cuts into the material to expose the layer underneath, so the mark takes the colour of whatever sits beneath the surface. An even, pale subsurface reads cleanly; a blotchy board reads as a bruise.
Scrape a strip of paint off a wall and you don't get an image, you get whatever the plaster happens to be. Engraving works the same way. The mark is only as good as the layer it reveals.
The rule that settles most jobs: change the board before you change the power curve. A stubborn board will keep failing however long you spend on settings.
Softwoods such as pine burn quickly, so they produce strong contrast with less energy, and they hide resin pockets that char unevenly across a logo. Hardwoods such as eucalypt hold a more uniform surface but need speed, power and ventilation tuned to the species. SBEnrc's timber material case study puts the distinction plainly: softwoods generally engrave faster and with stronger contrast, while hardwoods and engineered boards can give more uniform surfaces at the cost of adjusted settings.
The boards you'll offer
| Material | How it engraves | Main risk |
|---|---|---|
| Solid softwood, such as pine | Faster, stronger contrast | Resin pockets and uneven darkening |
| Solid hardwood, such as eucalypt | Uniform surface; needs tuned speed, power and ventilation | Longer test runs before production |
| MDF | Smooth mark, but binders release fumes | Unknown binders; reject unless laser-rated |
| Ordinary plywood | Veneer engraves; glue line may show | Unknown adhesive and emissions |
| Laser-grade plywood | Clear glue line and consistent contrast | Higher cost than ordinary plywood |
The difference between the last two rows is the whole argument. The Austral Plywoods product reference guide describes laser-grade panels by a clear glue line, independently audited chain-of-custody certification and a Super E0 formaldehyde rating, the lowest emission rating obtainable for that product category. The same reference lists formaldehyde-free adhesives and Australian-grown species including Tasmanian Blackwood, Tasmanian Sassafras, Queensland Walnut, NSW Jarrah, eucalypt and hoop pine.
Keep two kinds of paperwork separate. FSC, PEFC and Responsible Wood claims answer a sourcing question, while an emission rating answers what the panel may release when heat reaches the adhesive. A board can carry one and not the other, and for school or office work the second matters more. Where a brief includes sustainability, the eco products range at Simply Merchandise is where I'd start the conversation.
If you can't name the board and its adhesive, don't engrave it. That single rule prevents most of the bubbling edges, mystery fumes and ruined runs that get blamed on the machine.
Matching Wood to Each Merchandise Use
The right timber isn't the one that photographs best on a supplier's page. It's the one that survives where the piece is going to live: a desk drawer, a trade-show tote, a school bag, or a fence in Queensland sun.
| Use case | Suitable wood | Finish | What wears first |
|---|---|---|---|
| Indoor gifts and desk pieces | Solid hardwood or laser-grade plywood | Light sealer | Little; fine lines hold |
| Event giveaways | Laser-grade plywood | Clear sealer with shallow marks | Surface scuffs from handling |
| School merchandise | Laser-grade plywood with documented low emissions | Matte sealer | Edges from daily handling |
| Outdoor signage | Solid hardwood or laser-grade plywood | Exterior-rated coating | Coating and mark under UV and moisture |
Read the table by where the piece lives
Indoor gifts and desk pieces are the forgiving job and the one worth spending on. Solid hardwood or laser-grade plywood under a light sealer keeps fine lines crisp for years, because nothing much happens to a paperweight. Awards and plaques raise the stakes, since the piece sits on a shelf being read at close range. Wood plaque engraving from Evright Industrial is a useful benchmark for how clean a hardwood mark should look before you approve a production run.
Event giveaways fail differently. They pass through hundreds of hands and then get dropped in a bag. Shallow, clean marks under a clear sealer outlast deep burns, and a bold logo reads across a trade-show table while a four-line tagline disappears. Promotional keyrings are the classic case: small surface, heavy handling, no room for a delicate file.
The two that wear hardest
School merchandise carries a procurement obligation most buyers ignore. Ask for documented low-emission board and a matte sealer, because a gloss finish throws glare under classroom lighting and hides the mark from an angle. The edges go first on anything that lives in a school bag.
Outdoor signage is where optimism gets punished. Solid hardwood or laser-grade plywood with an exterior-rated coating gives you a fighting chance, and even then the coating and the mark both take UV and moisture. On a north-facing wall, a printed graphic will often outlast an engraved one.
Test before you promise: engrave an offcut, seal it with the planned finish, rub it with a damp cloth and a mild household cleaner, then check after 24 hours whether the mark kept its contrast. Solvent-based cleaners on an untested sealer soften the coat and lift colour.
For anything heading outdoors, put a test piece in sun and weather over a sustained period before the design is approved for the whole run. The order of decisions stays fixed: use case, then wood, then finish, then artwork. Backwards is how a beautiful file lands on a board that can't hold it.
Designing Logos That Survive the Engraver
A file that looks sharp at 400% zoom is not proof. The engraver reads stroke weight, spacing and negative space at the size the mark will be, on the board it will sit on.
Here's the checklist I'd run before any file leaves the design folder.
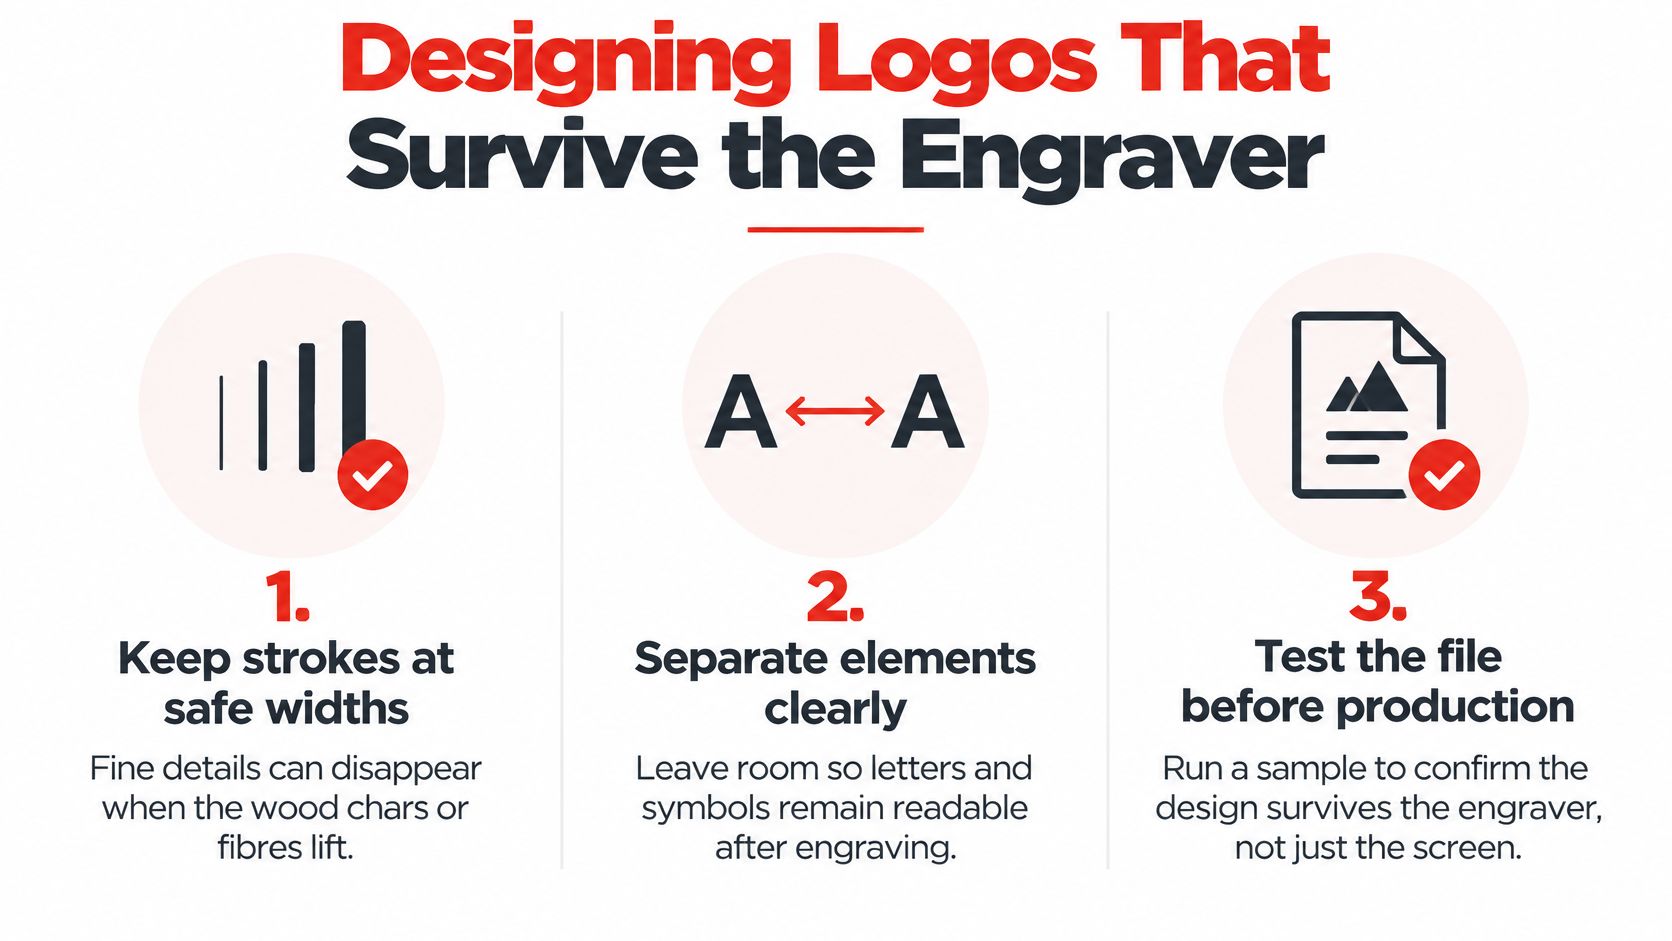
Six rules that decide whether the mark reads
- Keep strokes at 0.5 mm or wider. Online Laser Cutting's guide to Australian woods reports a minimum raster-etching line width of 0.5 mm for some Australian species, so anything finer fills in with char and vanishes.
- Match font weight to text height. Thin scripts blur first, and a light-weight sans at small size loses its counters. Choose a medium or semibold cut rather than shrinking a display face.
- Break up large solid fills. A solid block darkens unevenly and leaves heat-affected patches across the grain. Hatching or an outline holds its shape and looks deliberate.
- Run the grain with the longest dimension. The same reference notes that grain direction can make long, thin pieces fragile, so a narrow nameplate cut across the grain is a breakage waiting for a courier.
- Don't assume darker means tougher. Engraving leaves a recessed, thermally altered surface. A protective coating may improve stain resistance while shifting colour and adding glare that makes the mark look softer than it is.
- Approve a proof on the actual board. Screen mockups lie about contrast. A physical proof on the production substrate is the only thing that tells you whether the logo reads.
Treat each element separately
Fine lettering, detailed artwork and large solid designs may need different treatments, so decide per element rather than per file. A logo lockup might want an outline for the wordmark, hatching for the icon and a solid rule for the divider between them.
Send a clear logo file, and confirm artwork size, colours and placement before production is approved. If you're preparing the file now, these artwork submission tips for beginners cover the formats and setup that save a redo.
When print beats engraving
Gradients, photographs and full-colour graphics belong in print. Engraving reduces everything to one tone against the timber, so a photographic portrait becomes a muddy shape and a soft gradient becomes a hard edge. If a detail disappears on the offcut proof at its real size, redesign it or switch the process.
Safe Operation, Fumes and Compatible Materials
Engraving timber turns part of the board into smoke, vapour and fine particulate. That makes it a fume, dust and fire-control job as much as a marking job, and the machine has to be set up for that before the first file runs.
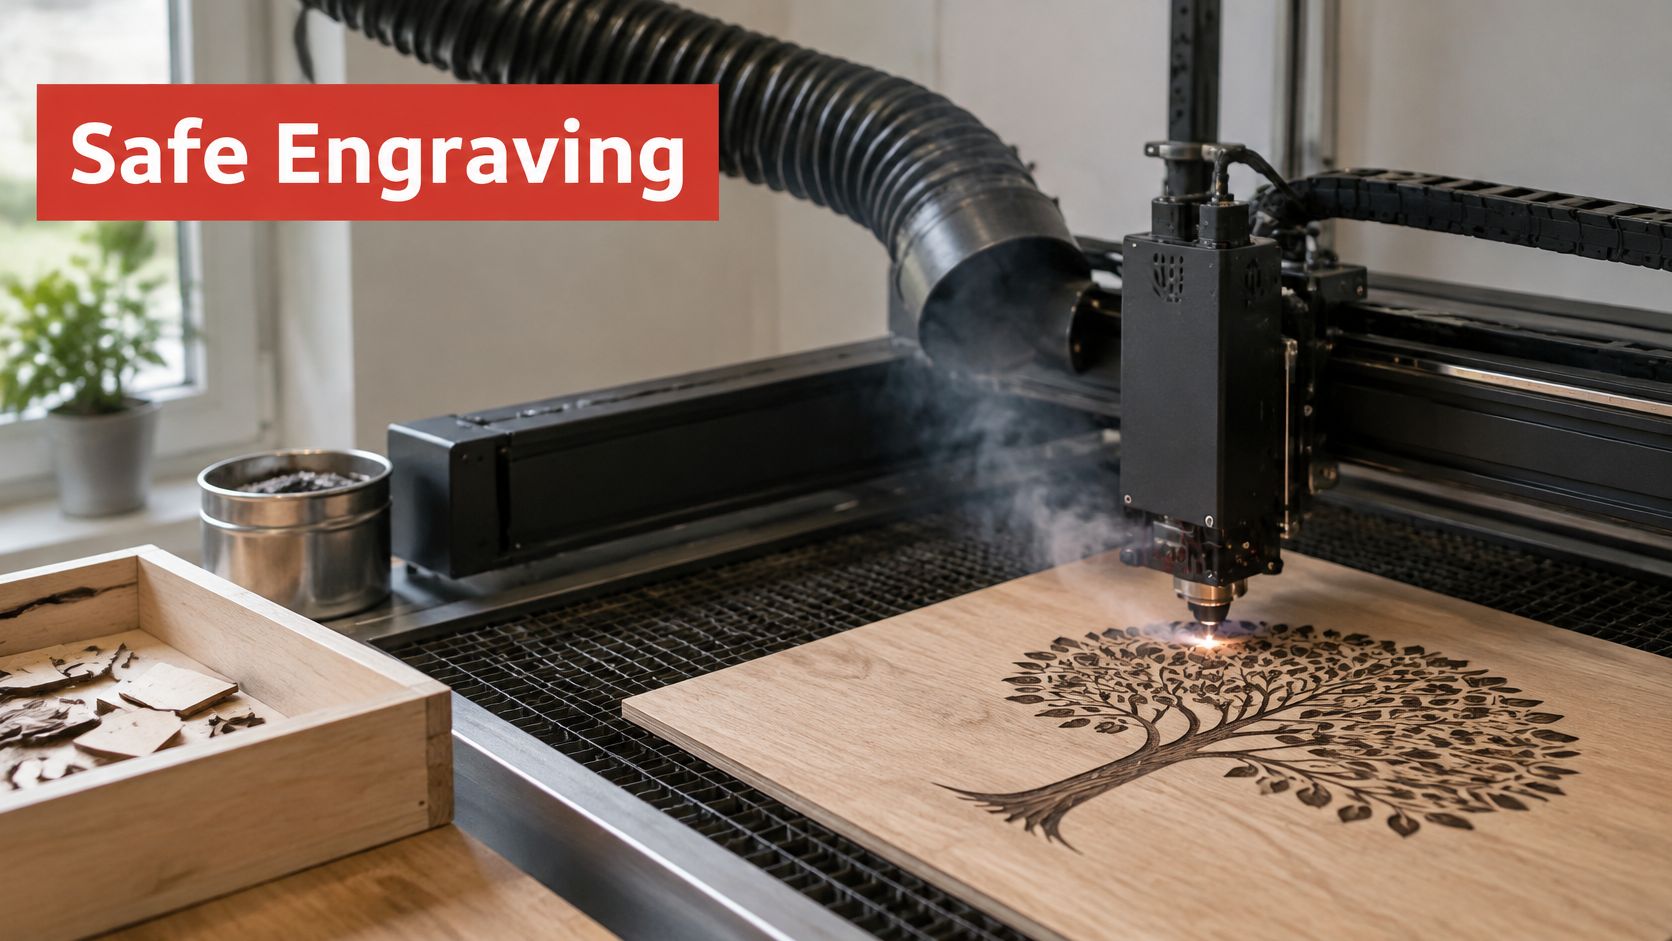
The controls that aren't optional
Australian university and education guidance operates laser equipment under Australian and New Zealand laser-safety frameworks, with suitable guarding or an enclosure, trained operators, maintained interlocks and effective exhaust extraction, as set out in the University of Newcastle laser safety guide. Queensland's operational procedure adds the practical layer: an exhaust system attached and running, the material safety data or product information reviewed, competent trained operation, and an appropriate fire extinguisher nearby.
Residue is the part people let slide. Soot on the bed, haze on the optics and build-up inside the extraction path all reduce optical performance and raise ignition risk, and they do it slowly enough that nobody notices until a job flares.
Material screening isn't optional either. Reject PVC and any vinyl-containing material, and reject laminates, paints, adhesives or treatments whose composition nobody can confirm. Class 3B and Class 4 laser users also need documented procedures and training covering eye, skin, access and reflected-beam hazards.
A routine to post beside the machine
- Verify the board specification against the job sheet before it goes on the bed.
- Inspect the enclosure and interlock, and confirm the guard closes and locks out properly.
- Start extraction before firing, not after the first pass.
- Run a low-risk test mark on an offcut or a hidden area.
- Monitor for flame or abnormal smoke for the whole job rather than walking away.
- Clean residue from the bed, optics and extraction path after every job.
Some work shouldn't go near the laser at all: a glossy coated board, an unknown import, a vinyl-faced panel. Those move to custom printing options or back to the supplier for a specification sheet.
How to Dial In Contrast on a Test Offcut
Start with a grid of short lines on an offcut, then judge each cell by the mark it leaves. Contrast comes from heat input, focus and surface chemistry acting on one specific board, and the same glue lines, resin load and coatings that decided whether the board belonged near the laser now decide how dark it burns.
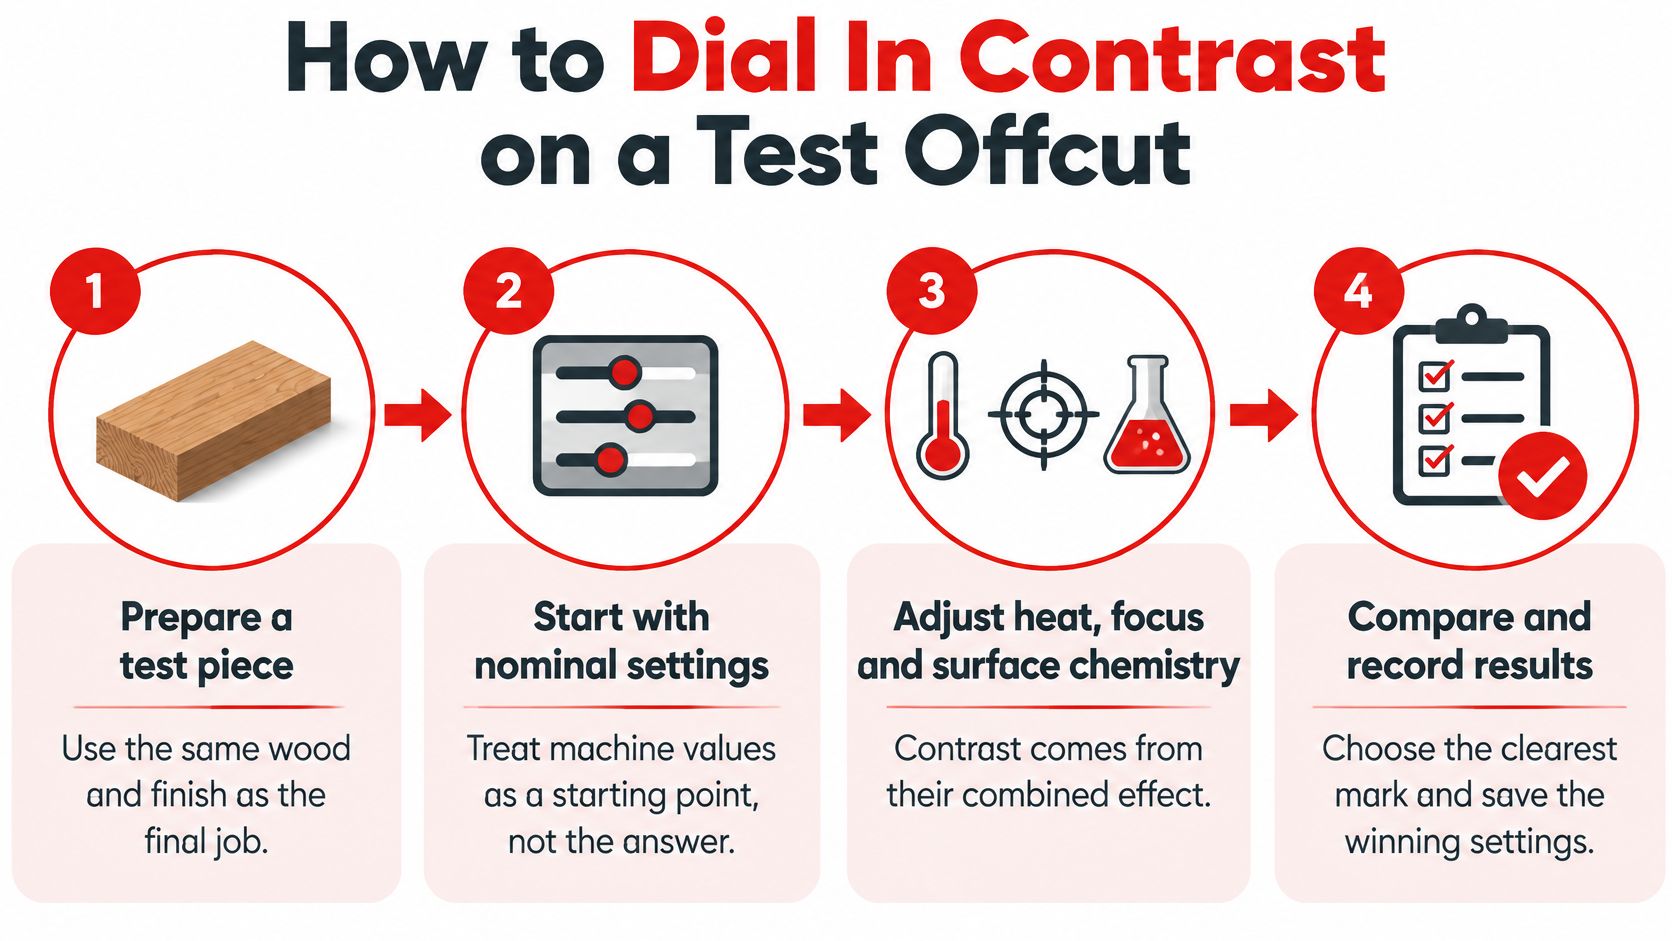
The test routine
- Record the board by species or product name, batch, and whether it is solid timber or a panel. A note that just says plywood tells you nothing six months later.
- Mask the surface with painter's tape or application tape to keep smoke and resin off the face you will be judged on.
- Engrave the grid on the offcut, stepping speed and power across it so every cell is a different combination.
- Test focus deliberately. Start at nominal, then step out slightly. Trotec's guidance on handling wood materials recommends defocus of about 0.5 to 2 mm to spread the beam for a darker, softer mark, because more of the surrounding timber is thermally affected. Push past that and resolution drops while the heat-affected width grows.
- Turn air assist on so combustion products leave the engraving zone instead of settling back into it.
- Judge each cell by the mark, not the numbers: darkness, edge sharpness and charring. The best-looking cell wins even when its settings look odd on paper.
- Handle the winner before you commit. Rub it and wipe it clean, because a production piece gets touched, packed and posted. A mark that greys or smears under a thumb is a problem the grid alone won't catch.
- Log everything: material batch, lens and focal setup, power, speed, passes and air-assist state. I treat this entry as the key output of the test; the offcut is just the evidence.
Record the batch, not just the settings. When a repeat order lands next season, the settings file won't save you if the plywood supplier has changed its glue line.
Why one passing swatch is the only proof
Timber type, resin content, moisture, plywood adhesive and surface coatings all change the result, so settings developed for one species or board should never move to another untested. Copying a forum recipe from someone engraving a different plywood is how a clean first job becomes a charred second one.
A swatch counts as passing only if it holds at the smallest line width in your artwork. Run the test on the actual product board where you can, since a clean offcut edge can behave differently to a coated or curved face. If the fine print stays sharp at production size and survives a rub-down, the job is ready. If it doesn't, choose a different board or a heavier file rather than another pass at full power.
Fixing Faint, Charred and Blurred Engravings
The most common complaint about laser engraving wood is a mark that comes out too light on pine. Grain and resin load take energy differently along the same board, so a setting that scorched a test strip can leave a production piece looking washed out.
Work from the symptom to the cause before you touch the power slider.
| Symptom | Likely cause | Fix |
|---|---|---|
| Faint mark on pine | Too little energy for the grain and resin load | Raise power or slow speed on a test offcut |
| Charred, wide edges | Too much energy or defocus beyond the useful range | Lower power and bring focus back toward nominal |
| Pale halo around edges on a coated board | The finish scorching wider than the engraved line | Drop power; if the halo stays, change the coating or the board |
| Uneven depth along a long piece | The board bowing off the bed so focus height shifts mid-run | Flatten and support the board, then recheck focus at both ends |
| Bubbles or dark blotches on plywood | Adhesive or coating reacting to heat | Switch to laser-grade plywood and test first |
| Long piece bends after engraving | Grain running across the length | Rotate the layout so grain runs the longest dimension |
Some of these cost five minutes. Faint marks, charred edges and halos are energy problems, so retune on an offcut until the mark reads, then go back to production with a number you trust. When lines blur, split the fault in two before you change anything: pull focus back to nominal and run a single test line. If it sharpens, defocus was the problem. If it still spreads, the artwork itself needs heavier strokes.
Bubbles and dark blotches are different. They mean the adhesive or the face coating is reacting to heat, and no amount of tuning makes an unknown panel behave. On a personalised item, that is a replacement and an apology.
Check the board before the machine
If a batch behaves differently from the last one on identical settings, look at storage before optics. Timber that has pulled moisture in a humid workshop engraves differently from the same species kept dry, and the difference shows up as weak contrast and fuzzy edges instead of a clean mark.
A long piece can leave the bed looking perfect and still arrive bent. Lay a straightedge along the finished piece on a flat bench. Any rock or gap under the edge means the grain ran across its length, so rotate the layout and let the grain carry the longest span.
Most of the faults in the table were decided before the beam fired: the adhesive inside the panel, the coating on the face, the grain direction in the layout. Pick the board for where the piece will live, and power becomes a fine adjustment instead of a rescue.
Confirm the Wood and Artwork Before You Order
By this point the decision has narrowed to one board, one finish and one approved file. Ordering is the wrong moment to discover the artwork was never tested at size.
The material base is on your side. In 2022-23 Australia produced 4.3 million cubic metres of sawnwood, of which 89% was softwood, and domestic consumption ran to approximately 4.8 million cubic metres, with around 95% of sawnwood consumed locally and only 5% exported, according to the Australian agriculture department's forest industries indicator report. Most engraved timber items can be planned around stock held locally rather than a single import shipment.
A go or no-go gate
The artwork and layout checks are settled earlier: grain direction is covered in section 1, and minimum line widths, open counters and proofing on the actual board are covered in section 3. The final gate comes down to two items the earlier checks depend on.
- Board and adhesive named. Species or product, plus the adhesive class. The adhesive determines whether the board runs safely and engraves cleanly, so an unnamed panel is a stop sign.
- Finish matched to the use case. Light sealer, clear sealer, matte sealer or exterior coating, chosen for where the piece lives rather than how it photographs.
Our in-house design team provides free mockups and branding options including printing, laser engraving and embroidery, so the mark can be assessed on the item itself before anything goes to production.
A Bamboo Stapler shows how straightforward the choice can be: a smooth bamboo surface takes a crisp logo, and the natural variation in grain and tone between pieces is part of the appeal rather than a defect. That stapler sits on a desk for years, so the engraving needs to read clearly at arm's length every time it is picked up.
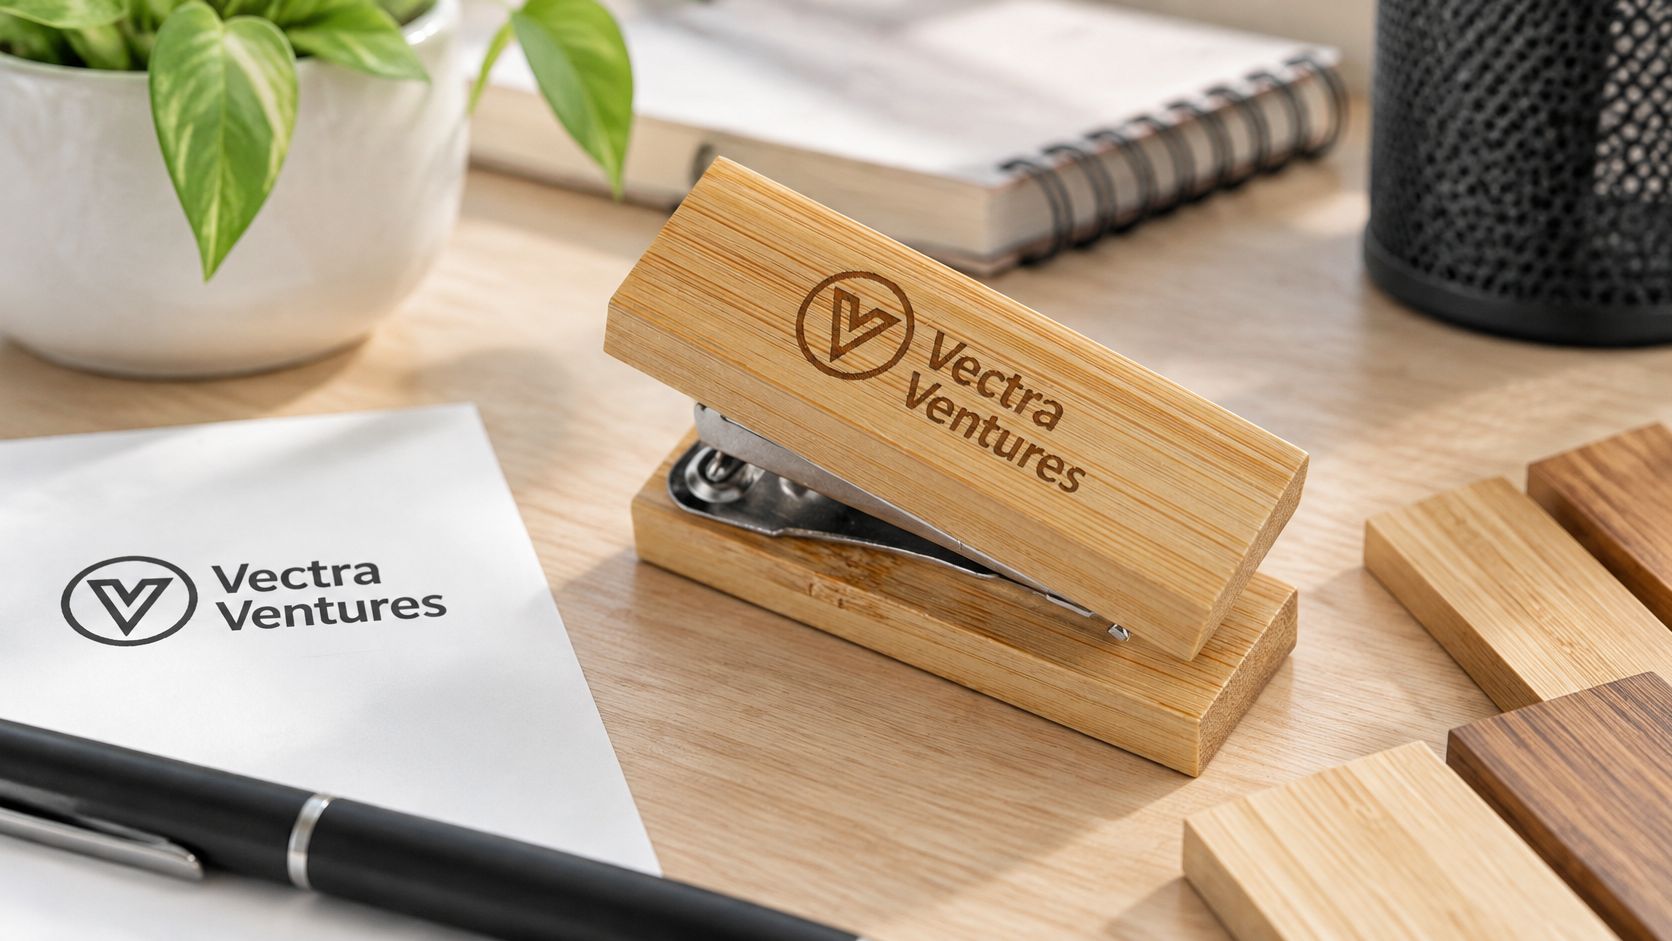
If you're still weighing up which item carries the message, these steps to choose the right promotional products narrow it down before the material conversation even starts.
The next step is small and specific: send the logo, say where the piece will live and which material you're leaning toward, and ask for a mockup and a physical proof before production is approved. On a run of three hundred bamboo staplers, proofing adds a couple of days to the schedule; a failed batch costs the stock, the machine time and the deadline together.
Laser engraving sits alongside screen printing, digital and full-colour printing, debossing, sublimation and in-house embroidery, so the timber, the finish and the artwork get settled in one place rather than three. The team can mock your logo onto the actual product and show you how the mark will read before a single item is branded. Visit Simply Merchandise with the piece you have in mind and get the proof in your hands.

